⚡ Key Facts
- Frequent Occurrences: According to the Department of Transportation (DOT), there are over 12,000 hazardous materials transportation incidents in the United States every year, emphasizing the daily reality of these risks.
- Time is Critical: In an industrial accident emergency, a toxic plume can travel miles within minutes. Your reaction time to seal a room or evacuate must be immediate.
- HVAC Hazards: The Federal Emergency Management Agency (FEMA) warns that running central heating or air conditioning during a chemical event can actively pull toxic airborne agents directly into your home.
- Shelter Duration: Statistical data from the Environmental Protection Agency (EPA) shows that most chemical shelter-in-place orders are lifted within a few hours, rarely extending beyond 24 hours.
- Crosswind Evacuation: If caught outside during a toxic plume family emergency plan execution, the Centers for Disease Control and Prevention (CDC) advises moving crosswind (perpendicular to the wind direction) rather than simply running straight away from the source.
When we think of emergency preparedness, our minds often gravitate toward natural disasters—hurricanes, earthquakes, or wildfires. Yet, the modern landscape is crisscrossed by an invisible network of risk. Every day, millions of tons of hazardous chemicals move through our communities via rail networks, highways, and pipelines, while industrial facilities operate in close proximity to residential neighborhoods. The train derailment in East Palestine, Ohio, and numerous localized plant leaks across the country serve as stark reminders: chemical spill preparedness is not an obscure, doomsday scenario. It is a fundamental aspect of modern household readiness. See go-bag essentials for a practical checklist.
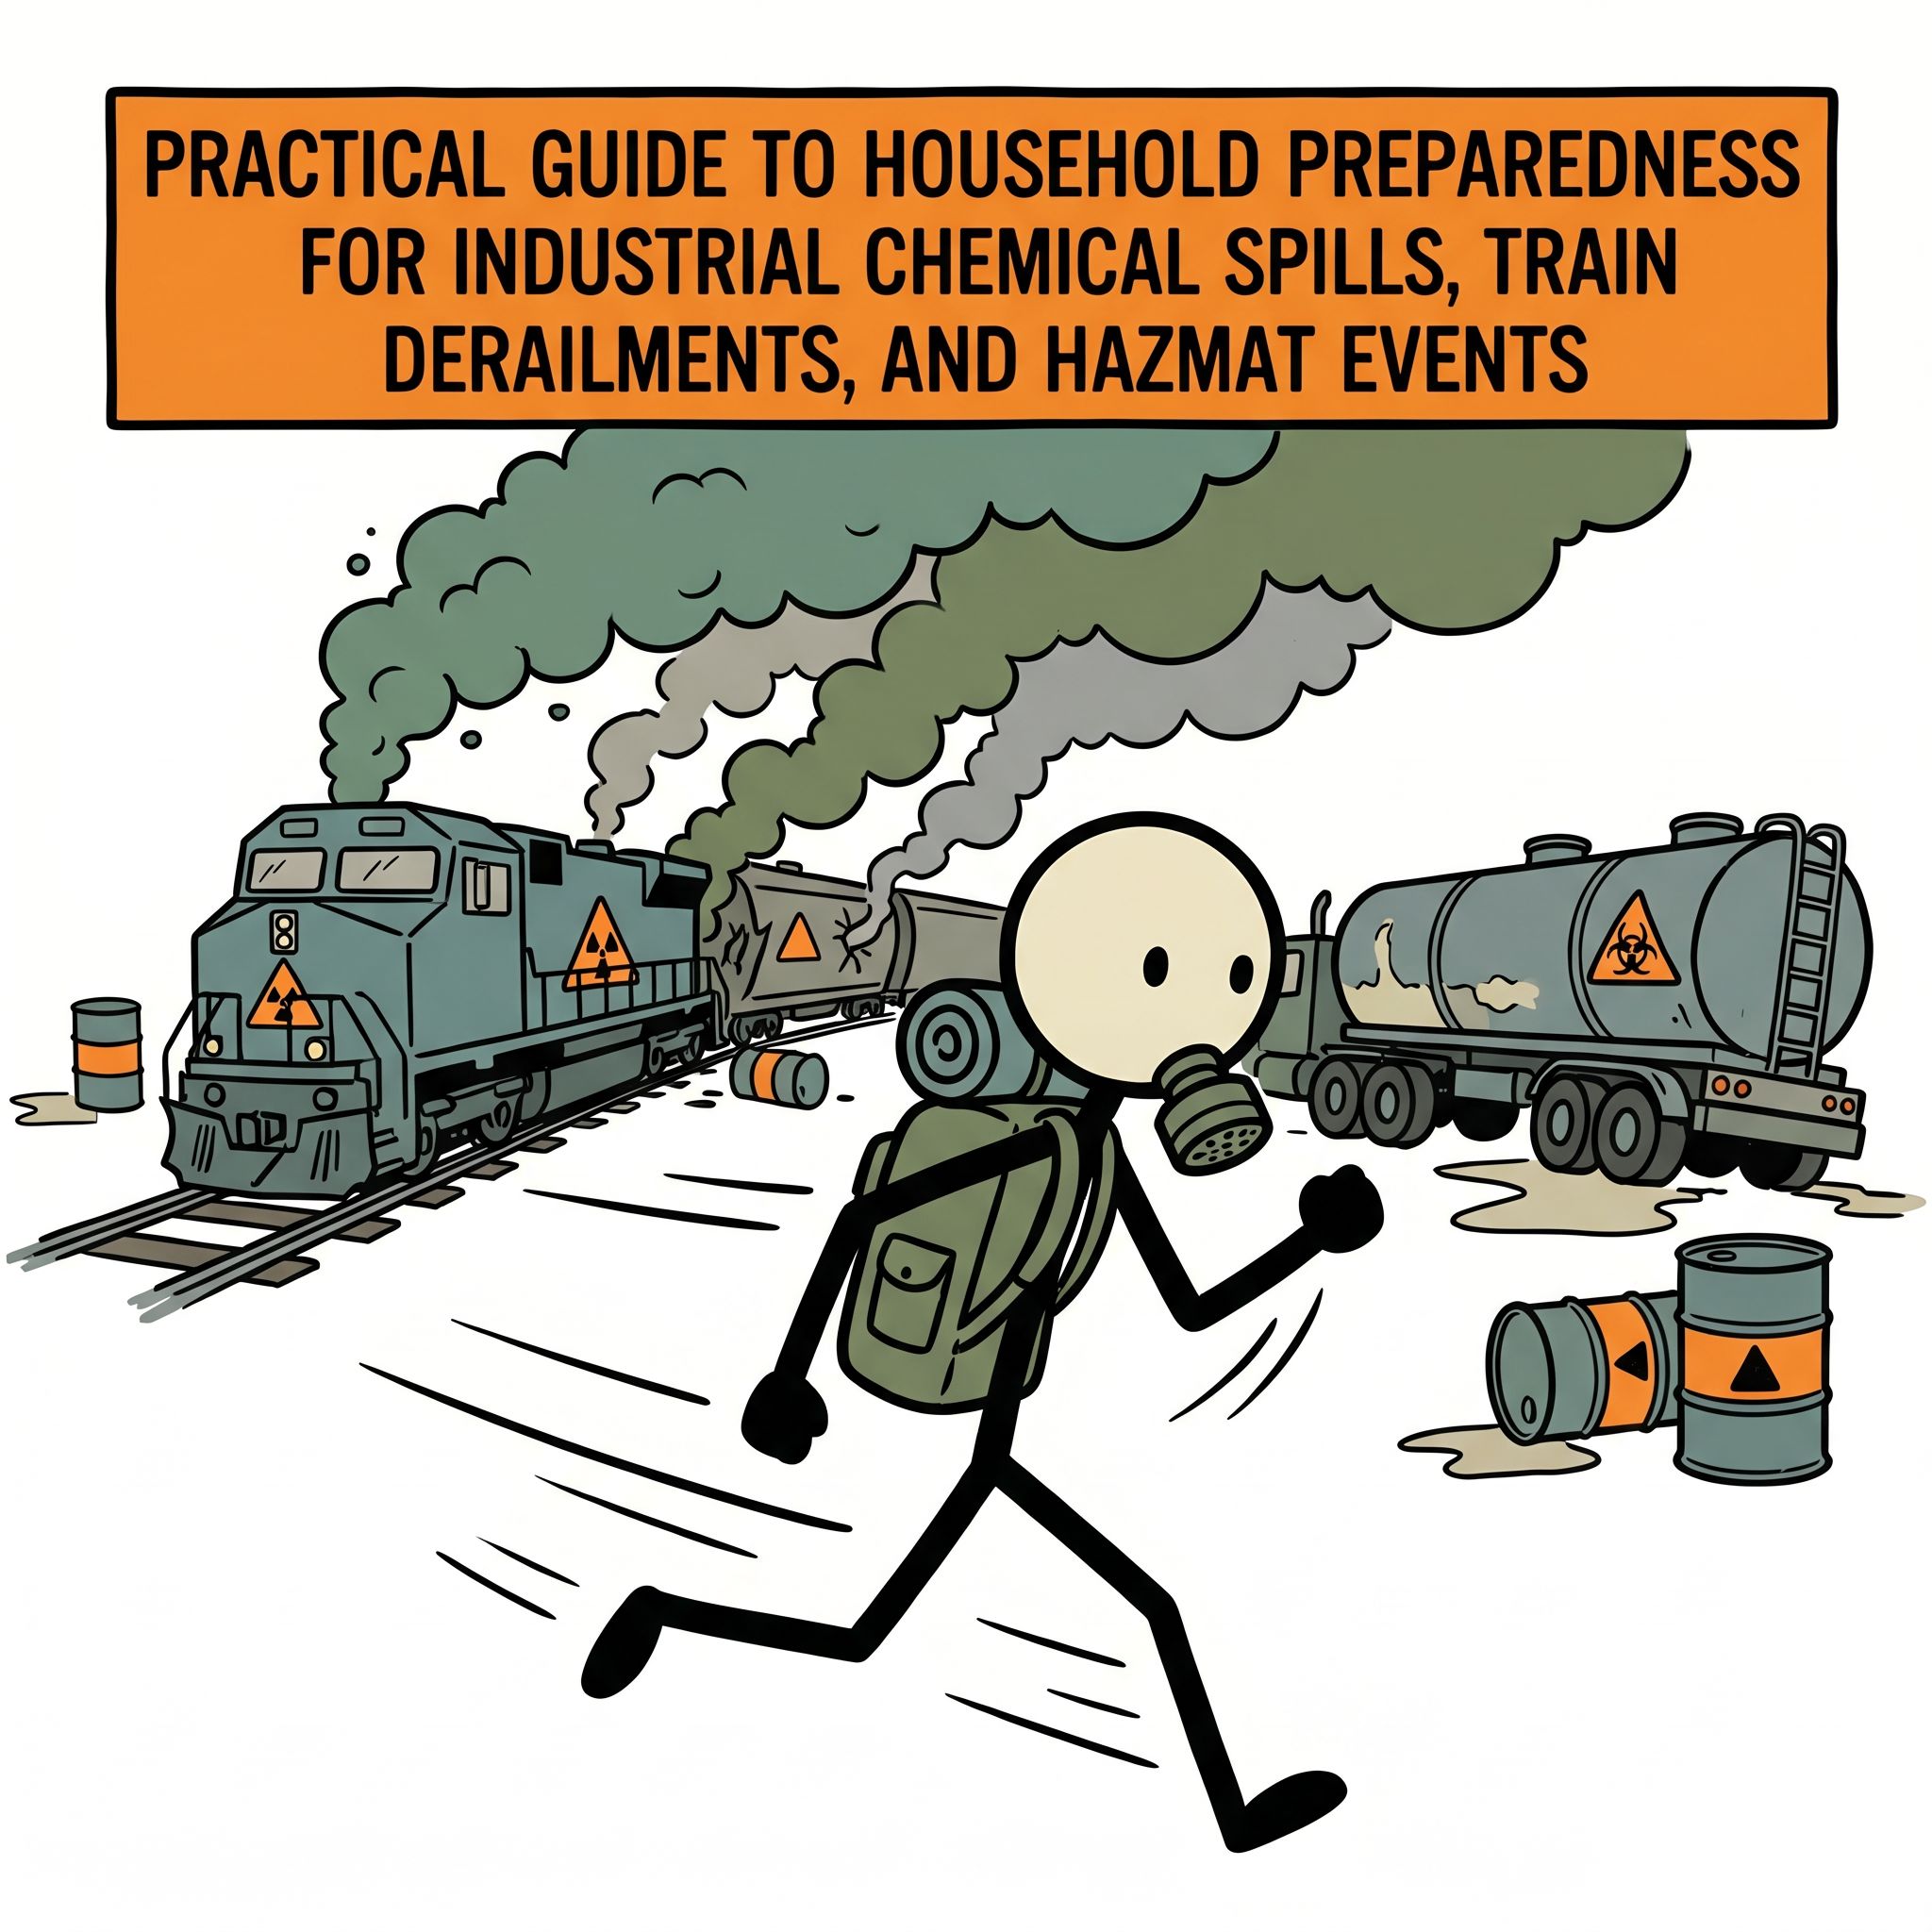
Unlike a storm that can be tracked for days, an industrial accident emergency strikes without warning. A derailed train car, a ruptured pipeline, or a factory explosion can release a toxic plume into the atmosphere in seconds. In these critical moments, confusion is your greatest enemy. Knowing whether to stay put and seal your environment or to flee the area can mean the difference between severe respiratory injury and absolute safety. This comprehensive guide will equip you with the authoritative, actionable knowledge needed to master hazmat emergency home prep, build an impenetrable shelter-in-place room, execute decontamination protocols, and make rapid, life-saving evacuation decisions. See go-bag builder for a practical checklist.
Understanding the Threat: The Mechanics of a Hazmat Event
Hazardous materials (hazmat) encompass a broad spectrum of substances, including toxic industrial chemicals (TICs), volatile organic compounds (VOCs), corrosive gases, and flammable liquids. When a containment failure occurs, these substances can be released as liquids, solids, or, most dangerously, as gases and aerosols. See supply calculator for a practical checklist.
The behavior of a chemical release is dictated by the substance's vapor density and current weather conditions. Gases that are heavier than air, such as chlorine or anhydrous ammonia, will sink and pool in low-lying areas, valleys, and basements. Gases lighter than air will rise and dissipate more quickly, though they still pose immediate inhalation hazards. Weather plays a massive role; high winds can rapidly spread a toxic plume over a vast area, while a temperature inversion (where warm air traps cooler air near the ground) can cause toxic gases to stagnate over a community for hours or even days. See water calculator for a practical checklist.
Because of these variables, emergency management agencies rely on dynamic modeling to predict where a toxic plume will travel. This is why official instructions are paramount. A strategy that saves lives in one chemical spill might be deadly in another. Your baseline hazmat emergency home prep must account for two primary, opposing actions: creating an airtight seal inside your home (sheltering) or leaving the danger zone entirely (evacuation). See survival scenarios for a practical checklist.
Assessing Your Local Chemical Risk Profile
Before you can finalize a toxic plume emergency plan, you must understand the specific threats in your immediate vicinity. Preparedness begins with a localized risk assessment.
Map Your Surroundings
Take a critical look at the infrastructure within a five-to-ten-mile radius of your home. Identify major freight railway lines, interstate highways, and navigable waterways. These are the primary arteries for hazardous material transport. Next, look for stationary risks: water treatment plants (which often store large quantities of chlorine), agricultural supply centers (fertilizers and ammonia), manufacturing plants, and refineries.
Utilize Government Databases
The Environmental Protection Agency (EPA) mandates that certain facilities report the storage and release of hazardous chemicals through the Toxics Release Inventory (TRI). You can use the EPA’s online tools to search your zip code and see exactly what chemicals are stored nearby. Furthermore, under the Emergency Planning and Community Right-to-Know Act (EPCRA), your Local Emergency Planning Committee (LEPC) is required to provide information regarding local chemical hazards upon request. Knowing whether you live near a facility that uses heavy chlorine versus highly flammable solvents will inform how you prepare your home.
The Science of "Shelter in Place Chemical" Protocols
When authorities issue a shelter-in-place order for a chemical event, they are not simply telling you to stay indoors. A "shelter in place chemical" protocol is a highly specific, active defensive maneuver designed to create a temporary, airtight micro-environment that keeps toxic gases outside while you breathe the clean air trapped inside.
The CDC and FEMA recommend sheltering in place when a toxic plume is moving too quickly for a safe evacuation, or when the hazardous material is already in your immediate environment. Attempting to drive through a toxic cloud is incredibly dangerous; vehicles are not airtight, and engines can stall if deprived of oxygen or exposed to certain vapors, leaving you trapped.
Choosing the Right Safe Room
Not every room in your house is suitable for chemical sheltering. Your designated safe room must meet specific criteria:
- Above Ground: Because many toxic industrial chemicals (like chlorine) are heavier than air, they will settle in basements and low-lying areas. Your safe room should be on the ground floor or higher.
- Minimal Windows and Doors: Every seam is a potential point of ingress for toxic gases. Choose a room with as few windows and doors as possible. An interior bathroom, a large walk-in closet, or a central bedroom is usually ideal.
- Adequate Space: FEMA recommends planning for at least 10 square feet of floor space per person to ensure sufficient breathable air for a shelter period of up to five hours.
- Access to Water: If possible, an attached bathroom is highly beneficial. It provides access to water for hydration, wet decontamination, and sanitation without forcing you to break the seal of your safe room.
Immediate Actions Upon Order
The moment a shelter-in-place order is given, speed is essential. Your household must act like a synchronized team.
First, bring all family members and pets indoors immediately. Next, lock all exterior doors and windows. Locking them pulls the weather stripping tighter, creating a better baseline seal. Close all window shades, blinds, or curtains; in the event of an external explosion, this provides a minor layer of protection against flying glass.
Crucially, you must shut down all systems that draw in outside air. Turn off the central heating, ventilation, and air conditioning (HVAC) system. Turn off window AC units and close their vents. Extinguish any fires in fireplaces and close the chimney dampers tightly. Turn off all exhaust fans in bathrooms and kitchens, and ensure the clothes dryer is turned off, as its vent is a direct pipeline to the outside.
Advanced Air Sealing Techniques
Once you are inside your designated safe room, you must seal the perimeter. This is the core of your hazmat emergency home prep. You cannot rely on standard weather stripping to stop microscopic chemical vapors.
Pre-Cut Plastic Sheeting
During an emergency, measuring and cutting plastic while adrenaline is pumping wastes precious time. Your emergency kit should contain heavy-duty plastic sheeting (at least 4 to 6 mil thickness) that has been pre-cut to fit the specific windows, doors, and vents of your safe room. Label each piece of plastic with a permanent marker (e.g., "Master Bath Window," "Bedroom AC Vent") so anyone in the family can quickly identify where it goes.
The Taping Process
Use high-quality, heavy-duty duct tape (minimum 9 mil thickness) to secure the plastic. Standard masking tape or cheap duct tape will not create an adequate air seal and may peel away from dusty or slightly damp walls.
When applying the plastic, tape all four corners first to hold it in place. Then, tape the entire perimeter continuously. Do not leave any gaps. Ensure the tape overlaps both the plastic and the wall frame by at least an inch. Pay special attention to the bottom of the door leading into your safe room. You can roll up a damp towel to block the gap at the bottom of the door, and then cover the entire door frame with plastic and tape.
Sealing Hidden Vents
It is easy to remember doors and windows, but many people forget secondary airflow points. You must tape over electrical outlets, light switches, heating vents, and exhaust fans within the safe room. Wall cavities can act as conduits for outside air, and standard outlet covers are not airtight.
Evacuation Decision-Making in a Toxic Plume Emergency Plan
While sheltering in place is often the default immediate action, there are scenarios where evacuation is the only viable survival strategy. A prolonged chemical fire, an uncontained spill of highly explosive materials, or a shift in wind direction might prompt authorities to issue mandatory evacuation orders. Your toxic plume emergency plan must include rapid evacuation protocols.
When to Evacuate
You should evacuate under three primary conditions: when explicitly ordered by local emergency management officials, when you have clear, safe egress away from the path of the plume before it reaches you, or if your shelter-in-place seal has failed and toxic gases are accumulating inside your home.
The Mechanics of Chemical Evacuation
Evacuating from a hazmat incident is entirely different from fleeing a hurricane. You are racing against a moving cloud of gas.
- Understand the Wind: The most critical factor in a chemical evacuation is wind direction. You must never evacuate downwind (in the same direction the wind is blowing), as the plume will overtake you. You should not evacuate directly upwind (toward the source). The CDC strongly advises moving crosswind—perpendicular to the direction the wind is blowing—to step out of the plume's path as quickly as possible.
- Vehicle Preparation: If you are evacuating by car, keep all windows rolled up tightly. Turn off the AC and heater. If you absolutely must use climate control to defog windows, set the system to "recirculate" so it only processes the air already inside the cabin, rather than pulling in toxic air from outside.
- Avoid Low Areas: Because heavy gases pool in depressions, avoid driving through valleys, underpasses, or low-lying tunnels if you suspect a chemical release has occurred in the area. Stick to higher elevations whenever possible.
Decontamination Procedures at Home
If you or a family member were outside when the chemical spill occurred and were exposed to the plume, you must perform rapid decontamination before entering the safe room. Bringing contaminated clothing into a sealed room will trap the toxic vapors inside with you, defeating the entire purpose of the shelter-in-place chemical protocol.
Step-by-Step Doffing and Decontamination
The CDC outlines specific guidelines for self-decontamination to minimize chemical absorption through the skin and prevent secondary exposure.
1. Remove Clothing Safely: Act quickly but methodically. Remove all clothing, prioritizing items that cover your face and head. If you are wearing a shirt that must be pulled over your head, do not pull it up, as this will drag the chemicals across your eyes, nose, and mouth. Instead, use trauma shears or scissors to cut the shirt down the front and let it fall away.
2. Isolate the Contaminants: Place all contaminated clothing, shoes, and jewelry into a heavy-duty plastic trash bag. Seal the bag tightly with duct tape. Place that bag inside a second bag, and seal it again. Leave this double-bagged clothing outside your home or in an isolated garage area. Do not bring it into your safe room.
3. Wash Thoroughly (Wet Decontamination): If you have access to a shower before entering your final sealed room, use it immediately. Wash your entire body with copious amounts of lukewarm water and a mild liquid soap. Do not use scalding hot water, as this opens the pores and can increase chemical absorption. Do not scrub your skin vigorously with a washcloth or loofah; scrubbing can create micro-abrasions that allow chemicals to enter the bloodstream. Simply wash gently and rinse thoroughly.
4. Eye Flushing: If your eyes are burning or your vision is blurred, flush them with plain, lukewarm water for at least 10 to 15 minutes. Remove contact lenses immediately and place them in the contaminated waste bag; do not attempt to clean and reuse them. If you wear glasses, wash them thoroughly with soap and water before putting them back on.
Building Your Hazmat Emergency Home Prep Kit
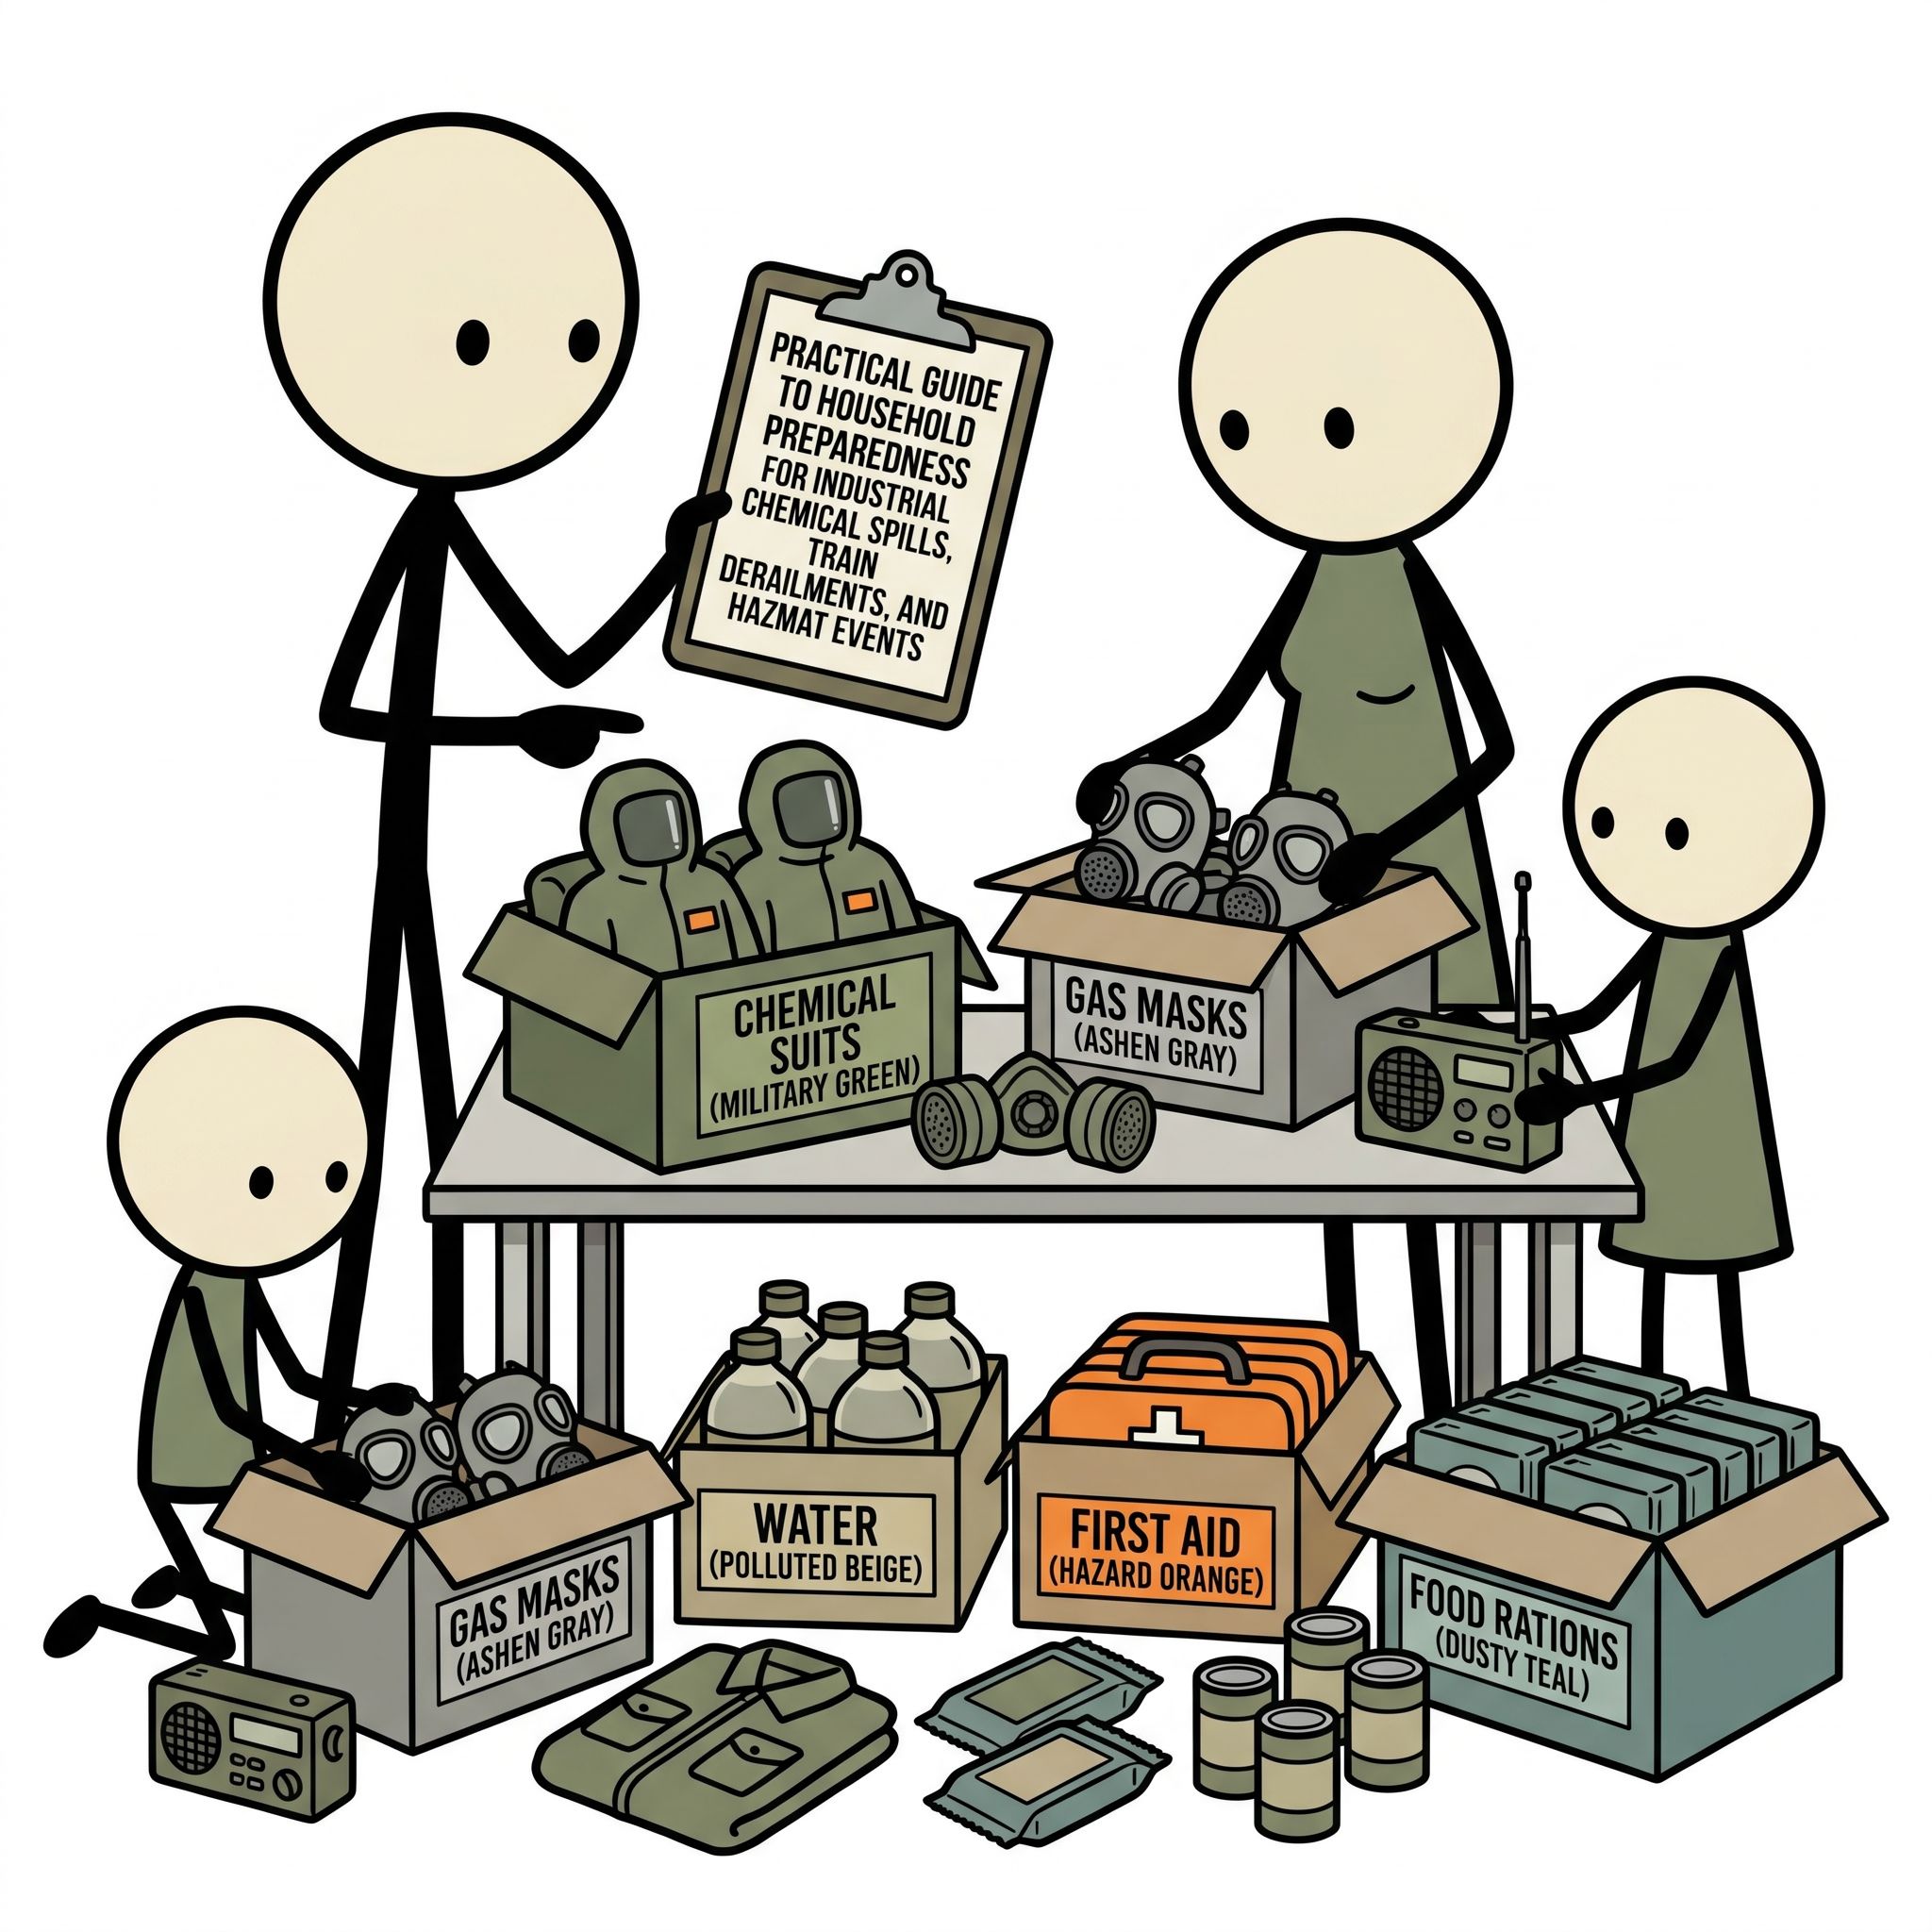
A standard earthquake or hurricane kit is insufficient for an industrial accident emergency. You must augment your existing supplies with specialized hazmat gear. Keep this kit stored inside or immediately adjacent to your designated safe room so you do not have to search the house during the critical first minutes of an event.
Essential Hazmat Supplies
- Pre-cut Plastic Sheeting: 4 to 6 mil thickness, measured and labeled for your safe room's windows, doors, and vents.
- Heavy-Duty Duct Tape: Multiple rolls of high-adhesion tape (at least 9 mil thick). Standard tape will fail.
- Personal Protective Equipment (PPE): Standard surgical masks will not stop chemical vapors. Your kit should include NIOSH-approved N95 or P100 particulate respirators to filter out aerosols and toxic dust. For higher-level vapor protection, consider half-face elastomeric respirators with multi-gas/vapor cartridges. Include unvented, chemical-splash safety goggles to protect your eyes from corrosive gases.
- Trauma Shears: For safely cutting away contaminated clothing without pulling it over your face.
- Heavy-Duty Trash Bags: For double-bagging contaminated clothing and gear.
- Water and Non-Perishable Food: At least one gallon of Water Calculator, per day. Stick to ready-to-eat foods that do not require cooking or heating, as you do not want to generate smoke or deplete oxygen in a sealed room.
- Sanitation Supplies: If your safe room does not have a toilet, include a five-gallon bucket with a tight-fitting lid, heavy-duty liners, and chemical absorbent powder (or kitty litter) for human waste management.
Communication: The Lifeline of a Toxic Plume Emergency Plan
In a rapidly evolving chemical emergency, information is your most valuable asset. The decision to lift a shelter-in-place order or transition to an evacuation will be broadcast by local authorities. You cannot rely solely on cellular networks, as cell towers may become overloaded with traffic or lose power during an industrial accident.
Redundant Information Systems
Your safe room must be equipped with a battery-powered or hand-crank NOAA Weather Radio with Specific Area Message Encoding (SAME) technology. These radios receive direct broadcasts from the National Weather Service and emergency management agencies, cutting through cellular blackouts. They will sound a loud alarm when an Emergency Alert System (EAS) message is issued for your specific county.
Additionally, ensure your smartphone is configured to receive Wireless Emergency Alerts (WEA). These are the text-like messages that push through to your phone based on your geographic location, regardless of network congestion. Monitor official local government and emergency services social media channels, but verify any information through official broadcasts to avoid the spread of rumors.
When the Threat Has Passed
Do not break the seal on your safe room until official authorities have explicitly announced an "all clear." The absence of a visible cloud or a chemical smell does not mean the air is safe. Many highly toxic industrial chemicals are colorless and odorless. Once the all-clear is given, authorities will likely instruct you to open all windows and doors and turn on fans to thoroughly ventilate your home, flushing out any residual vapors that may have seeped in.
Empowering Your Household
Facing the reality of an industrial accident emergency or a train derailment can feel overwhelming, but preparation replaces panic with purpose. By understanding the dynamics of a toxic plume, auditing your local risks, and mastering the precise mechanics of a shelter-in-place chemical protocol, you take absolute control over your family's safety. Chemical spill preparedness is not about living in fear of the unknown; it is about acknowledging the modern industrial landscape and equipping yourself with the tools, knowledge, and confidence to navigate it safely. Build your kit, designate your safe room, practice your sealing techniques, and rest assured that you are ready to face whatever hazards may drift your way.
Frequently Asked Questions
What is shelter-in-place for a chemical emergency?
Shelter-in-place means staying inside your home and sealing it against outside air. Turn off all HVAC, seal window and door gaps with plastic sheeting and duct tape, move to an interior room on the highest floor (most gases are heavier than air), and stay until authorities give the all-clear.
What decontamination should I do after chemical exposure?
Remove all clothing outside and seal it in a plastic bag. Shower immediately with soap and water — flush eyes if exposed. Do not use hot water. Seek medical evaluation even if symptoms seem minor — some toxic exposures have delayed effects.
How do I find out what chemical facilities are near my home?
The EPA's ECHO database lists all regulated facilities by zip code. FEMA's Local Emergency Planning Committees maintain community hazmat plans. The Right-to-Know Network provides accessible public databases of industrial hazards.
Sources & Further Reading
- EPA Chemical Emergency Preparedness
- FEMA Hazardous Materials
- CDC CHEMPACK Program
- NIOSH Chemical Hazards