⚡ Key Facts
- According to the Centers for Disease Control and Prevention (CDC), over 40% of adults experience mouth pain in a given year—a vulnerability that becomes critical during prolonged disasters.
- The American Red Cross warns that untreated dental infections can rapidly escalate into systemic sepsis, making emergency dental knowledge a vital component of disaster readiness.
- A completely knocked-out tooth has the highest probability of successful reimplantation if reinserted into the socket within 30 minutes, per American Dental Association (ADA) guidelines.
- While FEMA strongly recommends including non-prescription pain relievers and oral hygiene items in basic disaster kits, emergency management surveys suggest fewer than 5% of households stock dedicated dental trauma supplies.
- Alternating ibuprofen and acetaminophen has been shown in clinical studies to be as effective as opioid medications for acute dental pain management, a crucial strategy when pharmacies are inaccessible.
Imagine surviving a catastrophic grid-down scenario, successfully securing your Water Calculator, and fortifying your shelter, only to be brought to your knees by a microscopic infection inside your molar. When infrastructure collapses, hospitals are overwhelmed, and dental clinics are shuttered, a simple toothache stops being a minor inconvenience. It becomes a severe tactical disadvantage. Debilitating dental pain compromises your ability to sleep, eat, concentrate, and defend your family. See medical preparedness guide for practical steps. See emergency preparedness guide for practical steps. See supply calculator for practical steps. See water calculator for practical steps. See survival scenarios for practical steps. See Medical Emergencies and Field First Aid (Spanish) for additional options. See Medical Emergencies and Field First Aid (Spanish) for additional options.
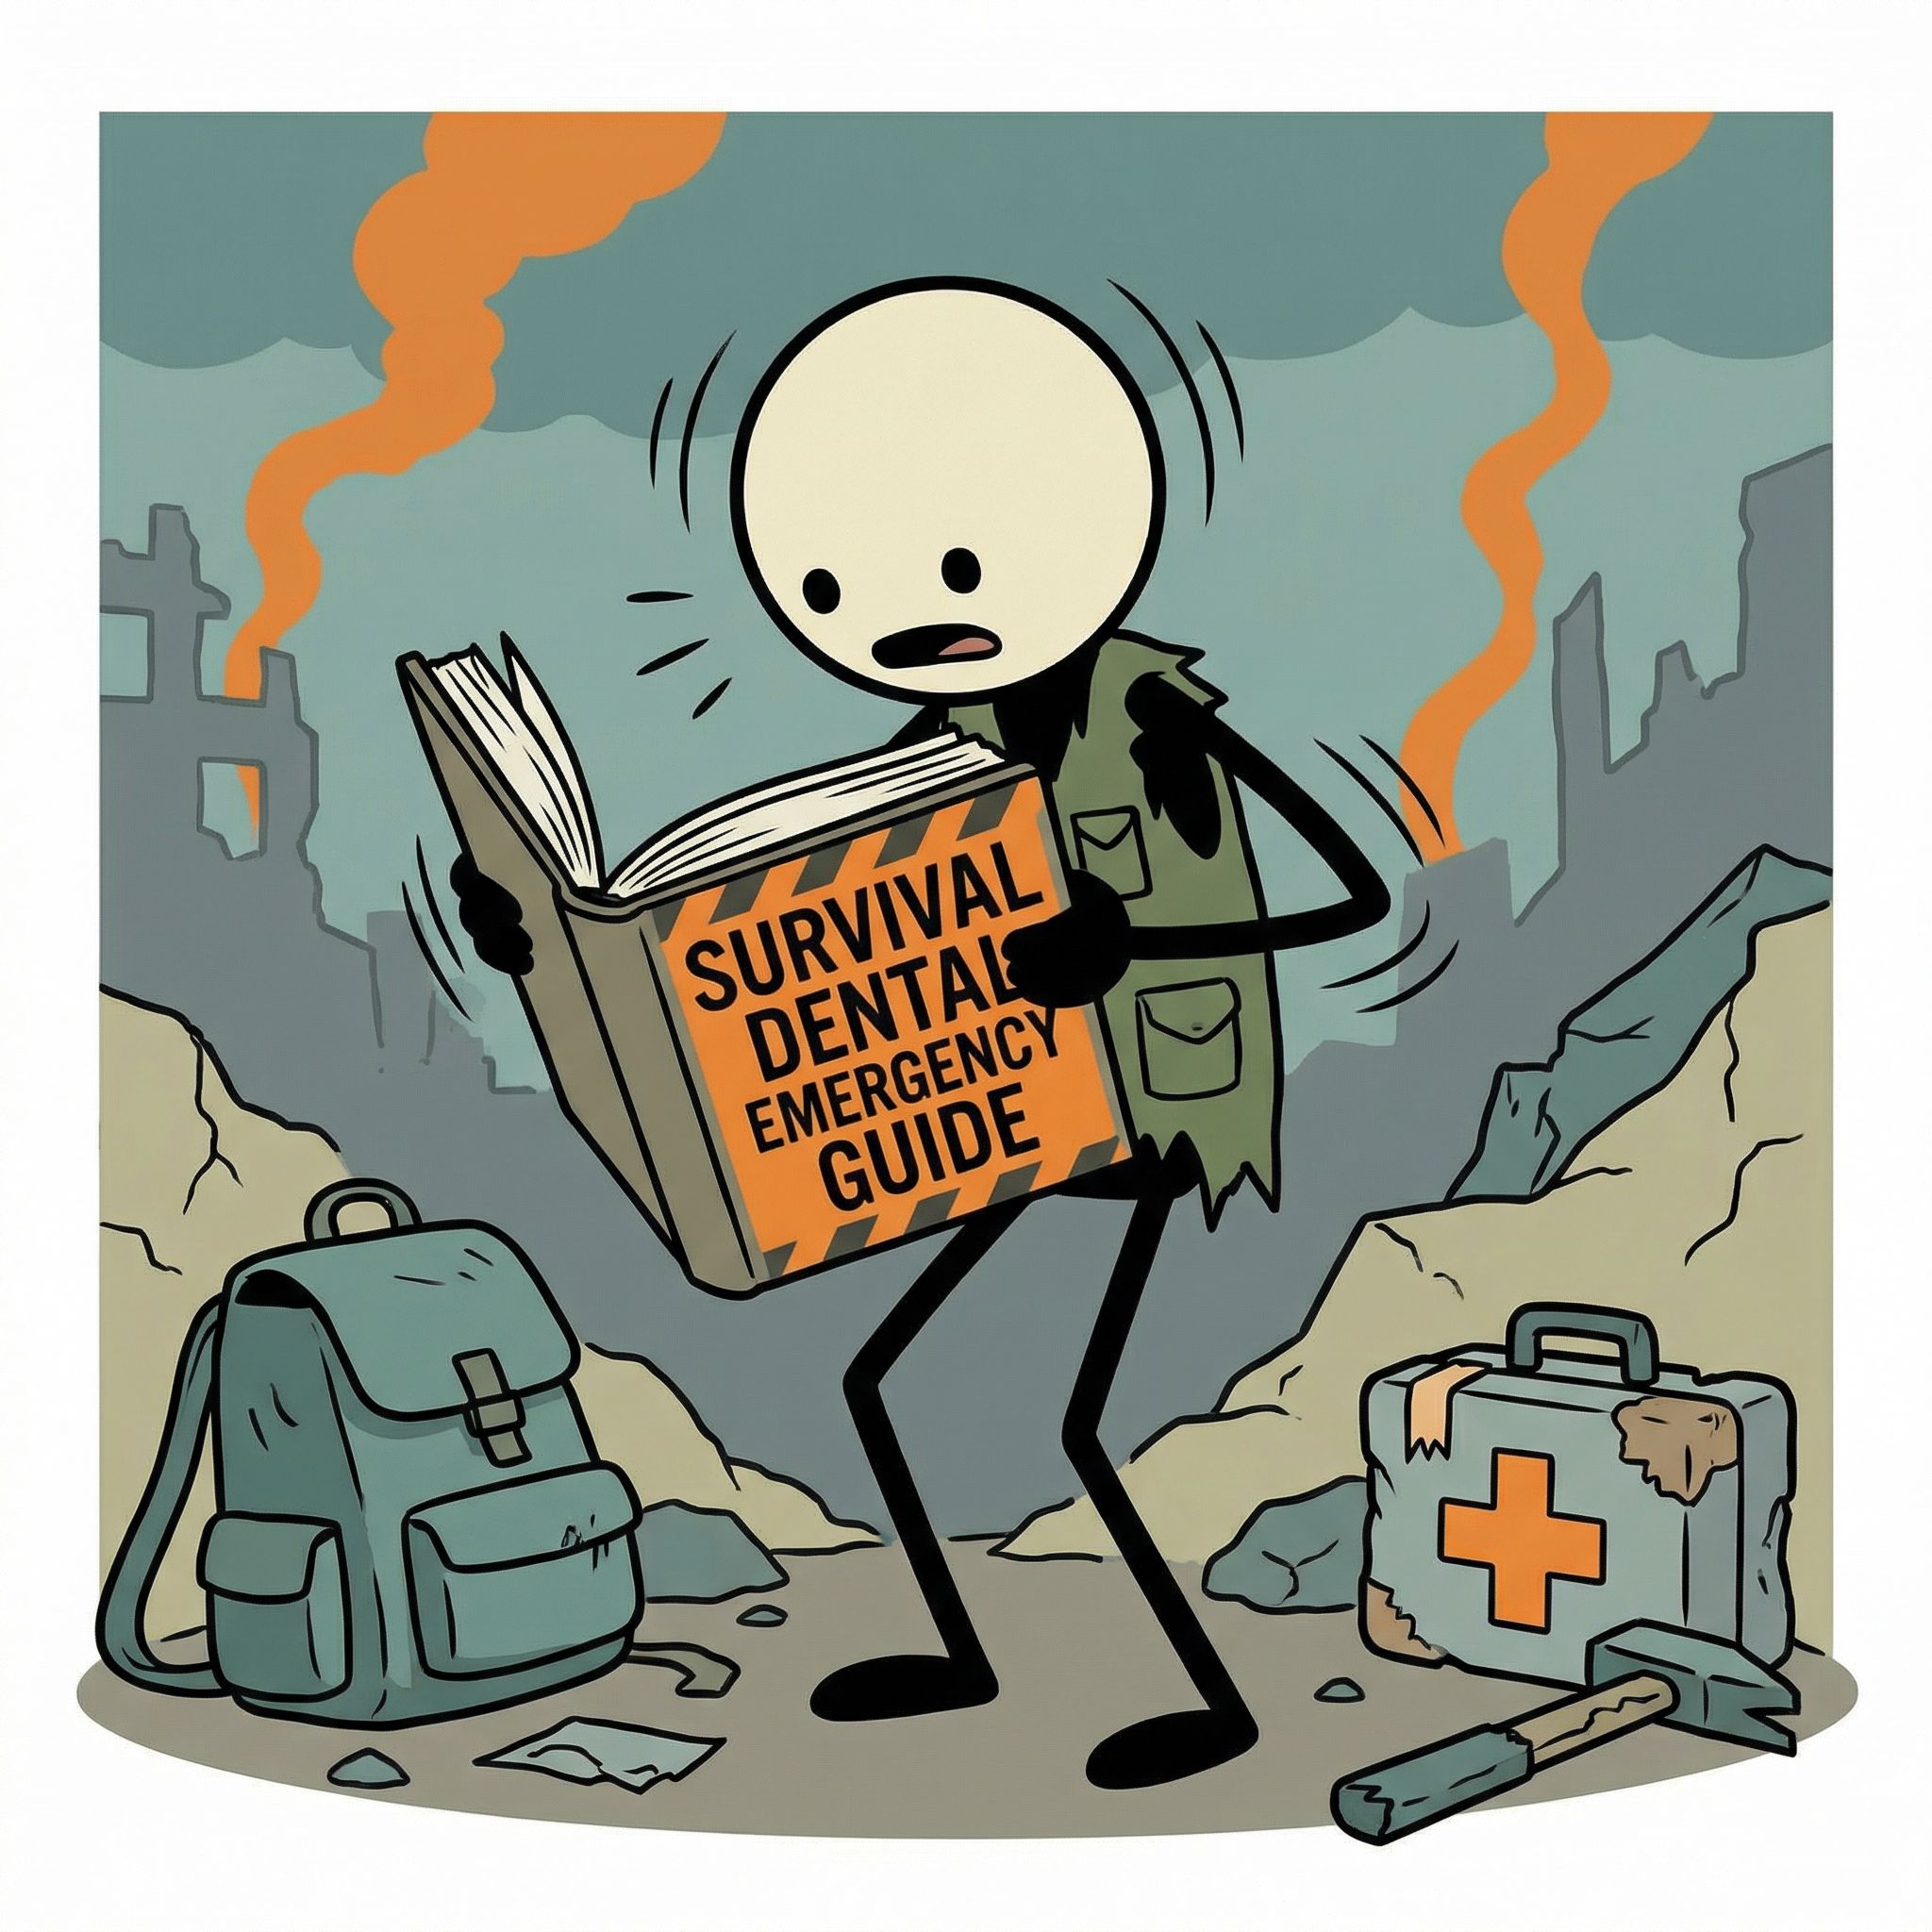
In modern society, we take the immediate availability of antibiotics and root canals for granted. But in a true disaster scenario, you are your own first responder. Managing off grid dental emergencies requires specialized knowledge, a well-stocked kit, and the confidence to perform rudimentary procedures when no other options exist. Tooth decay and oral trauma do not pause for hurricanes, earthquakes, or societal disruptions.
This comprehensive guide will equip you with the knowledge required to navigate severe tooth pain, manage dangerous oral infections, and address traumatic dental injuries. By understanding the principles of emergency dental care at home, you can prevent minor oral issues from escalating into life-threatening systemic infections, ensuring you remain capable, alert, and healthy when it matters most.
The Fundamentals of Survival Dentistry
Survival dentistry is not about achieving cosmetic perfection or performing complex oral surgery in the woods. It is fundamentally about three things: pain management, infection control, and stabilizing trauma. When professional medical help is completely inaccessible, your goal is to buy time, preserve tissue, and keep the patient functional.
The human mouth is home to billions of bacteria. Under normal circumstances, regular brushing, flossing, and a modern diet keep these bacteria in check. However, disaster scenarios often introduce high-stress environments, poor nutrition, and compromised hygiene. The World Health Organization (WHO) notes that oral diseases are among the most common noncommunicable diseases globally, and their prevalence skyrockets in displaced or disaster-struck populations.
To practice effective survival dentistry, you must shift your mindset from "cure" to "stabilization." You are not trying to save a tooth for the next twenty years; you are trying to stop an infection from spreading to the brain or airway over the next twenty days.
Building Your Emergency Dental Kit
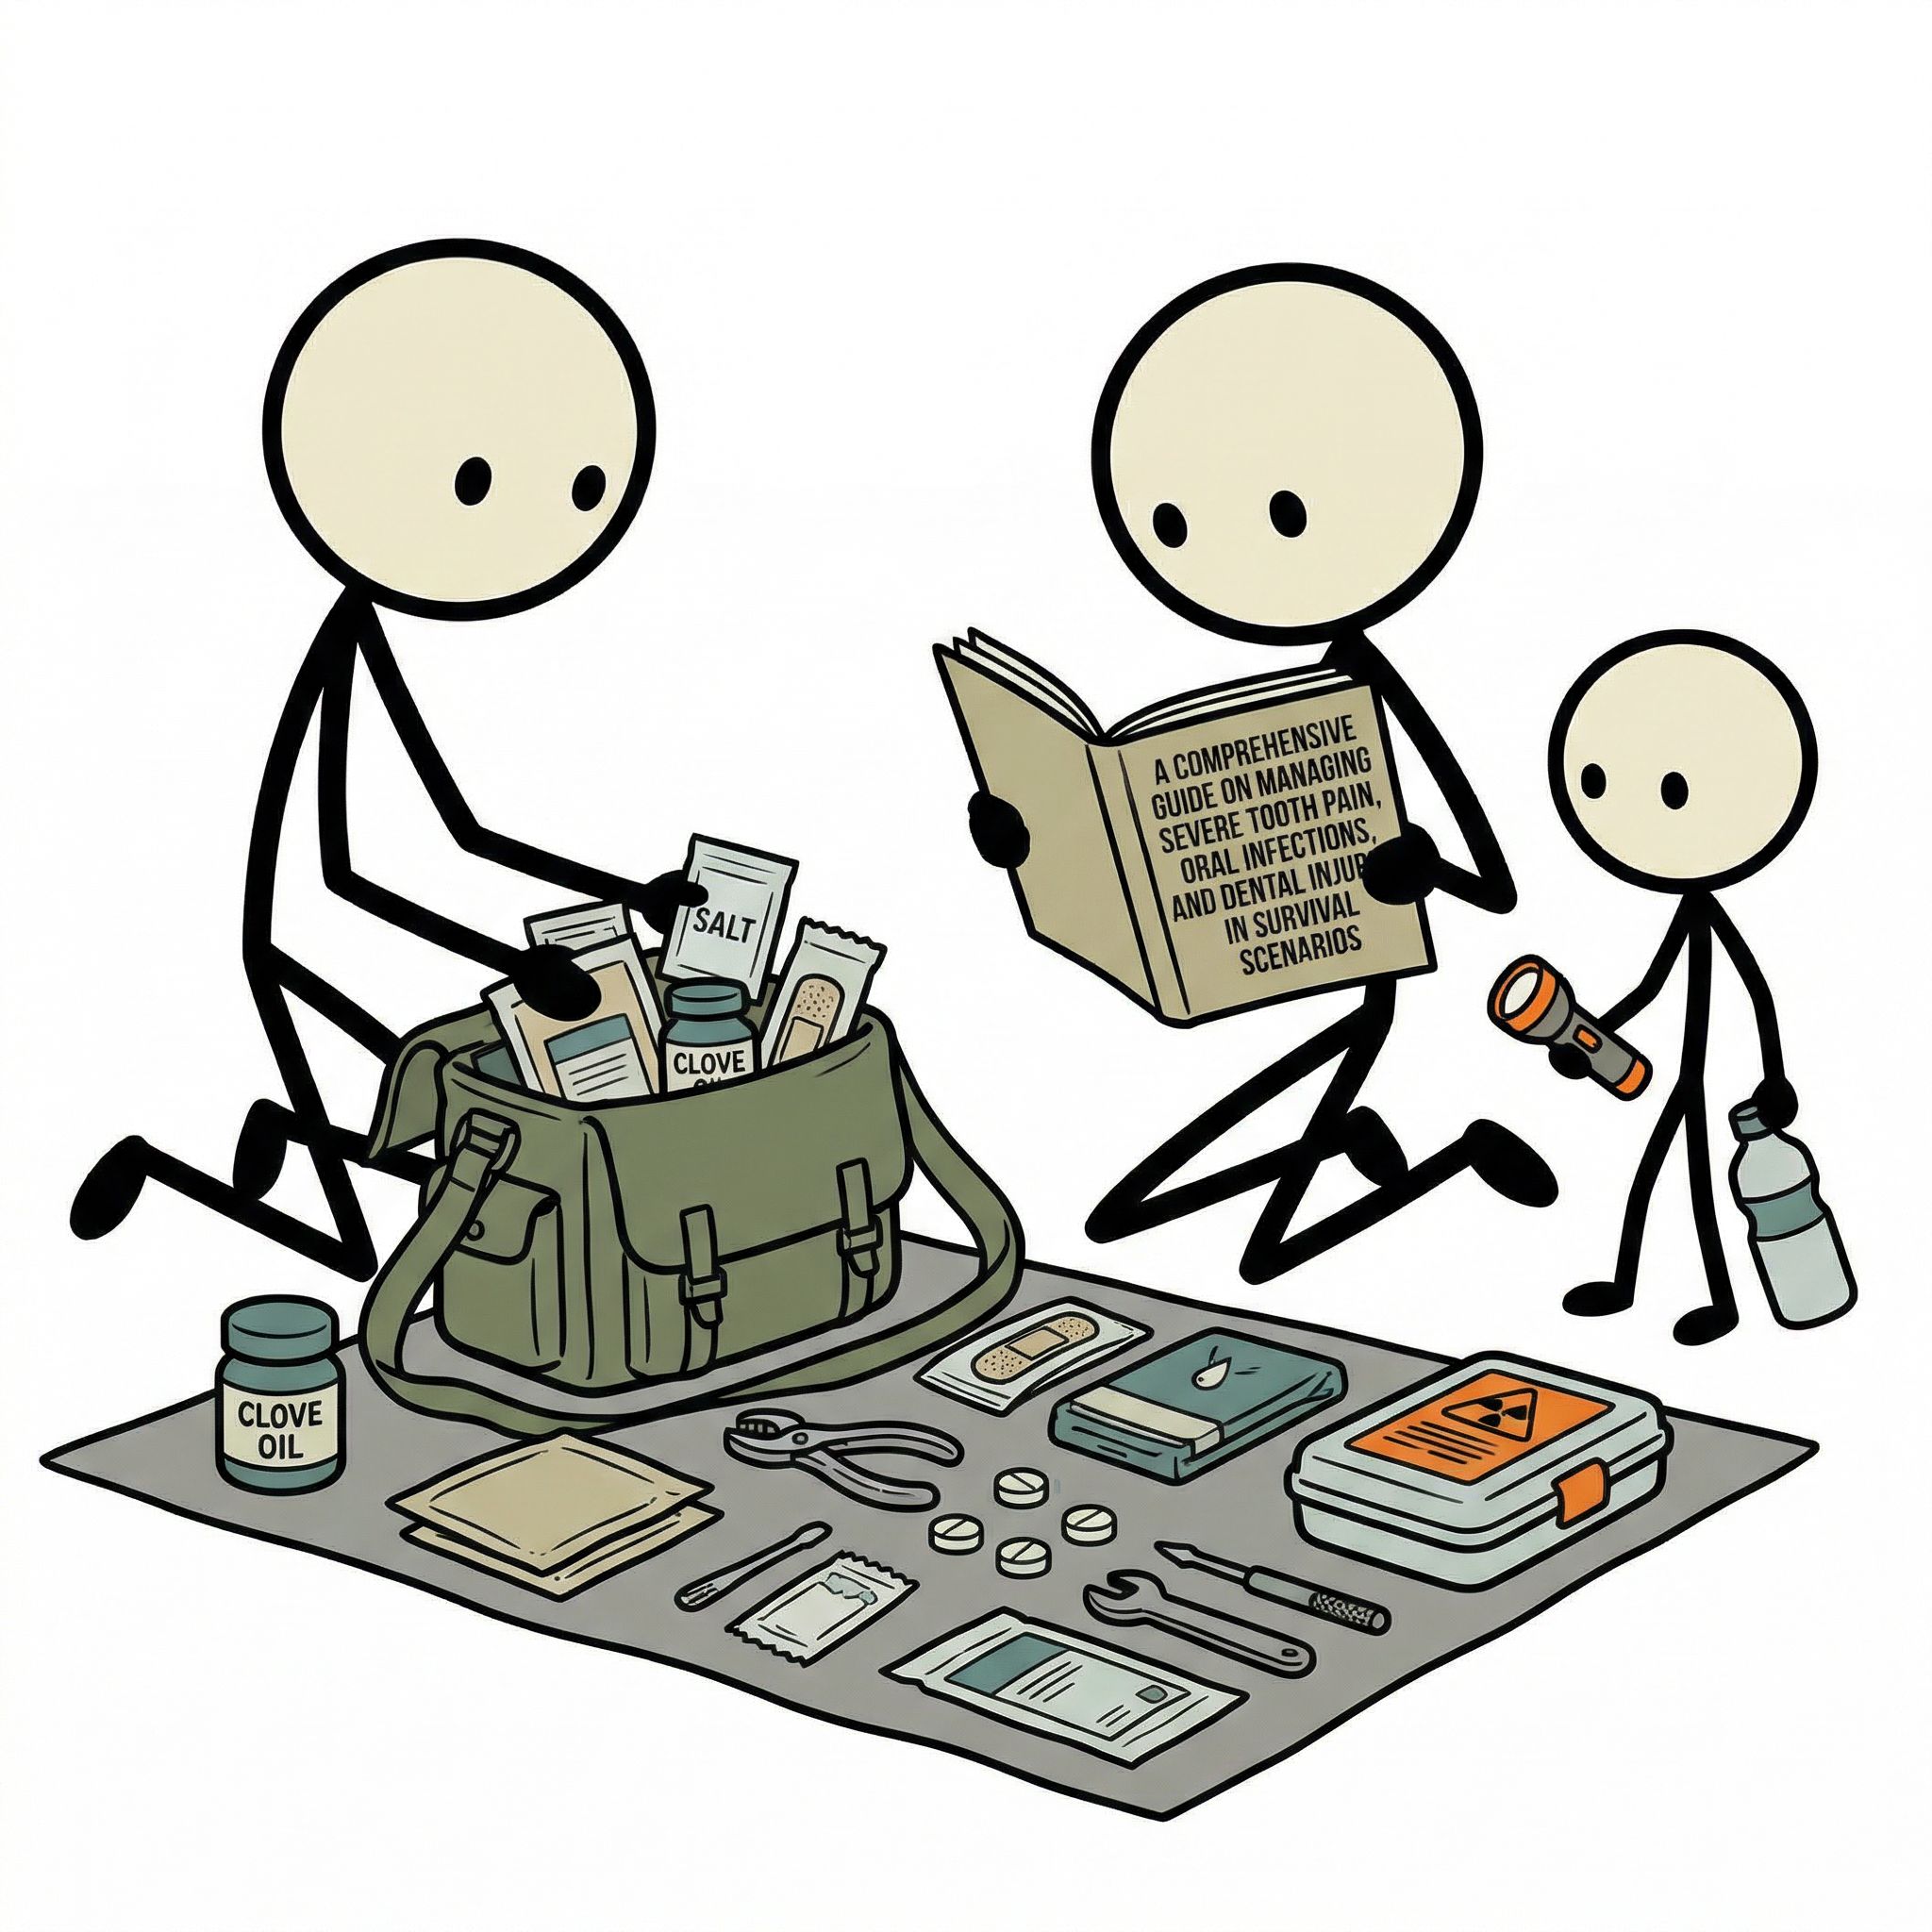
A standard first aid kit is woefully inadequate for dental emergencies. Band-aids and antiseptic wipes cannot penetrate tooth enamel or soothe an inflamed dental nerve. To prepare for off grid dental emergencies, you must build a dedicated, specialized dental module to integrate into your larger medical supplies.
At a minimum, your kit should include diagnostic tools. A high-quality dental mirror with an anti-fog coating is essential for seeing the back of the mouth and the upper teeth. Pair this with a bright headlamp to keep your hands free. Dental explorers (the metal picks dentists use) and specialized dental tweezers (cotton pliers) are critical for removing debris from cavities and handling small pieces of gauze or filling material.
For treatment supplies, stockpile eugenol (essential oil of clove), which acts as a powerful topical anesthetic and antimicrobial agent specifically for dental tissue. You will also need zinc oxide powder, which, when mixed with eugenol, creates a durable temporary tooth filling. Include sterile cotton pellets, dental floss, orthodontic wax (for covering sharp edges), and specialized dental syringes with curved plastic tips for irrigating deep wounds and extraction sites.
Stockpiling Dental Medications
Pain management is your first line of defense. Standard over-the-counter medications are highly effective if used correctly. Stockpile large quantities of Ibuprofen (an NSAID that reduces inflammation in the tight spaces of the jaw) and Acetaminophen (which blocks pain signals). The CDC and ADA recognize that combining or alternating these two medications provides profound relief for acute dental pain.
In a prolonged grid-down scenario, antibiotics become a matter of life and death. While acquiring them requires a prescription in normal times, many survivalists work with preparedness-minded physicians to secure emergency supplies. Amoxicillin and Clindamycin (for those with penicillin allergies) are the gold standards for oral infections. Always understand the dosages, contraindications, and expiration dates of any medications you store.
DIY Toothache Relief: Managing Severe Pain
Dental pain is uniquely excruciating because the trigeminal nerve, which supplies sensation to the teeth and jaws, sends signals directly to the brain without passing through the spinal cord. Furthermore, the pulp (the living tissue inside the tooth) is encased in rigid enamel. When it becomes inflamed, it cannot swell. The resulting pressure buildup causes throbbing, relentless agony.
The first step in DIY toothache relief is identifying the source and type of pain. Reversible pulpitis is mild inflammation, usually caused by a new cavity or a lost filling. The pain is sharp, triggered by hot, cold, or sweet foods, but it fades a few seconds after the trigger is removed. This can usually be managed by cleaning the tooth and applying a temporary filling.
Irreversible pulpitis occurs when the nerve is dying. The pain is spontaneous, throbbing, and keeps the patient awake at night. It may linger for minutes or hours after a temperature trigger. In this stage, the tooth cannot be saved without a root canal or extraction, so your goal is strict pain management until the nerve fully dies or the situation resolves.
The Eugenol Protocol
Eugenol, the active compound in clove oil, is the most effective natural remedy for dental pain. It works by numbing the nerve endings and reducing inflammation. However, it is highly caustic to soft tissue and must be used with precision.
To apply eugenol safely, isolate the painful tooth using cotton rolls or gauze to keep saliva away. Dry the tooth as much as possible. Place a single drop of clove oil onto a tiny cotton pellet. Using your dental tweezers, carefully place the pellet directly into the cavity of the tooth. Do not let the oil spill onto the gums, tongue, or cheek, as it will cause chemical burns. The relief is often instantaneous and profound.
Advanced Pain Management Techniques
When clove oil is not enough, rely on systemic medications. A proven protocol for severe pain is taking 400-600mg of Ibuprofen combined with 500mg of Acetaminophen every 6 hours. Because these drugs are processed by different organs (kidneys and liver, respectively) and attack pain through different pathways, they have a synergistic effect. Never exceed the maximum daily doses recommended by the FDA.
Cold compresses applied to the outside of the cheek can help numb the area and reduce blood flow, thereby reducing the painful throbbing. Apply ice packs for 15 minutes on, and 15 minutes off. Never apply heat to the outside of the face for a toothache, as this can draw a developing infection outward into the facial tissues, causing severe complications.
Dealing with Oral Infections and Abscesses
A toothache is painful, but a dental abscess is dangerous. When the nerve inside a tooth dies, the necrotic tissue becomes a breeding ground for bacteria. Because the infection has nowhere to go within the rigid tooth, it pushes out through the tip of the root into the jawbone, creating a pocket of pus known as an abscess.
The signs of a dental abscess are distinct. The patient will experience a severe, constant, throbbing pain that is often worse when lying down. The tooth will be exquisitely sensitive to pressure or tapping. You will likely observe swelling in the gums near the root of the tooth, which may look like a pimple (a fistula). In severe cases, the swelling will extend to the face, jaw, or neck, and the patient may develop a fever.
The American Red Cross and the CDC both warn that infections in the head and neck can become life-threatening rapidly. An infection in the lower jaw can swell inward, cutting off the airway (a condition called Ludwig's angina). An infection in the upper jaw can spread upward into the sinus cavities or even the brain. Aggressive management is non-negotiable.
Antibiotic Therapy in Survival Scenarios
If you observe facial swelling, fever, or difficulty swallowing, systemic antibiotics are required immediately. In a survival dentistry context where no dentist is available, a standard course of Amoxicillin (often 500mg every 8 hours for 7-10 days) is the typical first-line defense. For those allergic to penicillin, Clindamycin (300mg every 6 hours) is highly effective against oral bacteria.
It is vital to complete the entire course of antibiotics, even if the swelling goes down and the pain disappears after a few days. Stopping early can result in a rebound infection of antibiotic-resistant bacteria, a catastrophic event in an off-grid scenario.
Draining a Dental Abscess
Antibiotics alone sometimes cannot penetrate a large, walled-off abscess. If the swelling is severe, localized, and fluctuant (feels like a water balloon), and medical help is entirely inaccessible, draining the abscess may be the only way to relieve the pressure and save the patient's life.
This is an extreme survival measure. First, have the patient rinse aggressively with warm salt water (one teaspoon of salt in eight ounces of warm water). The warmth draws blood to the area, and the hypertonic salt solution helps draw out fluid. Often, rigorous warm saltwater rinses will cause the abscess to rupture on its own.
If manual drainage is required, ensure your hands and tools are completely sterile. Use a topical anesthetic (like a heavy application of clove oil or an OTC benzocaine gel) on the swollen gum tissue. Using a sterile needle or the tip of a sterile scalpel (a #11 blade is ideal), make a tiny, shallow puncture at the lowest, most swollen point of the abscess. The goal is simply to break the surface tissue to allow the pus to escape. Once punctured, apply gentle pressure to express the pus, and immediately irrigate the mouth with copious amounts of clean, warm salt water. The relief from pressure will be immediate.
Handling Dental Injuries and Trauma
In the chaotic aftermath of a disaster, physical trauma is common. Falls, altercations, or accidents while clearing debris can easily result in broken, chipped, or knocked-out teeth. Managing these injuries promptly can prevent infection and preserve the function of the mouth.
When assessing dental trauma, always check for more severe head or neck injuries first. Ensure the patient is breathing clearly, is not concussed, and does not have a broken jaw. A fractured mandible (jawbone) will present with severe pain, inability to close the teeth together properly, and sometimes numbness in the lower lip. If a broken jaw is suspected, stabilize it by wrapping a bandage under the chin and over the top of the head (a Barton bandage) to restrict movement, and focus on keeping the patient calm and comfortable.
Chipped and Broken Teeth
A chipped tooth may look alarming, but if it only involves the hard, outer enamel, it is not a medical emergency. The primary issue will be a sharp edge that cuts the tongue or inner cheek. You can smooth this sharp edge using a clean emery board or fine sandpaper. Alternatively, cover the sharp edge with a piece of orthodontic wax or sugar-free chewing gum to protect the soft tissues.
If the break is deeper, exposing the yellowish dentin or the red, bleeding pulp, the tooth will be incredibly sensitive to air and temperature. This is a severe off grid dental emergency. You must protect the exposed nerve immediately to prevent excruciating pain and infection. Rinse the tooth gently with warm water. Dry it with sterile gauze. Mix a batch of temporary filling material (detailed in the next section) and carefully mold it over the exposed dentin or pulp to seal it off from the oral environment.
The Avulsed (Knocked-Out) Tooth
A completely knocked-out adult tooth is a time-critical emergency. According to ADA data, if the tooth is returned to its socket within 30 minutes, the periodontal ligaments have a high chance of reattaching. After two hours, the survival rate drops to almost zero.
If a tooth is knocked out, find it immediately. Pick it up strictly by the crown (the white part that shows in the mouth). Never touch the root, as this will crush the delicate living cells needed for reattachment. If the tooth is dirty, rinse it for no more than 10 seconds under clean, cold water or milk. Do not scrub it, do not use soap, and do not dry it.
The best place for the tooth is back in its socket. Have the patient gently push the tooth back into place and bite down on a piece of clean gauze to hold it steady. If reimplantation is impossible due to patient panic or severe tissue damage, store the tooth in a biologically compatible liquid. Cold whole milk is the best readily available option. If milk is unavailable, have the patient spit their own saliva into a small cup and store the tooth in that. Never store a knocked-out tooth in plain water, as the osmotic pressure will cause the root cells to burst and die.
Once the tooth is reimplanted, it must be splinted to the neighboring healthy teeth to keep it stable while it heals. In a survival situation, you can use heavy dental floss, fishing line, or thin wire. Weave the line in a figure-eight pattern around the knocked-out tooth and the two adjacent teeth. Secure it with a small amount of temporary filling material or medical adhesive to keep the splint rigid. The patient must stick to a strict liquid diet for at least two weeks.
Replacing Lost Fillings and Crowns
Losing a filling or a crown is one of the most common dental issues you will face. While not immediately life-threatening, a missing filling leaves the inner tooth exposed to food, bacteria, and temperature changes. If left untreated, what started as a minor nuisance will rapidly degrade into a severe infection.
Commercial temporary filling materials (like DenTemp or Cavit) are excellent additions to your kit. They are pre-mixed and cure when exposed to the moisture in your mouth. However, these small vials dry out over time and run out quickly. For long-term preparedness, you must know how to make your own temporary tooth filling from scratch.
Mixing Zinc Oxide and Eugenol (ZOE)
The combination of zinc oxide powder and eugenol liquid creates a compound known as ZOE. This is a foundational material in dentistry. It acts as a durable physical barrier, while the eugenol continuously soothes the nerve and kills bacteria. It is the ultimate survival filling.
To mix ZOE, you need a clean, flat surface (a small piece of glass or a mirror works perfectly) and a metal spatula or the flat handle of a spoon. Place a small mound of zinc oxide powder on the glass. Next to it, place two drops of eugenol. Slowly pull a small amount of the powder into the liquid and fold it together, pressing firmly to incorporate it.
Continue pulling in powder and mixing until the paste becomes a thick, moldable putty. The consistency should be similar to Play-Doh—firm enough to roll into a ball with your fingers, but not crumbly. If it is too sticky, add more powder. If it crumbles, add a tiny drop of liquid.
Applying the Temporary Filling
Preparation of the tooth is critical for the filling to stay in place. First, clean the cavity thoroughly. Use your dental tweezers and a cotton pellet soaked in warm water to wipe out any food debris. Next, isolate the tooth using cotton rolls to keep it dry. Saliva is the enemy of adhesion.
Take a small piece of your ZOE putty and roll it into a ball slightly smaller than the cavity. Using tweezers or a clean fingertip, press the putty firmly into the hole. Use a wet cotton swab to pack it down tightly and smooth the edges so it sits flush with the natural tooth. Have the patient bite down gently to ensure the filling isn't too high; a high filling will bear the brunt of chewing force and fall out quickly.
The ZOE will take a few hours to fully harden. Instruct the patient not to eat or drink anything on that side of their mouth for at least four hours. A well-placed ZOE filling can last for several weeks or even months, buying you critical time until professional care is restored.
Preventive Maintenance When the Grid Goes Down
In emergency preparedness, an ounce of prevention is worth a pound of cure. This is exponentially true in survival dentistry. When the grid goes down, your diet will likely shift toward high-carbohydrate, shelf-stable survival foods. Without proper oral hygiene, this diet will accelerate tooth decay at an alarming rate.
Maintaining strict oral hygiene protocols is your best defense against off grid dental emergencies. FEMA recommends packing a toothbrush and toothpaste for every family member, but these supplies will eventually run out. You must be prepared to improvise.
Improvised Oral Hygiene
If you run out of toothpaste, do not panic. The mechanical action of brushing is far more important than the paste itself. Brushing with plain, clean water is highly effective at disrupting bacterial plaque. For an abrasive cleaning agent, you can dip a wet toothbrush into baking soda or plain table salt. These act as mild abrasives to scrub away plaque and neutralize the acidic environment that causes cavities.
If you lose your toothbrush, you can create a "chewing stick." This is an ancient method of dental care still used in many parts of the world. Cut a fresh, green twig from a non-toxic tree (oak, maple, dogwood, or neem are excellent choices; avoid poisonous plants like oleander or yew). The twig should be about the thickness of a pencil. Peel back the bark on one end and chew on the exposed wood until the fibers separate and form a natural bristle brush. The sap of many trees also contains natural antimicrobial properties.
Flossing is arguably more important than brushing, as most catastrophic decay and gum infections start between the teeth where a brush cannot reach. If you run out of dental floss, you can use clean, lightweight fishing line, or threads pulled from clean paracord or sterile clothing. Be gentle to avoid cutting the gums, but ensure you are clearing the contact points between every tooth daily.
Dietary Defense
Finally, protect your teeth through dietary discipline. In a Survival Scenarios, ration your sugar intake strictly. Bacteria feed on simple carbohydrates and excrete acid, which eats away tooth enamel. If you must consume sugary survival rations or hard candies for energy, do so in one sitting rather than grazing throughout the day. This limits the amount of time your teeth are under acid attack. Always rinse your mouth vigorously with water after eating to flush away lingering food particles.
Managing severe tooth pain, oral infections, and dental injuries without a dentist is a daunting prospect, but it is not impossible. By understanding the anatomy of pain, stocking the right specialized tools, and mastering basic stabilization techniques like mixing temporary fillings and utilizing natural anesthetics, you take control of your health. True survival requires resilience in every aspect of your physical well-being. Equip your kit, study these protocols, and ensure that a grid-down scenario doesn't leave you defenseless against the hidden dangers inside your own mouth.
Frequently Asked Questions
What should I do if a tooth gets knocked out during an emergency?
Handle the tooth by the crown, not the root. Rinse it gently with water without scrubbing, and try to reinsert it into the socket. If that is not possible, keep it moist in a container of milk or your own saliva until you can seek professional help.
How can I manage severe tooth pain without a dentist?
Rinse your mouth thoroughly with warm salt water and use dental floss to remove any trapped food. Apply a cold compress to the outside of your cheek to reduce swelling, and take over-the-counter anti-inflammatory pain relievers like ibuprofen.
What is the best way to treat a lost filling or crown temporarily?
Gently clean the affected area. Use over-the-counter temporary dental cement, orthodontic wax, or even sugarless gum to cover the exposed cavity or hold the crown in place. Avoid chewing on that side of your mouth.
How do I handle a suspected dental abscess in a survival situation?
A dental abscess is a serious infection. Rinse with warm salt water several times a day to help draw out the pus and relieve pressure. Maintain strict oral hygiene and utilize broad-spectrum antibiotics from your emergency medical kit if available and you know the proper dosage.
What essential dental items should I include in my emergency survival kit?
Your emergency kit should include a toothbrush, toothpaste, dental floss, temporary dental cement, orthodontic wax, clove oil (eugenol) for topical pain relief, sterile gauze pads, and over-the-counter pain relievers.
Sources & Further Reading
Related resource: Medical Emergencies & Field First Aid Course.
Related resource: Medical Preparedness Guide.