⚡ Key Facts
- Time is critical: According to the American College of Surgeons' Stop the Bleed initiative, a person can bleed to death from a severe arterial injury in as little as 3 to 5 minutes—long before emergency services can arrive.
- Delayed response: The Federal Emergency Management Agency (FEMA) advises that citizens should be prepared to be entirely self-sufficient for a minimum of 72 hours following a major disaster, as first responders will be overwhelmed.
- Infection risks: The Centers for Disease Control and Prevention (CDC) reports that post-disaster environments drastically increase the risk of secondary infections, making aggressive and sterile wound care a vital survival priority.
- Training saves lives: The American Red Cross emphasizes that having supplies is only half the battle; immediate bystander intervention with proper trauma training increases survival rates from severe injuries by over 40%.
Imagine the earth suddenly violently shaking, or a Category 5 hurricane making landfall with unprecedented fury. The power grid fails, roads are rendered impassable by debris, and the 911 system is either completely down or hopelessly overwhelmed. In this chaotic environment, a member of your family suffers a severe injury. There are no paramedics rushing to your door, and the local hospital is miles away through hazardous terrain. In this moment, you are the absolute highest level of medical care available. What exactly is sitting inside your medical bag? See Medical Emergencies and Field First Aid (Spanish) for additional options. See Medical Emergencies and Field First Aid (Spanish) for additional options.
For too many people, the answer is a flimsy plastic box filled with adhesive bandages, a few alcohol prep pads, and a tiny tube of triple antibiotic ointment. While fine for a scraped knee at a summer picnic, a basic kit is entirely inadequate for the harsh realities of a true crisis. Preparedness is not about paranoia; it is about empowerment. It is about taking radical responsibility for your own well-being and the safety of those you love.
Building a comprehensive emergency first aid kit requires a fundamental shift in mindset. You must transition from thinking about minor inconveniences to preparing for life-threatening bleeding control, aggressive infection control, and prolonged off-grid medical management. This guide will walk you through the exact components, medications, and foundational skills necessary to build a robust emergency medical kit that can genuinely save lives when the unthinkable happens. For a quick definition, see IFAK. For a quick definition, see tourniquet.
The Illusion of the Store-Bought First Aid Kit
Walk down the aisle of any major big-box retailer, and you will see dozens of pre-packaged first aid kits. They often boast impressive numbers on the front—"299 Pieces!"—designed to make you feel secure. However, if you inspect the contents, you will quickly realize that 250 of those pieces are microscopic adhesive bandages, and the rest are low-quality cotton swabs and safety pins. These kits are designed for minor superficial wounds, not for survival.
The United States Geological Survey (USGS) and the National Oceanic and Atmospheric Administration (NOAA) consistently warn that major seismic events and extreme weather systems inevitably lead to structural collapses, shattered glass, flying debris, and severe environmental hazards. These are the mechanisms of injury that cause deep lacerations, crush injuries, and massive hemorrhaging.
To survive these scenarios, you need to build a tiered system. A true emergency medical kit is divided into logical categories: basic wound care and infection control, massive trauma intervention, diagnostic tools, and a comprehensive pharmacy. By building your kit piece by piece, you ensure that every item is of the highest quality, serves a specific purpose, and is something you actually know how to use.
Level 1: Advanced Wound Care and Infection Control
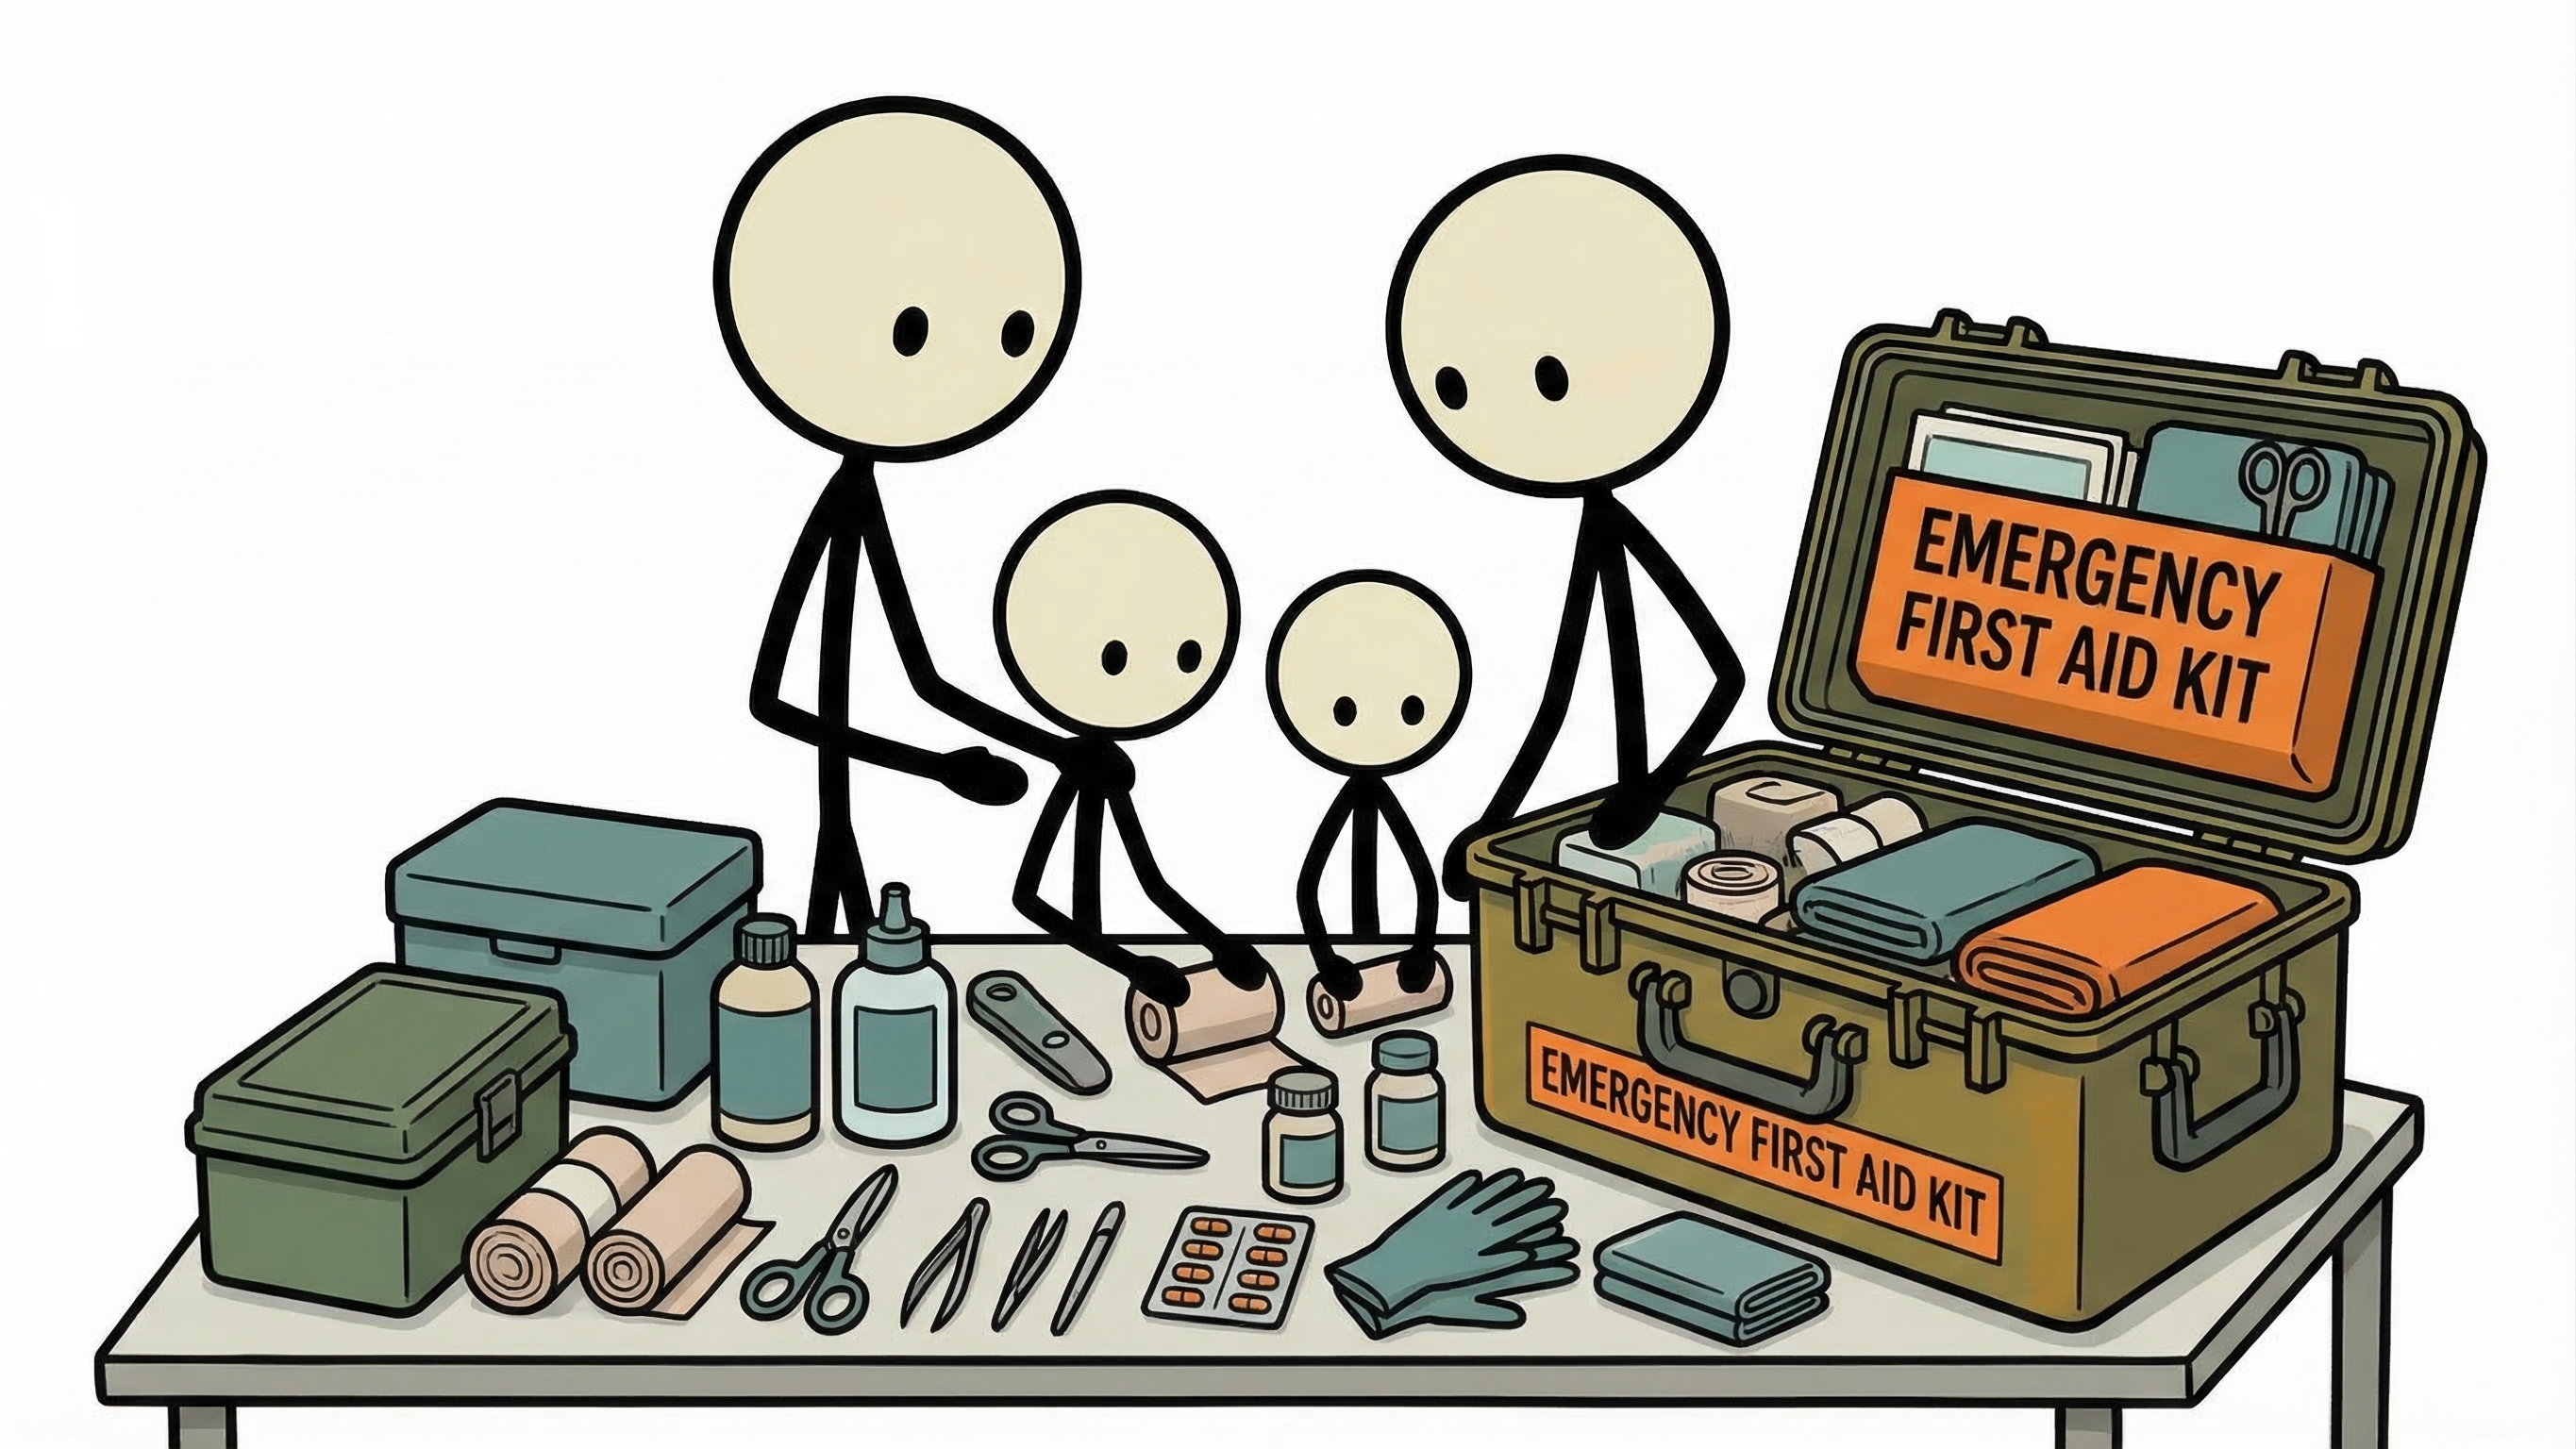
When hospitals are inaccessible, a minor cut can easily become a lethal threat if it becomes infected. The CDC notes that following major floods and hurricanes, the rates of staph infections, tetanus, and Water Calculatorborne bacterial infections skyrocket. Your emergency first aid kit must prioritize aggressive wound cleaning and closure.
Irrigation and Cleaning
The solution to pollution is dilution. Before you can bandage a wound, you must remove debris and bacteria. Do not rely on hydrogen peroxide or rubbing alcohol for deep wounds, as these can damage healthy tissue and delay healing.
- Irrigation Syringes: A 10cc to 20cc syringe with a blunt tip allows you to use pressurized water to blast dirt and debris out of a laceration.
- Sterile Saline Wash: Stock several pressurized cans of sterile saline wound wash. In a grid-down scenario where tap water is compromised, this is your safest option for flushing injuries.
- Antiseptics: Betadine (povidone-iodine) and Chlorhexidine gluconate (Hibiclens) are the gold standards for sterilizing the skin around a wound before closure.
Wound Closure and Bandaging
Once a wound is clean, it needs to be closed and protected from the elements. Forget the tiny adhesive strips and focus on heavy-duty, versatile materials.
- Steri-Strips and Butterfly Closures: These are essential for closing the edges of deep, clean lacerations when stitches are not an option. Combined with a liquid adhesive like tincture of benzoin, they can hold a wound closed for days.
- Sterile Gauze Pads: Stock up on 4x4 inch and 5x9 inch highly absorbent sterile abdominal (ABD) pads. You will need these in massive quantities to absorb blood and exudate.
- Rolled Gauze (Kerlix): Essential for wrapping limbs and securing dressings in place.
- Tegaderm / Transparent Dressings: These act as a second skin, keeping water and dirt out while allowing the wound to breathe and letting you monitor for signs of infection without removing the bandage.
Level 2: Building Your Trauma Kit (Stopping the Bleed)
This is where your kit shifts from basic first aid to a life-saving trauma kit. In the event of an arterial bleed—often caused by auto accidents, structural collapses, or severe tool accidents during disaster cleanup—you have only minutes to intervene. Your trauma supplies should be housed in a distinct, easily accessible pouch that can be ripped open in seconds.
The Lifesaving Tourniquet
There is perhaps no tool more critical in an emergency medical kit than a high-quality tourniquet. However, this is one area where you absolutely cannot cut corners. The market is flooded with cheap, counterfeit tourniquets that are known to snap under pressure, leading to catastrophic failure and death.
You must only stock tourniquets that are recommended by the Committee on Tactical Combat Casualty Care (CoTCCC). The two most prominent and heavily tested options are:
- Combat Application Tourniquet (C-A-T): The standard issue for the US military. It utilizes a durable windlass system to tighten a band around a limb, effectively crushing the artery against the bone to stop blood flow.
- SOF Tactical Tourniquet (SOF-T): Features a rugged metal windlass and a slightly different buckling system, favored by many law enforcement agencies and highly effective.
Proper tourniquet use dictates that it should be placed "high and tight" on the limb (as high up the arm or leg as possible) and tightened until the bleeding completely stops. Do not remove a tourniquet once applied; only a medical professional should do so.
Hemostatic Agents
Tourniquets are for limbs, but what happens if a severe injury occurs in a junctional area, such as the groin, armpit, or neck, where a tourniquet cannot be applied? This is where hemostatic gauze is required.
Products like QuikClot Combat Gauze or Celox Rapid are impregnated with specialized agents (like kaolin or chitosan) that rapidly accelerate the body's natural blood-clotting cascade. When faced with a deep, gushing wound, you must pack this gauze tightly directly into the wound cavity, finding the source of the bleeding, and then hold direct, forceful pressure for three to five minutes. This combination of physical pressure and chemical clotting is incredibly effective.
Pressure Dressings
Once you have packed a wound, you need to maintain continuous pressure on it. A pressure dressing is engineered specifically for this purpose.
- The Israeli Battle Dressing (Emergency Trauma Bandage): This ingenious device combines a sterile non-adherent pad, an elastic bandage, and a plastic pressure bar. As you wrap the bandage, you route it through the pressure bar and pull back, which drives the pad deep into the wound, applying immense, continuous pressure without requiring you to hold it with your hands.
- The OLAES Modular Bandage: Another excellent option that includes a pressure cup, removable occlusive plastic sheet, and extra gauze packed inside the pad.
Airway and Respiration
Trauma isn't just about bleeding. If a patient cannot breathe, they will not survive. While advanced airway management requires extensive training, a few basic tools should be in your trauma kit.
- Vented Chest Seals: If a person suffers a penetrating injury to the chest (from debris, impalement, or a projectile), air can enter the chest cavity, collapsing the lung—a condition known as a tension pneumothorax. Vented chest seals (like HyFin or HALO) are highly adhesive plastic stickers placed over the hole. The vents allow trapped air to escape when the patient exhales, but snap shut when they inhale, preventing new air from entering.
- Nasopharyngeal Airway (NPA): A soft rubber tube inserted into the nostril to keep the airway open in an unconscious patient. (Note: Only use an NPA if you have received formal training, as improper sizing or insertion can cause severe complications).
Level 3: Medications to Stockpile
In a prolonged emergency, minor illnesses can become major liabilities. A fever can lead to dehydration; a gastrointestinal bug can incapacitate a vital member of your group. A well-rounded emergency first aid kit checklist must include a robust Supply Calculator of over-the-counter (OTC) and, if possible, prescription medications. Store these in a cool, dry place to maximize their shelf life.
Pain and Fever Management
Pain management is critical for morale and physical function during a crisis. Stock large quantities of the following:
- Ibuprofen (Advil/Motrin): An NSAID (non-steroidal anti-inflammatory drug) excellent for reducing swelling, muscle aches, and joint pain associated with heavy physical labor or injury.
- Acetaminophen (Tylenol): The primary choice for reducing fevers. It is processed through the liver, making it a good alternative for those who cannot tolerate NSAIDs due to stomach issues.
Gastrointestinal Medications
Following a natural disaster, clean drinking water is often compromised. The CDC warns that diarrheal diseases are a leading cause of morbidity in disaster zones. Losing fluids rapidly can lead to fatal dehydration.
- Loperamide (Imodium): Essential for stopping severe diarrhea and preventing massive fluid loss.
- Bismuth Subsalicylate (Pepto-Bismol): Useful for treating upset stomach, nausea, and mild diarrhea.
- Electrolyte Powders: While not a medication, oral rehydration salts (ORS) are mandatory to replace the sodium and potassium lost during GI illnesses.
Allergy and Anaphylaxis
Environmental changes, disrupted insect nests, and exposure to new plants or foods during an evacuation can trigger severe allergic reactions.
- Diphenhydramine (Benadryl): A powerful antihistamine for treating allergic reactions, hives, and severe itching. It also doubles as a mild sleep aid in high-stress environments.
- Epinephrine Auto-Injectors (EpiPen): If you or a family member has a known severe allergy, maintaining an unexpired supply of EpiPens is non-negotiable. Anaphylaxis can close an airway in minutes.
Prescription Contingencies and Antibiotics
Relying on a standard 30-day prescription refill system is dangerous if supply chains collapse. Speak with your primary care physician about acquiring a 90-day supply of any life-saving daily medications you require (e.g., insulin, blood pressure medication, heart medication).
Additionally, having a backup supply of broad-spectrum antibiotics can be life-saving for severe bacterial infections. Companies like Jase Medical and Contingency Medical provide legal, prescription-based emergency antibiotic kits (containing medications like Amoxicillin, Azithromycin, and Ciprofloxacin) specifically designed for disaster preparedness. Always consult with a physician before taking antibiotics to ensure proper usage and prevent antibiotic resistance.
Level 4: Diagnostics, PPE, and Environmental Tools
You cannot treat what you cannot assess. Diagnostic tools allow you to monitor a patient's condition over time, noting if they are improving or deteriorating. Furthermore, you must protect yourself from biohazards while providing care.
Diagnostic Equipment
- Pulse Oximeter: A small device that clips onto the finger to measure heart rate and blood oxygen saturation levels. Crucial for assessing respiratory distress.
- Blood Pressure Cuff and Stethoscope: Vital for monitoring for shock. A sudden drop in blood pressure accompanied by a rapid heart rate is a massive red flag for internal bleeding or systemic infection.
- Digital Thermometer: Essential for tracking fevers and monitoring for the onset of infection.
Personal Protective Equipment (PPE)
In a trauma scenario, blood and bodily fluids will be present. Protecting yourself from bloodborne pathogens is a critical step in emergency medicine.
- Nitrile Gloves: Stock multiple boxes of high-quality, heavy-duty nitrile gloves. Avoid latex due to common allergies. Pack several pairs directly into your trauma kit so they are the first thing you grab.
- N95 Respirators: Essential for protecting against airborne pathogens, as well as the toxic dust and debris common in earthquake and structural collapse scenarios.
- Eye Protection: Wrap-around safety glasses prevent blood splatter or debris from entering your eyes while treating a patient.
Orthopedics and Hypothermia Management
Broken bones and environmental exposure are incredibly common in disaster scenarios.
- SAM Splints: These lightweight, flexible aluminum splints are coated in foam. They can be bent into various shapes to immobilize fractured arms, legs, or even stabilize a neck.
- Elastic Bandages (ACE Wraps) and Coban: Necessary for securing splints, wrapping sprains, and providing joint support.
- Mylar Survival Blankets: When a person loses a significant amount of blood, they lose their ability to thermoregulate. Hypothermia can set in even on a warm day, severely hindering the blood's ability to clot. Wrapping a trauma patient in a reflective Mylar blanket is a critical step in shock management.
Essential Trauma Skills You Must Learn
Purchasing the best emergency medical kit on the market is entirely useless if you do not possess the knowledge to deploy the tools effectively. Under the extreme stress of a medical emergency, fine motor skills degrade, and panic sets in. You will default to your highest level of mastered training. Therefore, skill acquisition is just as important as gear acquisition.
The MARCH Assessment Algorithm
Adopted from tactical medicine, the MARCH algorithm is a systematic approach to treating a trauma casualty. It ensures you address the most immediate threats to life first.
- M - Massive Hemorrhage: This is your first priority. Look for arterial spurting or pooling blood. Apply a tourniquet high and tight or pack the wound with hemostatic gauze immediately.
- A - Airway: Ensure the patient's airway is clear. If they are unconscious, tilt their head back and lift their chin to prevent their tongue from blocking the airway.
- R - Respiration: Check for breathing. Look for penetrating chest wounds and apply vented chest seals if necessary.
- C - Circulation: Check for secondary, slower bleeding that you may have missed initially. Apply pressure dressings to these areas. Assess their pulse.
- H - Head Injury / Hypothermia: Check the head for trauma. Strip wet clothing off the patient and wrap them in a Mylar blanket to prevent the lethal triad of trauma (hypothermia, acidosis, and coagulopathy).
Mastering Tourniquet Use and Wound Packing
You must practice tourniquet use until it becomes muscle memory. You should be able to retrieve your tourniquet, apply it to your own arm or leg, and tighten the windlass in under 20 seconds, using only one hand, in total darkness. Practice this regularly with a dedicated "training" tourniquet (do not practice with your primary life-saving tourniquet, as repeated stretching degrades the material).
Similarly, understand the mechanics of wound packing. The goal is not just to cover the wound, but to stuff the gauze deep into the cavity to apply direct pressure to the severed artery. This is a painful process for the patient, but it is absolutely necessary to save their life.
Seek Formal Training
Reading an article is a great start, but hands-on training is irreplaceable. Seek out local courses in your area. The American College of Surgeons offers free or low-cost "Stop the Bleed" classes nationwide, which provide excellent hands-on practice with tourniquets and wound packing. Additionally, look into Wilderness First Aid (WFA) or Wilderness First Responder (WFR) courses offered by the Red Cross or NOLS. These courses specifically teach you how to manage medical emergencies when definitive care is hours or days away—the exact scenario preppers must plan for.
Maintenance and Storage of Your Emergency Medical Kit
An emergency first aid kit is not a "set it and forget it" item. Medical supplies degrade, medications expire, and adhesives lose their stickiness over time. Proper organization and routine maintenance are crucial.
Choosing the Right Bag
Your bag needs to be durable, highly visible, and logically organized. Look for bags made of heavy-duty Cordura nylon. Many preppers prefer a MOLLE (Modular Lightweight Load-carrying Equipment) compatible bag with a tear-away panel. This allows the bag to be strapped to a larger bug-out bag or vehicle headrest, but instantly ripped away and brought to the patient's side in an emergency.
Organization is key. When someone is bleeding out, you cannot afford to dig through a chaotic jumble of pills and bandages to find a tourniquet. Use clear, labeled pouches. Keep trauma gear (tourniquets, gauze, shears) on the outside or in the very first compartment you open. Keep medications and minor wound care in separate, clearly marked internal modules.
Environmental Control and Expirations
Extreme heat and cold will rapidly destroy medical supplies. Storing your primary medical kit in the trunk of your car through blistering summers and freezing winters will melt the adhesive on your chest seals, degrade the elastic in your tourniquets, and render your medications inert or toxic. Keep your primary kit in a climate-controlled environment, and cycle out vehicle-stored kits frequently.
Create a first aid kit checklist inventory sheet. Every six months, go through your kit. Check the expiration dates on all medications, hemostatic gauze, and sterile dressings. Replace anything that is expired, and restock any items you used for minor emergencies throughout the year.
Taking Control of Your Medical Preparedness
Building a comprehensive emergency medical kit is one of the most profound steps you can take in your preparedness journey. It represents a transition from relying entirely on the system to becoming a capable, self-reliant first responder for your family and community. By moving beyond basic bandages, investing in life-saving trauma gear, stockpiling necessary medications, and dedicating time to mastering crucial skills like tourniquet use and the MARCH assessment, you are fundamentally shifting the odds of survival in your favor. Disasters are unpredictable and chaotic, but your response to them doesn't have to be. Equip yourself with the right tools, train with relentless purpose, and step into the future with the quiet confidence of someone who is truly prepared to save a life.
Strengthen your medical preparedness using our medical preparedness guide. Learn overall response strategies from our emergency preparedness guide. Calculate medical kit needs with our supply calculator. Build a complete evacuation kit using our go-bag builder. Take professional training through our preparedness courses.
Frequently Asked Questions
What's the difference between a basic first aid kit and a trauma kit?
A basic first aid kit handles minor injuries: small cuts, blisters, mild burns, and headaches. A trauma kit is designed to manage life-threatening bleeding and airway emergencies until professional help arrives. The critical additions are: a tourniquet for severe limb bleeding, hemostatic gauze to pack deep wounds, a chest seal for penetrating chest injuries, and a nasopharyngeal airway. In a disaster, it's trauma injuries that kill — not paper cuts.
Do I really need a tourniquet in my emergency kit?
Yes. Uncontrolled bleeding from a major limb wound can cause death in 3-5 minutes — faster than any ambulance response even in normal conditions. A Combat Application Tourniquet (CAT) or SOFTT-W can stop that bleeding in seconds. They're inexpensive (around $30), small enough to fit in a kit, and straightforward to apply. The Red Cross and FEMA both recommend including one in every serious emergency kit.
What medications should I keep in an emergency kit?
Stock a minimum 14-day supply of any prescription medications, plus: aspirin (for heart attack), ibuprofen and acetaminophen for pain and fever, diphenhydramine (antihistamine for allergic reactions), loperamide for diarrhea (critical in disaster sanitation scenarios), oral rehydration salts, and a blood glucose monitor if anyone in your household is diabetic. Store medications in a cool, dark location and rotate before expiration.
How do I know if I'm using my first aid kit correctly?
Owning supplies is only half the equation — knowing how to use them is the other half. Take a hands-on Stop the Bleed course (free, offered nationwide) to learn tourniquet application and wound packing. Complete a basic first aid and CPR certification through the Red Cross or American Heart Association. Practice applying a tourniquet on yourself with your non-dominant hand — in a real emergency, you may be alone and injured.
How often should I replace items in my emergency first aid kit?
Audit your kit every 6-12 months. Check expiration dates on medications, sterile dressings, and antiseptic wipes — expired sterile products may no longer be sterile. Nitrile gloves degrade over time; replace them every 2 years. After using any item from your kit, replace it immediately. Keep a running inventory list in the kit lid so you always know what's inside.
Sources & Further Reading
Related resource: Medical Emergencies & Field First Aid Course.
Related resource: Medical Preparedness Guide.