⚡ Key Facts
- Massive Water Demands: According to the United States Geological Survey (USGS), a standard top-loading washing machine uses between 30 and 45 gallons of water per load, making traditional laundry impossible during a severe water shortage. For the practical checklist side, use the community emergency preparedness guide.
- Pathogen Survival: The Centers for Disease Control and Prevention (CDC) warns that pathogens like Norovirus, Rotavirus, and various skin-infecting bacteria can survive on unwashed clothing for days, turning dirty laundry into a vector for disease transmission.
- UV Disinfection: World Health Organization (WHO) research indicates that exposing damp clothing to direct, natural sunlight (ultraviolet radiation) for at least two hours can significantly reduce bacterial loads, acting as a natural sterilizer.
- Floodwater Hazards: The Federal Emergency Management Agency (FEMA) advises that clothing contaminated by floodwaters must be treated as biohazardous material, containing raw sewage, chemical runoff, and heavy metals.
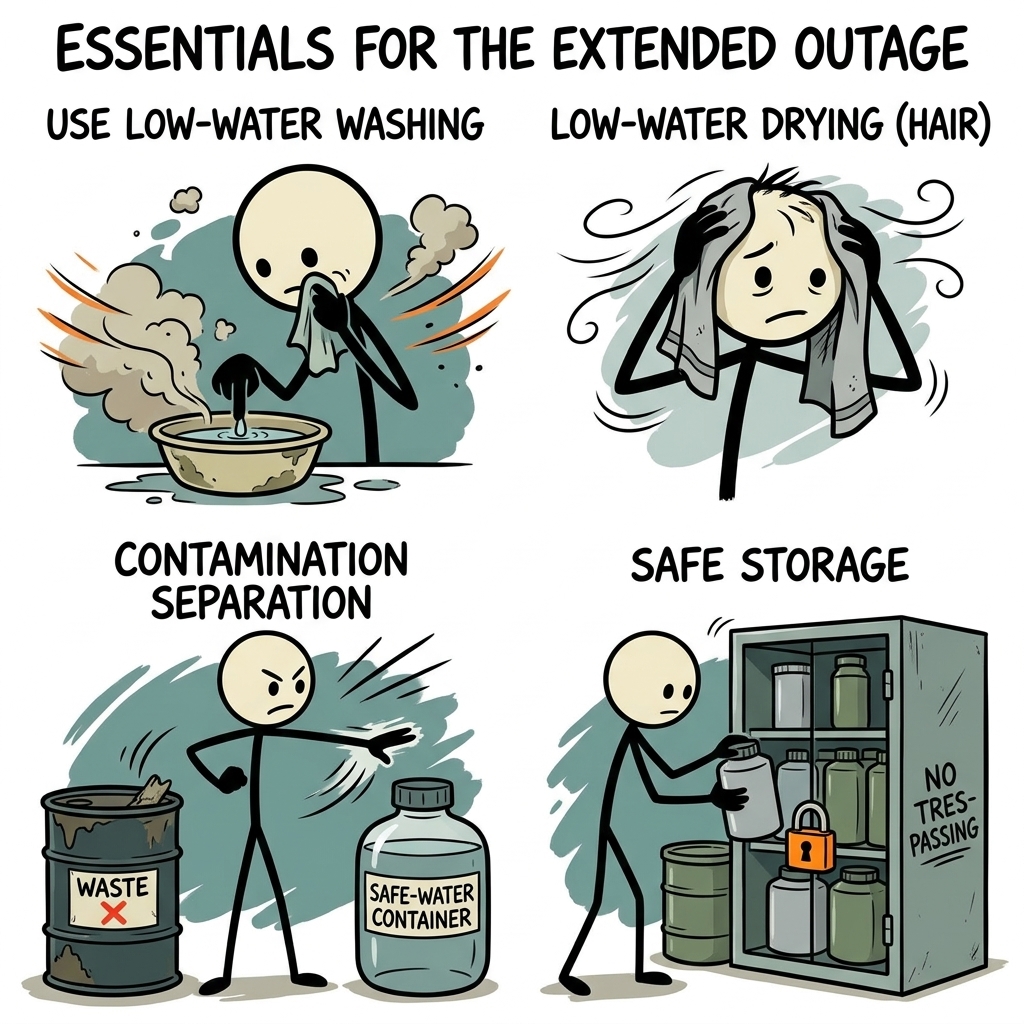
When a catastrophic storm, grid failure, or municipal water crisis strikes, your immediate focus naturally lands on securing potable water, emergency food storage guide, and alternative power. However, as the days turn into weeks, a secondary crisis quietly emerges in the corner of your living space: the accumulation of soiled, sweat-dampened, and potentially contaminated clothing. In an extended off-grid scenario, maintaining personal hygiene is not a matter of aesthetics or comfort—it is your primary line of defense against infectious diseases, skin pathogens, and vector-borne illnesses. Without the convenience of modern appliances, executing emergency laundry without power requires a systematic, resource-conscious approach. By mastering the art of low-water washing, tactical drying, strict contamination separation, and safe storage, you can protect your family's health and conserve your precious water reserves when every drop counts.
The Critical Link Between Laundry and Survival Medicine
In a prolonged disaster, minor skin irritations can rapidly escalate into debilitating medical emergencies. Historically, during prolonged military campaigns and societal collapses, more casualties were often attributed to poor sanitation and hygiene-related illnesses than to direct physical trauma. When clothing is worn repeatedly without sanitization, it accumulates dead skin cells, sebum, sweat, and environmental pollutants. This creates a highly fertile breeding ground for opportunistic pathogens.
The CDC notes that body lice, which thrive in the seams of unwashed clothing, are the primary vectors for epidemic typhus, trench fever, and louse-borne relapsing fever. Furthermore, moisture-retaining fabrics worn close to the skin encourage fungal infections such as tinea cruris (jock itch) and tinea pedis (athlete's foot), alongside bacterial infections like Staphylococcus aureus (including MRSA) and Streptococcus. In a grid-down scenario where medical facilities are overwhelmed or non-existent, a simple skin infection resulting from chafing against dirty fabric can lead to cellulitis or systemic sepsis.
Understanding how to clean your garments using minimal resources is a core pillar of emergency laundry without power emergency preparedness. By treating your clothing as a protective shield that requires regular maintenance, you actively mitigate the microbiological risks that naturally escalate when municipal sanitation systems fail.
The Contamination Separation Protocol (The Triage System)
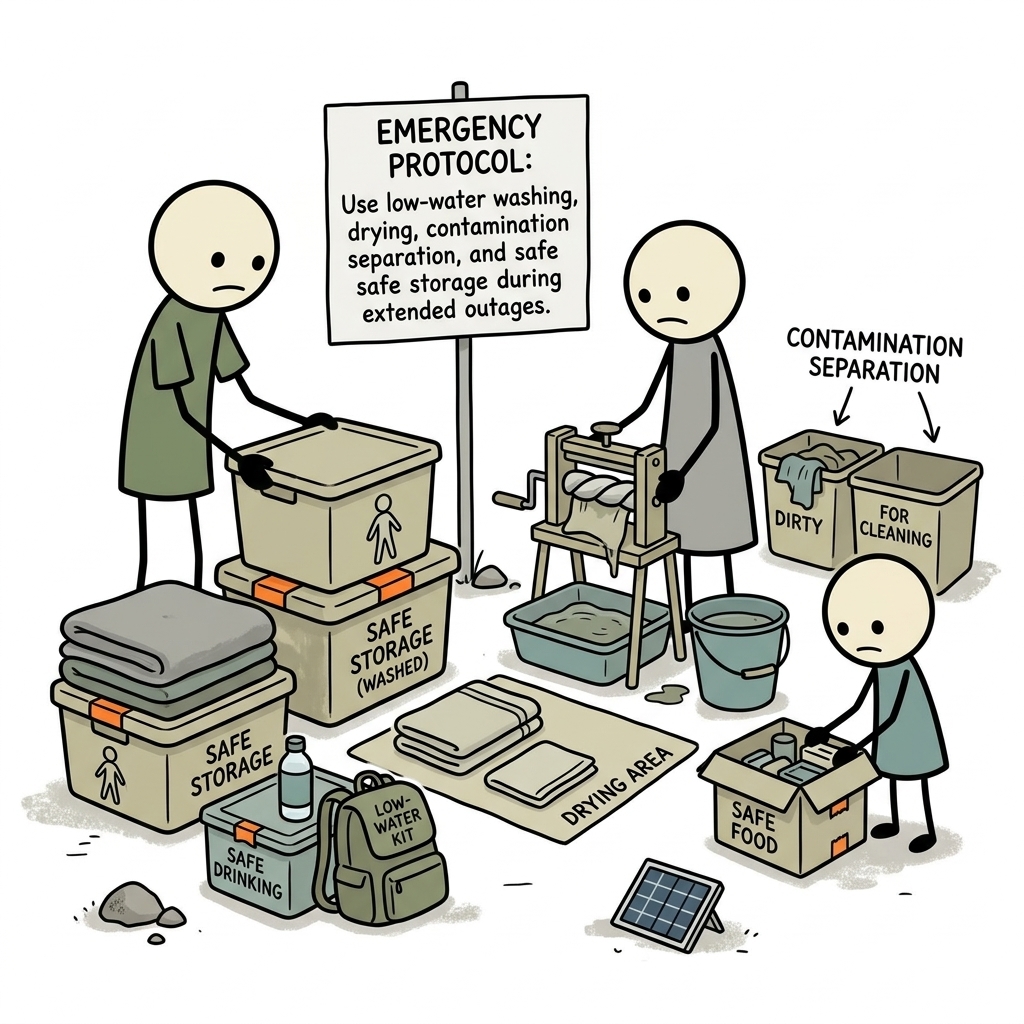
In a standard household, dirty clothes are typically tossed into a single hamper and mixed indiscriminately. In an Survival Scenarios, this practice can be catastrophic. Cross-contamination can quickly turn a mildly soiled t-shirt into a biohazard. To prevent this, you must implement a strict contamination separation protocol immediately upon the loss of power or water infrastructure.
FEMA and the EPA warn that disaster-related environments are filled with unique contaminants. Floodwaters, for instance, are notoriously contaminated with raw sewage, agricultural chemicals, petroleum products, and heavy metals. If you wear clothing while wading through floodwaters or clearing debris, those garments must be isolated immediately. They should never be mixed with the clothing worn for sleeping or food preparation.
Establishing Your Four-Tier Triage System
To manage your laundry safely, set up a dedicated sorting station using heavy-duty contractor bags, color-coded bins, or labeled buckets. Categorize all garments into the following four tiers:
- Tier 1: Bio-Hazardous & High-Risk Linens: This includes any clothing or bedding contaminated with bodily fluids, vomit, feces, or blood, as well as garments worn while caring for a sick family member. It also includes items exposed to floodwaters, sewage back-ups, or toxic chemicals.
- Tier 2: Direct Skin-Contact Base Layers: Underwear, socks, and athletic base layers that directly absorb sweat, skin oils, and bacteria. These items require frequent, thorough sanitization to prevent skin infections.
- Tier 3: Daily Wear Outer Layers: T-shirts, trousers, and button-downs worn during normal, low-exertion daily activities. These require moderate washing and can often be worn multiple times before laundering if kept dry.
- Tier 4: Utility Outerwear & Bedding: Heavy jackets, work overalls, blankets, and sleeping bags. These items rarely touch the skin directly and should be washed only when visibly soiled or when resources are highly abundant. Often, simple air-purging and sun-exposure are sufficient for Tier 4 items.
Cross-Contamination Prevention Tactics
When handling Tier 1 items, always wear protective gloves (nitrile or heavy-duty rubber) and eye protection if splashing is possible. Keep Tier 1 items sealed in airtight plastic bags until the exact moment of washing. Never shake dirty laundry before washing it; shaking disperses viral particles, fungal spores, and bacterial dust into the air, where they can be inhaled or land on clean surfaces. Wash your hands thoroughly with soap and clean water immediately after handling any soiled laundry.
Water Sourcing, Conservation, and Treatment Mathematics
To successfully execute emergency laundry without power, you must shift your mindset from abundance to extreme conservation. In a survival situation, your potable Water Calculator must be reserved exclusively for drinking, food preparation, and basic medical hygiene. For laundry, you must look to alternative water sources and master the chemistry of water treatment.
According to the USGS, a single load of laundry in a conventional washing machine uses more water than an individual needs to survive for a month. To match this efficiency manually, you must rely on greywater recycling, rainwater harvesting, and natural surface water sources, such as lakes, rivers, or streams.
Alternative Water Sourcing
Rainwater harvesting is the most viable source of laundry water during an extended outage. Rainwater is naturally soft, meaning it requires less soap to create an effective lather. If harvesting rainwater from a roof, be aware that the initial runoff may contain bird droppings, heavy metals from roofing materials, and organic debris. Use a "first-flush" diverter or filter the water through a fine mesh before use.
If sourcing water from rivers, lakes, or streams, you must assume the water contains biological pathogens like Giardia, Cryptosporidium, and Escherichia coli. While you do not need drinking-water purity for washing outer garments, using pathogen-laden water to wash underwear or towels can introduce dangerous microbes directly to your skin and mucous membranes.
The Disinfection Formula
Before using any unverified natural water source for laundry, you must disinfect it. The CDC recommends several methods for sanitizing water for non-potable hygiene uses:
| Method | Dosage / Application | Contact Time | Best Used For | ||||
|---|---|---|---|---|---|---|---|
| Liquid Chlorine Bleach (5.25% - 8.25%) | 8 drops (approx. 1/8 teaspoon) per gallon of clear water; 16 drops for cloudy water. | 30 minutes minimum before introducing soap or clothing. | General sanitization of raw river or rain water. | Boiling | Bring water to a rolling boil for 1 full minute (3 minutes at elevations above 5,000 feet). | Allow to cool to safe washing temperature. | Tier 1 (Bio-hazardous) pre-treatment. |
| Calcium Hypochlorite (Pool Shock) | Dissolve 1 heaping teaspoon of high-test granular calcium hypochlorite (68% strength) in 2 gallons of water to create a stock solution. Add 1 part stock solution to 100 parts water. | 30 minutes. | Large-scale laundry operations. |
Note: Only use regular, unscented liquid chlorine bleach. Do not use splashless, scented, or color-safe bleaches, as these contain additives that reduce disinfection efficacy and can irritate the skin.
Low-Water Washing Methodologies (The Practical Guide)
Once your water is sourced and treated, you must utilize washing techniques that maximize mechanical agitation while minimizing water consumption. Standard hand-washing in a sink filled to the brim is highly inefficient. Instead, utilize structured, low-water systems designed to extract dirt with surgical precision.
The Two-Bucket Method (The Gold Standard)
The two-bucket washing system is the cornerstone of emergency laundry without power. It mimics the wash and rinse cycles of a mechanical washing machine using a fraction of the water. To set this up, you will need two 5-gallon buckets, a clean plunger (specifically designated for laundry, with several 1/2-inch holes drilled through the rubber cup to prevent suction lock), and a manual wringer or heavy-duty dowel.
- Step 1: The Pre-Treat & Soak: Fill Bucket 1 (the Wash Bucket) with approximately 2 gallons of treated water. Add a minimal amount of biodegradable soap. Submerge your sorted, lightly soiled clothing. Let it soak for 15 to 20 minutes. This allows the surfactants in the soap to loosen the bond between the fabric fibers and dirt.
- Step 2: Manual Agitation: Insert your modified plunger into Bucket 1. Use an up-and-down pumping motion for 3 to 5 minutes. The holes in the plunger cup force soapy water violently through the weave of the fabric, mimicking the agitator of a washing machine. Focus your energy on consistent, rhythmic strokes.
- Step 3: The Primary Wring: Remove the garments one by one. Wring them out thoroughly over Bucket 1 to keep as much soapy water in the wash bucket as possible. This preserves your wash water for subsequent loads of less-soiled laundry.
- Step 4: The Rinse Cycle: Place the wrung garments into Bucket 2 (the Rinse Bucket), which contains 2 gallons of clean, fresh, non-soapy water. Agitate with a second, clean plunger (or by hand) for 2 minutes to strip away residual soap and suspended dirt.
- Step 5: The Final Wring: Remove the clothing from the rinse bucket and perform a final, intensive wring. Hang to dry immediately.
The Portable Dry Bag Method (Ultra-Low Water)
For small, delicate items like underwear, socks, or baby clothes, a heavy-duty waterproof dry bag (similar to those used for kayaking) can function as a highly efficient micro-washing machine. Place the clothing inside the bag, add just 2 to 4 cups of water, and a few drops of soap. Seal the bag, leaving some air inside to allow movement, and vigorously shake, knead, and roll the bag on the ground for 3 minutes. The internal pressure and friction clean the clothes rapidly without wasting a single cup of water.
Detergent Selection: The Greywater Impact
During an extended outage, you must carefully consider where your waste laundry water (greywater) will go. Standard commercial detergents are packed with synthetic fragrances, optical brighteners, phosphates, and surfactants that are toxic to soil, plants, and aquatic life. If you dump this water in your yard, you risk contaminating your local soil or shallow groundwater tables.
Instead, prioritize biodegradable, concentrated camp soaps (such as Dr. Bronner's Sal Suds or Campsuds) or specialized eco-friendly laundry sheets. These break down naturally without leaving harmful chemical residues. Furthermore, they produce far fewer suds, which drastically reduces the amount of rinse water required to clean your garments.
Drying Strategies: Eliminating Moisture in High-Stress Environments
Washing your clothes is only half the battle. In an emergency scenario, drying your clothing quickly and thoroughly is critical. Damp clothing worn in cold environments can rapidly induce hypothermia, while damp clothing stored indoors in warm environments promotes the growth of toxic mold and mildew, ruining your remaining wardrobe and compromising indoor air quality.
The Physics of the Wring
To dry clothes quickly without an electric dryer, you must extract as much physical water as possible before hanging them. Simple hand-wringing can damage delicate fabrics and strain your wrists. Instead, utilize the "Towel Roll" technique. Lay a damp garment flat on a dry bath towel or heavy blanket. Roll the towel up tightly with the garment inside, forming a sausage shape. Step on the rolled towel repeatedly or twist it forcefully. The dry towel will absorb up to 70% of the moisture from the wet garment, cutting your air-drying time in half.
Outdoor Line Drying: Leveraging Solar UV
Whenever possible, dry your clothing outdoors in direct sunlight. The NOAA notes that solar radiation, wind speed, and relative humidity are the primary drivers of evaporation. Direct sunlight does more than dry; it sanitizes. The ultraviolet (UV-A and UV-B) rays of the sun act as a natural broad-spectrum disinfectant, breaking down the DNA of bacteria, viruses, and mold spores that survived the wash cycle.
When hanging clothes outdoors, follow these best practices:
- Orient the Line to the Wind: Position your clothesline perpendicular to the prevailing wind direction to maximize airflow across the surface of the garments.
- Space Items Generously: Leave at least 3 to 4 inches of space between garments on the line. Overcrowding traps pockets of humid air, stalling the drying process.
- Hang Whites in Direct Sun, Colors in Shade: While UV light disinfects, it also bleaches. Hang white undershirts, towels, and sheets in direct sunlight. Hang dark or colored garments in a breezy, shaded area to prevent severe fading and fabric degradation.
Indoor Drying Protocols (High-Humidity or Winter Outages)
If freezing temperatures, heavy rain, or security concerns force you to dry clothes indoors, you must manage the humidity levels carefully. Hanging wet laundry indoors can release gallons of moisture into the air, leading to condensation on walls, which fosters toxic black mold (Stachybotrys chartarum) growth.
To mitigate this, set up your drying rack in a room with active ventilation, such as near a wood stove, fireplace, or a window cracked on the leeward side of the house. If you have backup battery power, running a small, low-wattage DC fan to keep air circulating over the drying rack will dramatically accelerate evaporation and prevent stale air pockets from forming.
Safe Storage of Clean and Dirty Linens
Once your garments are clean and dry, or while they are waiting to be washed, how you store them dictates your long-term success. Moisture is your primary enemy. In a grid-down environment without air conditioning or climate control, relative humidity inside a home can quickly skyrocket, turning closets into mold incubators.
Storing Dirty Laundry Safely
Never store damp, dirty laundry in a sealed plastic bag or container unless it is heavily contaminated (Tier 1) and scheduled for immediate washing. For standard Tier 2 and Tier 3 dirty garments, store them in highly breathable mesh bags or open wicker baskets in a well-ventilated area. If garments are damp with sweat, hang them up to air-dry completely before placing them into a dirty clothes bin. This simple step prevents the production of mildew and sour odors, making them significantly easier to clean later.
Securing Clean Clothes Against the Elements
Your clean, dry clothing should be treated as a critical survival resource. Store them in airtight, heavy-duty plastic storage bins with rubber gaskets. To ensure absolute dryness, place a few silica gel desiccant packs or a small, breathable bag of white rice at the bottom of the container to absorb any residual moisture.
If space is limited, use manual vacuum-storage bags. These bags allow you to compress clothing by rolling the air out through a one-way valve—no vacuum cleaner required. This not only protects your garments from moisture, mold, insects, and dust but also reduces the physical volume of your clothing storage by up to 75%, leaving more room for other emergency supplies.
The Emergency Laundry Without Power Checklist
When a crisis hits, cognitive fatigue can make it difficult to remember specific ratios and procedures. Keep this emergency laundry without power checklist printed and stored inside your laundry kit for fast, stress-free reference:
Maintaining Resilience When the Grid Fails
True emergency preparedness is not defined by the gear you own, but by your ability to adapt, conserve, and maintain order amidst chaos. Hygiene is often one of the first systems to collapse during a major disaster, yet it remains one of the most critical factors in preserving human health, dignity, and morale. By establishing a rigorous laundry protocol—grounded in strict contamination separation, water conservation chemistry, and manual efficiency—you transform a daunting, resource-draining chore into a structured, life-saving routine. As you build and refine your family emergency plans, treat your sanitation strategy with the same gravity as your food and water storage. When you have the knowledge and tools to keep your family clean, dry, and healthy, you are no longer simply surviving the storm; you are commanding your environment with confidence and resilience.
Frequently Asked Questions
What should a emergency laundry without power plan include?
Start with the immediate safety steps, the supplies and records your household needs, a communication plan, and a regular review schedule. Follow local official guidance during an active emergency.
How often should I review emergency laundry without power preparations?
Review them at least twice a year and whenever your household, medication, location, or local risks change. Replace expired supplies and practice key steps.
Where can I find reliable emergency guidance?
Use local emergency management alerts and established public-health or emergency-management agencies. A blog guide should support, not replace, official real-time instructions.