⚡ Key Facts
- According to the American Automobile Association (AAA), over 30 million drivers require roadside assistance every single year in the United States alone.
- The Federal Emergency Management Agency (FEMA) strongly advises keeping a dedicated emergency supply kit in your vehicle, including a 3-day supply of water and non-perishable food.
- Data from the Federal Highway Administration (FHWA) reveals that weather conditions play a direct role in more than 20% of all vehicle crashes, highlighting the need for seasonal readiness.
- The Centers for Disease Control and Prevention (CDC) warns that hypothermia can occur at temperatures well above 40°F if a person becomes chilled from rain, sweat, or submersion, making environmental protection crucial.
- Properly deploying high-visibility markers and reflective triangles can reduce the risk of secondary roadside collisions by making your vehicle visible from over 500 feet away.
Choose a Practical Cutting Tool
A knife is a useful part of a kit, but it should serve a clear job: cordage, packaging, food tasks, and small repairs. Compare practical fixed-blade and compact options in our best survival knives guide, then match the tool to the rest of your water, light, medical, and food plan.
Picture this: You are driving down a remote stretch of highway as dusk begins to settle. The temperature is dropping, the wind is picking up, and suddenly, your engine sputters, shudders, and dies completely. You glide to the shoulder, reach for your phone, and see the dreaded "No Service" indicator. For many drivers, this scenario induces immediate panic. However, with the right preparation, this is not a nightmare—it is merely a temporary inconvenience. Your vehicle is more than just a mode of transportation; when properly equipped, it serves as a highly capable, mobile safe haven. For more guidance, see our build your own go-bag. See Scenario Deep Dives (Spanish) for additional options. See Scenario Deep Dives (Spanish) for additional options.
Mastering roadside emergency Protocol Survival preparedness tools is about shifting your mindset from reliance on external rescue to absolute self-sufficiency. Whether you are facing a mechanical failure, a severe weather event, or a natural real-world survival scenarios that forces an evacuation, the gear you carry and the protocols you follow can dictate the outcome of the situation. You do not need to be a professional mechanic or a survival expert to protect yourself and your passengers. You simply need a strategic approach to building your supplies and a clear understanding of what to do when things go wrong.
This comprehensive guide will walk you through exactly what to keep in your car to ensure you are ready for any scenario. From foundational life-support items and mechanical tools to seasonal adaptations, communication backups, and critical safety protocols, we will cover the essential steps to turn your everyday commuter into a resilient survival asset.
The Core Foundation: Your Vehicle Survival Kit
Before addressing mechanical breakdowns, we must address human survival. If you are stranded in a remote area or trapped in a massive gridlock due to a blizzard or hurricane evacuation, your immediate biological needs take precedence. A well-thought-out vehicle survival kit ensures that you and your passengers can endure extended periods inside the vehicle safely and comfortably.
Hydration Strategies for the Road
Water is your most critical resource, but storing it in a vehicle presents unique challenges. Extreme summer heat can cause standard plastic water bottles to leach harmful chemicals and degrade, while freezing winter temperatures can cause them to burst. FEMA recommends keeping at least one gallon of water per person, per day, but space constraints in a vehicle often require a more practical approach.
To bypass the vulnerabilities of standard plastic bottles, consider storing water in coast-guard-approved emergency water pouches. These highly durable foil pouches are specifically designed to withstand extreme temperature fluctuations—from freezing cold to blistering heat—without bursting or degrading. Additionally, you should carry a stainless steel, single-wall water bottle and a portable water filtration system, such as a life straw or purification tablets. If you run out of stored water, these tools allow you to safely harvest hydration from streams, melted snow, or rain.
Calorically Dense Emergency Food
When deciding what to keep in your car for nutrition, avoid items that melt, crumble easily, or require cooking. Your goal is maximum caloric density with the longest possible shelf life. The stress of an emergency burns calories quickly, and in cold environments, your body requires extra fuel to generate heat.
Emergency ration bars, originally designed for lifeboats, are an excellent choice. They are non-thirst-provoking, withstand extreme cabin temperatures, and boast a five-year shelf life. Other excellent options include commercially sealed trail mix, beef jerky, and high-protein energy bars. Rotate these items every six to twelve months to ensure freshness. Keeping a few hard candies or electrolyte powder packets can also provide a rapid morale and energy boost during a stressful wait.
Comprehensive First Aid and Trauma Care
A standard drugstore first aid kit is insufficient for the realities of the road. Vehicle accidents can result in severe trauma, and your car emergency kit must reflect that reality. The American Red Cross advocates for comprehensive readiness that addresses both minor injuries and life-threatening bleeding.
Your vehicle medical kit should be divided into two categories: basic first aid and trauma response. For basic first aid, include adhesive bandages, sterile gauze, antibiotic ointment, burn gel, tweezers, and over-the-counter medications (pain relievers, antihistamines, and anti-diarrheals). For trauma, you should carry items aligned with "Stop the Bleed" protocols. This includes a CoTCCC-recommended tourniquet (like a CAT or SOF-T), hemostatic dressing (clotting gauze), trauma shears, and pressure dressings. Ensure this kit is easily accessible from the driver's seat, not buried beneath luggage in the trunk.
Essential Tools and Mechanical Gear
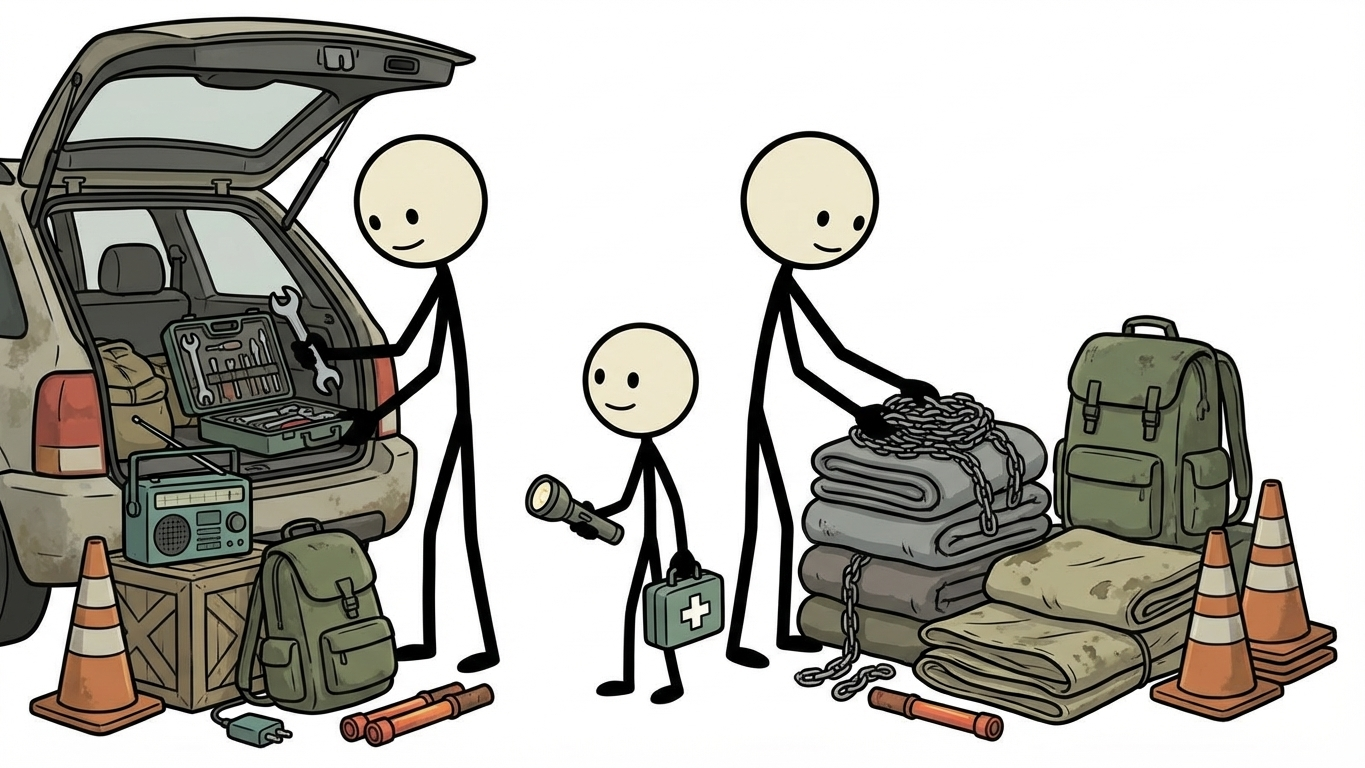
While you may not be able to rebuild a transmission on the side of the interstate, you can easily handle the most common causes of vehicle disablement: dead batteries, flat tires, and minor mechanical hiccups. Equipping your vehicle with the right tools empowers you to self-rescue and get back on the road quickly.
Modern Jump Starting and Power
Historically, a set of heavy-duty jumper cables was the gold standard for a car emergency kit. While cables are still highly recommended, they inherently rely on the presence of a second, operational vehicle. If you are stranded on a remote road, jumper cables alone are useless.
The modern solution is a portable lithium-ion jump starter. These compact devices hold their charge for months and can deliver enough cranking amps to start large V8 engines or diesel trucks entirely on their own. Many also feature built-in USB ports for charging cell phones and integrated LED flashlights. Check the battery level of your jump pack every three months to ensure it is ready when you need it.
Tire Maintenance and Repair
Tire failure is one of the most frequent reasons for roadside emergencies. Relying solely on a spare tire is risky; spares can be underinflated, rusted into place, or completely missing in many modern vehicles that only provide "mobility kits."
To ensure true self-reliance, carry a heavy-duty 12-volt portable air compressor that plugs directly into your vehicle's accessory outlet. Pair this with a high-quality tire plug kit and a pair of needle-nose pliers to remove nails or screws. Plugging a simple puncture takes less than ten minutes and requires no removal of the wheel. Additionally, verify that your vehicle's jack and lug wrench are present, and consider upgrading to a cross-style lug wrench or a breaker bar for superior leverage against stubborn, over-tightened lug nuts.
The Multi-Purpose Utility Kit
A few fundamental tools can temporarily patch hoses, secure loose body panels, or fix minor electrical issues. A well-rounded tool pouch should include:
- A high-quality multi-tool with pliers, wire cutters, and knife blades.
- A roll of heavy-duty duct tape and a roll of electrical tape.
- An assortment of heavy-duty zip ties in various lengths.
- A basic socket set and a ratcheting screwdriver with multiple bits.
- A pair of cut-resistant leather work gloves to protect your hands from hot engine parts and sharp debris.
- An ABC-rated automotive fire extinguisher, securely mounted in the cabin.
Adapting to the Elements: Seasonal Gear
Environmental extremes are a driver's worst enemy. A vehicle survival kit that saves your life in the Arizona desert in July will look vastly different from the winter car kit required to survive a blizzard in Minnesota. Adapting your gear to the seasons is a non-negotiable aspect of roadside emergency preparedness.
Building the Ultimate Winter Car Kit
According to the National Oceanic and Atmospheric Administration (NOAA), winter storms are deceptive killers, often trapping motorists in freezing temperatures for days. If you live in or travel through cold climates, your winter car kit must prioritize heat retention and snow extraction.
If your car dies, your heater dies with it. The CDC notes that the human body loses heat rapidly in confined, unheated spaces. You must pack dedicated cold-weather clothing: insulated waterproof gloves, wool socks, a beanie, and a heavy winter coat. Keep a sub-zero rated sleeping bag or several heavy wool blankets in the trunk. Mylar emergency blankets are excellent for reflecting radiant body heat, but they should be layered *inside* wool or fleece for maximum effectiveness.
For snow extraction, pack a collapsible aluminum snow shovel and a sturdy ice scraper with a brush. To gain traction on slick ice, carry a bag of non-clumping kitty litter, coarse sand, or specialized traction mats. Finally, keep a few chemical hand and body warmers in your glovebox; these can be placed near your core, armpits, and groin to stave off hypothermia during a long wait.
Safety Note: If you are stranded in the snow and run your engine for heat, you must ensure your exhaust pipe is completely clear of snow. Carbon monoxide is an odorless, invisible gas that can build up inside the cabin with fatal results. Only run the engine for 10 minutes every hour, and crack a window slightly for ventilation.
Summer Survival and Heat Mitigation
Summer breakdowns present the opposite threat: rapid dehydration and heatstroke. The interior of a disabled vehicle sitting in direct sunlight can exceed 130°F within minutes. Your primary focus during summer travel should be hydration and shade.
Increase your Water Calculator significantly during the summer months. Add electrolyte replacement powders to your kit to combat the salts lost through heavy sweating. Keep a reflective windshield sunshade in the car to block solar radiation if you are forced to sit inside the vehicle. Wide-brimmed hats, sunglasses, and high-SPF sunscreen are essential if you need to walk to find help or change a tire on hot asphalt. From a mechanical standpoint, keep extra engine coolant (pre-mixed) and a gallon of distilled water to manage an overheating radiator.
Communication Backups: When Cell Service Fails
We rely heavily on smartphones for navigation, communication, and emergency rescue. However, cell networks are surprisingly fragile. Natural disasters can knock out cell towers, high-traffic emergency situations can overload networks, and vast stretches of rural highways simply lack coverage. True roadside emergency preparedness requires redundant communication methods.
Satellite Messengers and PLBs
If you frequently travel outside of reliable cell coverage, a satellite communication device is a lifesaving investment. Devices like satellite messengers allow you to send two-way text messages to family emergency plan members or emergency services using GPS satellites, completely bypassing the cellular grid. They also allow loved ones to track your location in real-time.
Alternatively, a Personal Locator Beacon (PLB) requires no monthly subscription. While it does not allow for two-way texting, deploying a PLB sends an immediate, un-cancelable distress signal to government search and rescue satellites, pinpointing your exact location. This should be reserved strictly for life-or-death scenarios where you are in imminent danger.
Radio Communications
A battery-operated or hand-crank NOAA weather radio is an indispensable tool for receiving localized, real-time alerts about severe weather, tornadoes, or flash floods. Knowing the path of a storm allows you to make informed decisions about whether to stay put or attempt to move.
For two-way communication, consider keeping a GMRS (General Mobile Radio Service) radio or a Ham radio in your vehicle. GMRS radios are highly accessible, easy to use, and can reach local repeaters to call for help over several miles. While Ham radios require a license and training, they offer unparalleled range and access to a massive network of amateur radio operators who frequently assist in emergency relays.
Powering Your Devices
Your communication tools are useless if their batteries die. Keep a high-capacity power bank (20,000 mAh or higher) fully charged in your vehicle survival kit. Ensure you have the appropriate charging cables for your phone, satellite messenger, and rechargeable flashlights. Do not rely solely on your car's battery to charge your devices, as a dead alternator or drained car battery will eliminate that power source.
Roadside Safety Protocol: Surviving the Breakdown
Having the best car emergency kit in the world will not save you if you make a fatal error in the first five minutes of a breakdown. The side of a highway is an incredibly dangerous environment. Distracted drivers, high speeds, and poor visibility contribute to thousands of pedestrian and secondary vehicle strikes every year. Knowing exactly how to handle the physical breakdown is the most critical aspect of roadside emergency preparedness.
Step 1: Safely Pulling Over
The moment you realize your vehicle is failing, turn on your hazard lights immediately to signal distress to the drivers behind you. Do not slam on the brakes. Instead, decelerate smoothly and guide your vehicle as far off the road as possible. Aim for the right shoulder, ideally on a straight stretch of road where approaching traffic has a clear line of sight. Avoid stopping on curves, just over the crest of a hill, or on narrow bridges where there is no room to escape.
Once stopped, engage your parking brake. Turn your steering wheel away from the road. If your vehicle is struck from behind, this ensures your car will be pushed off into the ditch or grass, rather than directly into the flow of oncoming traffic.
Step 2: Visibility and Warning Markers
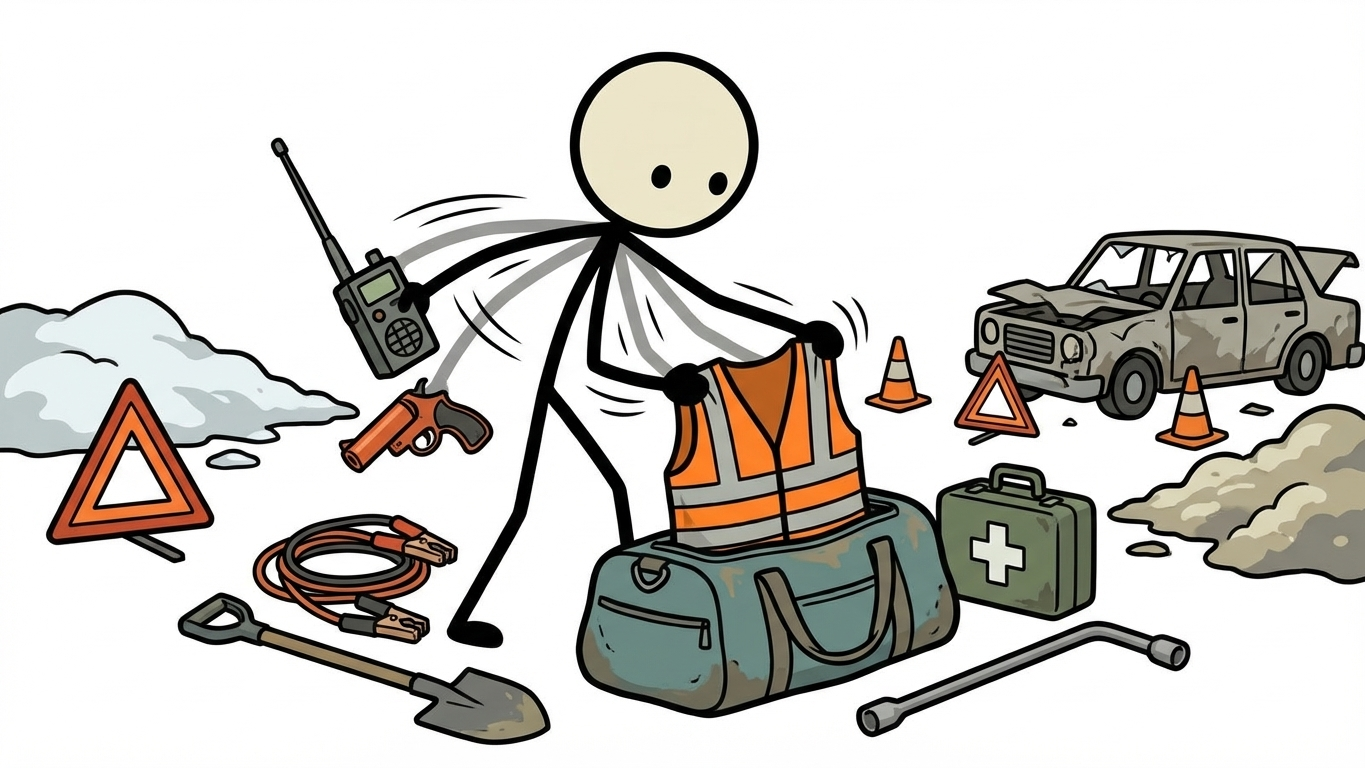
Before you even think about stepping out of the car, assess the traffic around you. If you must exit, always try to exit from the passenger side, away from the flow of traffic. Before exiting, put on an ANSI Class 2 or Class 3 high-visibility reflective vest. You want to be as bright and obvious as possible.
Next, deploy your warning devices. The Department of Transportation (DOT) and FEMA recommend using three reflective warning triangles. Place the first triangle 10 feet directly behind your vehicle (on the shoulder side). Place the second triangle 100 feet behind your vehicle, in the center of the shoulder. Place the third triangle 200 feet behind your vehicle, slightly closer to the edge of the roadway to guide traffic away. If you are on a curved road or a hill, place the furthest triangle even further back to give drivers ample warning. At night, supplement these triangles with LED road flares, which are safer and last much longer than traditional incendiary flares.
Step 3: To Stay or To Go?
One of the hardest decisions in an emergency is whether to stay with the vehicle or abandon it to seek help. As a general rule of roadside emergency preparedness: stay with your vehicle. Your car provides shelter from the elements, is much easier for search and rescue teams to spot than a person walking, and protects you from the dangers of walking along a high-speed highway.
Only leave your vehicle if you are absolutely certain that you know where you are, you know exactly how far away help is, and you are physically equipped to make the journey safely. If you must stay in the car, keep your seatbelt fastened if you are parked near active traffic lanes, lock your doors, and call for professional assistance. If a stranger stops to help, roll your window down just enough to speak to them and ask them to call the police or a tow truck on your behalf; you do not need to open your doors or accept rides from strangers.
Empower Your Commute
Vehicle emergency preparedness is not about giving in to fear or paranoia; it is the ultimate expression of responsibility and self-reliance. By taking the time to curate what to keep in your car, understanding how to utilize a comprehensive vehicle survival kit, and memorizing critical roadside safety protocols, you transform yourself from a helpless bystander into a capable first responder for your own family. The road will always be unpredictable, and weather will always be entirely outside of our control. However, by investing in the right tools, seasonal gear, and communication backups today, you ensure that tomorrow's unexpected breakdown is met with calm, decisive action and a safe return home.
Build a comprehensive car emergency kit using our bug-out evacuation guide. Learn evacuation essentials from our bug-out bag checklist. Organize your kit with our go-bag builder. Calculate car supplies with our supply calculator. Master vehicle preparedness through our preparedness courses.
Frequently Asked Questions
What is the first step to prepare for this scenario?
Start with a realistic risk assessment for your location, then build a simple written plan your whole household can follow.
How much should beginners spend initially?
Begin with high-impact basics and a phased budget. Small consistent upgrades beat expensive one-time purchases.
How often should plans and gear be reviewed?
Audit every 6 to 12 months and after every real incident to capture lessons learned.
What should go in every emergency kit?
Water, food, first aid, lighting, communication, documents, and essential medications.
How do I get family buy-in for preparedness?
Keep it practical, avoid fear language, and run short drills that show clear everyday value.