⚡ Key Facts
- Flush Volume: According to the United States Geological Survey (USGS), a standard modern toilet requires 1.28 to 1.6 gallons of water per flush, making them unusable during prolonged grid failures.
- Disease Risk: The Centers for Disease Control and Prevention (CDC) reports that diarrheal diseases and gastrointestinal illnesses are among the leading causes of morbidity following major natural disasters due to compromised sanitation.
- Handwashing Efficacy: The World Health Organization (WHO) states that proper handwashing with soap and water can reduce the risk of endemic diarrheal disease by up to 48%, a critical defense during emergencies.
- Water Storage Minimums: The Federal Emergency Management Agency (FEMA) and the American Red Cross recommend storing at least one gallon of water per person per day, but explicitly note that half of this amount is required strictly for sanitation and hygiene, not drinking.
- Bleach Lifespan: Liquid household bleach loses its disinfecting power over time. The CDC notes that bleach stored at room temperature degrades by about 20% each year, meaning emergency stockpiles must be rotated annually.
Most emergency Protocol Survival appness plans start with the same two items: bottled water and non-perishable emergency food storage guide. While these are undeniably critical for short-term survival, the most immediate threat to a household's habitability often comes from a completely different source. When the taps run dry and the grid goes down, the modern bathroom transforms from a sanctuary of convenience into a severe biological hazard within just 48 hours. Without the invisible luxury of pressurized water and automated waste removal, families are suddenly forced to confront the stark reality of human waste management.
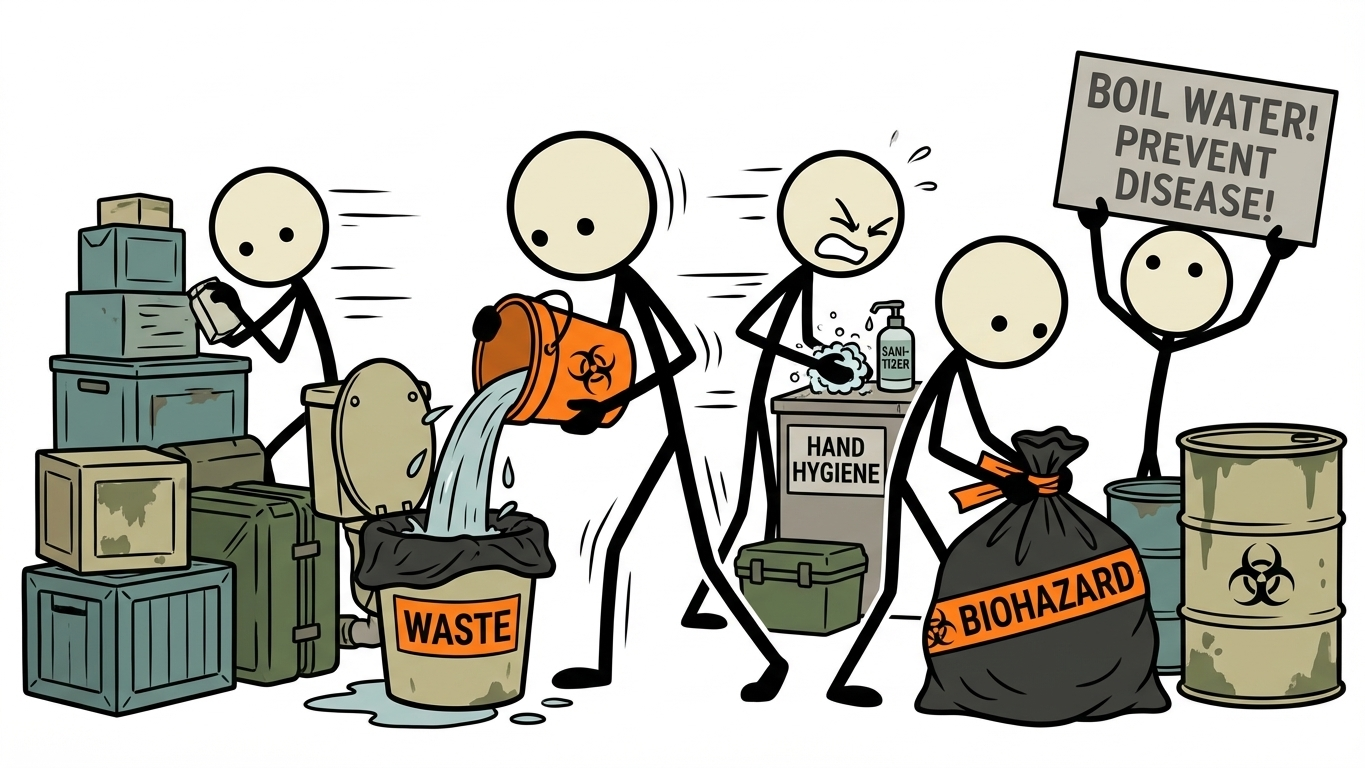
Historically, poor sanitation has caused more casualties in the aftermath of disasters than the initial events themselves. When floods, earthquakes, or severe winter storms knock out municipal water treatment facilities, the resulting sanitary crisis can quickly lead to outbreaks of cholera, dysentery, and other preventable illnesses. However, taking control of your household's biological waste does not require advanced engineering or medical degrees. With a solid plan, a few inexpensive supplies, and an understanding of basic pathogen control, you can safely manage this unglamorous aspect of survival.
Mastering water outage sanitation is about empowerment. It ensures that your home remains a safe, clean refuge while you wait for municipal services to be restored. This comprehensive guide will walk you through exactly how to handle human waste, maintain rigorous hand hygiene, and prevent the spread of disease when your plumbing network fails.
Understanding the Mechanics of a Municipal Water Failure
To effectively prepare for a sanitation crisis, it is important to understand why your plumbing stops working in the first place. Municipal water systems rely heavily on continuous electrical power to operate massive pumps that push water into elevated towers. Gravity then takes over, providing the pressure that forces water through the subterranean pipes and out of your faucets. When a severe weather event—such as a hurricane tracked by NOAA or a massive winter freeze—disrupts the power grid, those pumps stop working.
Once the water towers drain, the pressure in the system drops to zero. This is why your faucets sputter and your toilet tanks fail to refill. However, the lack of incoming water is only half of the problem. You must also consider the outgoing waste. Municipal sewer systems also rely on a combination of gravity and electrically powered lift stations to move sewage to treatment plants.
The Danger of Sewer Backflow
Figuring out how to handle sewage outage scenarios is critical because a lack of water pressure can sometimes be accompanied by a failure in the sewer lines. If local lift stations lose power, sewage can back up into the main lines. In severe flooding events, storm water can inundate the sanitary sewers, causing raw sewage to flow backward through the pipes and up into residential toilets and bathtubs.
If you suspect a sewer backup is imminent, or if local authorities issue a warning, you must isolate your home's plumbing. You can do this by locating your sewer cleanout valve and ensuring a backwater valve is installed. If you do not have a backwater valve, you can temporarily seal ground-floor toilets and drains using heavy-duty plastic sheeting, sandbags, or specialized drain plugs. Never attempt to flush a toilet if you suspect the municipal sewer lines are compromised, as this will only contribute to the backup in your own home.
Creating a "No Running Water Toilet"
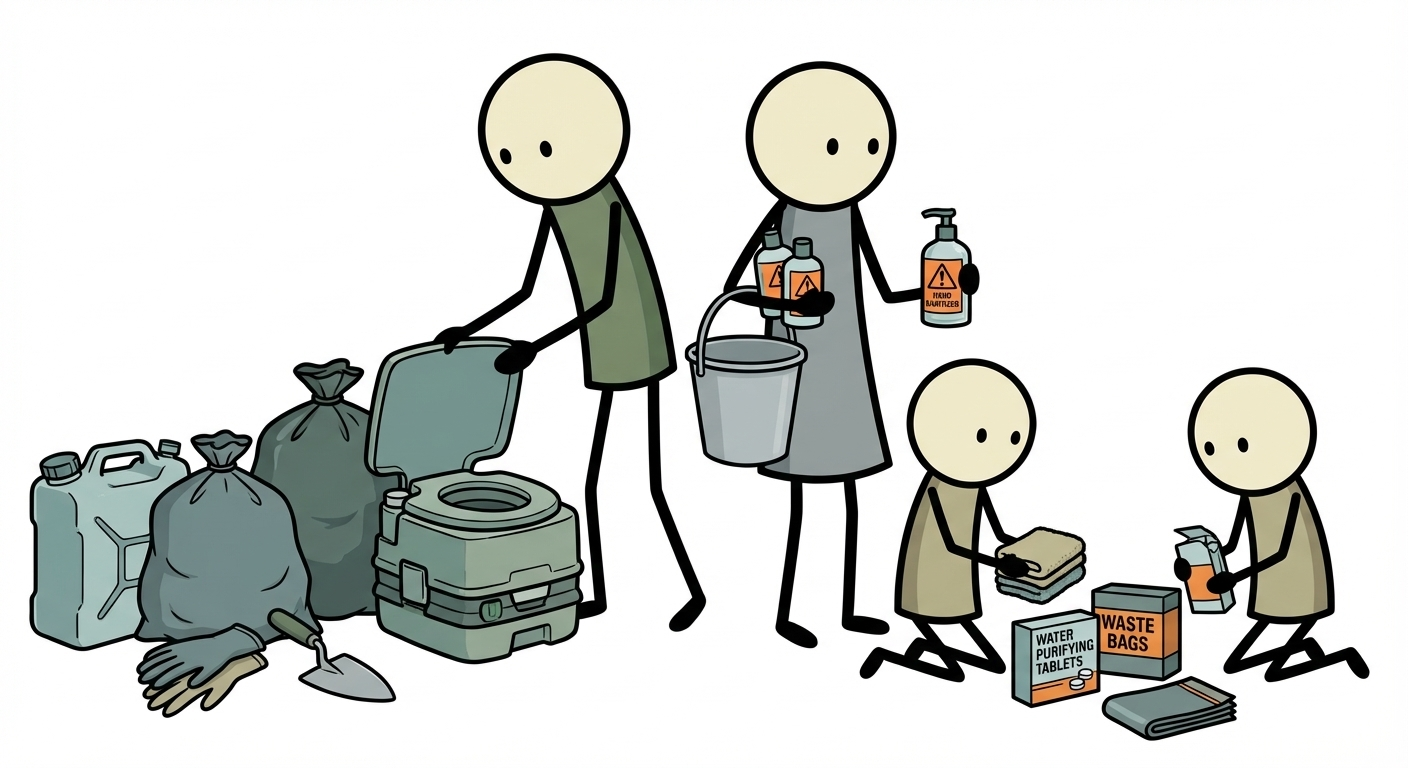
When the municipal Water Calculator fails but the sewer lines remain intact, you have a brief window of standard toilet use. You can manually flush your toilet by pouring a bucket of "gray water"—such as old dishwater or water collected from rain barrels—directly into the toilet bowl. Pouring roughly one to two gallons of water rapidly into the bowl will trigger the siphon jet, effectively flushing the waste down the drain. However, this method rapidly depletes your emergency water reserves and is not sustainable for long-term outages.
Once your gray water is gone, or if the sewer lines are compromised, you must pivot to a reliable no running water toilet alternative. The most effective, hygienic, and accessible method for household use is the "Twin Bucket System." This system relies on separating liquid waste from solid waste, which drastically reduces foul odors and simplifies the disposal process.
The Twin Bucket System Explained
To build a twin bucket system, you will need two standard 5-gallon buckets. One bucket will be designated strictly for urine (liquid waste), and the other will be designated for feces and toilet paper (solid waste). Label them clearly to prevent confusion. You can purchase a snap-on toilet seat designed specifically for 5-gallon buckets from most outdoor or camping supply calculator stores, which provides a comfortable and familiar seating surface.
Why separate the waste? When urine and feces combine, they create a highly nitrogen-rich slurry that produces severe odors and accelerates the breeding of harmful bacteria. By keeping them separate, you eliminate the primary source of the sewage smell. Urine is generally sterile when it exits the body and does not produce a strong odor unless it sits for long periods and begins to break down into ammonia.
Managing the Solid Waste Bucket
The solid waste bucket requires a bit more preparation. Line the bucket with a heavy-duty, puncture-resistant trash go-bag essentials. Contractor bags are ideal for this purpose. After each use, the solid waste must be completely covered with a dry, carbon-rich material. This is known as a "cover material" or "soak," and it acts as a bio-filter to smother odors, absorb moisture, and create a barrier against flies.
Excellent cover materials include:
- Dry sawdust or wood shavings (avoid chemically treated wood).
- Peat moss or coconut coir.
- Dry, shredded leaves or grass clippings.
- Wood ash from a fireplace or stove.
- Commercial kitty litter (though this can become very heavy).
Keep a container of your chosen cover material next to the toilet with a dedicated scoop. Instruct everyone in the household to cover their waste completely after every single use. When the solid waste bucket is about half full, tie the bag securely, remove it, and replace it with a fresh bag. Do not let the bucket get entirely full, or the bag will become too heavy to lift without risking a catastrophic tear.
Commercial Alternatives: WAG Bags and Portable Toilets
If building a bucket system seems daunting, commercial alternatives are highly effective for short-term crises. Chemical camping toilets (often called cassette toilets) contain a small freshwater tank for flushing and a sealed holding tank for waste. While convenient, they require chemical deodorizers and must eventually be emptied, which can be difficult if the municipal sewer is entirely offline.
A more resilient commercial option is the use of WAG bags (Waste Alleviation and Gelling bags). These are puncture-resistant bags pre-loaded with a proprietary powder that gels liquid waste, neutralizes odors, and initiates the breakdown of solid waste. You simply drape the WAG bag over your existing toilet bowl (with the water shut off) or a portable commode. Once used, the bag is sealed and can typically be disposed of in standard municipal trash, making them a premier choice for emergency sanitation kits.
Disaster Hygiene: Handwashing Without the Tap
Managing the waste is only the first half of the battle; the second half is preventing that waste from making its way onto your food, into your drinking water, or into your mouth. During a disaster, the microscopic transfer of fecal coliform bacteria is the primary vector for illness. Maintaining rigorous disaster hygiene is non-negotiable, but it presents a unique challenge when you cannot simply turn on the bathroom sink.
While hand sanitizer is an excellent tool, it is not a complete replacement for soap and water. The CDC explicitly warns that alcohol-based hand sanitizers do not eliminate all types of germs—including norovirus and certain parasites—and are significantly less effective when hands are visibly dirty or greasy. Therefore, establishing a functional handwashing station is a critical priority.
Building a DIY Handwashing Station
You can conserve your precious clean water while still allowing for effective handwashing by creating a gravity-fed washing station, commonly known in global health sectors as a "Tippy Tap." This setup allows you to wash your hands using only a few ounces of water per wash, and it can be operated hands-free to prevent cross-contamination.
To create a simple indoor or patio handwashing station:
- Take a clean, empty plastic jug (like a 1-gallon milk or water jug).
- Poke a small hole (about the size of a pencil lead) near the bottom of the jug.
- Fill the jug with clean, treated water and tightly screw on the cap. The vacuum seal will stop the water from flowing out of the hole.
- Place a catch basin or bucket underneath the jug to catch the gray water.
- To wash your hands, simply loosen the cap slightly. Air will enter the jug, and a small, steady stream of water will flow from the hole.
- Wet your hands, tighten the cap to stop the flow, lather with soap for 20 seconds, and then loosen the cap again to rinse.
Keep a pump bottle of liquid soap and clean paper towels next to the station. During an emergency, paper towels are vastly superior to cloth hand towels. Cloth towels can quickly become damp breeding grounds for bacteria when multiple people use them. If you must use cloth towels, assign a specific, color-coded towel to each family emergency plan member and dry them in direct sunlight daily.
Waste Handling: Safe Storage and Disposal Protocols
Once you have successfully contained your household waste, you face the logistical challenge of what to do with it until municipal services resume. Proper water outage sanitation requires a designated strategy for storing biological waste safely away from living areas, food preparation zones, and drinking water supplies.
Never store bags of human waste inside your primary living space. As bags sit, the organic matter will decompose and produce methane gas, which can cause sealed bags to expand and potentially leak. You must designate a temporary waste storage area that is secure from pests, shaded from direct sunlight, and well-ventilated.
Storing Solid Waste
The best place to store bagged solid waste is in heavy-duty, outdoor garbage cans with tight-fitting, locking lids. If you live in an apartment or do not have outdoor access, a balcony or a well-ventilated, detached garage is the next best option. Line the outdoor garbage can with an additional contractor bag to serve as a secondary containment barrier in case one of the individual waste bags ruptures.
To deter pests and mitigate odors in the storage bin, sprinkle a layer of hydrated lime, baking soda, or excess carbon cover material over the bags each time you add a new one to the bin. Ensure the lid is locked down tightly to prevent raccoons, rats, or neighborhood pets from tearing into the biohazard.
Managing Liquid Waste and Gray Water
Liquid waste is generally easier to manage but still requires care. If you have a yard, urine can be diluted with water (at a ratio of about 1 part urine to 10 parts water) and poured onto the soil around mature trees or ornamental bushes. Do not pour urine on vegetable gardens or foraging. If you cannot dilute it, or if you live in an urban environment, urine can be carefully poured down a street-level storm drain, provided local emergency guidelines permit it.
Gray water—the runoff from your handwashing stations, dishwashing, and sponge baths—should also be managed carefully. While it doesn't contain the heavy pathogen load of solid waste, it does contain organic matter, soaps, and oils that will turn rancid and smell if left stagnant. Broadcast gray water over a large area of soil in your yard to allow the earth to naturally filter it, or use it to flush your standard toilet if the sewer lines are still operational.
Final Disposal When the Crisis Ends
When the grid is restored and the water flows again, do not attempt to flush accumulated solid waste down your household toilet. The combination of carbon cover materials, heavy-duty bags, and concentrated waste will instantly clog your plumbing and potentially damage the municipal sewer system. Instead, wait for instructions from your local waste management authority. In the aftermath of major disasters, cities will often designate specific drop-off locations for biohazardous waste or schedule specialized curbside pickups.
Disease Prevention and Environmental Disinfection
Emergency sanitation is not just about managing the toilet; it is about maintaining a sterile environment in a chaotic situation. When you lose running water, the baseline cleanliness of your home will degrade rapidly. Dust, dirt, spilled food, and tracked-in debris can quickly create an environment where pathogens thrive and pests multiply.
Your primary weapon against the spread of disease during a water outage is standard, unscented household bleach (sodium hypochlorite). Bleach is cheap, highly effective, and recommended by both the CDC and FEMA for disaster disinfection. However, it must be used correctly to be effective and safe.
Creating Disinfectant Solutions
You cannot effectively clean surfaces with pure bleach; it must be diluted with water. For general surface disinfection—such as wiping down kitchen counters, doorknobs, and the exterior of your emergency toilet—the CDC recommends a solution of 1/3 cup of unscented household bleach per 1 gallon of water. If you only need a small amount, use 4 teaspoons of bleach per quart of water.
When mixing bleach solutions, observe the following protocols:
- Never mix bleach with ammonia or any other household cleaners, as this creates highly toxic, potentially lethal chloramine gas.
- Mix a fresh batch of bleach solution every 24 hours. Once diluted with water, bleach rapidly loses its sanitizing properties and becomes ineffective after a day.
- Clean surfaces with soap and water first to remove visible dirt and organic matter, as dirt can neutralize the active ingredients in bleach. Then, apply the bleach solution and let it air dry.
Vector Control: Keeping Pests at Bay
In a Survival Scenarios, flies, mosquitoes, mice, and rats are not just nuisances; they are dangerous vectors for disease. Flies, in particular, are notorious for landing on human waste and then transferring microscopic pathogens directly to food surfaces. Managing these vectors is a critical component of emergency sanitation.
Keep all food stored in airtight, hard-sided containers. Do not leave dirty dishes sitting out; wipe them clean with paper towels immediately after use if you cannot wash them. Ensure all window screens are intact to keep flies out of the house. If flies do become a problem, deploy sticky fly ribbons near your waste management area and kitchen. For rodents, utilize snap traps rather than poison, as poisoned rodents can die inside your walls and create a secondary sanitation hazard.
Building Your Emergency Sanitation Kit
The time to gather supplies for a water outage is not when the storm clouds are gathering or the pressure in your faucet starts to drop. Panic buying leaves you with subpar equipment and unnecessary stress. By assembling a dedicated emergency sanitation kit now, you ensure your family can transition smoothly into a grid-down scenario without compromising their health or dignity.
Store these items together in a large, waterproof bin, separate from your food and water stockpiles. Make sure every adult in the household knows where the kit is located and understands how to deploy the twin bucket system.
Essential Sanitation Kit Checklist
- Two 5-gallon buckets: Clean and sturdy, with handles for easy carrying.
- Snap-on toilet seat: Designed to fit standard 5-gallon buckets.
- Heavy-duty contractor bags: At least 3-mil thickness to prevent punctures and leaks. Buy a box of at least 50.
- Carbon cover material: A large bag of sawdust, peat moss, or kitty litter.
- Toilet paper: Stockpile at least two weeks' worth for your household. Store it in waterproof plastic bags to prevent moisture damage.
- Hand hygiene supplies: Liquid hand soap, alcohol-based hand sanitizer (at least 60% alcohol), and several rolls of paper towels.
- Disinfectants: Two jugs of unscented household bleach (rotate annually) and a spray bottle for mixing daily solutions.
- Personal protective equipment (PPE): Disposable nitrile gloves for handling waste bags and cleaning, plus N95 masks for odor control and dust protection.
- Feminine hygiene products and diapers: Stockpile ample supplies for the specific needs of your household, as these will sell out immediately during a crisis.
- WAG bags: A supplemental box of commercial waste bags for extreme emergencies or evacuation scenarios.
Facing a prolonged water outage is undeniably daunting, but the loss of modern plumbing does not have to result in a collapse of household hygiene. By understanding the mechanics of your water and sewer systems, you can anticipate failures before they flood your home. By deploying a simple, physics-based twin bucket system, you separate the biological hazards and neutralize odors. And by rigorously enforcing handwashing and surface disinfection protocols, you build an invisible wall against the diseases that traditionally follow in the wake of disasters.
Emergency sanitation is not about surviving in squalor; it is about maintaining your family's health, morale, and dignity when the infrastructure we take for granted falls silent. Gather your supplies, educate your household on the protocols, and take comfort in the fact that no matter what happens to the grid, you have the knowledge and the tools to keep your home safe, clean, and secure.
Master sanitation practices from our emergency preparedness guide. Learn water safety from our emergency water storage guide. Build sanitation kits with our go-bag builder. Calculate sanitation supplies with our supply calculator. Get professional sanitation training through our preparedness courses.
Frequently Asked Questions
How much water should I store per person?
Store at least 1 gallon per person per day for drinking and minimal hygiene, and more in hot climates.
How often should stored water be rotated?
Commercial sealed water can last longer, but rotating every 6 to 12 months keeps quality high and your routine simple.
Is boiling enough to make water safe?
Boiling is effective against most pathogens but does not remove chemical contamination. Use filtration and source awareness too.
What is the best emergency water filter type for families?
Gravity filters are usually best for households because they process larger volumes with low effort and no electricity.
Can I drink pool water in an emergency?
Only after proper treatment and with caution. Pool chemicals and contaminants require correct filtration and disinfection.