⚡ Key Facts
- Time is a luxury: According to the National Fire Protection Association (NFPA), you may have as little as two minutes to safely escape a home fire from the moment the smoke alarm sounds.
- Preparation gaps: Federal Emergency Management Agency (FEMA) data reveals that while 80% of Americans live in counties hit by weather disasters, nearly 60% do not have a practiced evacuation protocol.
- Frequency of events: The American Red Cross responds to an emergency every 8 minutes in the United States, the vast majority being home fires and localized flooding.
- Billion-dollar disasters: The National Oceanic and Atmospheric Administration (NOAA) reports a historic rise in billion-dollar weather events, making rapid, no-notice evacuations more common than ever.
Imagine being jolted awake at 2:00 AM by the piercing shriek of a smoke detector or the blaring vibration of a Wireless Emergency Alert on your phone. In that disorienting moment, your brain is flooded with adrenaline, and your cognitive processing drops significantly. This is not the time to figure out who is grabbing the dog, where the go-bag essentials guides are stored, or which exit is safest. When a crisis strikes, hope is not a strategy. Survival relies entirely on muscle memory, clear role assignments, and a well-rehearsed family family emergency plan.
For a broader playbook, use our community emergency preparedness guide to turn these steps into a practical plan.
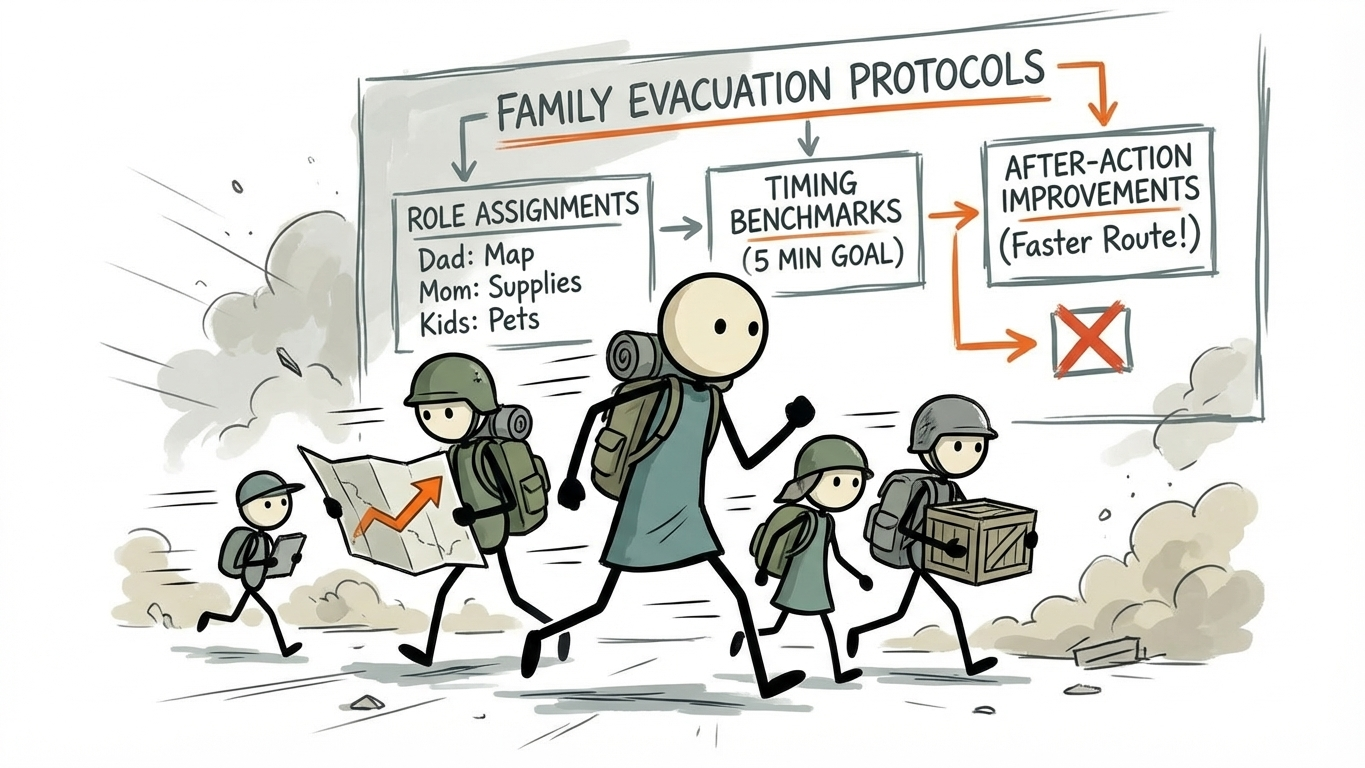
Emergency preparedness is often misunderstood as simply stockpiling supplies. While gear is important, the true foundation of survival is protocol. High-reliability organizations—from military units to first responders—know that a plan only works if it has been tested under stress. By building a structured protocol with specific timing benchmarks and consistently refining it through after-action reviews, you transform your household from potential victims into a highly functional survival team. This guide will walk you through exactly how to build, test, and perfect your family’s emergency response.
The Anatomy of a Fail-Proof Family Evacuation Plan
A robust family evacuation plan bridges the gap between chaos and order. It is a living document that dictates exactly how your family will transition from a state of rest to a state of safe displacement. According to FEMA’s Ready.gov guidelines, a successful plan must account for multiple types of disasters, as the protocol for a localized house fire differs vastly from the protocol for an approaching hurricane or a sudden chemical spill on a nearby highway.
To begin, you must assess your specific threat matrix. Use data from the United States Geological Survey (USGS) to determine your earthquake or landslide risks, and consult NOAA for flood plains and severe weather trajectories. Once you know what you are running from, you can determine how you will run. Your plan must include primary and secondary escape routes from your neighborhood, accounting for the likelihood that major arteries may be gridlocked or blocked by debris.
Furthermore, your plan must establish clear rally points. The Centers for Disease Control and Prevention (CDC) recommends establishing three distinct meeting locations. The first is an immediate neighborhood rally point, such as a specific tree or a neighbor’s driveway, used for sudden events like house fires. The second is a regional rally point, like a local school or community center, used if your neighborhood is evacuated. The third is an out-of-town location, such as a relative’s home in another county, for large-scale regional disasters.
Designing Your Emergency Exit Plan Home
Before you can navigate out of your city, you must first navigate out of your house. Designing an emergency exit plan home requires mapping out the physical layout of your residence. Draw a floor plan of your home, ensuring every family member understands it. You should identify two ways out of every single room, particularly bedrooms.
If you live in a multi-story home, this may require the installation of certified escape ladders near second-story windows. Ensure these windows are not painted shut and that screens can be easily popped out. For those living in apartment buildings, your map must clearly highlight the stairwells. Never use elevators during an evacuation, as power grids are highly susceptible to failure during fires and seismic events.
Once your map is drawn, post it in a highly visible area, such as the refrigerator or a central hallway bulletin board. Physical visibility breeds psychological familiarity. When family members see the escape routes daily, their subconscious mind begins to internalize the pathways, reducing hesitation when seconds count.
The Command Structure: Assigning Family Roles
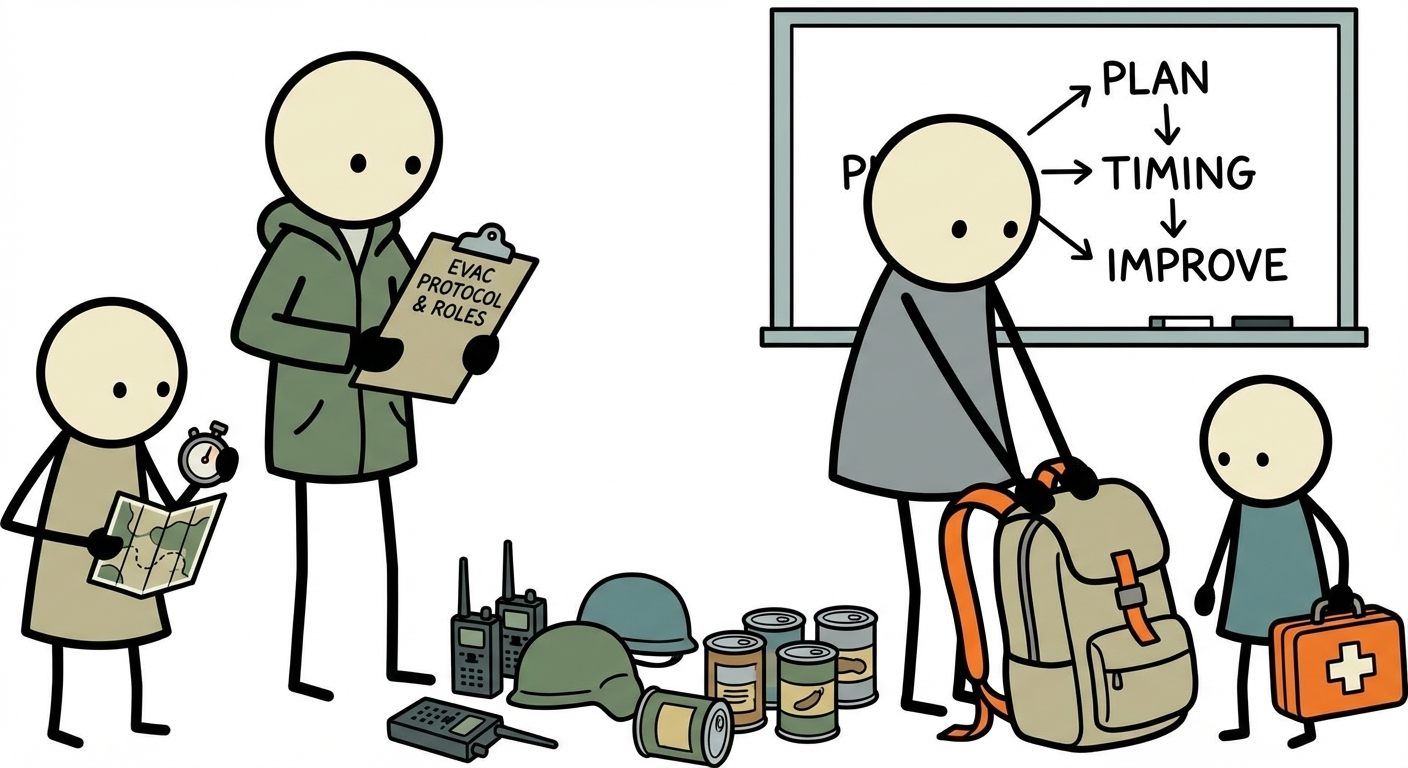
In the chaos of an emergency, the "bystander effect" can occur even within a family unit. If everyone assumes someone else is grabbing the emergency radio or the first aid kit, no one will. To combat this, you must implement a scaled-down version of the Incident Command System (ICS), a standardized approach used by FEMA and emergency responders nationwide. By assigning distinct roles, you eliminate confusion and create a streamlined machine.
The Incident Commander is typically the head of the household. Their job is not to do everything, but to oversee the evacuation, make the final call on which exit route to take, and ensure a full headcount at the rally point. The Commander is the definitive voice of authority during the drill or actual event, preventing arguments and decision paralysis.
The Quartermaster is responsible for physical assets. If time permits (such as a 10-minute wildfire warning), this person grabs the family "go-bags," the crucial document binder, and any necessary medications. They are responsible for ensuring the vehicle is loaded and the keys are secured.
The Wrangler is tasked with the most unpredictable elements of your household: pets and individuals requiring extra assistance. This role involves leashing dogs, crating cats, or assisting elderly family members to the primary exit. The American Red Cross notes that many families delay their evacuation—often fatally—because they cannot locate a panicked pet. The Wrangler’s sole focus mitigates this risk.
Primary Responsibilities by Age and Ability
Role assignment must be realistic and age-appropriate. An evacuation protocol is not just for the adults; children must be active participants to feel empowered rather than terrified.
- Adults and Teenagers: Handle heavy lifting, utility shut-offs (gas, water, electricity), and situational awareness (monitoring NOAA weather radios or local alert apps).
- Children (Ages 8-12): Can be assigned as the "Communications Officer." Their job might be to grab the portable phone chargers, a specific flashlight, and ensure all interior doors are closed behind the family (which slows the spread of fire).
- Young Children (Ages 4-7): Their only job is the "Buddy System." They are responsible for holding a sibling's hand or grabbing their designated comfort item and immediately walking to the designated exit. Keeping their task incredibly simple prevents them from hiding under beds or in closets—a common, tragic reaction in young children during fires.
Crucially, your plan must build in redundancy. What if the Incident Commander is at work when a flash flood warning is issued? What if the Wrangler is injured? Every adult and capable teenager must be cross-trained in the primary responsibilities of the others to ensure the protocol does not collapse if one key player is missing.
Timing Benchmarks: Beating the Clock
A plan without a deadline is just a suggestion. In emergency preparedness, timing benchmarks are the metrics by which you measure your family's survivability. Different disasters dictate different timelines, and your family must be trained to recognize and execute the appropriate speed of response.
The most critical benchmark is the Two-Minute Rule. Modern homes, constructed with synthetic materials and open floor plans, burn significantly faster than homes built 50 years ago. The NFPA stresses that you may have less than two minutes from the sound of the smoke alarm to safely exit. During a two-minute drill, there is no time for the Quartermaster to grab bags or the Wrangler to search for a hiding cat. The singular focus is life preservation. The benchmark is met only when every family member is standing at the immediate neighborhood rally point within 120 seconds.
The next benchmark is the Ten-Minute Go. This applies to short-notice events like a rapidly shifting wildfire, a tsunami warning following an earthquake, or a localized hazardous materials spill. Ten minutes allows for a slightly more coordinated response. The Quartermaster loads the pre-packed go-bags, the Wrangler secures pets in vehicles, and the Commander shuts off the HVAC system to prevent drawing contaminated air into the house.
Finally, there is the One-Hour Notice. This is common for hurricanes, slow-moving flood waters, or widespread power grid failures. While an hour seems like ample time, it evaporates quickly. This benchmark tests your family's ability to execute property-preservation tasks: shutting off the main water and gas valves, boarding up windows, moving valuables to a second floor, and executing a calm, orderly departure before evacuation routes become gridlocked.
Conducting a Disaster Drill for Families
Writing the plan is only 10% of the work; the remaining 90% is rehearsal. A disaster drill for families bridges the gap between theory and reality. However, thrusting your family into a full-speed, surprise drill on day one is a recipe for panic, resentment, and trauma. Rehearsal must be phased in gradually to build confidence and competence.
Phase one is the Tabletop Exercise. Gather the family in the living room and talk through a hypothetical scenario. Ask questions like, "If a fire starts in the kitchen right now, how do we get out?" or "If the earthquake alarm sounds, where do we drop, cover, and hold on?" This low-stress environment allows family members to ask questions and clarify their roles without the pressure of a ticking clock.
Phase two is the Walk-Through. At a normal walking pace, have the family physically trace the primary and secondary escape routes. Have the children physically touch the secondary exits, like the latch on a ground-floor window. Have the Quartermaster physically touch the handles of the go-bags. This builds spatial awareness and physical memory.
Phase three is the Full-Speed Rehearsal. This is where you introduce the stopwatch. Announce that you are doing a drill, set the parameters (e.g., "This is a two-minute fire drill"), and execute. Once the family can consistently meet the time benchmarks during the day, you must introduce the final phase: the nighttime drill. Emergencies do not respect business hours. Waking your family with an alarm at 11:00 PM tests their ability to shake off sleep inertia, find their flashlights, and execute the plan in the dark.
Mastering Kids Evacuation Practice
When it comes to kids evacuation practice, the psychological approach is just as important as the tactical execution. The goal is to make them prepared, not paranoid. The most effective way to achieve this is through gamification. Frame the drills as a challenge or a team sport rather than a life-or-death simulation.
Use stopwatches and offer small rewards for beating previous times. Teach them the "stay low and go" technique for crawling under smoke by having them navigate an obstacle course in the hallway. Familiarize them with the sound of the smoke detector so that it triggers an automatic physical response rather than a fear response.
It is also vital to practice "stranger danger" reversals. In a severe emergency, children may need to be rescued by firefighters in full turnout gear and self-contained breathing apparatus (SCBA) masks. To a young child, a firefighter can look and sound like a terrifying monster. Show them videos or pictures of firefighters in full gear, explaining that these are helpers. Practice scenarios where they must shout out their location rather than hiding from the loud, strange-looking rescuers.
The Ultimate Evacuation Drill Checklist
To ensure your drills are effective and comprehensive, you need a standardized metric for evaluation. Utilizing an evacuation drill checklist guarantees that no critical steps are overlooked during the chaos of practice. Print this checklist and have the Incident Commander use it to grade the family’s performance during the rehearsal.
Pre-Drill Preparation:
- Are all primary and secondary exits clear of clutter and easily accessible?
- Are go-bags packed, rotated for seasonal clothing, and easily accessible?
- Are pet carriers and leashes stored in a designated, known location?
- Are flashlights and hard-soled shoes located under every bed?
Active Drill Execution:
- Did everyone respond immediately to the alarm without hesitation?
- Did family members stay low to the ground during fire simulations?
- Did the assigned Wrangler successfully locate and secure the pets?
- Did the last person out of each room close the door behind them?
- Did everyone use the designated safe route rather than the most convenient one?
Post-Drill Rally Point:
- Did all family members arrive at the correct rally point?
- Was the time benchmark met (e.g., under two minutes)?
- Did the Incident Commander successfully conduct a headcount?
- Did the Communicator have the emergency radio or charged cell phone?
The After-Action Review (AAR): Finding the Flaws
In the military, the most critical part of any mission or training exercise is the After-Action Review (AAR). An AAR is a blameless, structured debriefing that occurs immediately after the drill is completed. This is where the true value of your family evacuation plan is realized, as it allows you to identify bottlenecks and implement immediate improvements.
Gather the family at the rally point while the experience is still fresh. The Incident Commander should lead the discussion by asking three simple questions: What was supposed to happen? What actually happened? How do we fix the gap between the two?
During the AAR, you might discover critical flaws in your logistics. Perhaps the secondary exit window in the teenager's room was stuck and took 45 seconds to open. That is a mechanical issue that requires immediate maintenance. Perhaps the family dog hid under the sofa at the sound of the alarm, causing the Wrangler to lose valuable time. That is a behavioral issue that requires adjusting the pet evacuation strategy, perhaps by keeping a high-value treat in the go-bag to lure the animal.
You may also find that your gear needs upgrading. If family members struggled to navigate the stairs in the dark, the AAR outcome should be to install motion-sensor nightlights along the baseboards. If someone stepped on a sharp object during a nighttime drill, the new rule must be that a pair of slip-on, hard-soled shoes stays permanently under the edge of every bed.
The CDC and FEMA frequently update their disaster preparedness guidelines based on new data from recent natural disasters. Your plan should evolve similarly. Conduct a full drill and AAR at least twice a year—ideally coinciding with the changing of the clocks for daylight saving time, which is also when you should be changing the batteries in your smoke detectors and rotating the expired food and water in your go-bags.
Disasters strip away our illusions of control, leaving us with only our training and our protocols. By taking the time to design a comprehensive family evacuation plan, assign distinct responsibilities, and rigorously test your benchmarks, you are doing more than just preparing for the worst. You are replacing anxiety with operational readiness. You are giving your family the tools, the muscle memory, and the confidence to navigate the unthinkable. When the alarm sounds, your family won't have to wonder what to do next—they will simply execute the protocol, secure their safety, and survive to see tomorrow.
Perfect your family evacuation drills using our family emergency planning guide. Review comprehensive family planning in our family emergency plan. Build evacuation kits with our go-bag builder. Calculate drill supplies with our supply calculator. Get professional evacuation training through our preparedness courses.
Frequently Asked Questions
What is the first step to prepare for this scenario?
Start with a realistic risk assessment for your location, then build a simple written plan your whole household can follow.
How much should beginners spend initially?
Begin with high-impact basics and a phased budget. Small consistent upgrades beat expensive one-time purchases.
How often should plans and gear be reviewed?
Audit every 6 to 12 months and after every real incident to capture lessons learned. For a broader perspective on how communities handle these situations, see our community emergency preparedness guide.
What should go in every emergency kit?
Water, food, first aid, lighting, communication, documents, and essential medications.
How do I get family buy-in for preparedness?
Keep it practical, avoid fear language, and run short drills that show clear everyday value.
Sources & Further Reading
To reduce panic and improve execution under pressure, pair your drills with the Survival Psychology course.