⚡ Key Facts
- GPS Vulnerability: The Federal Emergency Management Agency (FEMA) explicitly warns that severe space weather, cyber events, or localized infrastructure failures can severely degrade or disable the Global Positioning System (GPS).
- Search and Rescue Volume: The National Park Service (NPS) conducts over 4,000 Search and Rescue (SAR) missions annually, with "navigational error" or "getting lost" cited as a primary contributing factor in a large percentage of wilderness emergencies.
- Shifting Magnetic Poles: According to the National Oceanic and Atmospheric Administration (NOAA), the Earth's magnetic north pole is constantly moving, currently drifting at roughly 40 to 50 kilometers per year, making understanding magnetic declination a vital survival skill.
- Map Availability: The United States Geological Survey (USGS) has produced and maintains over 55,000 highly detailed topographic maps covering the entire United States, providing a robust, grid-independent navigation resource.
Imagine navigating a dense, unfamiliar forest or trying to find a safe route out of a disaster-stricken urban area. You reach into your pocket, pull out your smartphone, and are met with a black screen or a flashing "No Signal" indicator. Whether due to a dead battery, a downed cellular network, or a widespread grid failure, the sudden loss of digital mapping can induce immediate panic. We have become profoundly reliant on satellite-guided turn-by-turn directions, outsourcing our spatial awareness to microchips. However, true resilience requires the ability to confidently navigate the physical world when technology fails. Mastering land navigation without gps is not just a nod to historical exploration; it is a fundamental pillar of modern emergency preparedness. See go-bag essentials checklist for practical checklists. The Urban Grid-Down Protocol course connects these navigation skills to communications and movement decisions after city systems go offline.
Analog navigation relies on tools that never require a software update, a charging cable, or a satellite connection. A quality baseplate compass and a paper topographic map are completely immune to electromagnetic pulses (EMPs), cyber-attacks, and dead batteries. When you understand how to read the contour lines of the earth, align your heading with the magnetic pull of the planet, and track your physical progress through pace counting, you gain absolute geographic independence. This guide will walk you through the essential mechanics of map and compass survival, transforming you from a passive follower of digital blue dots into an active, empowered navigator. See go-bag builder tool for practical checklists.
The Fundamentals of Topographic Map Reading
A standard road map is entirely inadequate for wilderness survival or emergency evacuation. Road maps are two-dimensional representations that prioritize highways and city streets, ignoring the physical reality of the earth's surface. Topographic map reading, on the other hand, allows you to visualize a three-dimensional landscape on a two-dimensional piece of paper. The United States Geological Survey (USGS) produces the gold standard for these maps in the U.S., utilizing specific symbols, colors, and lines to communicate the exact nature of the terrain. See supply calculator for practical checklists.
Decoding Contour Lines
The defining feature of any topographic map is its contour lines. These are the twisting, concentric brown lines drawn across the map. Each contour line connects points of equal elevation above sea level. By studying how these lines interact, you can "read" the shape of the mountains, valleys, ridges, and depressions before you ever set foot on them. See water storage calculator for practical checklists.
There are three primary types of contour lines you must understand. Index lines are the thickest brown lines, typically occurring every fifth line, and they feature the exact elevation printed along them. Intermediate lines are the thinner brown lines between the index lines. Supplementary lines, which are dashed, are occasionally used in very flat terrain to show minor elevation changes. The distance in elevation between each line is called the contour interval, which is always listed in the map's legend (e.g., "Contour Interval = 40 Feet"). See survival scenarios library for practical checklists.
The spacing of these lines reveals the steepness of the terrain. When contour lines are packed tightly together, it indicates a steep cliff or a rapid ascent. When the lines are spread far apart, the terrain is relatively flat and gentle. If you see contour lines forming a series of closed circles, you are looking at a peak or a hill. Conversely, if those closed circles have small tick marks (hachures) pointing inward, it represents a depression or a sinkhole. Recognizing these patterns instantly is the core of orienteering emergency prep. See family emergency plan framework for practical checklists.
Understanding Map Colors and Symbols
Topographic maps use a standardized color palette to convey environmental information quickly. Brown is exclusively used for contour lines and elevation features. Green indicates vegetation, with darker shades often representing denser forests and lighter shades indicating scrub or orchards. Blue represents water features, including rivers, lakes, swamps, and oceans.
Black is used for man-made features such as buildings, trails, railroads, and boundaries. Red or a reddish-brown is typically reserved for major highways, significant roads, and public land survey boundaries. Purple was historically used by the USGS to indicate map revisions overlaid on older maps, though this is less common in modern digital-to-print versions.
Scale and the Legend
The scale of a map dictates how much detail is shown. The standard USGS topographic map uses a 1:24,000 scale. This means that one inch on the map equals 24,000 inches (or 2,000 feet) in the real world. A 1:24,000 map provides excellent, granular detail for foot travel. Maps with a larger ratio, such as 1:100,000, cover a much wider geographic area but sacrifice the fine terrain details necessary for precise wilderness navigation.
Always consult the map's legend before starting your journey. The legend is the map's instruction manual. It contains the scale, the contour interval, the date the map was surveyed (which is critical, as landscapes and trails change over time), and the magnetic declination information for that specific quadrangle.
Anatomy of an Orienteering Compass
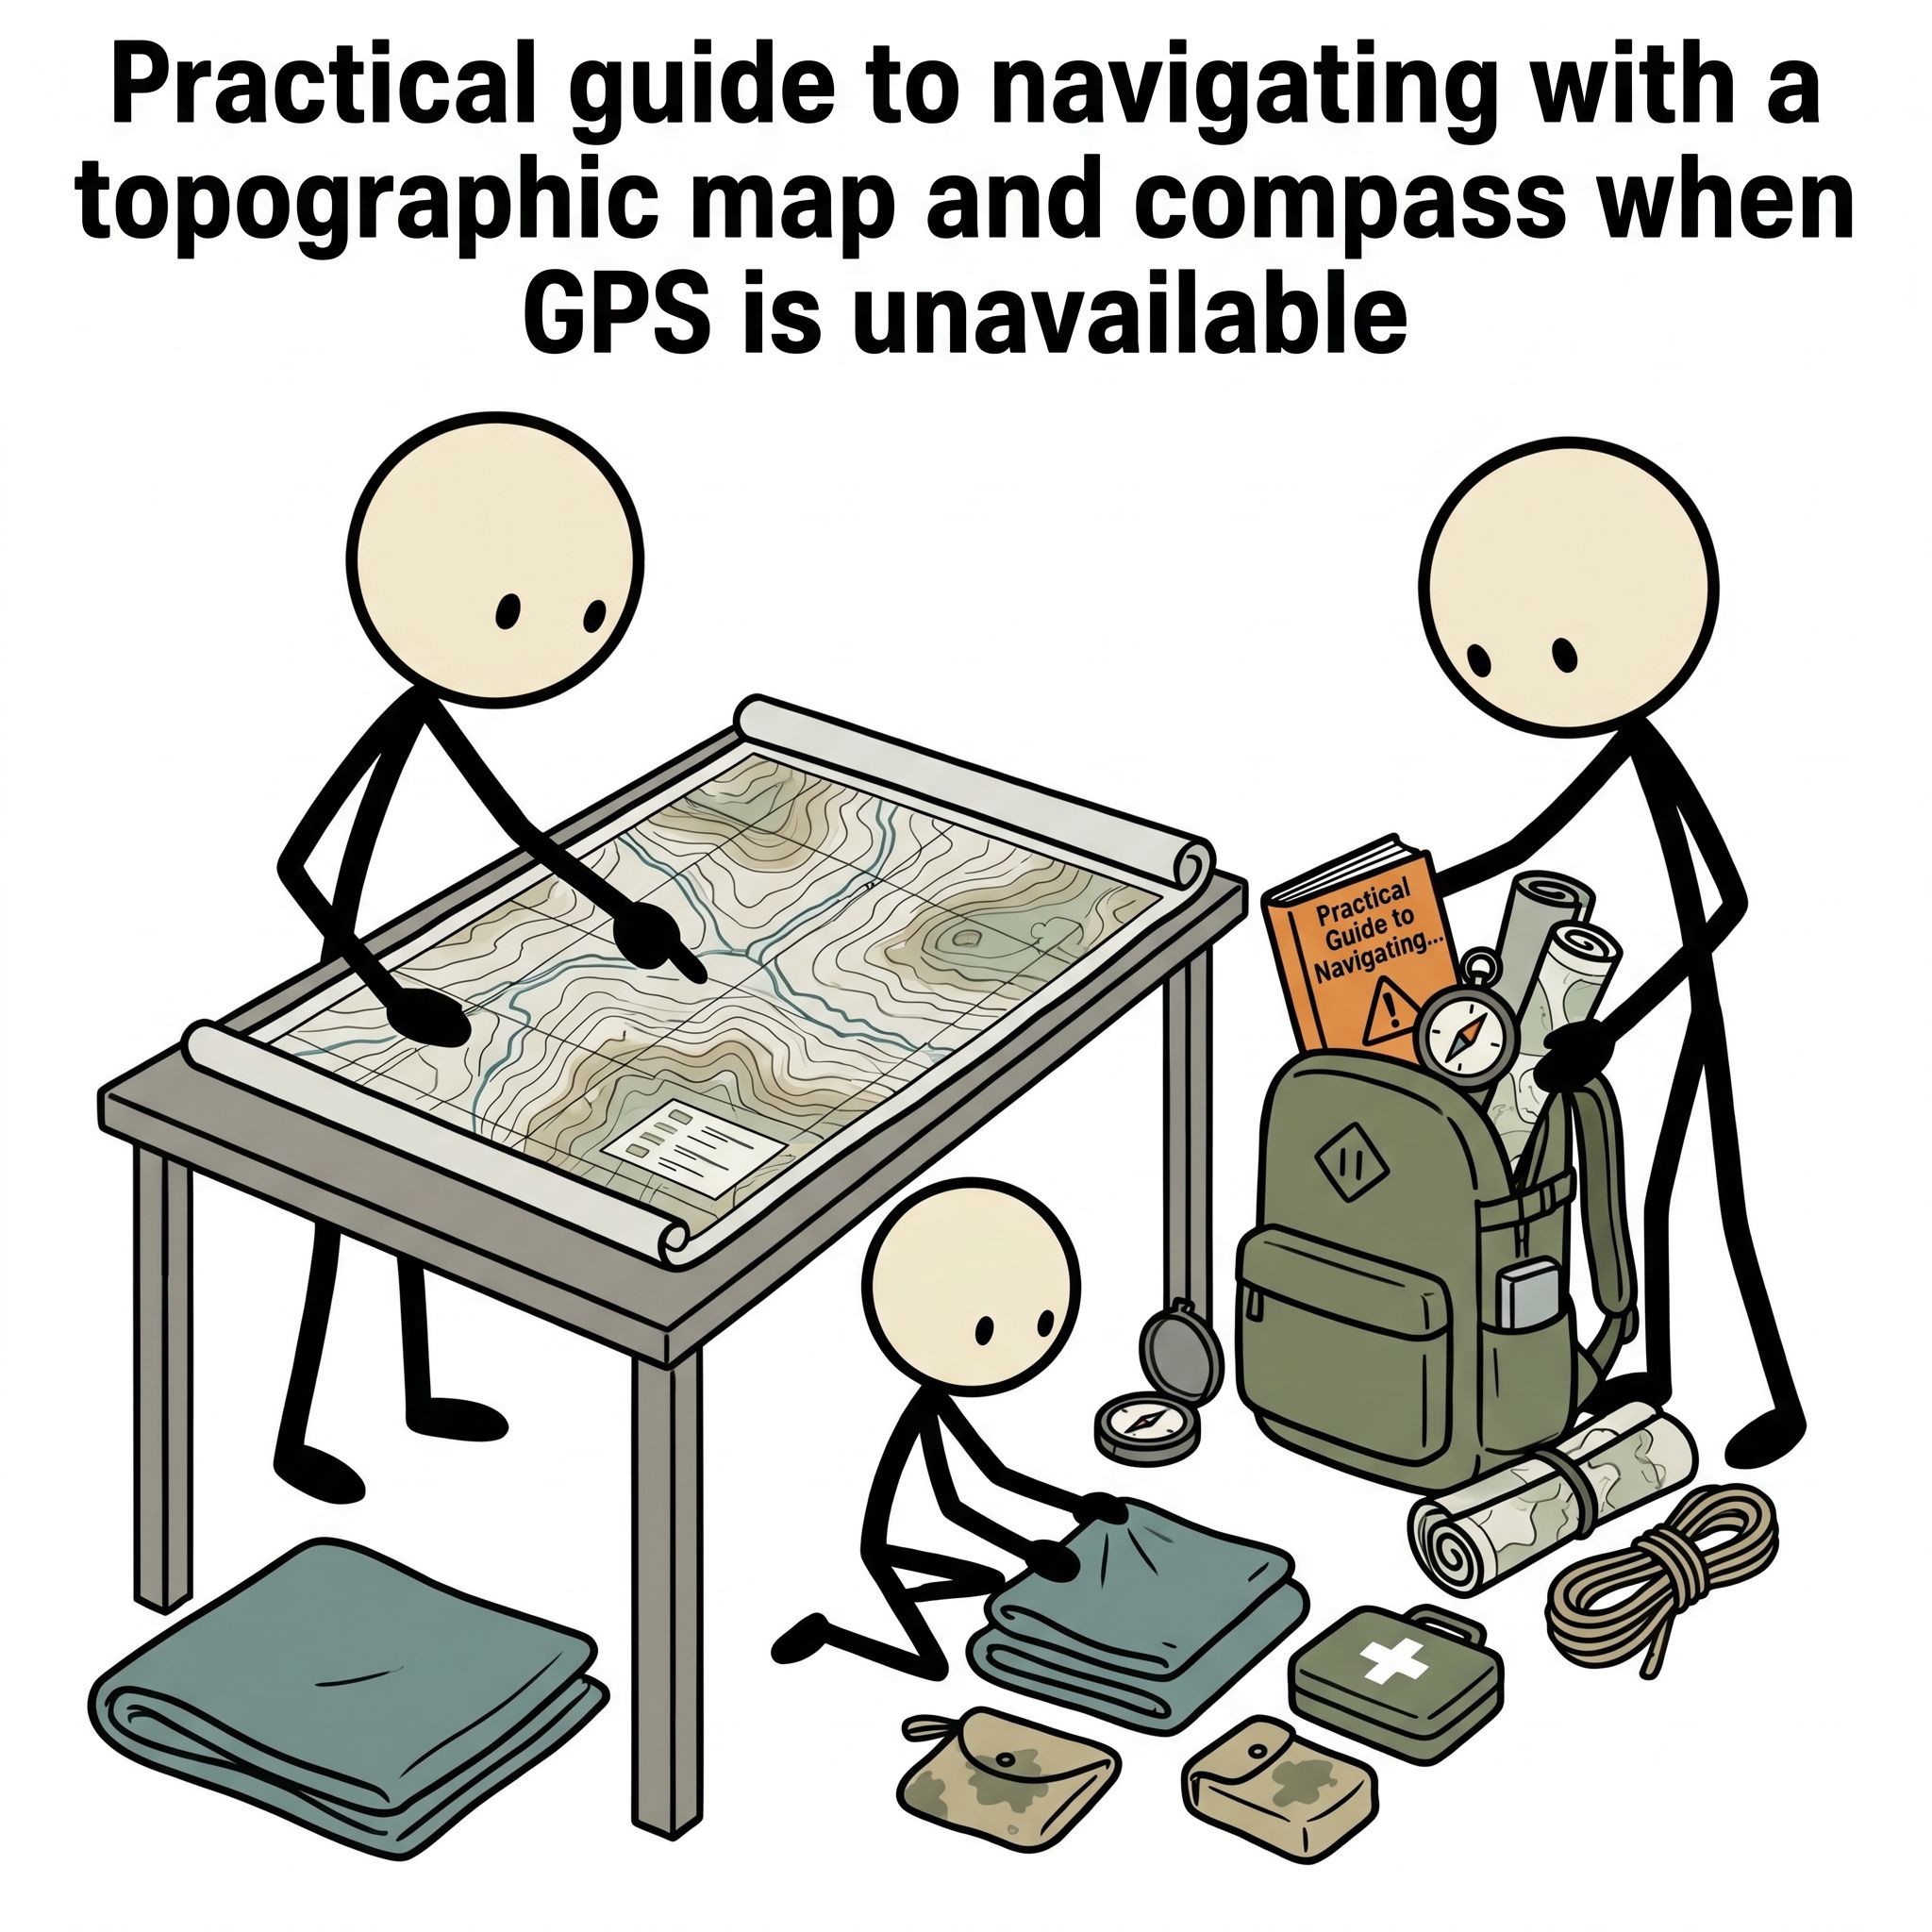
While there are many types of compasses, the standard clear-acrylic baseplate compass (often called an orienteering compass) is the most versatile and user-friendly tool for map navigation. Unlike a simple button compass or a digital watch compass, a baseplate compass is designed specifically to interact with a map, allowing you to take accurate bearings and calculate distances.
The baseplate is the clear plastic chassis of the compass. It features straight edges for drawing lines on your map and rulers (usually in inches and millimeters) for measuring distances based on the map's scale. Embedded in the baseplate is the Direction of Travel Arrow. This is a critical feature; whenever you are following a bearing, this arrow must be pointing directly away from you, toward your destination.
Mounted on the baseplate is the rotating housing, or bezel. The bezel is marked with the 360 degrees of a circle. Inside the housing sits the magnetic needle. The red end of this needle is magnetized and will always point toward the earth's magnetic north pole (not true geographic north). Also inside the housing is the orienting arrow (often a large red outline) and orienting lines, which rotate when you turn the bezel. These lines are used to align the compass with the grid lines on your topographic map.
Understanding and Adjusting for Declination
One of the most common and dangerous errors in land navigation is failing to account for magnetic declination. Your topographic map is oriented to True North—the geographic North Pole at the top of the globe. Your compass needle, however, points to Magnetic North—a shifting location currently situated in the Canadian Arctic, driven by the earth's molten core. The angular difference between True North and Magnetic North from your specific location is called magnetic declination.
According to the National Oceanic and Atmospheric Administration (NOAA), declination varies wildly depending on where you are standing. In the state of Washington, magnetic north is roughly 15 degrees East of true north. In Maine, it is roughly 15 degrees West. If you are navigating in an area with a 15-degree declination and you fail to adjust for it, you will drift approximately 1,300 feet off course for every mile you travel. In a Survival Scenarios, missing your target by a quarter-mile can mean missing a vital water source or a rescue extraction point.
How to Handle Declination
Your USGS topographic map will have a declination diagram in the bottom margin showing the angle between True North (usually marked with a star) and Magnetic North (marked with MN). Because the magnetic pole shifts, NOAA advises checking online for the most up-to-date declination if your map is several years old.
The easiest way to handle declination is to purchase a compass with an adjustable declination screw. By turning a small screw on the bezel, you can permanently offset the orienting arrow to match your local declination. Once this is set, your compass automatically does the math for you, allowing you to treat map north and magnetic north as the same thing.
If you have a fixed-bezel compass, you must do the math manually using the rhyme "East is Least, West is Best." If your local declination is East, you subtract the declination from your map bearing to get your compass bearing. If your declination is West, you add the declination to your map bearing to get your compass bearing. When transferring a bearing from the terrain back to the map, you reverse the math.
Taking and Following a Bearing
A bearing is simply an exact angle (measured in degrees from 0 to 360) that represents the direction from one point to another. Mastering the process of taking a bearing is the operational core of map and compass survival. There are two primary ways to use bearings: taking a bearing from the map to use in the field, and taking a bearing from the field to plot on the map.
From Map to Terrain (Finding Your Way)
Imagine you are at a known location on your map (Point A) and need to reach a bug-out cabin or water source (Point B). First, lay your map flat. Place the straight edge of your compass baseplate on the map so that it connects Point A to Point B. Ensure the Direction of Travel Arrow is pointing toward your destination (Point B).
Next, without moving the baseplate, rotate the compass bezel until the orienting lines inside the housing are perfectly parallel with the vertical north-south grid lines on your map. Ensure the "N" on the bezel is pointing to the top (North) of the map. You have now captured the map bearing.
If your compass has adjustable declination set, you are ready to move. Pick up the compass and hold it flat in front of your chest. Turn your entire body until the red magnetic needle floats perfectly inside the red orienting arrow (often referred to as "putting red in the shed"). Look up, following the Direction of Travel Arrow. That is your exact path. Pick a prominent landmark (a distinct tree or boulder) along that line, walk to it, and repeat the process.
From Terrain to Map (Identifying a Landmark)
Conversely, if you see a distant mountain peak and want to identify it on your map, you take a bearing from the terrain. Hold the compass flat and point the Direction of Travel Arrow directly at the distant peak. Rotate the bezel until the red magnetic needle is seated inside the red orienting arrow.
Read the degree mark at the index line. Now, place the compass on your map. Put the back corner of the baseplate's straight edge on your current known location. Rotate the entire compass baseplate (without touching the bezel) until the orienting lines inside the housing are parallel with the map's north-south grid lines. Draw a line along the straight edge. The peak you are looking at lies somewhere along that drawn line.
Triangulation: Finding Yourself on the Map
Getting lost is a psychological emergency as much as a physical one. If you become disoriented and do not know where you are on the map, you can use a technique called resection, or triangulation, to pinpoint your exact location. This is one of the most critical bug out navigation skills you can possess.
To perform triangulation, you must be able to visually identify at least two (preferably three) prominent landmarks in the real world that you can also locate on your topographic map. Mountain peaks, radio towers, or distinct bends in a large river are excellent choices. The wider the angle between these landmarks, the more accurate your triangulation will be.
Step one: Shoot a bearing to your first landmark using the "Terrain to Map" method described above. Once you have the bearing, place your compass on the map. Put the front corner of the straight edge on the symbol for that landmark. Pivot the compass until the orienting lines match the map's north-south grid lines. Draw a straight pencil line backward from the landmark across the map. You are located somewhere on this line.
Step two: Repeat this exact process for your second landmark. Draw the second line on your map. The point where these two lines intersect is your approximate location.
Step three: For maximum accuracy, shoot a bearing to a third landmark and draw a third line. In a perfect world, all three lines will intersect at a single pinpoint. In reality, they will likely form a small triangle, known as the "triangle of error." Your actual location is inside that small triangle. By combining this technique with terrain analysis, you can restore your situational awareness and plan your next move.
Pace Counting: Measuring Distance on Foot
Knowing your direction is only half of the navigation equation; you must also know how far you have traveled. In a vehicle, you have an odometer. On foot, you must rely on pace counting. Pace counting is a systematic method of tracking distance by counting the number of times your feet strike the ground.
To establish your baseline pace count, you must measure out exactly 100 meters on flat terrain. Walk this 100-meter course at a normal, natural walking speed. Count every time your left foot strikes the ground. Most adults take between 60 and 70 paces (every time the left foot hits) to cover 100 meters. Walk the course three times and average the numbers to establish your personal 100-meter pace count.
Using Ranger Beads
Keeping a running tally of hundreds of paces in your head is virtually impossible, especially when you are fatigued, stressed, or navigating difficult terrain. The solution is a simple tool called Ranger Beads (or a pace counter). This is a length of paracord with two sections of beads separated by a knot. The bottom section has nine beads, and the top section has four beads.
Every time you walk 100 meters (e.g., you hit 65 paces), you pull one bead down on the bottom section. When you have pulled down all nine beads and walk another 100 meters, you pull down one bead from the top section and reset the bottom nine. One top bead equals 1,000 meters, or one kilometer. This tactile system allows you to flawlessly track your distance traveled without relying on memory.
Environmental Factors Affecting Pace
Your baseline pace count is highly susceptible to environmental changes. If you are walking uphill, your stride shortens, and it will take more paces to cover 100 meters. If you are walking downhill, your stride lengthens. Mud, deep snow, dense brush, or carrying a heavy Go-Bag Builder will all significantly alter your pace count.
Experienced navigators adjust their pace count dynamically. If you know your flat terrain pace is 65, you might estimate it to be 80 in deep snow or steep inclines. By constantly cross-referencing your pace count distance with the scale on your topographic map, you can accurately track your progress along your bearing.
Terrain Association: Reading the Land
While compass bearings and pace counts are precise mathematical tools, the most efficient navigators use them in conjunction with terrain association. Terrain association is the art of matching the physical features you see around you with the contour lines and symbols on your map. Relying solely on a compass without looking at the land is a common beginner's mistake. Effective bug out navigation skills require keeping your head up.
Handrails and Catching Features
A "handrail" is a linear terrain feature that runs roughly parallel to your intended direction of travel. Examples include a river, a ridgeline, a power line clearing, or a well-defined trail. Instead of staring at your compass and strictly following a bearing through dense underbrush, you can navigate to a handrail and simply follow it, saving immense time and energy. You only need to periodically check your compass to ensure the handrail hasn't deviated in the wrong direction.
A "catching feature" (or backstop) is a prominent terrain feature located just beyond your destination or waypoint. It acts as an alarm system. For example, if you are navigating to a small cabin in the woods, and you know from your map that there is a large, unmissable river 500 meters behind the cabin. If you hit the river, you know immediately that you have walked too far and need to turn back. Establishing catching features prevents you from walking aimlessly past your target.
Aiming Off
Aiming off is an advanced terrain association technique used when your destination is a small point located on a linear feature. Imagine you need to find a specific bridge crossing a long river. If you shoot a direct bearing to the bridge and walk through dense woods, you will inevitably drift slightly left or right. When you finally hit the river, you won't know if the bridge is upstream or downstream.
To solve this, you intentionally "aim off." You deliberately set your compass bearing 5 to 10 degrees to the left of the bridge. When you reach the river, you know with absolute certainty that the bridge is to your right. You simply turn right and use the river as a handrail until you reach your destination. This technique eliminates second-guessing and is a staple of professional orienteering emergency prep.
Building Your Emergency Navigation Kit
To effectively execute land navigation without gps, you must build a dedicated, weatherproof navigation kit. This kit should be a permanent fixture in your bug-out bag, vehicle emergency kit, or hiking pack. The tools are lightweight, inexpensive, and incredibly durable.
Start with a high-quality baseplate compass. Brands like Suunto, Silva, and Brunton are industry standards. Ensure the compass has a liquid-filled housing (to dampen needle movement), adjustable declination, and a sighting mirror if you want maximum precision for triangulation. Always carry a secondary, smaller backup compass in case your primary tool is lost or damaged.
Your map selection is equally important. Acquire USGS 1:24,000 scale topographic maps for your immediate local area, your planned evacuation routes, and your final bug-out destination. Standard paper maps will disintegrate in the rain. You must either print your maps on specialized waterproof paper (like Rite in the Rain), purchase pre-laminated maps, or carry a clear, waterproof map case.
Finally, include the necessary accessories. Pack a set of Ranger Beads for pace counting. Include a mechanical pencil and a high-quality eraser for drawing bearing lines and triangulation marks on your map. A small, clear plastic protractor or coordinate scale tool can also be invaluable for plotting precise grid coordinates if you are working alongside search and rescue teams or using a military grid reference system (MGRS).
Embracing Geographic Independence
The transition from relying on a glowing screen to trusting a magnetized needle and a paper map is a profound step in personal preparedness. Technology is an incredible asset, but it is inherently fragile. By mastering topographic map reading, understanding the nuances of magnetic declination, and practicing pace counting and terrain association, you insulate yourself from the unpredictable failures of the modern grid.
These skills require practice. Do not wait for a crisis to unfold your topographic map for the first time. Take your compass to a local state park, establish your pace count, and practice triangulating your position using distant hills. Treat navigation as a perishable skill that requires routine exercise. When you possess the ability to confidently orient yourself in any environment, under any conditions, you strip away the fear of the unknown. You transform the wilderness from a place of potential peril into a navigable landscape, ensuring that no matter what happens to the satellites above, you will always be able to find your way home.
Frequently Asked Questions
What is the minimum navigation kit I need without GPS?
A topographic map of your area (USGS 7.5-minute series), a baseplate compass (Silva or Suunto Ranger), a pace counting bead set, a mechanical pencil, and a waterproof map case. This costs under $40 and weighs almost nothing.
What is declination and why does it matter?
Declination is the difference between magnetic north (what your compass points to) and true north (what maps use). In the US, it ranges from -20° to +25° depending on location. You must account for declination or your navigation will drift significantly over distance.
What is triangulation and when do I need it?
Triangulation (resection) lets you find your exact position on a map using only your compass. Take a bearing to two or more identifiable landmarks, draw lines from those landmarks back along the reverse bearing — where they intersect is your position.
For strategic evacuation planning, review our bug-out evacuation guide. Check out our satellite communication systems guide. Learn more about natural disaster preparedness. Use our supply calculator and explore our courses for complete preparation.
Sources & Further Reading
- US Army FM 3-25.26 Map Reading and Land Navigation
- USGS National Geospatial Program
- Be Expert With Map and Compass by Bjorn Kjellstrom