⚡ Key Facts
- Grid Vulnerability: According to the U.S. Energy Information Administration (EIA), the average American experiences over 8 hours of power interruptions annually, with severe weather events driving longer-lasting outages.
- Water Requirements: FEMA and the Red Cross mandate a minimum of 1 gallon of water per person per day for survival, but 3 to 5 gallons are required for basic hygiene and cooking.
- Deep Water Access: Modern deep-well manual pumps can lift water from static water levels exceeding 300 feet, far surpassing the 25-foot limit of traditional shallow-well suction pumps.
- Shared Casing Compatibility: A backup hand pump can be installed directly into your existing 4-inch or 6-inch well casing alongside your electric submersible pump, requiring no new drilling.
- System Pressurization: Premium manual pumps can be piped directly into your home’s pressure tank, allowing you to push water to your indoor faucets and flush toilets manually.
Imagine a severe winter storm rolling across your region. The temperature plummets, the wind howls, and suddenly, the grid goes dark. If you are prepared, your pantry is stocked, your flashlights are staged, and your backup heating source is ready. But when you turn the faucet, nothing happens. For the millions of Americans relying on private electric well pumps, a power outage instantly cuts off the single most critical survival resource: water. While storing bottled water is a vital first step recommended by the Centers for Disease Control and Prevention (CDC), long-term resilience requires access to an endless, renewable supply. See go-bag essentials checklist for a practical checklist.
For nuclear emergencies specifically, see our nuclear fallout first 24 hours guide - the actions you take in the first hour are critical.
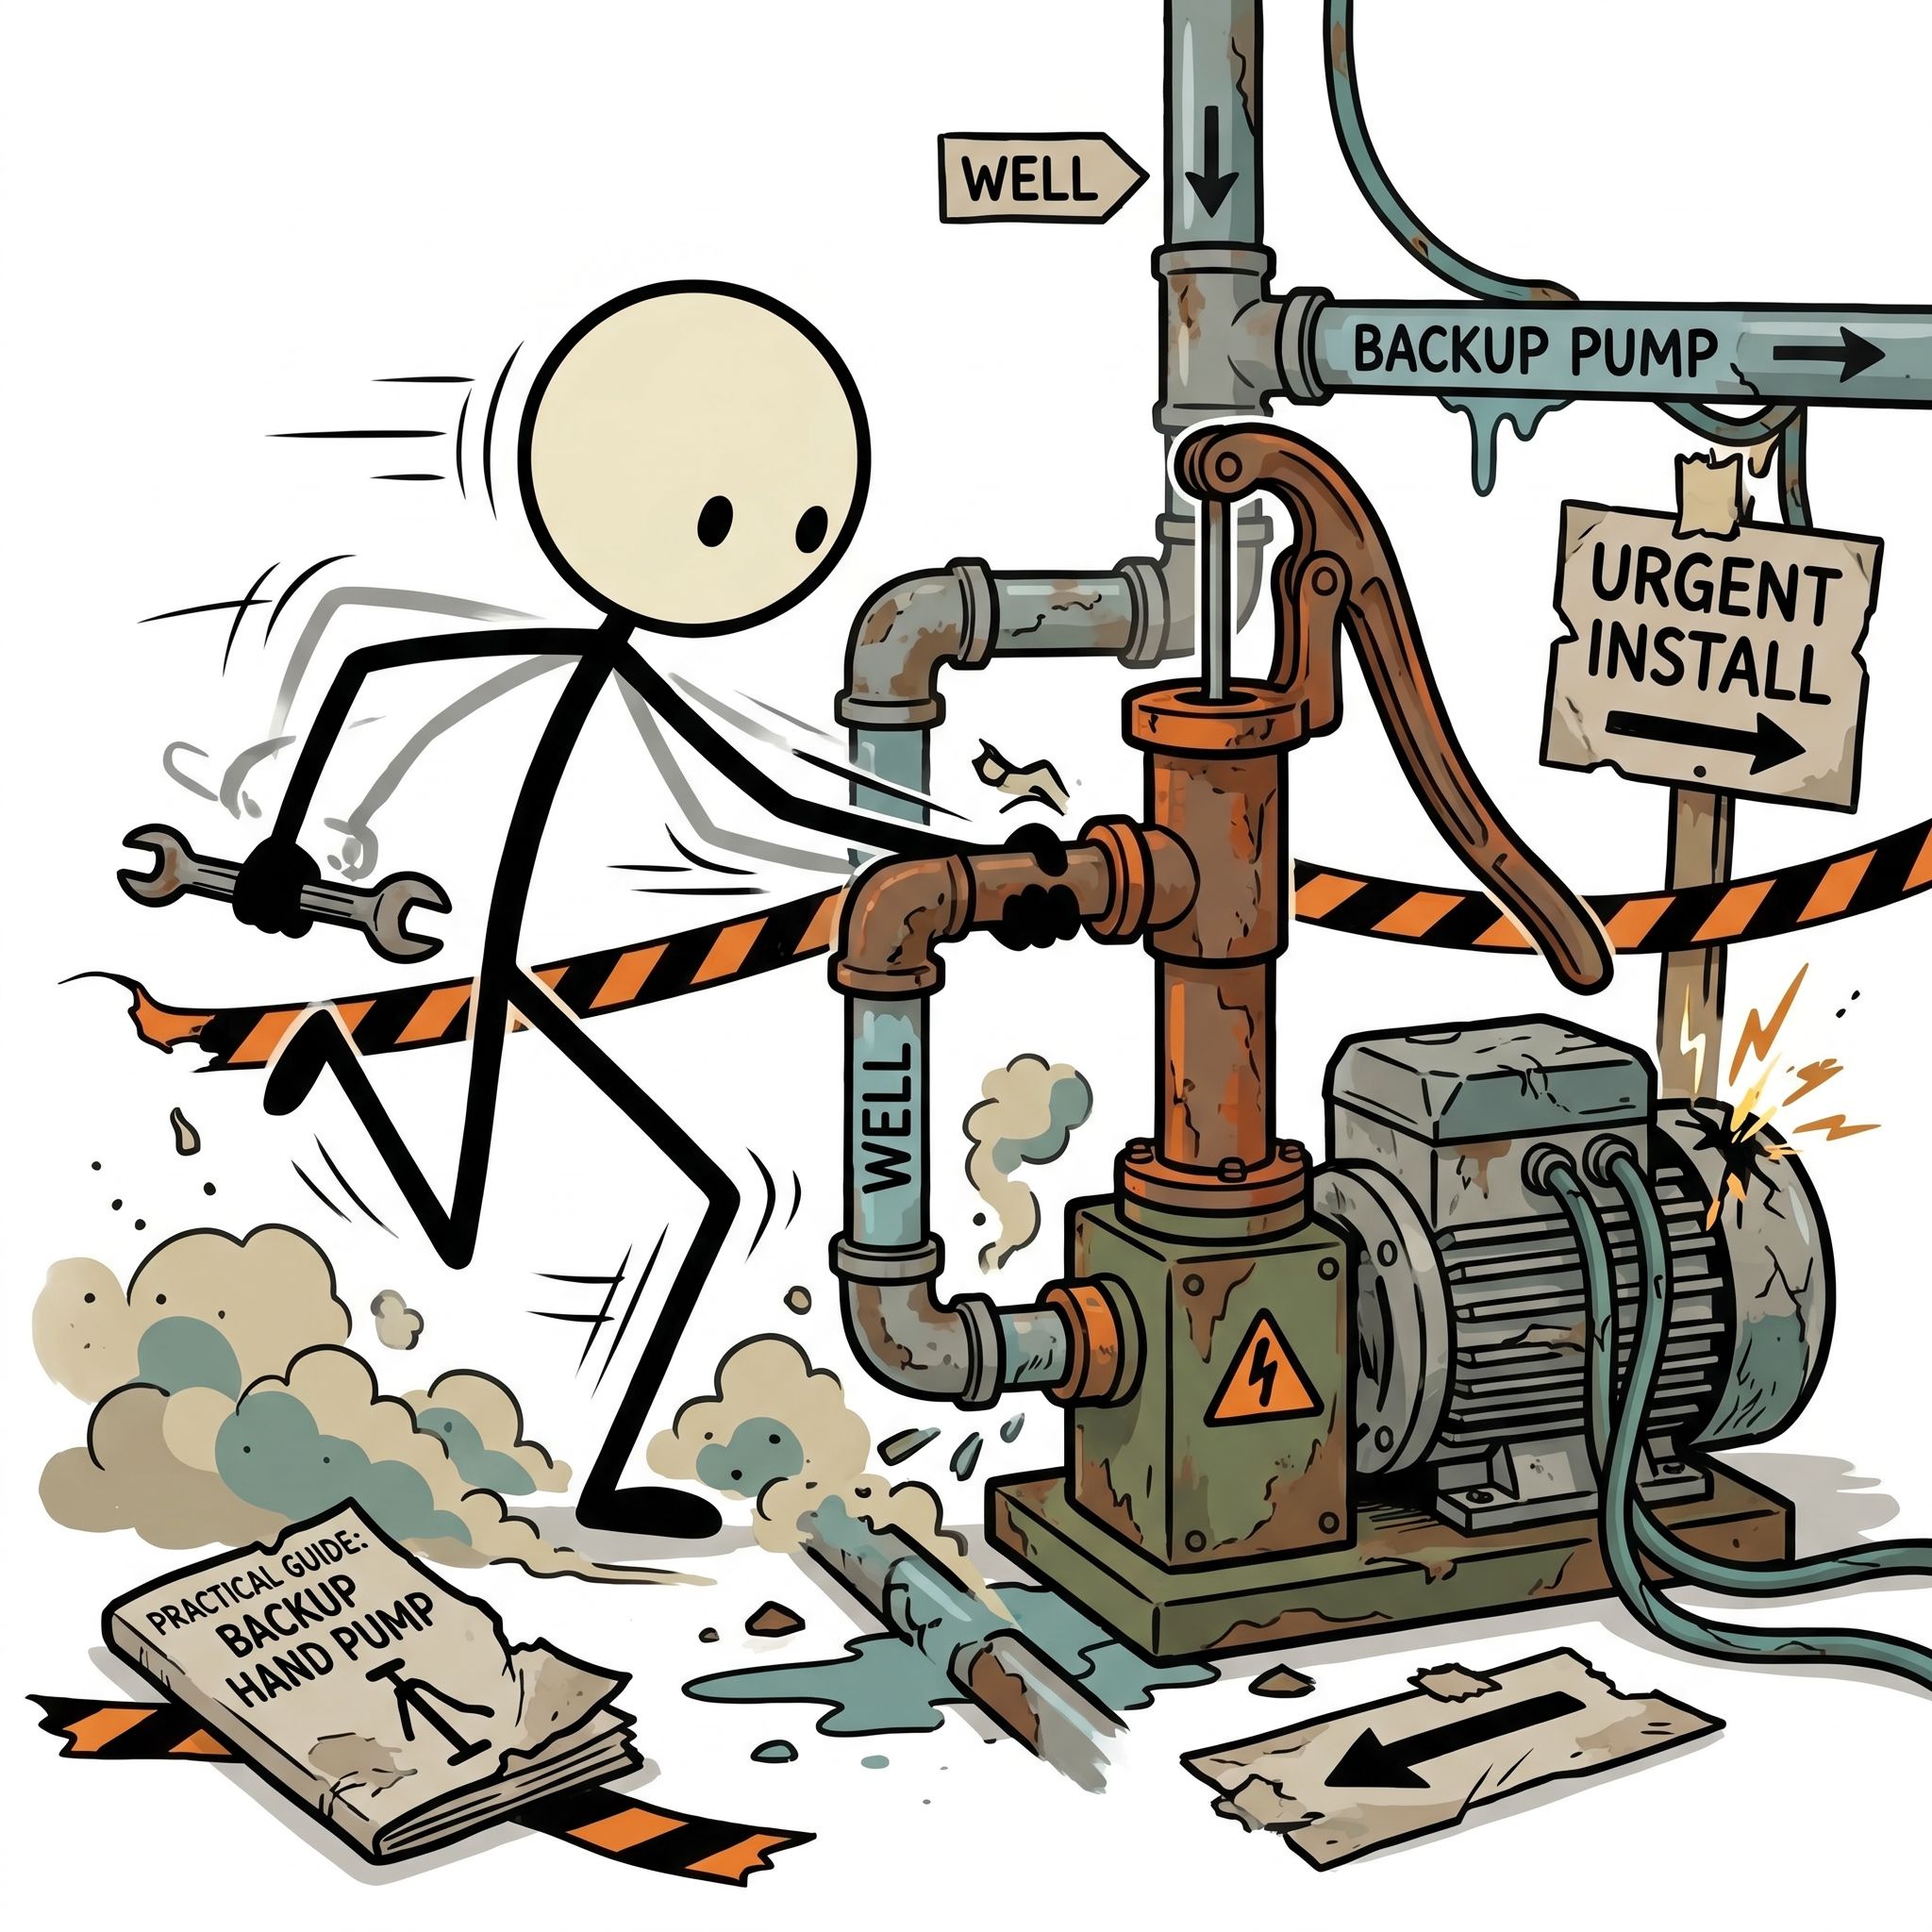
Securing your water independence means installing a reliable backup well pump no electricity required to operate. By integrating a manual hand pump alongside your existing electric system, you bridge the gap between modern convenience and off-grid self-reliance. You do not need to pull your electric pump or drill a new well. With the right equipment and careful planning, a tandem installation allows both systems to coexist flawlessly in the exact same well casing. See supply calculator for a practical checklist.
This comprehensive guide will walk you through the mechanics of deep-well hand pumps, output expectations, and the physics of depth limitations. We will also provide an in-depth Simple Pump vs Bison Pump comparison to help you choose the right equipment, followed by a step-by-step manual well pump installation guide to secure your off grid well pump system for generations to come. See water calculator for a practical checklist.
The Mechanics of a Backup Hand Pump for Well Emergency
To understand how a manual pump works alongside an electric one, you must first understand the anatomy of your well. Most modern residential wells feature a 4-inch or 6-inch steel or PVC casing. Inside this casing, an electric submersible pump sits deep underwater, pushing water up through a "drop pipe" to a pitless adapter—a specialized fitting below the frost line that diverts the water horizontally into your home. See emergency food storage guide for a practical checklist.
Because the electric drop pipe usually hugs one side of the casing, there is almost always enough clearance to slip a secondary, narrower drop pipe right past the pitless adapter and down into the water. This secondary pipe is the lifeline of your manual pump. See family emergency plan template for a practical checklist.
Unlike the electric pump that uses an impeller to push water, a deep-well hand pump operates on a purely mechanical displacement system. It consists of three main components: the pump head (the handle and spout above ground), the drop pipe (the tubing that holds the water), and the sucker rod (a fiberglass or stainless steel rod running inside the drop pipe that connects the handle to the cylinder at the bottom).
When you push the handle down, the sucker rod pulls a piston inside the submerged cylinder upward. This action forces the trapped water up the drop pipe. When you lift the handle, a check valve at the bottom of the cylinder opens, allowing more groundwater to flood into the chamber. It is a brilliant, fail-safe mechanism that relies on human kinetic energy rather than the fragile electrical grid.
Understanding Depth Limitations: Physics and Static Water Level
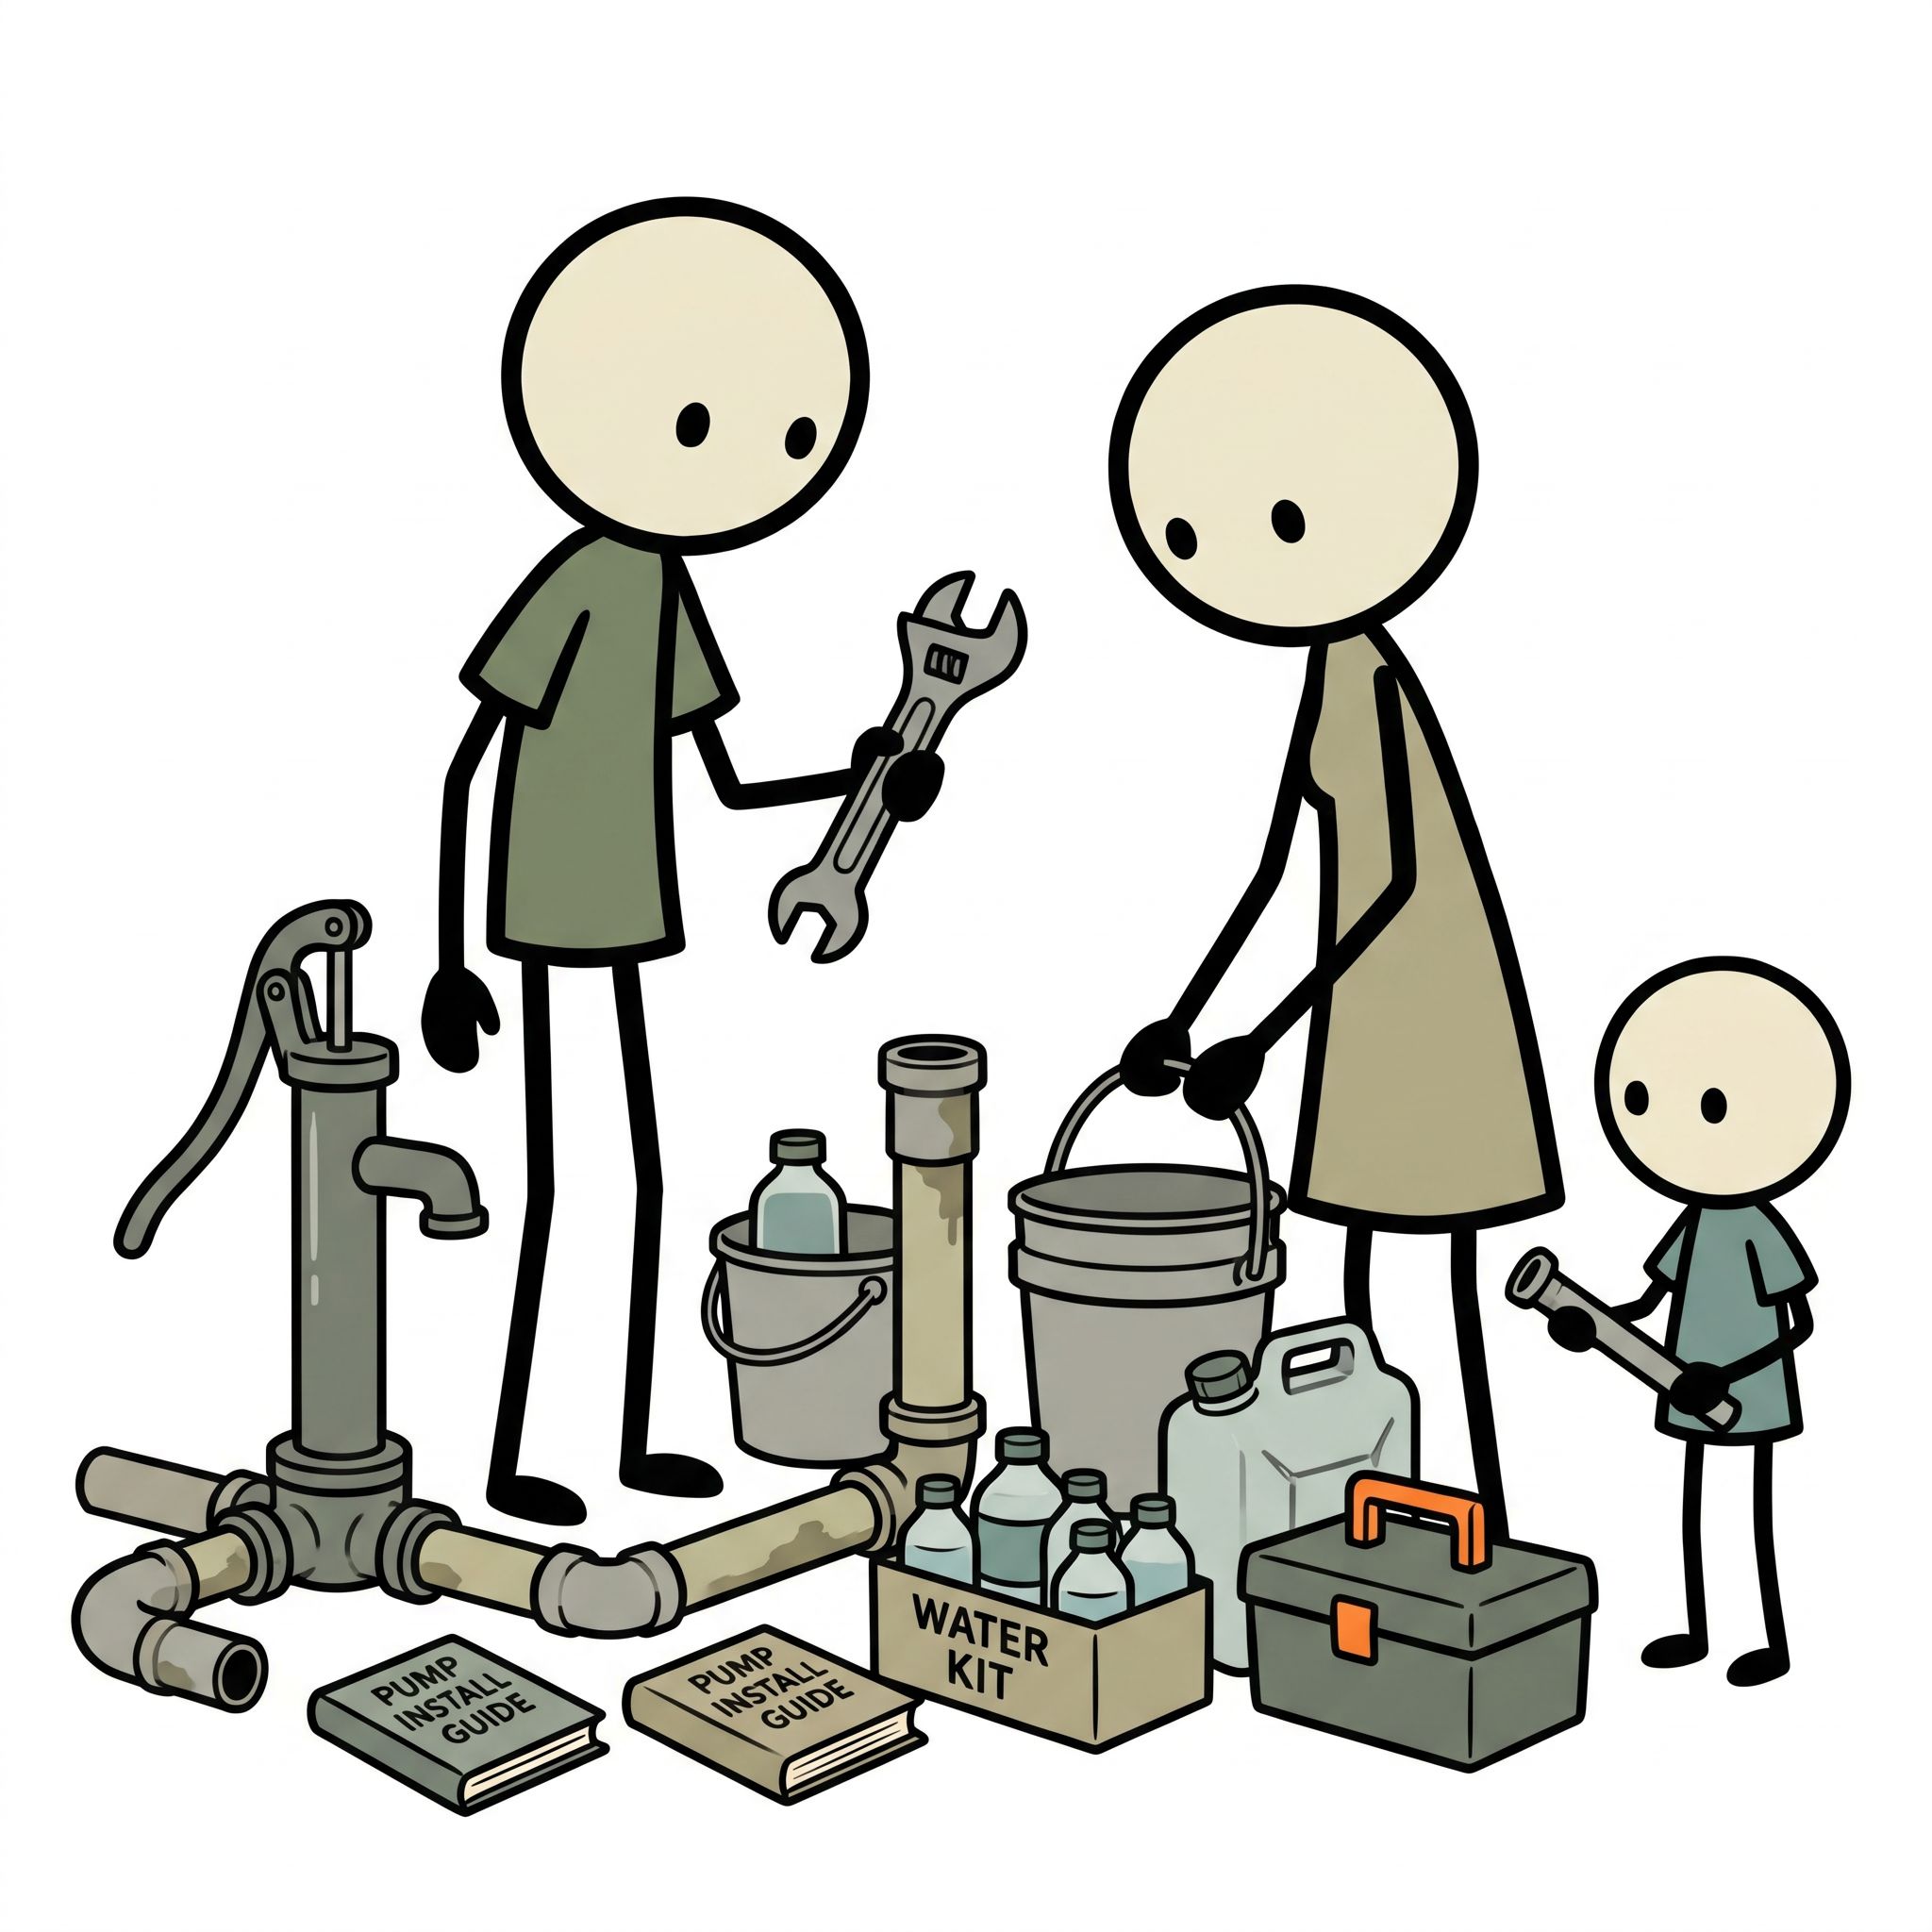
When planning a manual well pump installation, the most critical metric is not the total depth of your well, but your Static Water Level (SWL). The United States Geological Survey (USGS) defines the static water level as the distance from the ground surface to the top of the water sitting in the casing when the pump is not running.
Your well might be drilled to 400 feet, but if the water naturally rises to 80 feet below the surface, your SWL is 80 feet. You only need to lower your manual pump cylinder far enough to remain submerged when the water level drops during pumping (known as the drawdown level).
Shallow vs. Deep Well Physics
There is a hard limit to how far a vacuum can "pull" water upward. Due to atmospheric pressure, a traditional shallow-well pitcher pump (the old-fashioned cast-iron pumps) can only pull water from a maximum depth of about 25 to 30 feet. If your water is deeper than 30 feet, a suction pump will physically fail to lift it, no matter how hard you pump.
Deep-well manual pumps bypass this law of physics by placing the pumping mechanism (the cylinder) below the water line. Instead of sucking the water up, the submerged cylinder pushes the water up the pipe. This allows modern hand pumps to lift water from incredible depths. Most premium off grid well pump systems can effectively lift water from a static water level of 300 to 325 feet.
Output Rates: What to Expect
A common misconception is that hand pumping yields only a trickle of water. While you won't match the 10 to 15 Gallons Per Minute (GPM) of an electric submersible, a well-designed manual pump is highly efficient. Output depends on the diameter of the pump cylinder and the depth of the water.
For a standard backup system lifting water from 100 feet, you can expect to pump between 3 to 5 GPM with moderate effort. Pumping for just five minutes can yield up to 25 gallons of fresh, safe drinking water. This vastly exceeds the FEMA and Red Cross minimum survival requirements, ensuring you have ample water for drinking, cooking, hygiene, and even flushing toilets during an extended grid failure.
The Heavyweights: Simple Pump vs Bison Pump
When investing in a hand pump for well emergency preparedness, two brands dominate the premium market: Simple Pump and Bison Pumps. Both are manufactured in the United States, both are capable of tandem installation alongside an electric pump, and both can pressurize a home plumbing system. However, they take vastly different approaches to engineering, materials, and installation.
Here is a detailed Simple Pump vs Bison Pump comparison to help you determine which system fits your specific survival needs.
Bison Pumps: The Stainless Steel Fortress
Bison Pumps are renowned for their rugged, indestructible build quality. Manufactured in Maine, Bison pumps are constructed entirely from heavy-duty 304-grade stainless steel. If you are looking for a pump that looks like a piece of industrial art and can withstand a century of abuse, Bison is the gold standard.
- Materials and Durability: From the massive pump head to the handle and the internal components, everything is welded stainless steel. There is virtually zero plastic in a Bison system.
- Sucker Rods: Bison utilizes 3/8-inch stainless steel sucker rods. These are incredibly strong but add significant weight to the system, especially on deep installations.
- Depth Capabilities: Bison pumps are rated to lift water from static levels up to 300 feet. However, because of the sheer weight of the stainless steel rods and the water column, pumping from 300 feet requires significant physical strength.
- Aesthetics: Bison pumps feature a classic, polished look that adds a beautiful architectural element to your property.
- Installation Footprint: Because of the robust nature of the components, Bison pumps require a bit more clearance inside the casing. They offer custom well heads to accommodate almost any configuration, but tight 4-inch casings with large electric drop pipes can sometimes be a squeeze.
Simple Pump: The Aerospace Engineering Approach
Simple Pump, based in Nevada, takes a modern, high-tech approach to water lifting. Rather than relying on brute strength and heavy metals, Simple Pump uses aerospace-grade materials, computer-numerical-control (CNC) machining, and clever physics to dramatically reduce the physical effort required to pump water.
- Materials and Durability: The Simple Pump head is made from lead-free, aircraft-grade billet aluminum and stainless steel. The drop pipes are schedule 120 PVC (incredibly thick and rigid), and the sucker rods are made from high-strength fiberglass.
- Mechanical Advantage: The defining feature of the Simple Pump is its lever arm mechanism. The handle is designed to provide a massive mechanical advantage, making it shockingly easy to pump, even from extreme depths. A child or an elderly adult can easily operate a Simple Pump.
- Depth Capabilities: Because the fiberglass rods and PVC pipes are so lightweight, Simple Pump holds the edge in depth, capable of lifting water from static levels as deep as 325 feet with manageable physical effort.
- Installation Footprint: Simple Pump is designed specifically for tight spaces. The components are sleek and narrow, making it the easiest pump to slip into a crowded 4-inch well casing alongside an existing electric drop pipe.
- Motorized Upgrades: A unique feature of the Simple Pump is its modularity. If you decide you want solar power later, you can remove the hand lever and attach a 12V or 24V DC motor directly to the pump head, turning it into an automated off grid well pump.
The Verdict
If your priority is absolute, bomb-proof durability, all-metal construction, and classic aesthetics, the Bison Pump is unmatched. It is a generational investment that will never rust or degrade.
If your priority is ease of pumping, extreme depth capability, lightweight installation, and the ability to fit into very tight well casings, the Simple Pump is the superior choice. Its mechanical advantage makes it the most accessible pump for family members of all physical strength levels during an emergency.
Preparation: Before You Begin Your Manual Well Pump Installation
Installing a backup well pump no electricity system is a highly rewarding DIY project, but it requires precise measurements and careful preparation. Before ordering your pump or breaking out the wrenches, follow these critical preparation steps.
1. Obtain Your Well Log
Every legally drilled well in the United States has a "well log" (or well record) filed with the state or local health department. This document is your blueprint. It details the total depth of the well, the diameter of the casing, the static water level at the time of drilling, and the estimated yield. If you don't have a copy, contact your local environmental or water resources department.
2. Measure Your Static Water Level
Because aquifers fluctuate, your current static water level might differ from the original well log. You can measure this yourself using a weighted string or a specialized water level meter. Remove the well cap, lower the weighted string until you hear a "plop" or feel the weight change, mark the string at the top of the casing, and measure the distance. This measurement dictates exactly how many feet of drop pipe and sucker rod you need to purchase.
3. Inspect the Pitless Adapter Clearance
Shine a powerful flashlight down the well casing. You will see the electric drop pipe connecting to a brass or steel fitting on the side of the casing—this is the pitless adapter. Your manual pump's drop pipe must bypass this fitting. Measure the distance from the edge of the pitless adapter to the opposite wall of the casing. Both Simple Pump and Bison provide minimum clearance specifications to ensure their pipes will fit.
4. Determine Freeze Protection Needs
If you live in a climate where temperatures drop below freezing, you must protect your pump from ice expansion. Both pump manufacturers utilize a "weep hole" system. A small hole is drilled into the manual drop pipe below your local frost line (usually 3 to 6 feet down). When you finish pumping, the water above the weep hole slowly drains back into the well, leaving the upper portion of the pump empty and safe from freezing.
Step-by-Step Manual Well Pump Installation Guide
While hiring a professional well driller is always an option, a tandem manual well pump installation is entirely achievable for a competent DIYer. The process involves assembling the drop pipes and sucker rods in sections and lowering them carefully into the casing.
Disclaimer: Always follow the specific manufacturer instructions provided with your pump. The following is a general procedural guide to illustrate the process.
Step 1: Safety and Sanitization First
Working around an open well casing presents risks. Dropping a tool into the well can result in a catastrophic blockage that costs thousands of dollars to fix. Always tie safety lanyards to your wrenches and tools. Furthermore, the CDC stresses the importance of well hygiene. Wash your hands, wear clean gloves, and keep all pump components off the dirt to prevent introducing harmful bacteria into your groundWater Calculator.
Step 2: Removing the Well Cap
Turn off the breaker to your electric well pump to ensure it does not kick on while you are working. Unbolt and remove the existing standard well cap. You will be replacing this with a specialized split-cap provided by your hand pump manufacturer. This custom cap has two holes: one for the electric wiring/pipe, and one for the new manual pump.
Step 3: Assembling the Cylinder and First Pipe Section
Attach the pump cylinder to the first section of the drop pipe. Inside this drop pipe, connect the first section of the sucker rod to the cylinder piston. Both Simple Pump and Bison use threaded connections. Ensure threads are clean and wrapped in the manufacturer-approved Teflon tape or thread sealant. Slide the safety T-handle (a tool that prevents the pipe from falling down the well) onto the pipe.
Step 4: Lowering the Assembly
Carefully lower the first section of the pipe and rod assembly into the well casing, sliding it past the pitless adapter. Once the top of the pipe is near the casing opening, secure it with the safety T-handle so it hangs securely on the lip of the casing.
Step 5: Adding Subsequent Sections
Take the next section of sucker rod and thread it tightly onto the exposed rod protruding from the well. Next, slide the corresponding section of drop pipe over the rod and thread it onto the pipe hanging in the well. Once tightened, lift the entire assembly slightly, remove the safety T-handle, lower the new section down, and reapply the T-handle at the top. Repeat this process—rod, then pipe, lower, secure—until you reach your target depth (usually 20 to 40 feet below your static water level).
Step 6: Installing the Weep Hole
If you require freeze protection, ensure that the drop pipe section intersecting your local frost line has the pre-drilled weep hole installed at the correct depth. This is a critical step to prevent wintertime ruptures.
Step 7: Securing the Well Head and Pump Handle
Once all pipes are in the well, install the custom split-cap over the casing, routing the electric wires and the manual drop pipe through their respective holes. Bolt the cap securely to the casing. Finally, attach the heavy-duty pump head mechanism to the protruding drop pipe and connect the top of the sucker rod to the lever handle.
Step 8: Testing and Pressurizing
Begin pumping the handle. It may take several strokes to prime the cylinder and lift the water column all the way to the surface. Once water flows steadily, observe the clarity. It may be temporarily cloudy from disturbed sediment but should clear up quickly.
If you opted for a pressurization kit, attach the specialized food-grade hose from the pump spout to your outdoor frost-free hydrant or dedicated plumbing inlet. By closing the check valve on the pump spout, your manual strokes will force water backward through the plumbing and into your home's indoor pressure tank. You can literally pump until the gauge reads 40 PSI, allowing you to walk inside and use your sinks and toilets normally.
Maintenance for Long-Term Reliability
A hand pump for well emergency use is a survival tool, and like all life-saving equipment, it requires periodic maintenance to ensure it functions flawlessly when the grid fails.
Quarterly Testing
Do not let your backup pump sit idle for years. Once every three months, go outside and pump 10 to 15 gallons of water. This exercises the internal U-cup seals, keeps the cylinder lubricated with fresh water, and ensures the check valves are not stuck. It also builds muscle memory for you and your family.
Seal and O-Ring Replacement
Both Simple Pump and Bison utilize high-grade rubber or polyurethane seals inside the pump head and the submerged cylinder. Over a span of 5 to 10 years of regular use, these seals may begin to wear, resulting in a loss of suction or weeping around the handle mechanism. Keep a manufacturer-supplied rebuild kit in your emergency supplies. Replacing the pump head seals takes only a few minutes and requires basic hand tools.
Post-Installation Chlorination
Following any manual well pump installation, the CDC recommends shock-chlorinating the well to neutralize any bacteria introduced during the process. This involves pouring a specific ratio of unscented household bleach down the casing, circulating the water, letting it sit for 12 to 24 hours, and then pumping it out until the chlorine smell dissipates. Always test your water via a certified laboratory after major well work to ensure it is safe for consumption.
Winterization Checks
If your system utilizes a weep hole, verify its functionality before the first hard freeze. Pump water to the surface, then stop and listen closely at the well head. You should hear a faint trickling sound as the water drains out of the upper pipe and back into the well. If you do not hear this, the weep hole may be clogged, and the upper pipe could freeze and burst.
Securing Your Water Independence
Water is the absolute foundation of emergency preparedness. While the electrical grid remains vulnerable to storms, cyber threats, and infrastructure failures, your family's access to clean, safe drinking water does not have to be left to chance. By understanding the mechanics of your well and taking the proactive step of executing a manual well pump installation, you effectively sever your reliance on municipal power for your most basic survival need.
Whether you choose the high-tech, effortless lifting power of the Simple Pump or the rugged, generational stainless steel durability of the Bison Pump, adding a backup well pump no electricity system transforms your property into a true off-grid sanctuary. It provides the ultimate peace of mind: knowing that no matter how dark or cold it gets outside, a steady, life-sustaining flow of water is only ever a few strokes of a handle away.
Frequently Asked Questions
What is the Simple Pump and how deep can it pump?
The Simple Pump is a high-quality stainless steel hand pump designed to install in existing well casings alongside electric submersible pumps. It can pump from depths of up to 325 feet and produces 5-10 gallons per minute at typical depths.
What is the difference between Simple Pump and Bison Pump?
Both are premium American-made hand pumps with 20+ year warranties. Simple Pump can be motorized with a DC motor for solar operation and has deeper depth capacity (~$1,300-2,200 installed). Bison Pump uses a flap valve design with easier field maintenance (~$1,100-1,800 installed).
How hard is it to pump water by hand from 100+ feet?
At 150 feet, a well-designed hand pump requires about 20-25 lbs of pull force per stroke, producing roughly 1/3 gallon per stroke. A fit adult can pump 5-10 gallons per minute. Consider rotating users and scheduling pumping sessions for large household needs.
Review our water storage guide for well systems. Learn private well preparedness techniques. Plan with family emergency planning resources. Use our water calculator and browse our courses.
Sources & Further Reading
- Simple Pump Installation Manual
- Bison Pump Technical Documentation
- National Ground Water Association Installation Standards
- USDA Rural Development Water Program