⚡ Key Facts
- According to the United States Geological Survey (USGS), over 43 million Americans rely on private wells for their primary source of drinking water.
- The U.S. Energy Information Administration (EIA) reports that severe weather is the leading cause of power outages in the U.S., instantly cutting off water access for well owners without backup systems.
- The Centers for Disease Control and Prevention (CDC) warns that private wells submerged by floodwaters are highly susceptible to contamination from agricultural runoff, sewage, and industrial chemicals.
- FEMA and the American Red Cross recommend storing at least one gallon of water per person per day for a minimum of three days, though a two-week supply is optimal for rural well owners.
- A standard 1/2 horsepower submersible well pump requires a starting surge of up to 2,000 to 3,000 watts, making proper generator sizing critical for emergency operation.
The storm has passed, the winds have died down, and an eerie silence settles over your property. You head to the kitchen sink, turn the handle, and are met with a brief sputter before the tap goes completely dry. For those connected to municipal water supplies, a grid failure usually means the lights go out while the water keeps flowing. But for rural homeowners and homesteaders, electricity and water are inextricably linked. When the grid goes down, your well pump stops, and your Water Calculator is instantly severed.
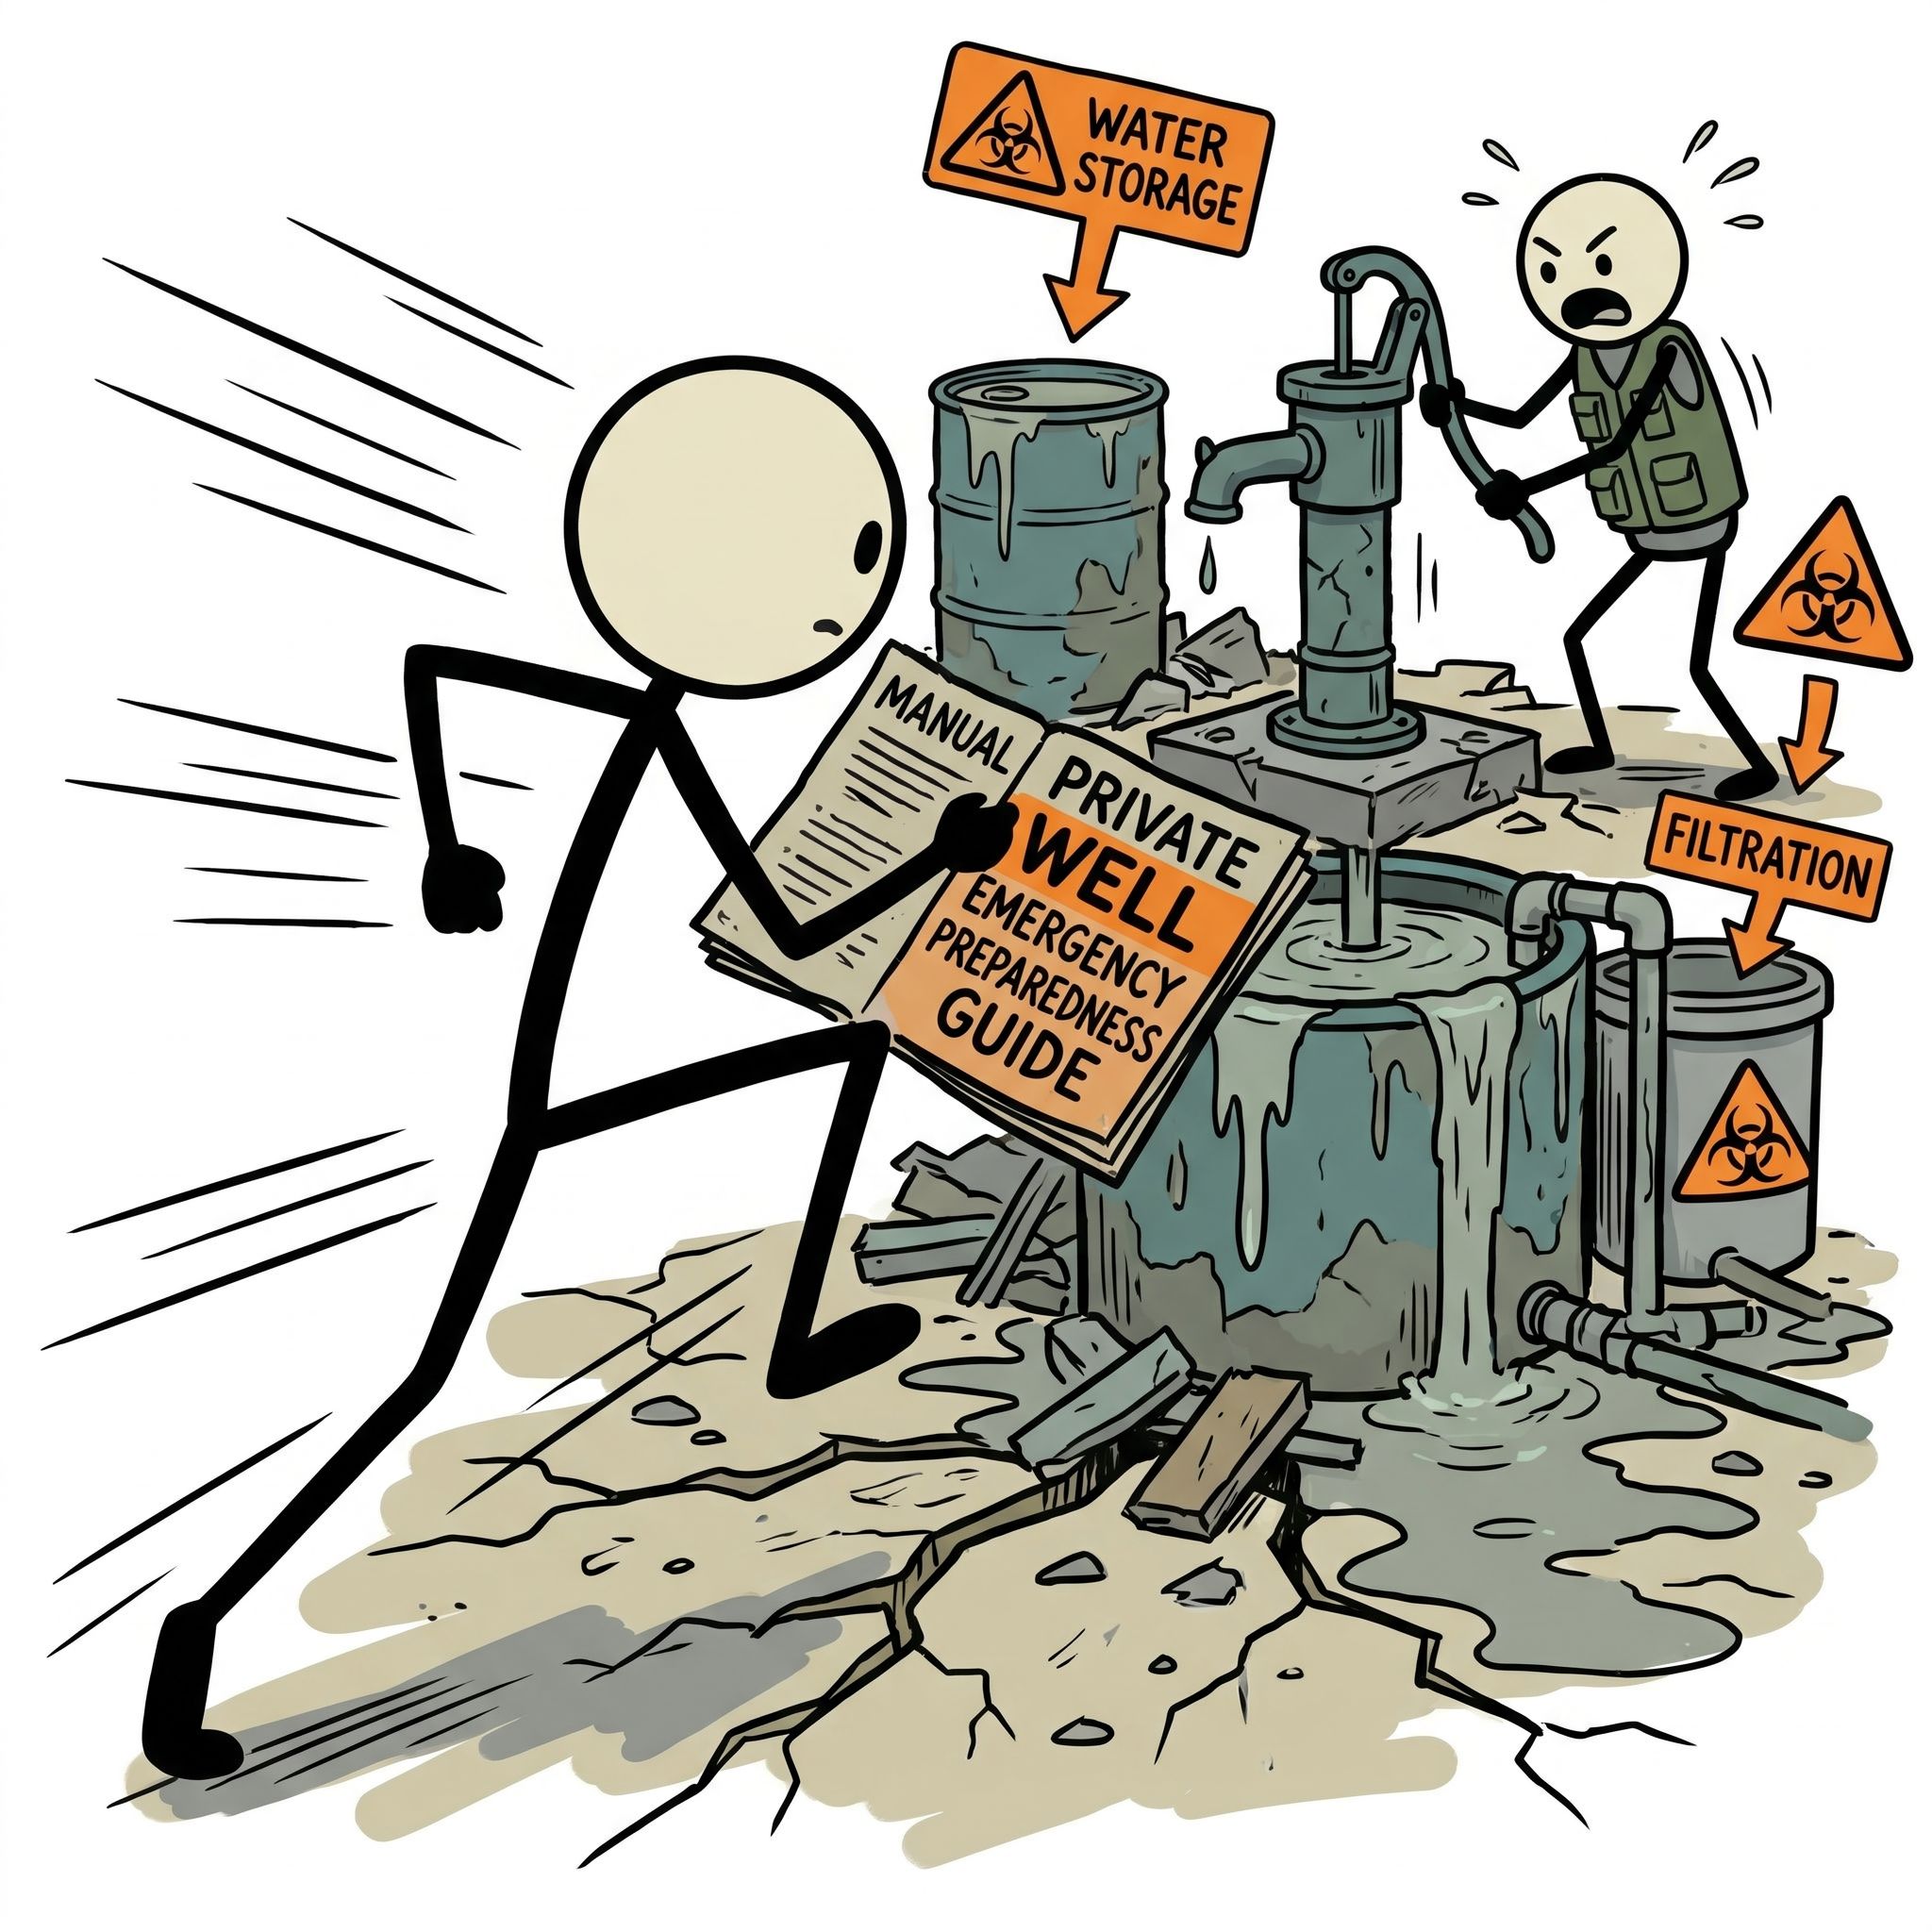
Mastering private well emergency preparedness is one of the most critical steps in securing your home against natural disasters and infrastructure failures. Unlike city dwellers, you are your own water utility. This independence is incredibly rewarding, but it places the sole responsibility of maintenance, safety, and emergency redundancy squarely on your shoulders. Learn more in the survival scenarios library.
Fortunately, securing your water supply is entirely within your control. By understanding the mechanics of your system, investing in robust backup power, preparing for manual extraction, and knowing how to mitigate contamination, you can ensure your family never goes thirsty. This comprehensive guide will walk you through everything you need to know to build an unbreakable well water family emergency plan.
The Anatomy of a Well Pump Power Outage
To effectively prepare for a well pump power outage, you must first understand the mechanics of how your home draws water from the earth. Most modern private wells utilize an electric submersible pump located deep underground, or a jet pump situated above ground. These pumps push or pull water into a pressure tank located inside your home or pump house. Learn more in the family emergency plan template.
The pressure tank contains a heavy-duty bladder filled with compressed air. As the pump forces water into the tank, the air compresses, building pressure. When you turn on a faucet, this compressed air forces the water through your plumbing. Once the pressure drops to a specific threshold (usually around 40 psi), a pressure switch trips, signaling the electric pump to turn back on and refill the tank. Learn more in the Protocol Survival app.
Why You Lose Water So Quickly
A common misconception among new well owners is that a large pressure tank holds a vast reserve of emergency water. In reality, a standard 40-gallon pressure tank only holds a "drawdown" capacity of about 10 to 12 gallons of usable water. The rest of the tank's volume is occupied by compressed air. Learn more in the survival scenarios library.
When a power outage strikes, your pump cannot turn on to replenish the tank. You will only have access to those 10 to 12 gallons before the pressure drops to zero and your taps run dry. During an extended blackout caused by winter storms, hurricanes, or grid strain, this small reserve will be depleted within hours just by flushing a toilet a few times and washing your hands. Learn more in the survival scenarios library.
Furthermore, running your well system dry can cause the pump to lose its prime (in the case of jet pumps) or damage the internal components if power flickers and the pump attempts to run without water flow. Understanding these limitations is the first step in recognizing why a proactive backup well pump emergency strategy is non-negotiable.
Backup Power Options for Well Systems
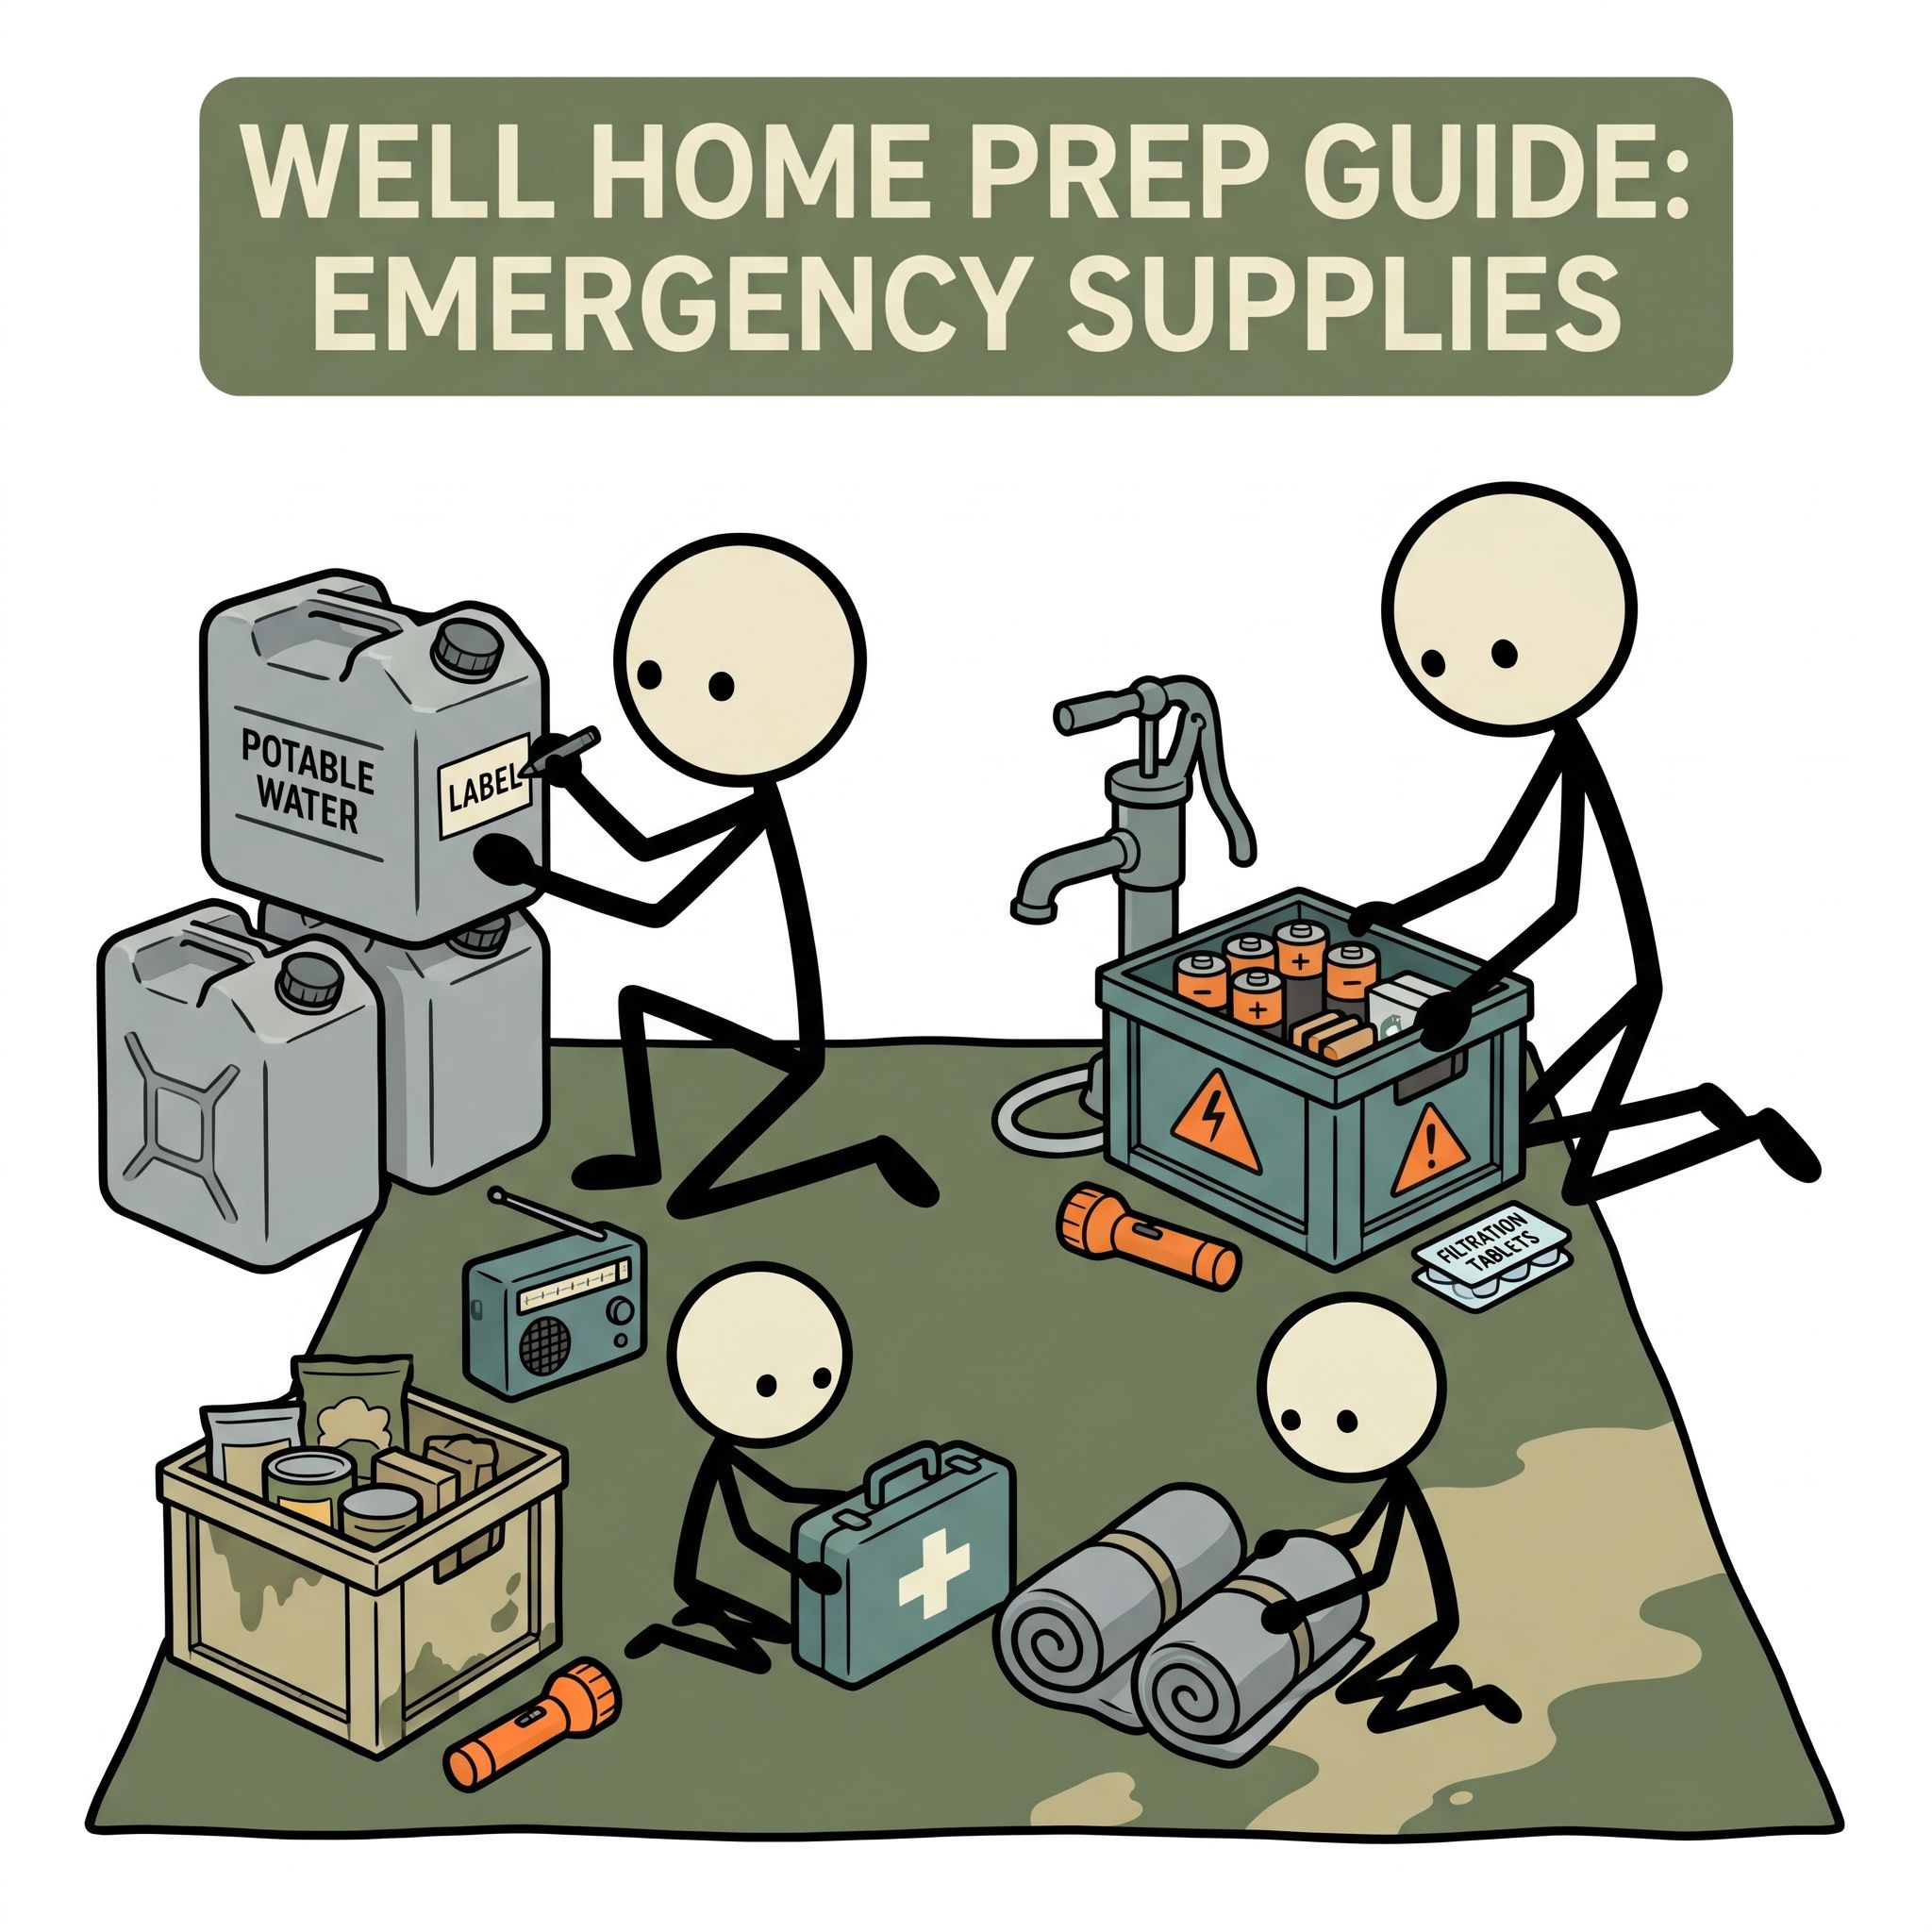
The most seamless way to survive a well pump power outage is to supply your own electricity. However, powering a well pump is not as simple as plugging it into a standard wall outlet. Most submersible well pumps operate on 220/240 volts and require a massive surge of electricity to start the motor.
When selecting a backup power source, you must calculate both the "running watts" and the "starting watts" (also known as surge watts). A 1-horsepower (HP) pump may only need 1,000 watts to run continuously, but it can require up to 4,000 watts just to overcome inertia and start spinning. If your backup power source cannot handle this initial surge, the pump will not start, and the generator's breaker will trip.
Portable Generators and Interlock Kits
Portable generators are the most common and cost-effective solution for a backup well pump emergency. To safely power your well, you will need a generator capable of producing 240V, typically requiring a unit rated for at least 5,000 to 7,500 running watts, depending on your pump's horsepower.
Crucially, you cannot simply plug a well pump into a portable generator. Because the pump is hardwired into your home's electrical panel, you must install a manual transfer switch or a generator interlock kit. This device, installed by a licensed electrician, safely disconnects your home from the utility grid before allowing generator power to flow into your breaker panel. This prevents "backfeeding," a dangerous scenario where your generator sends electricity back down the utility lines, potentially electrocuting line workers trying to restore power.
Standby Home Generators
For ultimate peace of mind, a permanent standby generator is the gold standard. These units are permanently installed outside your home and run on liquid propane (LP) or natural gas. They are connected to an automatic transfer switch (ATS) that constantly monitors the utility grid.
When the grid fails, the ATS automatically starts the generator and switches your home's power source within seconds. You won't even have to step outside in a storm to get your water flowing again. While this is the most expensive option, it provides uninterrupted access to your well water, heating, and refrigeration during prolonged outages.
Solar and Battery Backup Systems
As solar technology and lithium-iron-phosphate (LiFePO4) batteries become more accessible, off-grid solar backups are becoming a popular alternative to gas generators. A dedicated solar well pump inverter can take DC power from solar panels or a battery bank and convert it into the heavy 240V AC surge required by the pump.
The primary advantage of a solar/battery system is fuel independence. During a widespread disaster where gasoline and propane supply chains are disrupted, a solar setup will continue to pump water indefinitely, provided there is adequate sunlight. However, these systems require careful engineering to ensure the inverter can handle the inductive load of the pump motor.
The Ultimate Failsafe: Hand Pump Well Installation
Electrical backups are fantastic, but they rely on complex components that can fail. Generators need fuel, oil, and spark plugs; inverters need functioning microchips. For true private well emergency preparedness, you need a mechanical failsafe that relies on nothing but human calories. This is where hand pump well installation becomes a critical prep.
Modern hand pumps are marvels of engineering, designed to draw water from hundreds of feet below the surface with minimal physical effort. Even a child can operate a high-quality deep well hand pump. They are the ultimate insurance policy against long-term grid down scenarios, EMPs (Electromagnetic Pulses), or severe mechanical failures of your primary system.
Deep Well vs. Shallow Well Hand Pumps
Before purchasing a hand pump, you must know your well's "static water level"—the depth from the surface of the ground to the top of the water column inside the casing. This is different from the total depth of the well.
If your static water level is 25 feet or less, you can use a traditional shallow well pitcher pump. These rely on suction to pull water up. However, physics dictates that suction cannot lift water higher than roughly 30 feet. If your water level is deeper than 25 feet, you must use a deep well hand pump. Deep well pumps push water up from below by placing the pump cylinder and piston deep inside the well casing, submerged in the water.
How Hand Pumps Coexist with Electric Pumps
A common concern is whether a hand pump well installation requires removing the existing electric submersible pump. Fortunately, the answer is no. Premium hand pump manufacturers, such as Simple Pump and Bison Pumps, design their systems to piggyback alongside your existing setup.
Most modern residential wells use a 6-inch steel or PVC casing. The electric pump's drop pipe usually takes up only a fraction of this space. A specialized split well cap allows you to lower the hand pump's narrow drop pipe and sucker rod right beside the electric pump's wiring and piping. Once installed, both systems remain fully operational. You can use the electric pump daily, and immediately switch to the hand pump during a blackout.
Installation Considerations
While a mechanically inclined homeowner can tackle a hand pump well installation, it requires precision. You must carefully measure the drop pipe lengths to ensure the hand pump cylinder sits below the static water level but safely above the electric pump. Additionally, you must ensure a sanitary seal at the wellhead to prevent surface insects and bacteria from contaminating your drinking water.
Water Contamination Scenarios and Safety
Power outages are only one facet of well water emergencies. Natural disasters, particularly floods and earthquakes, introduce severe contamination risks. The CDC strictly advises that if your wellhead is submerged by floodwaters, you must assume the water is contaminated with pathogens, agricultural chemicals, and sewage.
Unlike municipal water, which is continuously treated and monitored by city engineers, your private well is entirely unprotected from sudden environmental shifts. Preparing for contamination scenarios is just as vital as preparing for power loss.
Floodwater Inundation
During a severe flood, muddy surface water can seep through the well cap vent or down the sides of a poorly sealed casing. This introduces dangerous bacteria like E. coli, Giardia, and Cryptosporidium directly into your aquifer. If you know a flood is imminent, turn off the power to your well pump at the breaker. This prevents the pump from drawing contaminated water into your home's pressure tank and plumbing system.
Once the floodwaters recede, do not immediately turn the pump back on or drink the water. You must first have the well inspected by a licensed driller to ensure the electrical components are safe. Afterward, the entire well system and your home's plumbing must be flushed and shock chlorinated.
Shock Chlorination Procedures
Shock chlorination is the process of introducing a highly concentrated chlorine solution into the well to kill bacterial contamination. According to guidelines from the Environmental Protection Agency (EPA) and agricultural extension offices, this involves mixing unscented household bleach with water and pouring it down the well casing.
The chlorinated water is then circulated by running a garden hose from an outside spigot back into the well until a strong chlorine odor is detected. You then run every faucet in the house until you smell chlorine, turn them off, and let the system sit for 12 to 24 hours. Finally, the system is flushed entirely until the chlorine smell dissipates. This is a rigorous process, but it is a mandatory skill for private well emergency preparedness.
Chemical and Agricultural Spills
Not all contamination can be boiled or bleached away. Industrial spills, train derailments, or heavy agricultural runoff can introduce nitrates, heavy metals, or volatile organic compounds (VOCs) into your groundwater. In these scenarios, boiling water actually concentrates the chemicals, making it more dangerous.
If local authorities issue warnings regarding chemical spills in your watershed, immediately switch to your stored emergency water supply. You will need to wait for official clearance and likely install specialized reverse osmosis or activated carbon filtration systems before the well is safe for consumption again.
Emergency Testing Requirements
You cannot manage what you do not measure. Routine and post-disaster water testing is the only way to verify the safety of your well water. The EPA recommends that all private well owners test their water at least once a year for total coliform bacteria, nitrates, total dissolved solids, and pH levels.
However, in an emergency context, testing requirements become much more stringent. You should immediately test your well water if you experience any of the following triggers:
- Post-Disaster: After a flood, earthquake, or severe storm that alters the landscape or submerges the wellhead.
- Physical Changes: If the water suddenly changes in taste, odor, or color, or becomes cloudy and sediment-heavy.
- Illness: If family members or pets experience unexplained gastrointestinal illness.
- Spills: If there is a known chemical spill, fuel leak, or massive septic failure in your immediate vicinity.
DIY Kits vs. Certified Laboratories
For your emergency preparedness kit, it is wise to keep a few high-quality DIY water testing strips on hand. These kits can provide immediate, preliminary results for basic parameters like pH, hardness, and the presence of chlorine or nitrates. They are excellent for quick spot-checks during a crisis.
However, DIY kits are not a substitute for professional laboratory testing, especially when dealing with bacterial or chemical contamination. For definitive safety verification after a disaster, you must send a sample to a state-certified water testing laboratory. Your local health department can provide a list of certified labs and the sterile bottles required for sample collection. Always follow their precise instructions for drawing the sample to avoid accidental cross-contamination.
Winterizing Your Private Well System
For well owners in northern climates, winter brings a unique set of hazards. A prolonged power outage during a deep freeze is a true emergency. Without electricity to run space heaters or heat tape, the water inside your wellhead, pump house, and exposed pipes can freeze solid.
When water freezes, it expands with immense force. This expansion can shatter PVC pipes, crack cast iron pump housings, and rupture your pressure tank, leading to catastrophic flooding once the ice thaws. Winterizing your well system is a critical component of any well water emergency plan.
Insulating the Pump House and Wellhead
If your pressure tank and well controls are located in an above-ground pump house, the structure must be heavily insulated. Seal all drafts, weatherstrip the doors, and insulate the walls and ceiling. Many homeowners use thermostatically controlled space heaters to keep the pump house above freezing. However, these are useless during a power outage.
To prepare for an outage, wrap all exposed pipes in high-quality foam pipe insulation or fiberglass wrap. Install self-regulating heat tape beneath the insulation. If you have a backup generator, ensure your heat tape and pump house heater are factored into your generator's wattage calculations so they can be powered during a blackout.
Draining the System in Extreme Cold
If you lose power during sub-zero temperatures and do not have a backup generator, you must act quickly to prevent your system from being destroyed by ice. You will need to drain the pressure tank and all interior plumbing.
First, turn off the breaker to the well pump so it doesn't accidentally turn on when power is restored. Next, attach a hose to the boiler drain valve at the base of your pressure tank and route it outside or to a floor drain. Open the valve and let the tank empty completely. Finally, open all the faucets in your home to allow air into the lines, draining the water out of your home's plumbing system. While you will be without running water, you will save thousands of dollars in burst pipes and ruined equipment.
Building Your Well Water Emergency Plan
Knowledge and equipment are only useful if they are organized into an actionable strategy. A robust well water emergency plan ties together backup power, manual extraction, contamination protocols, and winterization into a single, cohesive checklist for your family.
Start by establishing a primary water storage buffer. Even with generators and hand pumps, you should maintain a stockpile of potable water. The FEMA standard of one gallon per person per day is a bare minimum; aim for a two-week supply. This buffer gives you time to set up your generator, diagnose pump issues, or wait out the immediate aftermath of a storm without panic.
Maintenance and Readiness Checklists
An emergency plan requires routine maintenance. An unmaintained generator that won't start during a blizzard is just an expensive paperweight. Implement a quarterly readiness schedule for your well system:
- Test Backup Power: Fire up your portable or standby generator every month. Put a load on it to ensure it operates smoothly, and verify you have adequate, stabilized fuel stored safely.
- Inspect the Wellhead: Check the sanitary seal and well cap. Ensure no insects, rodents, or surface water can enter the casing. Clear away brush and debris.
- Check the Hand Pump: If you have completed a hand pump well installation, pump it periodically to ensure the leathers/seals are lubricated and functioning properly.
- Review the Pressure Tank: Check the air charge on your pressure tank annually to ensure the bladder is intact and the pump isn't short-cycling.
Document the location of your well breaker, the pressure switch, and the drain valves. Write down the step-by-step instructions for switching to generator power and draining the system for winter, and post this document directly inside your pump house or next to your electrical panel. In the stress of an emergency, clear, written instructions are invaluable.
Taking control of your water supply requires foresight, investment, and a willingness to learn the mechanical heartbeat of your home. By anticipating power failures, mitigating contamination risks, and installing reliable mechanical backups, you transform your private well from a potential vulnerability into your greatest survival asset. When the next storm rolls in and the grid goes dark, you can rest easy knowing that your family's most vital resource is secure, safe, and flowing freely.
Frequently Asked Questions
What happens to my well during a power outage?
Submersible well pumps run on electricity — when power goes out, your pump stops and water flow ceases immediately. Unlike municipal water, most private well systems have no water reserve. Even a 4-hour outage means no water for drinking, cooking, or flushing toilets.
What are the best backup power options for a well pump?
A 2-wire submersible pump requires 700-1500 watts continuous — most portable power stations can't run this long. Options: a dedicated generator (5,000+ watts), a manual hand pump installed in parallel, or a DC solar-powered pump. The hand pump is the most reliable long-term backup.
How does flooding or contamination affect a private well?
Floodwater can contaminate well casings with bacteria, chemicals, and sediment. After any flooding, do not use well water until tested. Disinfect the well using chlorination protocol and retest for bacteria before returning to use.
Consult our water storage solutions guide. Learn about rainwater harvesting systems. Plan with family emergency planning resources. Calculate your needs with our water calculator and check our courses.
Sources & Further Reading
- EPA Private Wells
- USGS Groundwater Information
- National Ground Water Association Well Owner's Manual
- CDC Private Well Water Safety