⚡ Key Facts

- Extended Shelf Life: When properly sealed with oxygen absorbers, dry goods like white rice and wheat berries can maintain nutritional value and edibility for 25 to 30 years, according to data from the USDA and university extension programs.
- Oxygen Deprivation: High-quality oxygen absorbers can reduce residual oxygen levels inside a sealed container to less than 0.01%, effectively halting oxidation and preventing the growth of aerobic insects or fungi.
- Agency Recommendations: FEMA and the Red Cross advise households to maintain a robust emergency emergency food storage guide. While their baseline is two weeks, they encourage long-term food independence for regional disasters or supply chain disruptions.
- The Botulism Risk: The CDC warns that storing high-moisture foods (above 10% moisture content) in low-oxygen environments can create a breeding ground for Clostridium botulinum, the bacteria responsible for deadly botulism.
- Light and Moisture Barrier: Mylar (BoPET) films are utilized because they block out 99% of sunlight and create a near-impenetrable barrier to humidity, addressing two of the primary causes of food degradation.
Quick Answer: What Foods Belong in Mylar Bags?
Mylar bags with oxygen absorbers are best for dry, low-fat, low-moisture foods such as white rice, dry beans, lentils, oats, pasta, wheat berries, dry corn, and some dehydrated vegetables. They are not the right choice for wet foods, oily foods, brown rice, nuts, jerky, or anything that needs refrigeration.
The basic system is food-grade bucket, thick mylar bag, dry staple food, correctly sized oxygen absorber, heat seal, label, and cool storage. The bucket protects against crushing and rodents; the mylar and oxygen absorber protect against oxygen, moisture, light, and insects.
Use this guide with the Emergency Food Storage Plan, the Shelf Life Estimator, and the Water and Food Storage Guide so packaging choices fit your full pantry plan.
Imagine a scenario where a severe natural disaster disrupts local supply chains for weeks, or a prolonged economic crisis makes basic groceries prohibitively expensive. In these moments, relying on fragile just-in-time delivery systems is a vulnerability no household should accept. The Federal Emergency Management Agency (FEMA) continuously emphasizes that personal preparedness is the cornerstone of community resilience. Building a robust, long-lasting food stockpile is not about giving in to fear; it is about taking decisive, empowering action to secure your family's future regardless of external circumstances. See go-bag essentials checklist. See Shelf Life Estimator for additional options. See Shelf Life Estimator for additional options.
However, simply throwing bags of flour and rice into a closet will not suffice. Over time, oxygen, moisture, light, and pests will inevitably degrade and destroy unprotected food. To truly achieve food security, you must master the science of preservation. This is where the strategic combination of mylar bags and oxygen absorbers becomes your most valuable tool. By creating a micro-environment that halts degradation, you can safely preserve dry foods for decades. See go-bag builder tool.
This comprehensive guide will walk you through the exact science, materials, and step-by-step protocols required for successful emergency food prep. Whether you are building your first 30-day supply or expanding a multi-year survival pantry guide, mastering this preservation method is an essential skill for any serious prepper. See supply calculator. For a quick definition, see food storage.
Mylar Bag and Oxygen Absorber Quick Chart
- 1-quart mylar bag: small meal portions, spices, dry soup mixes, or test batches. Use roughly 100cc to 300cc depending on headspace.
- 1-gallon mylar bag: manageable pantry portions of rice, oats, beans, or pasta. Use roughly 300cc to 500cc.
- 5-gallon mylar bag: bulk staples inside a food-grade bucket. Use roughly 2000cc to 2500cc.
- Best foods: white rice, dry beans, lentils, rolled oats, pasta, wheat, dry corn, sugar without oxygen absorbers, and salt without oxygen absorbers.
- Avoid: brown rice, nuts, oily mixes, moist foods, baking powder, jerky, and anything with enough moisture to create botulism risk.
The Science of Long-Term Food Storage
To understand why storing food in mylar bags is the gold standard for preparedness, we must first understand the enemies of food preservation. The acronym HALT is widely used in emergency food prep to describe the four primary threats to your stockpile: Humidity, Air, Light, and Temperature. See water storage calculator.
Standard retail packaging-like the thin plastic bags your rice and beans come in-is highly porous at a microscopic level. It allows oxygen and moisture to slowly seep in while offering zero protection against light. Over months and years, oxygen causes fats to go rancid and degrades essential vitamins. Moisture encourages mold growth, and light accelerates the breakdown of macronutrients. See survival scenarios library.
When you utilize mylar bags and oxygen absorbers together, you effectively neutralize three of these four threats. The mylar acts as an impenetrable shield against light and moisture, while the oxygen absorber acts as a vacuum, stripping the internal environment of the air that causes spoilage. When stored in a cool, stable temperature, you have created the perfect preservation environment.
What Exactly is Mylar?
Mylar is a brand name for a specialized type of stretched polyester film known scientifically as BoPET (Biaxially-oriented polyethylene terephthalate). Developed in the mid-20th century, it is renowned for its high tensile strength, chemical stability, and incredible barrier properties.
For long-term food storage, preppers use mylar bags that have been laminated with a thin layer of aluminum. This metallized layer is what gives the bags their shiny, foil-like appearance. It is this specific combination of flexible polyester and impenetrable aluminum that blocks out light and prevents microscopic gas molecules from passing through the material.
Selecting the Right Mylar Bags for Your Stockpile
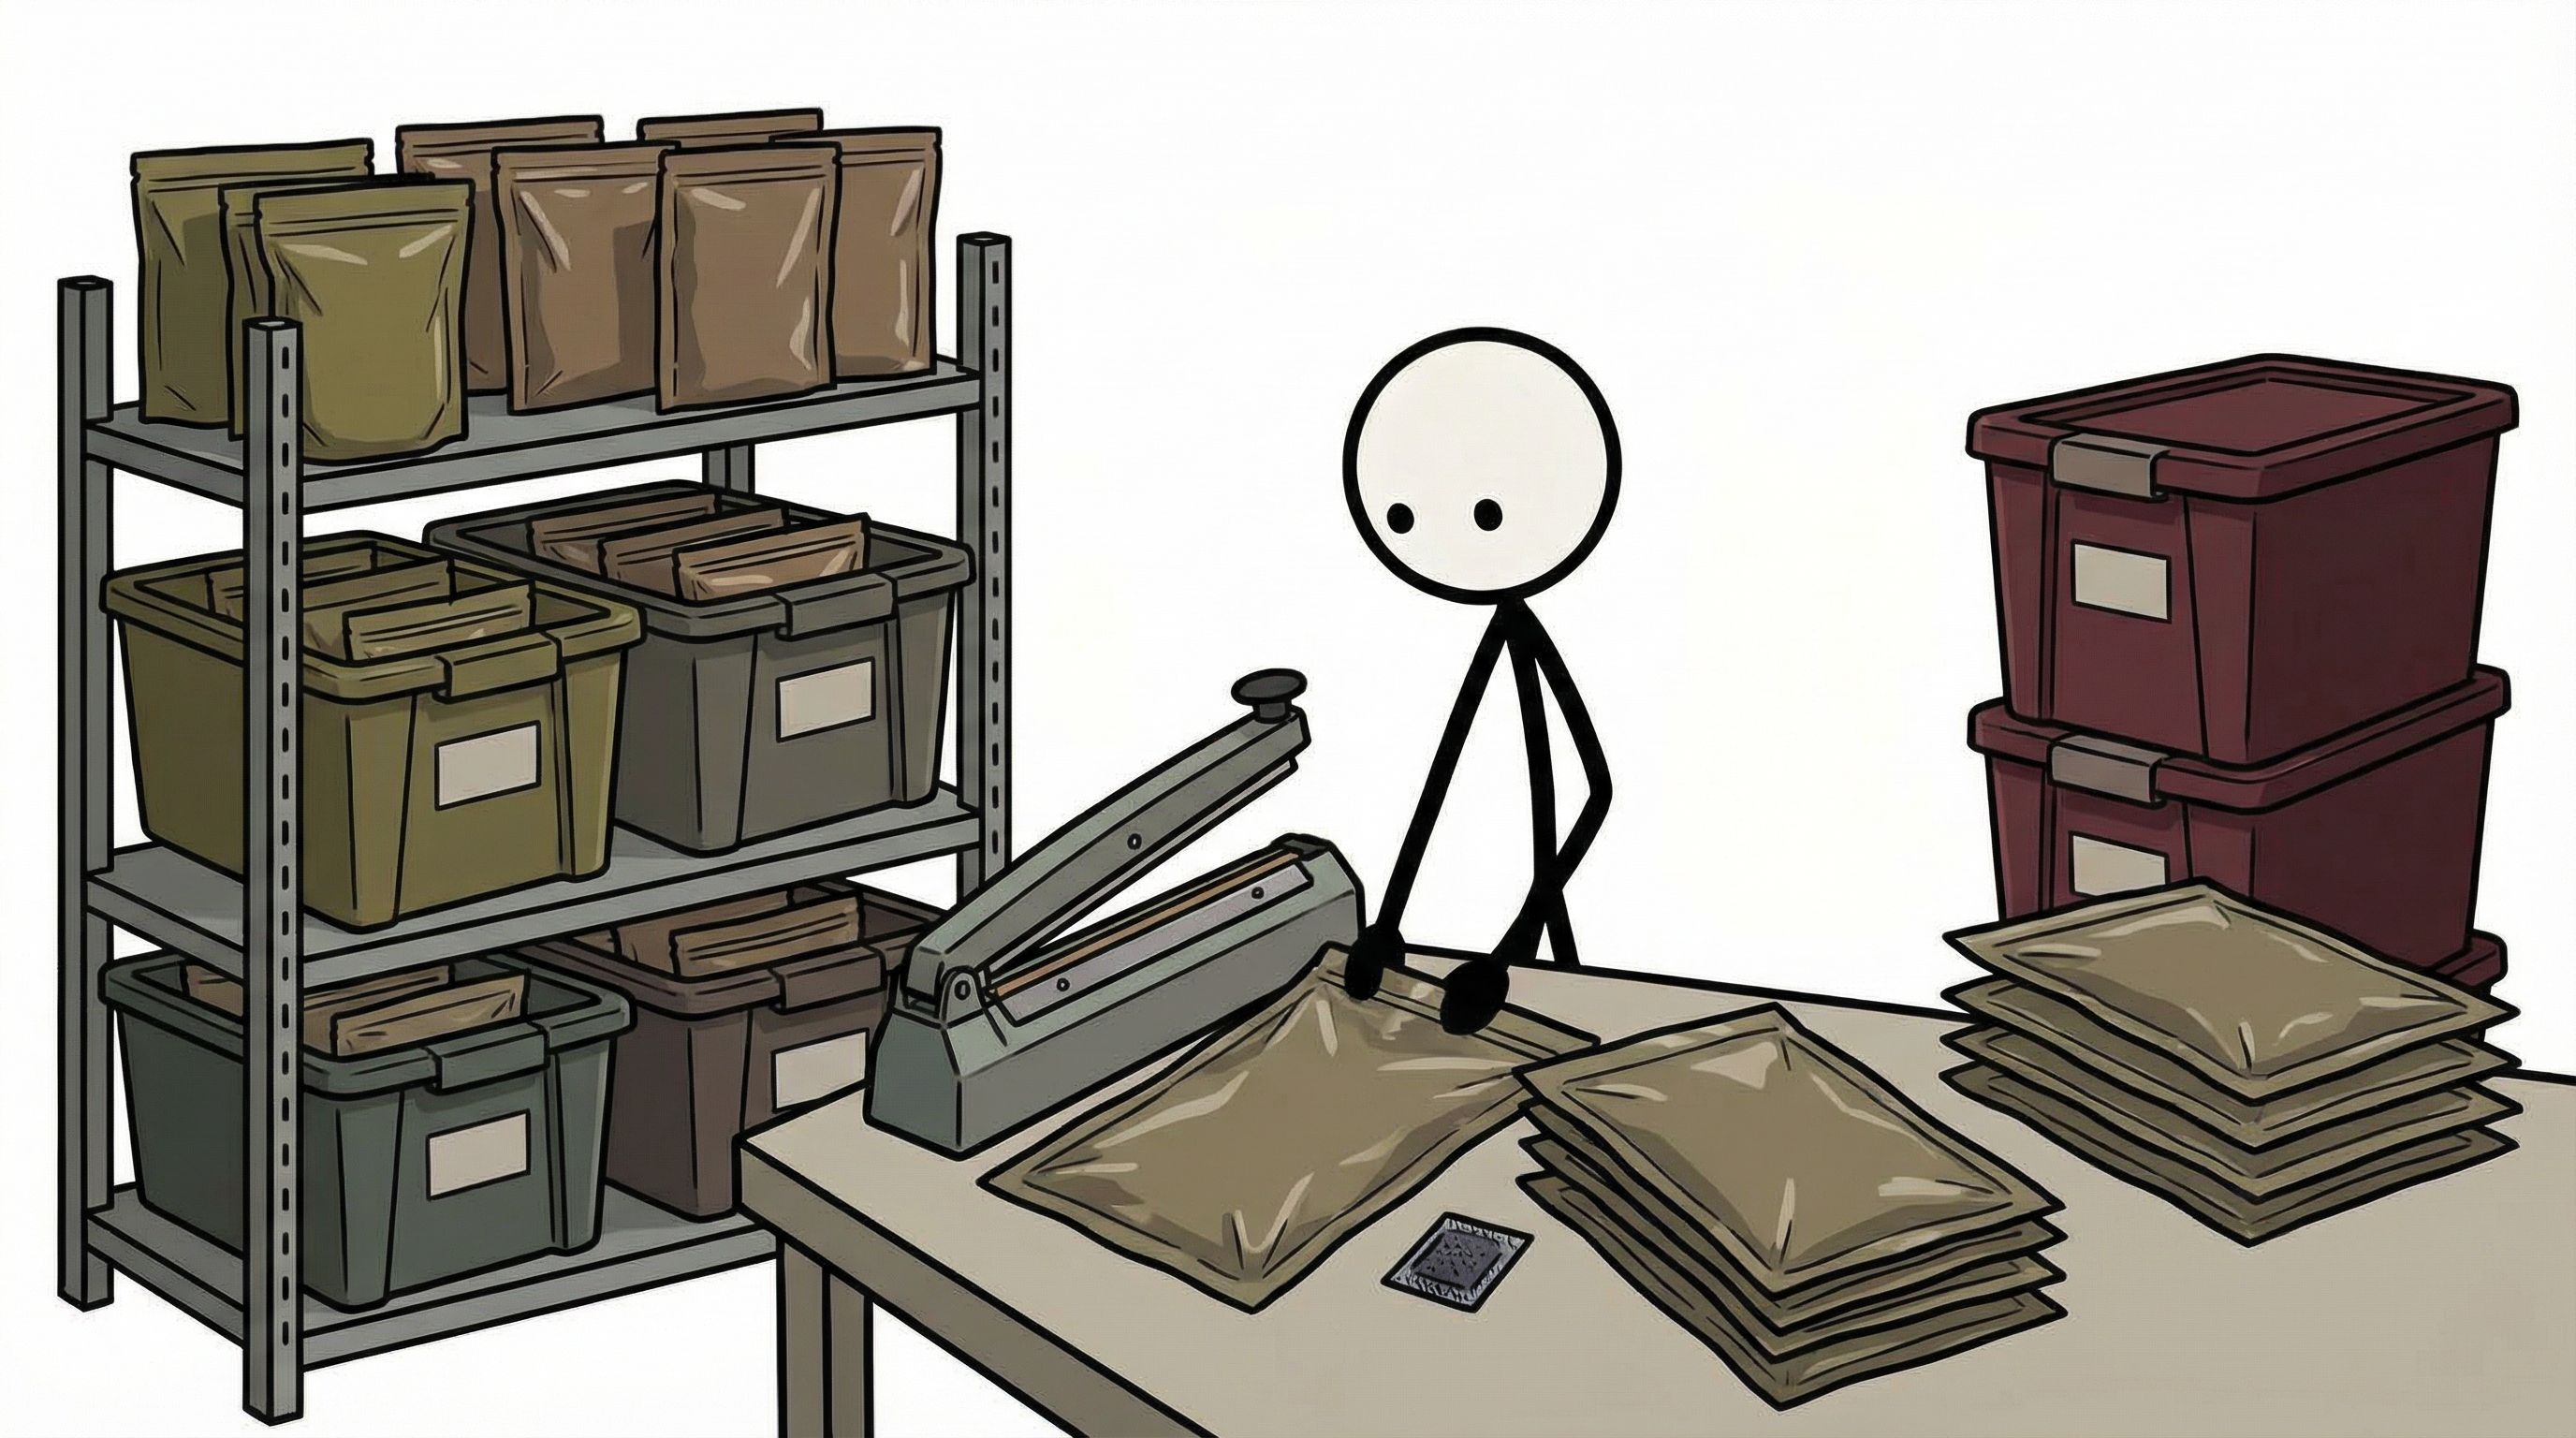
Not all mylar bags are created equal. If you are investing time and money into emergency food prep, you must ensure you are purchasing high-quality materials that will not fail over a 25-year timeline. When shopping for bags, you must consider two primary factors: thickness and size.
Understanding Mylar Thickness (Mils)
The thickness of a mylar bag is measured in "mils" (one mil equals one-thousandth of an inch). The thickness directly correlates to the bag's puncture resistance and its long-term barrier effectiveness.
- 3.5 to 4.5 Mil: This is the minimum acceptable thickness for long-term food storage. It is suitable for soft, powdery items like flour, powdered milk, or sugar. However, it is highly susceptible to microscopic pinholes if folded sharply or if it rubs against hard edges.
- 5.0 to 5.5 Mil: This is the standard recommendation for most preppers. It offers an excellent balance of flexibility and durability. It can safely hold harder items like rice, beans, and lentils without a high risk of internal puncturing.
- 7.0 Mil and Above: These heavy-duty bags are incredibly rigid and tough. They are ideal for storing foods with sharp edges, such as bone-in freeze-dried meats, rigid pasta shapes (like penne or macaroni), or dehydrated root vegetables.
Choosing the Right Bag Sizes
Mylar bags typically come in three standard sizes: half-pint/pint, one-gallon, and five-gallon. Your choice depends entirely on how you plan to consume the food during an emergency.
Remember that once you cut open a sealed mylar bag, the clock starts ticking on its shelf life because you have reintroduced oxygen and moisture. Therefore, it is often wiser to package staple foods in smaller, one-gallon bags rather than massive five-gallon bags. A one-gallon bag of rice will feed a family of four for a few days, meaning nothing goes to waste. Five-gallon bags are best reserved for massive bulk storage of absolute staples, provided you have secondary airtight containers to hold the food once the mylar is opened.
Demystifying Oxygen Absorbers
If mylar is the shield, oxygen absorbers (OAs) are the active defense mechanism. Understanding how to properly use mylar bags and oxygen absorbers is the most critical technical skill in this process. A common misconception is that OAs are "vacuums" that suck all the air out of a bag. This is scientifically inaccurate.
How Oxygen Absorbers Work
Air is composed of roughly 78% nitrogen, 21% oxygen, and 1% other gases. Oxygen absorbers contain iron powder, salt, and a moisture-retaining agent. When you open a pack of OAs, the iron powder immediately reacts with the oxygen in the air, creating iron oxide (rust). This chemical reaction consumes the oxygen.
Because OAs only remove the 21% of the air that is oxygen, the remaining 78% nitrogen stays in the bag. Nitrogen is an inert gas that does not degrade food or support insect life. Therefore, a properly sealed mylar bag will look slightly shrunken or "dimpled," but it will rarely look like a hard, vacuum-sealed brick. The lack of a tight vacuum look does not mean the process failed; it simply means the nitrogen remains.
Calculating the Right CCs for Your Bags
Oxygen absorbers are rated in cubic centimeters (cc), which indicates the volume of oxygen they are capable of absorbing. Using too few CCs will leave residual oxygen, leading to spoilage. Using too many CCs is generally harmless but wastes money. Always err on the side of using more absorption capacity than you think you need.
Here is a reliable baseline for sizing your oxygen absorbers based on bag size and food density:
- Half-Pint / Pint Bags: 50cc to 100cc
- Quart Bags: 100cc to 300cc
- One-Gallon Bags: 300cc to 500cc (Use 500cc for less dense foods like pasta that have more air gaps).
- Five-Gallon Bags: 2,000cc to 2,500cc (Dense foods like flour require less; loose foods like macaroni require more).
The Difference Between Oxygen Absorbers and Desiccants
One of the most dangerous mistakes beginners make is confusing oxygen absorbers with desiccants (silica gel packets). Desiccants absorb moisture; oxygen absorbers absorb oxygen. Do not use them together in the same bag. Oxygen absorbers require a microscopic amount of ambient moisture to activate the rusting process. If you put a desiccant in the bag, it will absorb all the moisture, preventing the oxygen absorber from working, and leaving your food exposed to oxygen.
The "Safe List" for Storing Food in Mylar Bags
Not all foods are candidates for long-term food storage. The USDA and food safety experts are very clear on the parameters required to safely preserve food at room temperature. To be safely stored in mylar with an oxygen absorber, a food must meet two strict criteria: it must be low in moisture (under 10%) and low in oil/fat content.
Fats and oils will eventually go rancid, even in an oxygen-depleted environment, ruining the taste and nutritional profile of the food. High moisture content presents a much more severe threat, which we will discuss in the next section. Here are the best foods for storing food in mylar bags:
- Grains: Hard white wheat berries, hard red wheat, soft white wheat, rolled oats, white rice (Jasmine, Basmati, long-grain), cornmeal, and pearled barley.
- Legumes: Pinto beans, black beans, navy beans, kidney beans, lentils, and split peas.
- Pasta: Macaroni, penne, spaghetti, and egg-free noodles.
- Dehydrated/Freeze-Dried Foods: Freeze-dried fruits and vegetables, potato flakes, and commercially dehydrated meals.
- Powders: Non-fat dry milk powder, baking soda, and baking powder.
Foods That Will Spoil or Turn Deadly
Understanding what not to store is just as important as knowing what to store. The Centers for Disease Control and Prevention (CDC) provides strict warnings regarding the bacteria Clostridium botulinum. This bacteria causes botulism, a potentially fatal paralytic illness.
Botulism spores exist naturally in the environment and on many foods. They are harmless in the presence of oxygen. However, when you place them in an anaerobic (oxygen-free) environment-like a sealed mylar bag-and provide them with moisture, the spores germinate and produce a deadly toxin. Therefore, you must never use oxygen absorbers with foods that have a moisture content higher than 10%.
Do not attempt to store the following items in mylar with oxygen absorbers:
- Brown Rice: Contains high levels of natural oils in the bran layer, which will turn rancid within a year, even in mylar.
- Nuts and Seeds: Almonds, peanuts, sunflower seeds, and sesame seeds are too high in fat and oil.
- Jerky and Dehydrated Meats: Unless commercially freeze-dried, homemade jerky retains too much moisture and poses a severe botulism risk.
- Sugar and Salt: While safe from botulism, sugar and salt do not require oxygen absorbers. If you add an OA to sugar or salt, it will turn the food into an impenetrable, rock-hard brick. Simply seal sugar and salt in mylar without an OA to protect them from moisture.
- Home-Dehydrated Fruits: Fruits dehydrated at home often retain pockets of moisture, making them unsafe for oxygen-depleted storage. Stick to commercially freeze-dried fruits.
Step-by-Step Process for Perfect Preservation
Now that you understand the science and the materials, it is time to put it into practice. Efficiency and preparation are key to this process. Because oxygen absorbers begin working the second they are exposed to the air, you must work quickly. Read through this entire process before opening your OAs.
Step 1: Prepare Your Workspace and Supplies
Gather all your materials on a clean, dry table. You will need your dry food, mylar bags, oxygen absorbers, a permanent marker, and a sealing device. For sealing, an impulse sealer is the professional choice, providing a thick, reliable weld. However, a standard household clothing iron or a high-quality hair straightener works exceptionally well for the DIY prepper.
Step 2: Label the Bags First
It is incredibly difficult to write clearly on a mylar bag once it is full of lumpy beans. Before you add any food, use a permanent marker to write the contents, the weight or volume, and the exact date of packaging on the outside of the bag. Clear labeling is the foundation of a functional survival pantry guide.
Step 3: Fill the Bags
Fill the mylar bags with your dry goods, being careful not to spill food onto the inner sealing rim. Leave about two to three inches of empty headspace at the top of the bag. If you overfill the bag, you will not be able to create a wide, secure seal, and the bag is more likely to rupture under pressure.
Step 4: Stage Your Sealer
If you are using a hair straightener or household iron, turn it on and let it preheat. The ideal temperature for sealing mylar is between 375°F and 425°F. If using a clothing iron, set it to the "Cotton" or "Linen" setting and ensure the steam function is completely turned off. You want dry, consistent heat.
Step 5: Add the Oxygen Absorbers (The Speed Round)
This is the critical moment. Once you open the factory-sealed package of oxygen absorbers, you have roughly 15 to 30 minutes before they become fully saturated and useless. Open the package, drop the required CCs into each filled mylar bag, and immediately seal the remaining, unused OAs in a small mason jar to preserve them for future use.
Step 6: Seal the Bags
Push as much excess air out of the top of the bag as possible by pressing it flat. If using an impulse sealer, press down firmly for the recommended time (usually 3-5 seconds). If using a hair straightener, clamp it down on the top edge of the bag and hold it for 3 seconds, then slide it across to ensure a solid, one-inch thick weld. The melted plastic inside the mylar should fuse together seamlessly. If the bag looks melted or scorched on the outside, your heat is too high. If it pulls apart easily, your heat is too low.
Step 7: Observe and Store
Leave the sealed bags on the table for 12 to 24 hours. Check back the next day to ensure the oxygen absorbers have done their job. The bags should look slightly compressed or dimpled. If a bag is still puffy and full of air, your seal may have failed, or the OA was dead. If successful, move the bags to their final storage location.
Building Your Survival Pantry Guide: Storage and Logistics
Successfully sealing your food is only half the battle. How and where you store your mylar bags will ultimately determine whether your stockpile lasts 5 years or 25 years. Mylar bags are excellent at keeping out air and moisture, but they are completely defenseless against rodents.
The Necessity of Secondary Containment
Mice, rats, and even aggressive pantry moths can chew through mylar if given enough time. To protect your investment, you must place your sealed mylar bags into rigid, secondary containers. Food-grade, 5-gallon High-Density Polyethylene (HDPE) buckets are the industry standard for emergency food prep.
Place your one-gallon or five-gallon mylar bags inside the buckets and seal them with a tightly fitting lid. Many preppers prefer "Gamma Seal" lids, which screw on and off easily, providing quick access without having to pry off a standard bucket lid. Ensure you label the outside of the bucket with a master inventory list of what is inside.
Optimizing Environmental Conditions
Remember the HALT acronym from earlier. You have defeated Air, Light, and Humidity with your buckets and mylar. Now you must manage Temperature. The nutritional degradation of food is a chemical reaction, and chemical reactions accelerate in the heat.
According to food storage experts, the ideal storage temperature for dry goods is between 50°F and 60°F. For every 10 degrees the temperature rises above 60°F, the shelf life of your food is cut in half. Storing your buckets in a hot garage or an uninsulated attic will destroy your food, regardless of how well it is sealed. Seek out climate-controlled spaces: a basement, a cool interior closet, or underneath beds in air-conditioned rooms.
Inventory Tracking and Rotation
A true survival pantry guide relies on organization. You are not building a museum exhibit; you are building a working pantry. Implement a "First In, First Out" (FIFO) rotation system. Even though your white rice might last 25 years, you should be eating and replacing the oldest stock first.
Maintain a spreadsheet or a physical ledger taped to the inside of your pantry door. Track the contents, total caloric value, and packaging dates of every bucket. FEMA recommends calculating emergency food needs based on a minimum of 2,000 calories per adult per day. Having a detailed inventory ensures you know exactly how many days of self-reliance you have achieved, allowing you to identify nutritional gaps and plan your future purchases strategically.
Troubleshooting Common Mistakes
Even seasoned preppers make errors when storing food in mylar bags. By understanding these common pitfalls, you can avoid wasting valuable resources.
- Reusing Oxygen Absorbers: Oxygen absorbers undergo a one-way chemical reaction. Once they are full of oxygen, they cannot be "recharged" in an oven or microwave. They must be discarded and replaced if a bag is opened.
- Inadequate Sealing: Using a clothing iron with water still in the reservoir can inject steam into the seal, causing it to fail. Always ensure your heat source is completely dry. Furthermore, a thin, wire-like seal is prone to breaking. Aim for a wide seal of at least one inch.
- Ignoring the "Dimple" Test: Do not assume your process worked without verifying. If a bag remains puffy after 48 hours, cut it open, replace the OA, and reseal it. Do not risk finding out your food spoiled a decade from now during an actual crisis.
- Packing High-Moisture Items: We cannot stress this enough: do not pack brown sugar, raisins, or chewy granola inside mylar with OAs. The botulism risk is real and documented by health agencies worldwide. Stick strictly to dry, low-fat staples.
Securing Your Family's Future
Mastering the use of mylar bags and oxygen absorbers elevates you from someone who merely buys extra groceries to someone who is actively building generational resilience. True preparedness is not about anticipating the end of the world; it is about ensuring that no matter what localized disaster, supply chain hiccup, or economic downturn occurs, your family will never have to worry about their next meal. By following the scientific principles of moisture control, oxygen depletion, and temperature management outlined in this guide, you are taking proactive, empowering steps toward total food independence. Start small, perfect your sealing technique, continuously expand your inventory, and rest easy knowing your survival pantry is built to withstand the test of time.
Next Step
Before sealing bulk staples, build the full calorie target in the Supply Calculator and check expected shelf life with the Shelf Life Estimator.
Frequently Asked Questions
Are mylar bags toxic for food storage?
Food-grade mylar bags are considered safe for dry food storage when used as intended. Choose bags sold for food storage, avoid unknown industrial packaging, and keep the food inside a clean food-grade liner or bucket system.
What foods can go in mylar bags with oxygen absorbers?
Use dry, low-fat foods such as white rice, dry beans, lentils, oats, pasta, wheat berries, and dry corn. Avoid moist foods, oily foods, brown rice, nuts, jerky, and baking powder because oxygen removal can create safety or quality problems.
How many oxygen absorbers do I need per bag?
It depends on bag size, food density, and headspace. A common rule is about 300cc to 500cc for a 1-gallon bag and about 2000cc to 2500cc for a 5-gallon bucket liner. More absorber capacity is usually safer than too little.
Can you store dry milk in mylar with oxygen absorbers?
Nonfat dry milk can be stored in mylar with oxygen absorbers if it is very dry and packaged correctly, but it is more sensitive than rice or beans. Rotate it more often and keep it cool. Whole milk powder has more fat and a shorter shelf life.
Should sugar and salt use oxygen absorbers?
No. Sugar can harden into a brick when oxygen absorbers are used, and salt does not need oxygen removal. Store both in airtight containers for pest and moisture protection, but skip oxygen absorbers.
Sources & Further Reading
- https://www.ready.gov/food
- https://www.fema.gov/pdf/areyouready/emergency_supply_list.pdf
- https://www.redcross.org/get-help/how-to-prepare-for-emergencies/survival-kit-supplies.html
- https://www.cdc.gov/disasters/foodwater/prepare.html
- https://www.fsis.usda.gov/food-safety/safe-food-handling-and-preparation/emergencies/keeping-food-safe-during-emergency
Related resource: Shelf Life Estimator.
Related resource: Water & Food Storage Guide.