⚡ Key Facts
- The Liability Shift: According to the Federal Emergency Management Agency (FEMA), the average cost of a single flood claim for a residential home exceeds $50,000—a cost that renters never face but can financially ruin an unprepared homeowner.
- The First-Year Fire Risk: The National Fire Protection Association (NFPA) reports that US fire departments respond to an average of 343,100 home structure fires per year, with new homeowners being statistically more vulnerable due to unfamiliarity with their property's electrical and heating systems.
- The Water Damage Epidemic: The Insurance Institute for Business & Home Safety (IBHS) states that water damage from plumbing failures and frozen pipes is one of the leading causes of residential property damage, costing homeowners an average of $11,000 per incident.
- The Insurance Gap: A survey by the reinsurance firm Swiss Re revealed that nearly 60% of US homeowners are underinsured by an average of 20% or more, leaving them exposed to massive out-of-pocket expenses during a federally declared disaster.
For most people, signing the closing papers on a first home is the culmination of years of hard work, budgeting, and dreaming. But when the keys are handed over and the moving trucks depart, a sobering reality sets in: you are now the landlord. There is no property management office to call when a severe storm rips shingles from the roof, no maintenance team to summon when a pipe bursts in the crawlspace, and no municipal authority responsible for the trees looming over your power lines. Transitioning from tenant to property owner requires a profound shift in mindset. You are no longer just an occupant; you are the chief safety officer, structural engineer, and emergency coordinator for your household. Establishing a strategy for new homeowner emergency preparedness is not merely an optional weekend project—it is a fundamental pillar of protecting your greatest financial asset and, more importantly, the lives of those who live within its walls.
Renting vs. Owning: The Shift in Disaster Liability
When you rent an apartment or a house, your emergency preparedness responsibilities are relatively narrow. If a natural disaster strikes, your primary concern is personal safety and the preservation of your immediate belongings, which are ideally covered by a standard renter's insurance policy. If the building's water main ruptures, the landlord pays for the cleanup, the plumbing repairs, and any structural remediation. If a wildfire threatens the area, the structural mitigation—such as clearing brush or installing fire-resistant siding—is entirely out of your hands, as is the financial burden of rebuilding.
When you undergo the process of emergency prep buying first house, that buffer zone disappears. You inherit the structural integrity of the building, the liability of the land it sits on, and the complex mechanical systems running through its walls. If a storm causes a tree on your property to fall onto a neighbor's garage, you may be held liable. If your sump pump fails during a torrential downpour, the flooded basement is your financial responsibility. This shift requires a transition from reactive emergency planning to proactive asset protection and risk mitigation.
Furthermore, deferred maintenance is one of the most common catalysts for disaster in residential properties. A minor roof leak that a tenant might ignore can rot structural trusses over time, leading to a catastrophic roof collapse under a heavy snow load. A slightly clogged gutter can back up during a freeze, creating ice dams that force water into your drywall, leading to toxic mold growth. As a homeowner, understanding that routine maintenance *is* emergency preparedness is the first and most critical lesson of property stewardship.
The First 90 Days: A Phased Preparedness Timeline
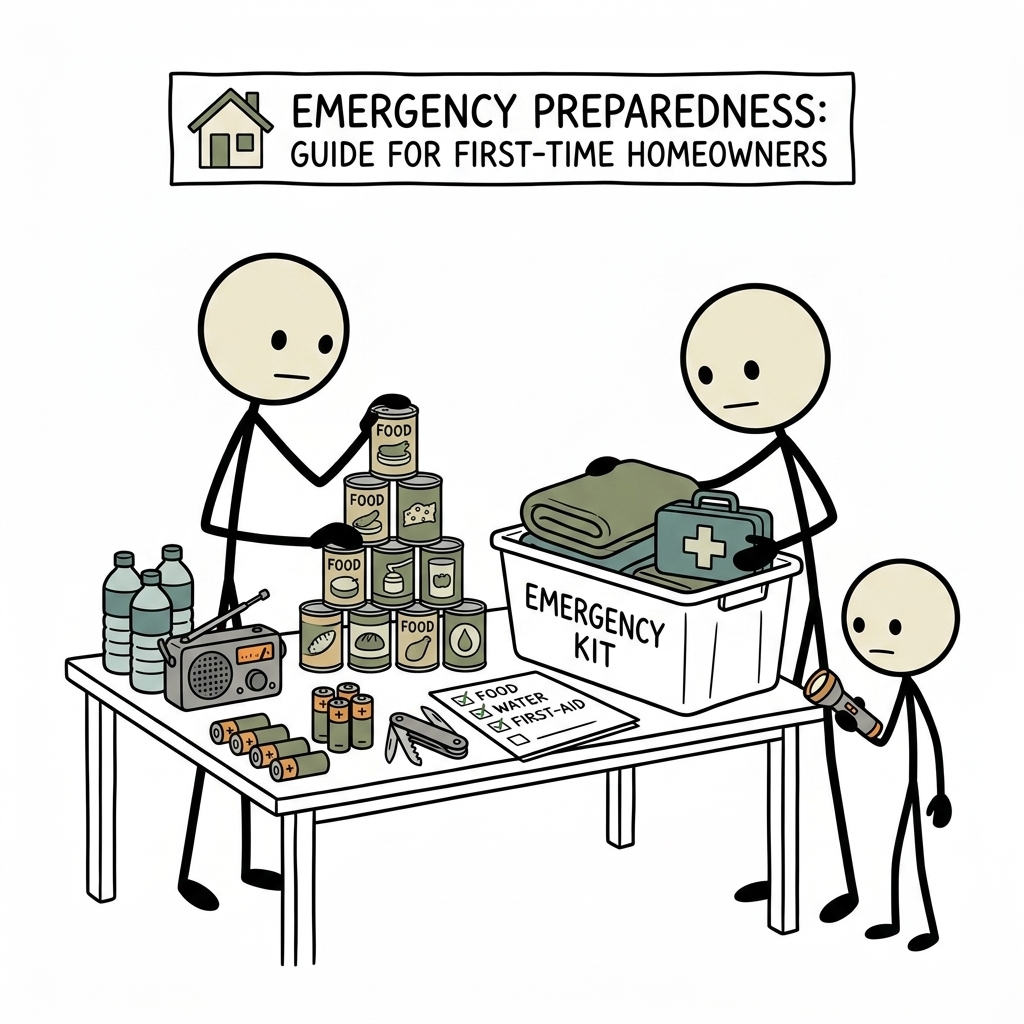
Trying to secure a new home against every conceivable threat all at once can feel overwhelming and lead to analysis paralysis. To prevent this, break your preparedness tasks down into a manageable, phased timeline over your first three months of homeownership. This structured approach ensures that critical life-safety measures are addressed immediately, followed by system mastery and long-term structural resilience.
Days 1–30: The Immediate Safety Phase
Your first month in the home should focus entirely on immediate life-safety measures and establishing your baseline defense systems. Before you even unpack all of your moving boxes, complete these essential tasks:
- Replace All Smoke and Carbon Monoxide Detectors: Do not rely on the detectors left behind by the previous owner. Install dual-sensor photoelectric/ionization smoke alarms on every level of the home, inside every bedroom, and outside every sleeping area, in accordance with NFPA 72 guidelines. Install carbon monoxide (CO) detectors near sleeping areas and on every floor with fuel-burning appliances.
- Deploy Fire Extinguishers: Place at least one 2-A:10-B:C rated fire extinguisher on every floor of your home. Ensure there is one easily accessible in the kitchen, one near the garage or workshop, and one close to any major heating appliances. Teach all family members how to use the P.A.S.S. method (Pull, Aim, Squeeze, Sweep).
- Assemble Your New Home Emergency Kit: While you may have had a basic kit as a renter, a home requires a more robust setup. Your new home emergency kit should include a minimum of three days (ideally two weeks) of water (one gallon per person per day) and non-perishable food, a NOAA weather radio, a first-aid kit, flashlights, a multi-tool, and heavy-duty work gloves. Store these supplies in a centralized, easily accessible location like a hall closet or a dedicated storage bin in a utility room.
- Secure the Perimeter: Change all exterior door locks immediately. You have no way of knowing how many spare keys were distributed to contractors, neighbors, or relatives by the previous occupants. Install heavy-duty deadbolts with 3-inch screws that penetrate deep into the door frame studs, making the doors highly resistant to kick-ins.
Days 31–60: The System Mastery Phase
Once your immediate life-safety systems are in place, dedicate your second month to mastering the mechanical infrastructure of your home. This is where you develop your personalized homeowner safety checklist.
- Locate and Label Utility Shutoffs: You must know exactly how to shut off your water, gas, and electricity in a matter of seconds. Locate these shutoffs, label them clearly with high-visibility tags, and store the necessary tools (such as a water meter key or a gas wrench) directly adjacent to them.
- Map Your Home's Electrical System: If your breaker panel is unlabeled or poorly labeled, spend an afternoon mapping every circuit. Turn on lights and plug a small appliance (like a radio or nightlight) into outlets to verify which breaker controls each room. Clear, accurate labeling prevents panic when you need to cut power to a specific area during an electrical emergency or water leak.
- Inspect and Service HVAC and Chimneys: Schedule a professional inspection of your heating, ventilation, and air conditioning (HVAC) systems, as well as any wood-burning fireplaces or chimneys. Creosote buildup in chimneys and cracked heat exchangers in furnaces are leading causes of winter house fires and carbon monoxide poisoning.
Days 61–90: The Hardening and Drills Phase
Your third month is about building long-term resilience, practicing your emergency plans, and integrating your home into the surrounding community.
- Conduct Emergency Drills: Practice home fire drills and severe weather drills with everyone in your household. Establish two escape routes out of every room and designate a safe meeting spot outside the home (e.g., a specific neighbor's mailbox or a nearby tree).
- Assess Drainage and Vegetation: Walk your property during a heavy rainstorm. Look for areas where water pools close to your foundation. Clean your gutters and ensure your downspouts extend at least six feet away from the home's foundation. Trim back any tree branches that hang over your roof or brush against your siding, as these can act as conduits for fire or cause severe structural damage during high winds.
- Establish a Digital Vault: Scan all critical home documents—including your mortgage paperwork, property deed, insurance policies, and a detailed home inventory video—and save them to a secure, encrypted cloud service. Keep physical copies in a portable, waterproof, and fireproof document safe.
Mastering Your Utilities: Water, Gas, and Electricity
In a residential crisis, your utilities can quickly transform from modern conveniences into severe hazards. A ruptured water pipe can dump up to 10 Water Calculator per minute into your home, causing catastrophic structural damage in under an hour. A gas leak can lead to a devastating explosion, and a damaged electrical system can spark a fatal fire. To execute effective first time homeowner emergency prep, you must master the control systems of these three utilities.
The Main Water Shutoff
Every homeowner must know the location of their main water shutoff valve. In warmer climates, this valve is often located outside, near the street inside a subterranean concrete or plastic box (the water meter box). In colder climates, it is typically located inside the home, in the basement, crawlspace, or utility closet where the main water line penetrates the foundation wall.
There are two primary types of shutoff valves: gate valves and ball valves. Gate valves feature a round wheel handle that must be turned clockwise multiple times until the gate is fully seated. Because gate valves can become brittle and fail over time, they should be operated slowly and carefully. Ball valves feature a single straight lever. When the lever is parallel to the pipe, the water is on; when it is turned 90 degrees so that it is perpendicular to the pipe, the water is completely off. If your home has an older gate valve, consider hiring a licensed plumber to replace it with a highly reliable quarter-turn brass ball valve.
The Natural Gas Shutoff
Natural gas leaks are highly dangerous. If you smell gas (a rotten-egg odor caused by the additive mercaptan), hear a hissing sound near a gas line, or suspect a leak, evacuate the home immediately. Do not turn light switches on or off, light a match, or use your phone inside the home, as any tiny spark can ignite the gas.
Once you are safe, or if a severe earthquake or storm has compromised your home's structural integrity, you should shut off the gas at the main meter. The gas shutoff valve is located on the pipe coming out of the ground, just before it enters the gas meter. The valve itself is a small, rectangular metal tab. When the tab is aligned parallel to the pipe, the gas is flowing. To shut it off, use a non-sparking crescent wrench or a specialized emergency gas shutoff tool to turn the valve 90 degrees in either direction so that the tab is perpendicular to the pipe.
Crucial Safety Warning: If you shut off your main gas line, never attempt to turn it back on yourself. Doing so can introduce air pockets into the lines or cause gas to accumulate in appliances where the pilot lights have gone out. You must contact your local utility company or a licensed HVAC professional to safely pressure-test the system, purge the lines, and relight your pilot lights.
The Main Electrical Panel
Your electrical service panel (breaker box) is typically located in a basement, garage, utility room, or on an exterior wall. Inside the panel, you will find a series of individual breakers controlling specific circuits, as well as a large "Main" breaker located at the very top or bottom of the panel. This main breaker cuts all electrical power to the entire house.
In the event of a severe flood, a major roof leak that penetrates the ceiling, or if you smell electrical burning that cannot be isolated, shut off the main breaker immediately. To do this safely, stand to the side of the panel, turn your face away, and use one hand to firmly flip the main breaker switch to the "Off" position. Standing to the side protects you from the rare but dangerous occurrence of an arc flash. Additionally, ensure the floor beneath the panel is completely dry before touching any electrical components; if the area is wet, do not touch the panel and call an emergency electrician or your utility provider immediately.
| Utility | Location of Shutoff | Required Tool | Action Required |
|---|---|---|---|
| Water | Basement, crawlspace, or street-side meter box | Water meter key (if outside) or hand-operated valve | Turn wheel clockwise (gate valve) or turn lever 90 degrees (ball valve) |
| Natural Gas | Exterior meter, on the main riser pipe | 12-inch adjustable wrench or gas shutoff tool | Turn rectangular valve 90 degrees until perpendicular to the pipe |
| Electricity | Basement, garage, utility room, or exterior wall | None (hand-operated breaker switch) | Stand to the side, turn face away, and flip the "Main" breaker to OFF |
Insurance Demystified: Closing the Coverage Gaps
One of the most dangerous mistakes a first-time homeowner can make is assuming that a standard homeowners insurance policy (typically an HO-3 policy) covers all forms of disaster. Mortgage lenders require you to carry insurance to protect *their* investment, but their requirements often focus on basic hazards like fire, windstorms, and hail. They rarely mandate coverage for the hazards that can completely erase your equity overnight.
To ensure your financial survival, you must understand the difference between Actual Cash Value (ACV) and Replacement Cost Value (RCV) coverage. ACV policies pay out the depreciated value of your home or belongings at the time of the loss. If your 15-year-old roof is destroyed by a storm, an ACV policy will only pay a fraction of what it costs to install a new one, leaving you to cover the remaining thousands of dollars out of pocket. An RCV policy, on the other hand, covers the actual cost of replacing the damaged materials with new materials of similar quality, regardless of depreciation. Always opt for RCV coverage for both your dwelling and your personal property.
Furthermore, standard homeowners insurance policies explicitly exclude damage caused by "earth movement" (earthquakes, landslides, sinkholes) and "water damage" resulting from external flooding. According to the USGS, earthquakes pose a significant risk to millions of homes across the United States, not just in California. If you live near a fault line, you must purchase a separate earthquake rider or policy.
Similarly, flood insurance is not included in standard policies. FEMA's National Flood Insurance Program (NFIP) is the primary provider of flood coverage in the United States. Even if your lender does not require flood insurance because your home is located outside a Special Flood Hazard Area (SFHA), you should strongly consider purchasing a policy. FEMA reports that more than 20% of all flood insurance claims occur outside of high-risk flood zones. A single heavy summer downpour or a rapid spring thaw can easily overwhelm local storm drains and flood your home, a risk that is rising due to shifting global weather patterns.
Finally, conduct a thorough, room-by-room home inventory at least once a year. Walk through your home with a smartphone, recording a high-definition video of every closet, drawer, appliance, and electronic device. Read serial numbers aloud and describe the make and model of expensive items. Save this video to the cloud. If you must file an insurance claim after a disaster, having visual, timestamped proof of your belongings will dramatically speed up the claims process and ensure you receive the full payout to which you are entitled.
Home Hardening Basics: Protecting Your Physical Asset
Home hardening is the practice of modifying your home's physical structure and surrounding landscape to make it more resistant to wildfires, high winds, earthquakes, and extreme temperatures. It is a proactive approach to disaster mitigation that can significantly reduce the likelihood of structural failure during an event. When planning your new homeowner emergency preparedness strategy, focus on the specific hazards common to your geographic region.
Wildfire Mitigation: Defensible Space
If your home is located near wildlands or in a region prone to wildfires, your primary defense is the creation of "defensible space." This is a buffer zone designed to slow or stop the spread of wildfire toward your home. The National Fire Protection Association (NFPA) recommends dividing your property into three distinct zones:
- Zone 0 (The Immediate Zone - 0 to 5 feet): This is the most critical area. Remove all combustible materials from this zone. Replace wood mulch with gravel or stone, clear away dead leaves and pine needles from your gutters and roof valleys, and ensure no tree branches hang within 10 feet of your chimney. Never store firewood or gas cans under your deck or against your siding.
- Zone 1 (The Intermediate Zone - 5 to 30 feet): Create separation between plants and trees. Trim tree branches up to 6 to 10 feet from the ground to prevent ground fires from climbing into the canopy (known as "ladder fuels"). Keep your lawn mowed to a height of 4 inches or less, and remove any dead vegetation.
- Zone 2 (The Extended Zone - 30 to 100 feet): Thin out trees so their canopies do not touch. Remove accumulated leaf litter, fallen branches, and dead wood to reduce the fuel load available to an approaching fire.
Wind and Storm Mitigation
High winds from hurricanes, tornadoes, or severe thunderstorms can exert immense pressure on your home's structure. The roof and the garage door are the two most vulnerable failure points. FEMA notes that if a garage door fails during a high-wind event, wind can enter the home, pressurize the interior, and literally blow the roof off from the inside out.
To mitigate wind hazards, ensure your garage door is wind-rated or install a vertical bracing kit. If you live in a hurricane-prone area, consider retrofitting your roof with hurricane ties or straps—metal connectors that anchor the roof trusses directly to the wall studs, dramatically increasing wind resistance. When replacing your roof, choose impact-resistant shingles (Class 4 rating) that can withstand large hail and high winds without fracturing.
Seismic Retrofitting
If you live in an earthquake-prone region, your home's foundation connection is critical. Older homes (typically built before 1980) were often not bolted to their concrete foundations, leaving them vulnerable to sliding off their footings during a major tremor. A professional seismic retrofit involves bolting the sill plate (the wooden base of the house frame) directly to the concrete foundation using heavy-duty anchor bolts and reinforcing "cripple walls" with plywood sheathing to prevent collapse.
Community Integration: Building Local Resilience
In a widespread disaster, emergency services (police, fire, and EMS) can quickly become overwhelmed, leading to response times measured in hours or even days. During these critical windows, your most valuable asset is not your stockpile of supplies; it is your neighborhood preparedness network network. True resilience is built through community integration and community emergency preparedness guide.
Take the time to get to know your immediate neighbors. You do not need to share your entire emergency plan or disclose the contents of your emergency food storage guide, but you should establish a basic understanding of who lives around you. Identify vulnerable neighbors who may need assistance during an evacuation or power outage, such as the elderly, individuals with physical disabilities, or families with young children. Knowing that Mr. Jones next door uses oxygen and requires electricity can help you prioritize your actions when the power grid fails.
Additionally, find out if your neighbors possess specialized skills or equipment that could be invaluable during a crisis. Does someone down the street own a chainsaw for clearing fallen trees from the road? Is there a retired nurse, EMT, or amateur radio operator nearby? Building a loose network of shared skills and resources can turn a chaotic neighborhood into an organized, self-sufficient community unit.
Finally, integrate yourself into the official local emergency management framework. Register for your county or city's emergency alert system (often called Reverse 911 or localized wireless emergency alerts). Consider participating in a Community real-world Survival Scenarioss guide Team (CERT) program. Sponsored by FEMA, CERT training teaches citizens basic disaster response skills, including light search and rescue, disaster medical operations, fire safety, and team organization. By participating in CERT, you transition from a citizen who needs help to a trained asset who can provide it, strengthening the resilience of your entire community.
Taking Ownership of Your Safety
Transitioning from renting to homeownership is a major milestone, but it also represents a fundamental shift in your relationship with your living space. The security of your family, the preservation of your property, and your long-term financial stability are now entirely in your hands. By systematically working through your first 90 days of preparedness, mastering your home's utility shutoffs, securing the right insurance coverage, hardening your physical structure, and building strong relationships with your neighbors, you transform your home from a source of liability into a resilient sanctuary. Preparedness is not a single weekend task, nor is it a state of fear; it is an ongoing practice of stewardship, responsibility, and empowerment. Take control of your home's safety today, and build the peace of mind that comes with knowing you are truly ready for whatever lies ahead.
Frequently Asked Questions
What are the most important emergency prep tasks in the first 30 days of homeownership?
Find and label all utility shutoffs (gas, water, electrical panel). Install smoke detectors on every floor and CO detectors near sleeping areas (battery backup, not just hardwired). Change all exterior door locks. Get a fire extinguisher for the kitchen. Learn your FEMA flood zone status and whether you need flood insurance.
Where are the emergency utility shutoffs in a typical home?
Water main: typically at the street meter (requires a meter key) and/or inside the house (basement, crawl space, or utility closet). Gas main: typically at the meter (requires a wrench) and/or individual appliance shutoffs. Electrical main: in the main panel (usually gray metal box in garage, basement, or utility room). Know ALL three before any emergency. Label them clearly.
What insurance do homeowners need for emergency preparedness?
Standard homeowner's insurance covers fire, wind, theft, and liability but NOT floods or earthquakes. If you're in a FEMA-mapped flood zone, you may be required to carry NFIP flood insurance. Earthquake insurance is a separate rider (required in CA, recommended in Pacific Northwest and New Madrid zone). Review your policy annually and verify your coverage reflects your home's current replacement cost.
What home safety upgrades have the highest emergency preparedness value?
A whole-home generator transfer switch ($500-1,500 installed) or portable generator with manual transfer switch. A whole-house water shutoff (quick-close valve, $300-500 installed) for pipe burst emergencies. Hurricane/impact-resistant doors and windows for coastal areas. A home safe for documents, cash, and valuables. These are investments that pay off in actual emergencies.
How do new homeowners integrate with their community's emergency preparedness?
Introduce yourself to immediate neighbors and exchange contact info — this is the single best emergency preparedness act. Register with your county's emergency notification system. Attend a CERT (Community Emergency Response Team) training if available. Know your HOA's emergency procedures if applicable. Check if your neighborhood has a Nextdoor or emergency communication channel.