Prepping basics: start with the first 72 hours
A budget kit works best when it follows a simple plan: water, food, light, first aid, communication, and one clear family routine. If you are new, pair this checklist with the free Catastrophe Survival 101 course, then size your basics with the emergency supply calculator and water calculator.
For the foundation, review prepping, make a family emergency plan, and keep one compact go-bag essentials list for fast checks.
⚡ Key Facts
- According to the Federal Emergency Management Agency (FEMA), nearly 46% of Americans lack basic emergency supplies, often due to perceived high costs.
- A comprehensive, life-saving 72-hour emergency kit under 200 dollars can be built using strategic purchasing and household repurposing; use this emergency preparedness gear guide as a sanity check before spending on optional upgrades.
- The Centers for Disease Control and Prevention (CDC) advises storing at least one gallon of water per person per day, which can be achieved for pennies using sanitized, upcycled containers.
- Implementing a phased purchasing approach allows families to build robust resilience for as little as $10 to $15 a week without straining their finances.
- The most critical survival tools-situational awareness, family communication plans, and emergency alerts from agencies like NOAA-are 100% free.
Choose a Practical Cutting Tool
A knife is a useful part of a kit, but it should serve a clear job: cordage, packaging, food tasks, and small repairs. Compare practical fixed-blade and compact options in our best survival knives guide, then match the tool to the rest of your water, light, medical, and food plan.
Keep Your Plan Usable
A written checklist is only useful if it stays current. The Protocol Survival preparedness app helps households track supplies, turn gaps into next actions, and keep the plan ready to use when normal services are disrupted.
First 72 Hours: Fast Action Path
The query behind this page is simple: 72 hours is 3 days. In preparedness terms, those three days are the bridge between a normal household and delayed outside help. Start with the 72-hour rule guide, then build skills through the free Catastrophe Survival 101 course.
For the practical kit, use the 72-hour kit guide, calculate supplies with the supply calculator, and set water targets with the water calculator.
Imagine waking up to a severe winter storm that has knocked out the power grid. The roads are impassable, the grocery store shelves were stripped bare yesterday, and the temperature inside your home is slowly dropping. For many, this scenario induces panic. But for you, it is simply an inconvenience. You know exactly where your Water Calculator is stored, your family has plenty of calorie-dense food, and your battery-powered radio is already tuned to the local weather station. Best of all, achieving this peace of mind did not require draining your savings account or going into debt. water calculator. See Water Calculator for additional options. See Water Calculator for additional options.
There is a pervasive myth in the survival community that readiness requires a bunker mentality and thousands of dollars in tactical gear. Social media is flooded with influencers showcasing expensive freeze-dried food buckets, high-end solar generators, and military-grade backpacks. This creates an artificial barrier to entry, leaving everyday families feeling like they cannot afford to be safe. The truth is vastly different. Affordable prepping is not about buying the most expensive gear; it is about acquiring the most practical knowledge and prioritizing high-impact items. emergency food storage guide. For a quick definition, see prepping.
Whether you are facing a natural disaster, a sudden job loss, or a localized power outage, cheap emergency preparedness is entirely within your reach. By focusing on prioritized spending, embracing clever DIY alternatives, and adopting a phased purchasing approach, you can build a highly effective safety net. Let’s break down exactly how to protect your family without breaking the bank. family emergency plan. For a quick definition, see prepper.
The Reality of Prepping on a Budget
When you strip away the marketing hype, survival always boils down to basic human biology. The human body requires oxygen, shelter from extreme elements, hydration, and calories. Everything else is a luxury. Prepping on a budget requires a ruthless focus on these fundamental necessities. If an item does not directly contribute to keeping your core body temperature stable, keeping you hydrated, or keeping you fed, it gets pushed to the bottom of the shopping list.
FEMA’s National Household Survey consistently reveals that the primary reason people fail to prepare is the belief that it is too expensive. However, emergency management agencies do not recommend buying tactical gear. The Red Cross and FEMA simply recommend having enough basic supplies to sustain yourself for three to fourteen days while infrastructure is repaired. This means that a budget emergency kit is not a compromise-it is exactly what the experts advise.
To succeed at affordable prepping, you must shift your mindset from "gear acquisition" to "capability building." A $100 water filter is useless if you don't know how to backflush it, but a $5 bottle of household bleach can purify hundreds of gallons of water if you know the correct CDC ratios. Knowledge is the ultimate force multiplier for your budget.
Prioritized Spending: The Rule of Threes
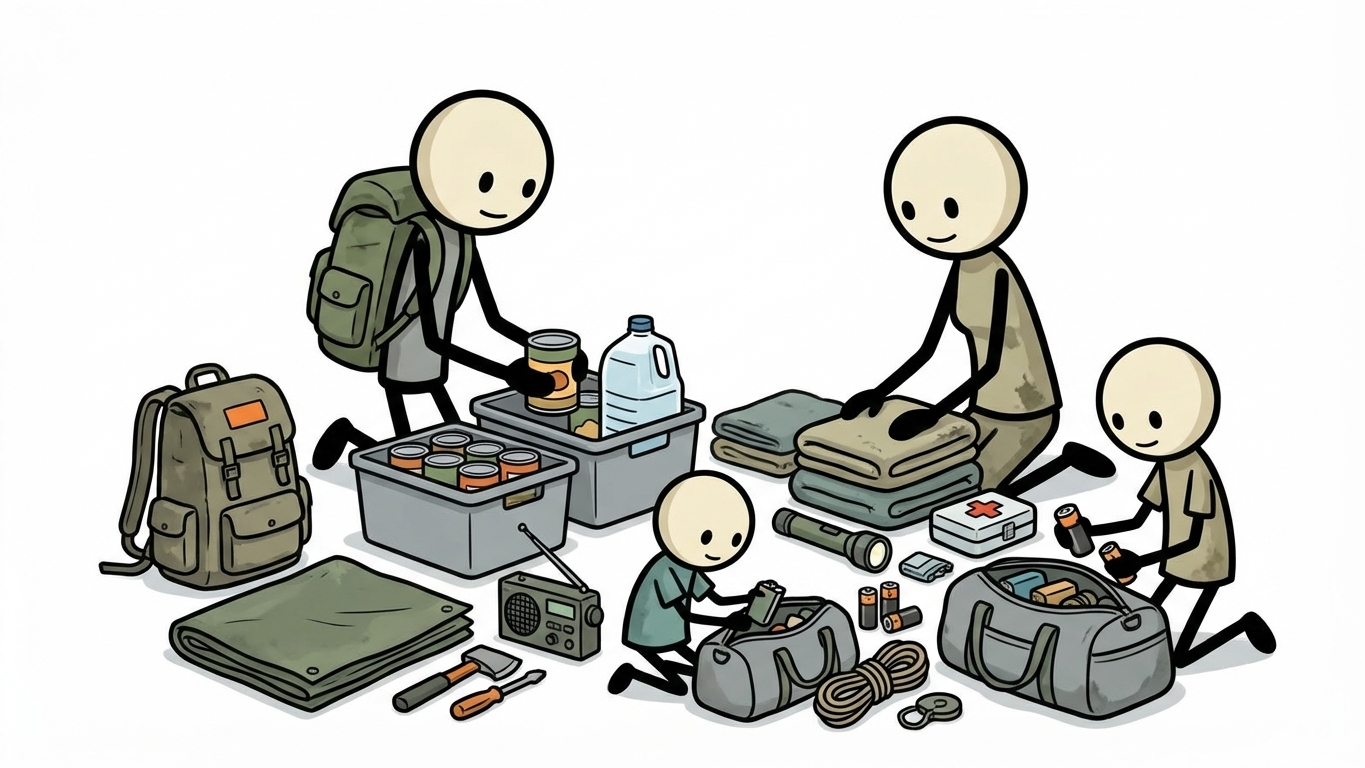
To maximize every dollar, your spending must be guided by the "Rule of Threes." This survival heuristic outlines the rough limits of human endurance: three minutes without oxygen, three hours without shelter in extreme environments, three days without water, and three weeks without food. This hierarchy dictates exactly where your money should go first.
1. Shelter and Core Temperature
Hypothermia and hyperthermia will kill you faster than dehydration. Therefore, your first few dollars should go toward regulating your body temperature. You do not need a four-season expedition tent. You need the ability to stay dry and retain body heat. Tarps, paracord, and thermal blankets offer the highest return on investment for shelter.
2. Hydration
Once your core temperature is secure, water is your next priority. The CDC recommends one gallon of water per person per day for drinking and basic sanitation. Dehydration leads to cognitive decline, lethargy, and eventually organ failure. Your budget must account for both water storage (containers) and water purification (filters or chemical treatments).
3. Calories and Nutrition
Food is relatively low on the immediate survival hierarchy, but it is critical for maintaining energy, morale, and physical strength. You do not need expensive, 25-year shelf-life survival meals. Your budget is much better spent on calorie-dense, shelf-stable foods that you already eat, bought in slight bulk.
4. First Aid and Communication
Minor injuries can become life-threatening infections in a disaster scenario. A basic trauma and hygiene kit is non-negotiable. Similarly, knowing what is happening outside your home is vital. A reliable NOAA weather radio provides critical updates when cell towers go down, helping you make informed decisions about whether to evacuate or shelter in place.
The Ultimate Emergency Kit Under 200 Dollars
Building a comprehensive emergency kit under 200 dollars is highly achievable if you stick to the essentials. This budget assumes you are building a 72-hour kit guide kit for two people, focusing on high-utility items that provide the maximum capability per dollar. Here is the exact breakdown of how to allocate your funds.
Water Storage and Purification ($30)
Do not waste money on expensive, brand-name water bricks right away. Start with a standard 7-gallon Aqua-Tainer, which costs around $18 at most big-box camping stores. This provides a solid base of clean, ready-to-drink water. For purification, purchase a bottle of unscented, standard household bleach (around $4). According to the CDC, two drops of regular unscented bleach will purify one quart of clear water. Finally, spend $8 on a pack of Potable Aqua water purification tablets to keep in your go-bag for mobile water treatment.
Food and Cooking ($40)
Skip the freeze-dried camping meals that cost $10 per serving. Instead, take $40 to your local discount grocery store and focus on caloric density. Buy a 5-pound bag of white rice ($4), a 5-pound bag of dried pinto beans ($5), and several jars of peanut butter ($8). Peanut butter is a survival superfood, packed with fats, proteins, and calories, requiring no cooking or preparation. Spend the remaining $23 on canned meats (tuna, chicken), canned vegetables, and a manual can opener. This will easily sustain two people for several days.
Shelter and Warmth ($35)
To protect against the elements, purchase a heavy-duty 8x10 polyethylene tarp ($12) and 100 feet of 550 paracord ($8). This combination allows you to build a waterproof shelter, patch a broken window, or create a windbreak. Next, buy a pack of four emergency Mylar space blankets ($10). These reflect 90% of your body heat back to you and are essential for preventing hypothermia. Spend the last $5 on a roll of high-quality duct tape, which has thousands of repair uses in an emergency.
First Aid and Hygiene ($35)
Pre-packaged first aid kits are often overpriced and filled with useless filler items. Build your own. Go to a dollar store or pharmacy and buy: gauze pads ($3), medical tape ($2), a large bottle of rubbing alcohol ($3), triple antibiotic ointment ($5), ibuprofen ($4), and an assortment of heavy-duty fabric bandages ($5). For hygiene, which prevents disease during a disaster, buy heavy-duty black trash bags ($8) and a large bottle of liquid hand soap ($5). Trash bags can be used for sanitation, waterproofing, and emergency ponchos.
Light and Communication ($40)
Information and visibility are critical. Invest $25 in a hand-crank emergency radio that features NOAA weather bands, a built-in flashlight, and a USB port for emergency phone charging. This ensures you are never cut off from local agency alerts. For hands-free lighting, purchase a reliable, budget-friendly LED headlamp, such as the Energizer Vision HD ($15). Headlamps are vastly superior to handheld flashlights when you need to administer first aid or navigate in the dark.
Tools and Fire Starting ($20)
You need a reliable cutting tool. The Morakniv Basic 511 is widely considered the best budget survival knife in the world, costing around $15. It features a fixed carbon steel blade that is incredibly sharp and durable. For fire triangle, do not buy expensive magnesium fire starters. Buy a 5-pack of standard Bic lighters ($5). They are reliable, waterproof when dried off, and instantly produce a flame.
Total Cost: $200. With this kit, you have secured water, food, shelter, medical supplies, communication, and basic tools. You are now more prepared than nearly half the population, according to FEMA statistics.
DIY Alternatives to Expensive Gear
One of the best ways to practice cheap emergency preparedness is to stop buying gear and start making it. Repurposing household items is a cornerstone of affordable prepping. By looking at everyday objects through the lens of survival utility, you can save hundreds of dollars.
DIY Water Storage
If the $18 Aqua-Tainer is outside your budget, you can store water for virtually free. The CDC explicitly states that you can reuse two-liter plastic soda bottles for emergency water storage. Do not use milk jugs, as the proteins are difficult to wash out and promote bacterial growth. To prepare a soda bottle, wash it thoroughly with dish soap and water. Then, sanitize it by swishing a solution of one teaspoon of unscented bleach mixed with one quart of water inside the bottle. Rinse it thoroughly with clean water, fill it to the top with tap water, and screw the cap on tight. Store these in a cool, dark place.
The Buddy Burner (DIY Cooking)
You do not need a $100 Jetboil stove to boil water or heat canned food. You can make a highly effective "Buddy Burner" using items from your recycling bin. Take an empty, clean tuna can. Cut corrugated cardboard into strips the same height as the can, and roll them up tightly until they fill the inside of the can. Melt old candle wax or cheap paraffin wax and pour it over the cardboard until the can is full. Once cooled, this creates a rugged, wind-resistant stove that will burn hot for over an hour-plenty of time to boil water or cook rice.
The Two-Bucket Sanitation System
During a grid-down scenario, municipal water systems often fail, meaning your toilets will not flush. Commercial chemical toilets are expensive and bulky. Instead, build a two-bucket system. Procure two standard 5-gallon buckets (often given away for free at bakery departments or construction sites). Line them with your heavy-duty black trash bags. Dedicate one bucket for urine and one for solid waste. Cover solid waste with a layer of sawdust, dirt, or kitty litter after each use to eliminate odors and insects. You can cut a pool noodle lengthwise and snap it onto the rim of the bucket to create a comfortable, cheap toilet seat.
DIY First Aid and Trauma Gear
While you should never compromise on sterile bandages, many first aid items can be improvised. Old, clean 100% cotton t-shirts can be cut into strips to make excellent triangular bandages, slings, or pressure dressings. Credit cards or stiff cardboard can be used as finger splints. Duct tape, combined with a clean gauze pad, makes a highly effective improvised chest seal or heavy trauma bandage. Learning these improvisational skills reduces your reliance on expensive pre-made medical kits.
The Phased Purchasing Approach
Even a budget emergency kit can feel overwhelming if you try to buy everything at once. The most sustainable way to approach prepping on a budget is through a phased purchasing plan. This method breaks preparedness down into manageable, bite-sized weekly or monthly goals. By spending just $10 to $15 a week, you integrate preparedness into your normal grocery routine without feeling a financial pinch.
Month 1: Hydration and Information
Dedicate your first month to water and communication. Week one: buy your water container and begin filling it. Week two: purchase your bleach or water purification tablets. Week three: buy your NOAA weather radio. Week four: review your local FEMA and USGS hazard maps to understand what disasters you are actually preparing for. By the end of month one, you have conquered the most immediate survival threats.
Month 2: The Pantry Build
Use the second month to build your food reserves through "copy canning." You do not need a separate budget for this; simply adjust your grocery shopping. If your family eats two cans of black beans a week, buy four. Eat two, store two. Do this with pasta, canned meats, rice, and vegetables. By spending an extra $10 a week on shelf-stable foods you already consume, you will effortlessly build a two-week emergency food storage guide without risking food fatigue or waste.
Month 3: Health and Hygiene
In the third month, focus on your medical and sanitation needs. Pick up a few items at the pharmacy each week. Week one: bandages and gauze. Week two: antiseptics and over-the-counter medications (ibuprofen, antihistamines, anti-diarrheals). Week three: heavy-duty trash bags and soap. Week four: feminine hygiene products and extra toilet paper. Spreading these purchases out makes them virtually unnoticeable in your monthly budget.
Month 4: Shelter, Warmth, and Tools
During the fourth month, acquire your durable goods. Buy your tarp and paracord one week, your Mylar blankets the next, and your Morakniv the week after. Because these items do not expire, they are one-time investments. Once you have them, they will serve you for years, providing immense peace of mind.
The beauty of the phased purchasing approach is the psychological benefit. It transforms emergency preparedness from a daunting, expensive chore into a satisfying, ongoing lifestyle habit. You are consistently building resilience without experiencing financial stress.
Free Preparedness: Knowledge Costs Nothing
The most crucial aspect of cheap emergency preparedness requires absolutely zero financial investment. All the gear in the world is useless if you do not have a plan or the situational awareness to use it effectively. Government agencies provide a wealth of free resources that you should immediately integrate into your life.
Digital Alerts and Apps
Your smartphone is a powerful survival tool. Download the free FEMA app, which provides real-time weather alerts from the National Weather Service for up to five locations nationwide. It also includes free guides on disaster preparation. If you live in an earthquake zone, utilize the USGS (United States Geological Survey) ShakeAlert system. Ensure your phone’s Emergency Alerts (WEA) are turned on in your settings so you receive localized evacuation orders instantly.
The Family Communication Plan
During an emergency, cellular networks frequently become overloaded, making voice calls impossible. The Red Cross advises creating a family communication plan. First, designate an out-of-state contact. It is often easier to text someone across the country than to call someone across town during a local disaster. Ensure every family member has this number memorized or written on a physical card in their wallet. Agree on a primary and secondary meeting location-one right outside your home (like a neighbor's driveway for a fire) and one outside your neighborhood (like a local library or school) in case of a wider evacuation.
Home Inventory and Document Backup
Recovering from a disaster is much easier if you are prepared administratively. Take an hour this weekend to walk through your home and record a video on your phone, opening closets and drawers to document your belongings. This free step is invaluable for insurance claims. Additionally, take photos of your crucial documents (IDs, insurance policies, medical records) and store them securely in an encrypted cloud drive. This ensures that even if you lose everything in a flood or fire, your identity and financial recovery are secure.
Physical Fitness and Skill Building
Your body is your primary survival tool. Improving your cardiovascular health, strength, and stamina costs nothing but time. A daily brisk walk or basic bodyweight exercises will make a massive difference if you ever have to evacuate on foot or perform heavy manual labor to clear debris. Furthermore, utilize free resources like YouTube or local library books to learn skills like knot tying, basic first aid, and fire building. A skilled person with a budget emergency kit will always outlast an unskilled person with a thousand-dollar backpack.
Empowering Your Future
True resilience is not bought; it is built. Budget emergency preparedness is proof that keeping your family safe is accessible to everyone, regardless of income. By focusing on the biological realities of survival, prioritizing high-impact items, and utilizing a phased purchasing approach, you can assemble a formidable emergency kit under 200 dollars. Remember that prepping is not about living in fear of the end of the world. It is about taking practical, measured steps today so that you can live with confidence tomorrow. Start with your water storage this weekend, download your local weather apps, and take pride in the fact that you are taking control of your family's safety.
Learn budget-friendly prepping strategies alongside our water and food storage guide. Review comprehensive preparedness in our emergency preparedness guide. Use our supply calculator to optimize spending. Build affordable evacuation kits with our go-bag builder. Access budget courses at our preparedness courses.
Frequently Asked Questions
What are the most important emergency preparedness purchases to make first?
Prioritize in this order: water storage (1 gallon per person per day, 3-day minimum - roughly $3-5 for commercially bottled), a basic trauma first aid kit with a tourniquet ($30-50), a hand-crank or battery NOAA weather radio ($25-40), a headlamp with lithium batteries ($15-25), and an emergency mylar blanket per person ($2-3 each). These five categories cover the most likely life-threatening scenarios and cost under $100 total.
Are expensive prepper products worth the premium?
For some items, yes - a $30 CAT tourniquet is worth every cent over a $5 knockoff that might fail when you need it. But for many items, basic versions are perfectly adequate: a $5 emergency mylar blanket works as well as a $25 'premium' one. The principle is to spend money where quality matters (tourniquets, water filters, medications) and save on items where basic is sufficient (food storage containers, ponchos, work gloves).
Can I use regular grocery store food for emergency storage?
Absolutely - and it's much cheaper than specialty freeze-dried prepper meals. Canned beans, rice, pasta, peanut butter, canned tuna, oats, and honey are all excellent long-term storage foods available at any grocery store for a fraction of the cost. The only requirement is to choose foods your family actually eats (so you rotate them), store them properly (cool, dark, dry), and track expiration dates.
How do I build my emergency kit gradually over time?
Use a phased approach: Month 1 - water storage and a basic first aid kit ($30-40). Month 2 - 72-hour food supply and a weather radio ($40-50). Month 3 - evacuation bag and documents ($30-40). Month 4 - power/light redundancy and shelter items ($30-40). Spending $30-50 per month means a complete kit in 4 months without financial strain. Each month's purchases also function in everyday life, so nothing goes to waste.
What are the biggest wastes of money in emergency preparedness?
The most common over-purchases are: enormous freeze-dried food stockpiles before mastering the basics, expensive 'tactical' gear for scenarios that won't happen, redundant gadgets that duplicate function, and novelty survival items that look impressive but have no practical use. The most impactful preparedness investment is knowledge and skills - first aid courses, CPR certification, and fire safety training cost little and last a lifetime.