⚡ Key Facts
- Massive Yield Potential: According to the United States Geological Survey (USGS), just 1 inch of rain falling on a 1,000-square-foot roof yields approximately 600 gallons of collectable water.
- Baseline Needs: The Federal Emergency Management Agency (FEMA) and the Red Cross mandate a minimum of 1 gallon of water per person, per day for basic hydration and sanitation during emergencies.
- Treatment is Mandatory: The Centers for Disease Control and Prevention (CDC) explicitly warns that raw rainwater can contain bird droppings, chemicals, and parasites. It must be filtered and purified before consumption.
- Legal Nuances: While generally legal, western states governed by "Prior Appropriation" water laws (like Colorado and Utah) place specific volumetric restrictions on residential rainwater harvesting.
Imagine turning on your kitchen tap and hearing nothing but a hollow, empty sputter. For millions of Americans each year, this scenario becomes a sudden reality due to aging municipal infrastructure, severe weather events, or localized power outages. Water is the most critical resource in any crisis, yet it is often the most overlooked aspect of household readiness. Relying entirely on bottled water is a temporary fix, but establishing a reliable rainwater harvesting emergency prep strategy offers true resilience. By tapping into the natural precipitation that falls on your own property, you can secure a renewable, off-grid water source that keeps your family hydrated, clean, and safe during extended disruptions. See go-bag essentials checklist for a practical checklist.
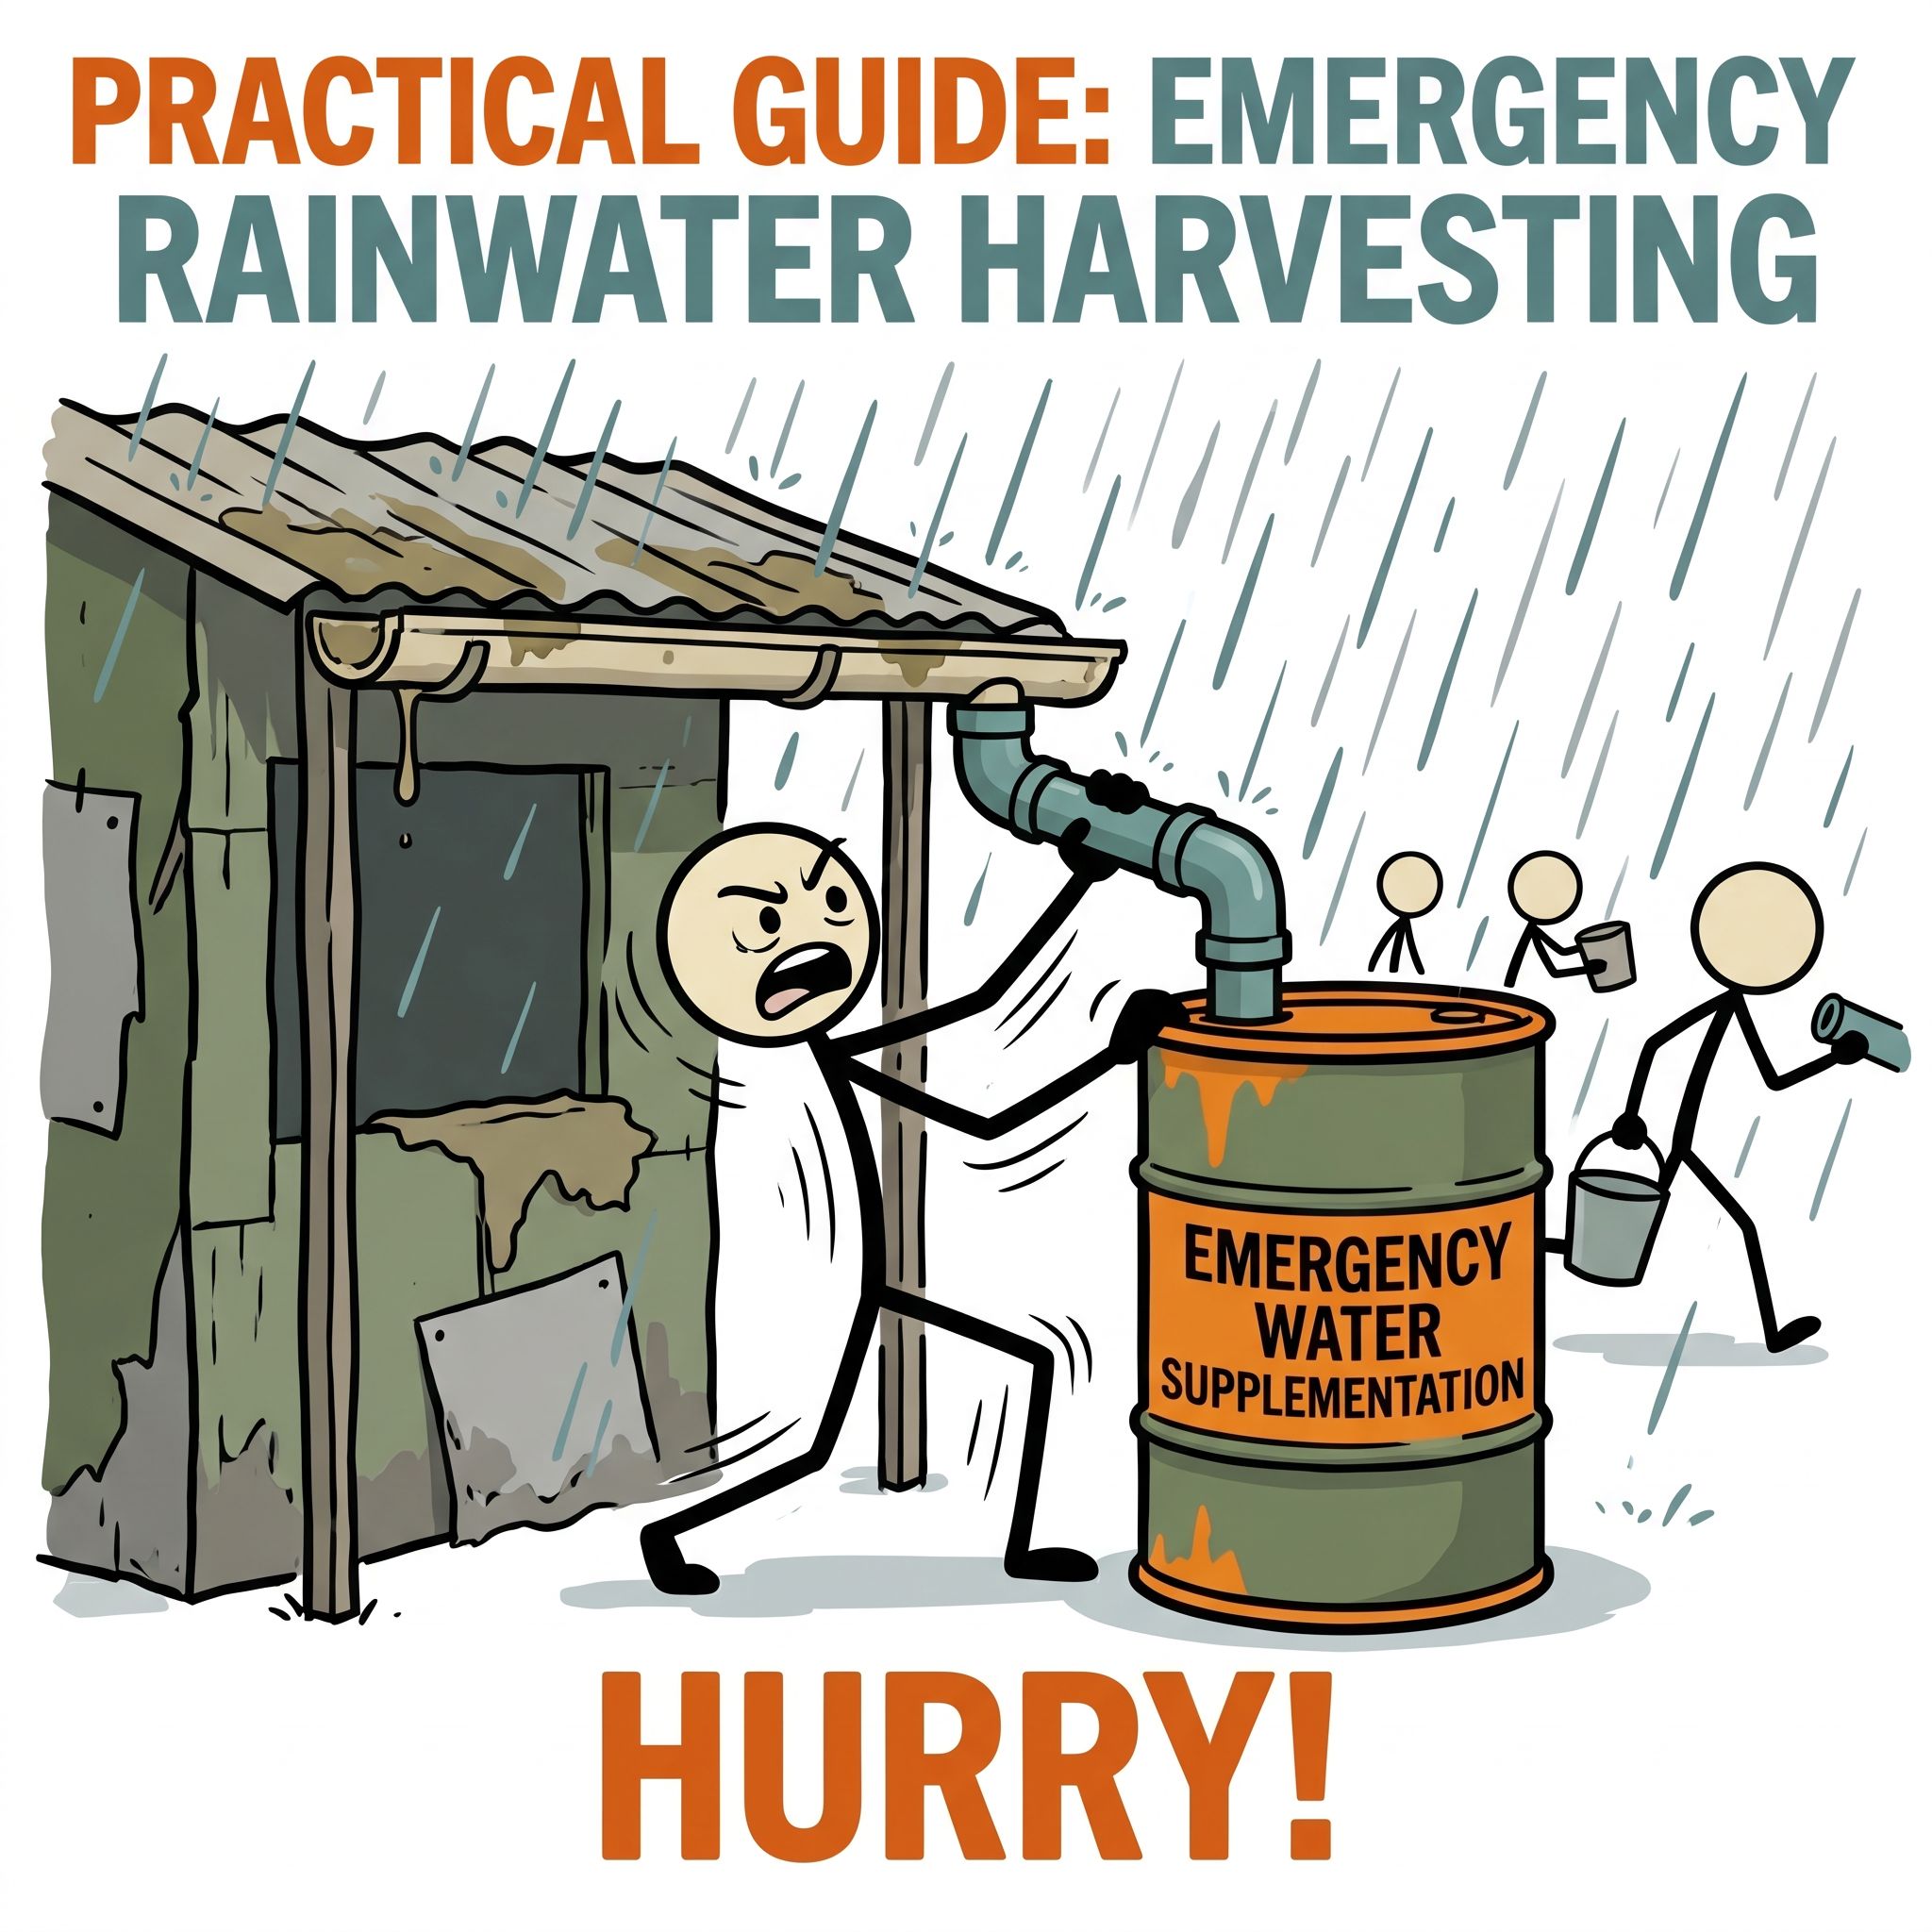
Building an off grid water collection system is not just for rural homesteaders. Whether you live in a suburban subdivision or a sprawling rural property, capturing the rain is a highly practical, empowering step toward self-reliance. Modern systems can be scaled to fit almost any space or budget, ranging from simple modular barrels to massive underground tanks. However, successfully capturing, storing, and purifying rainwater requires more than just leaving a bucket in the yard. See go-bag builder tool for a practical checklist.
This comprehensive guide will walk you through the practical mechanics of setting up a rooftop rainwater harvest. We will navigate the complex web of state legalities, calculate your exact storage needs, compare equipment options, and break down the filtration requirements necessary to turn the rain into safe, life-sustaining drinking water. See supply calculator for a practical checklist.
Navigating the Legal Landscape: Is Rainwater Harvesting Legal in Your State?
One of the most persistent myths in emergency preparedness is that collecting rainwater is universally illegal in the United States. This is fundamentally untrue. In the vast majority of the country, rainwater harvesting is not only legal but actively encouraged by local governments to reduce stormwater runoff and ease the burden on municipal supplies. However, the legal framework governing water rights varies drastically depending on where you live. See water storage calculator for a practical checklist.
The United States is generally divided into two distinct legal doctrines regarding water. Eastern states typically operate under "Riparian Rights," meaning if the water touches your land, you have a reasonable right to use it. Western states, however, operate under the doctrine of "Prior Appropriation," often summarized as "first in time, first in right." In these arid regions, the rain that falls on your roof may legally belong to a farmer or municipality downstream who claimed those water rights decades ago. See survival scenarios library for a practical checklist.
States with Strict Regulations
If you live in the American West, you must carefully review your local laws before building a massive rainwater collection system. Colorado is the most famous example of strict water laws. For decades, it was entirely illegal for Colorado residents to collect rainwater. Today, the law has been slightly relaxed, but it remains heavily regulated. Under current Colorado law, residents are limited to a maximum of two rain barrels with a combined capacity of 110 gallons, and the water can only be used for outdoor non-potable purposes on the property where it was collected.
Utah also has specific restrictions governed by the Utah Division of Water Rights. Utah residents are allowed to collect up to 2,500 gallons of rainwater, but they must register their system with the state if the storage capacity exceeds 100 gallons. Similarly, in Nevada, rainwater collection was largely illegal until a 2017 law passed allowing residents to capture water from the rooftops of single-family dwellings for non-potable domestic use.
States that Encourage Harvesting
Conversely, many states offer robust incentives for citizens who establish an off grid water collection setup. Texas is a leading advocate for rainwater harvesting. The state has enacted laws preventing Homeowner Associations (HOAs) from banning rainwater collection systems outright, and they offer property tax exemptions for the equipment. Ohio and Rhode Island also offer various tax incentives and actively promote harvesting for both agricultural and residential use.
Before purchasing any equipment, check with your State Department of Ecology or local water authority. Furthermore, even if your state encourages harvesting, your local HOA might have aesthetic guidelines dictating where tanks can be placed or what color they must be. Always ensure your system complies with local zoning laws to avoid fines during an emergency.
Storage Calculations: How Much Water Do You Actually Need?
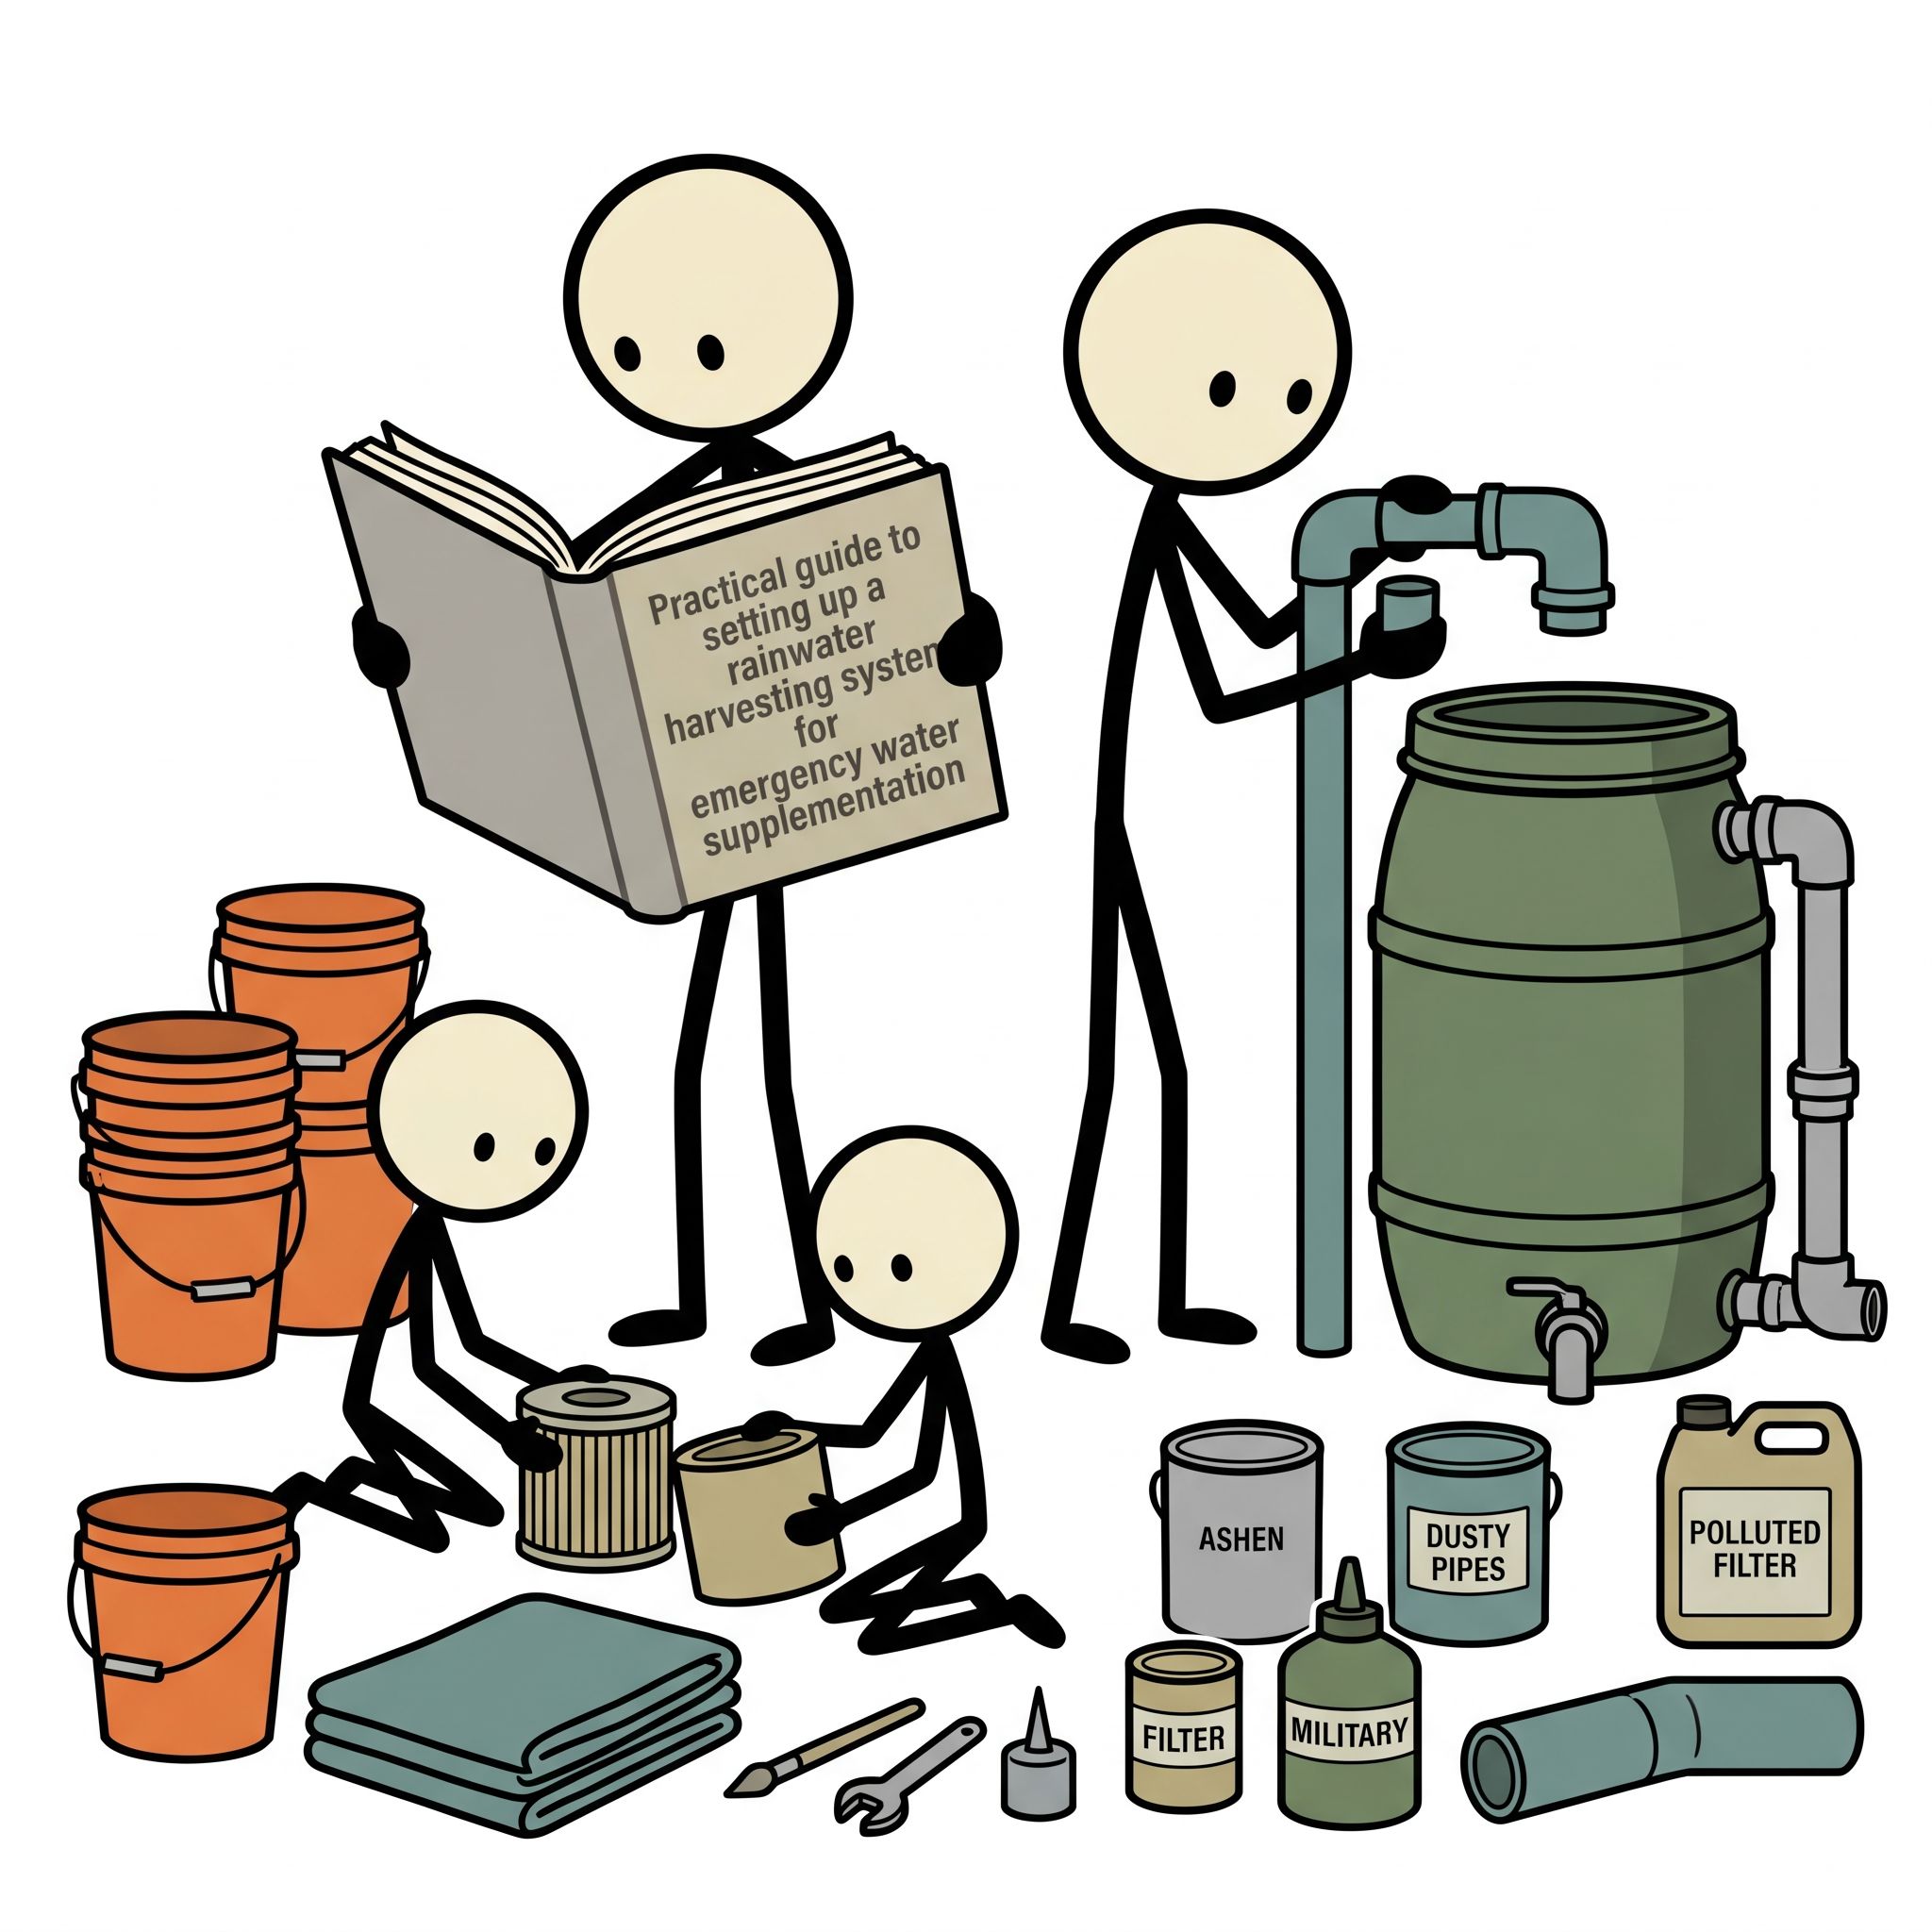
Before you buy a single pipe or tank, you must understand your household's baseline water requirements. Guessing your storage needs often leads to critical shortfalls during an emergency. To build a reliable rainwater harvesting emergency prep plan, you must calculate both your consumption rate and your roof's collection potential.
Calculating Daily Consumption
The FEMA and Red Cross baseline recommendation is 1 gallon of water per person, per day. This accounts for roughly half a gallon for drinking and half a gallon for basic hygiene and food preparation. However, this is a bare-minimum survival metric. It does not account for flushing toilets, doing laundry, or watering a survival garden. For a more comfortable and sustainable emergency posture, preparedness experts recommend planning for 3 to 5 gallons per person, per day.
Consider a family of four. At the FEMA minimum, they need 4 gallons a day. A two-week municipal water disruption would require 56 gallons of stored water. If that same family wants to maintain a higher standard of hygiene (sponge baths, washing dishes, manual toilet flushing), calculating at 5 gallons per person per day means they will need 280 gallons for that same two-week period. Factor in pets and livestock as well; a medium-sized dog requires about half a gallon of water daily.
Calculating Your Roof's Yield Potential
The mathematical reality of a rooftop rainwater harvest is staggering. To determine how much water you can capture, you need to know the square footage of your roof's "footprint" (the area of ground it covers, not the sloped surface area) and your local average rainfall. The formula provided by the USGS is simple:
Catchment Area (sq ft) × Rainfall (inches) × 0.623 = Gross Gallons Collected.
For example, if you have a 1,500-square-foot roof footprint and receive a modest 1-inch rainstorm, the math is: 1,500 × 1 × 0.623 = 934.5 gallons. However, no system is 100% efficient. Water splashes out of gutters, evaporates, or is diverted by the first-flush system. You must multiply your gross gallons by an efficiency factor—typically 0.85 for a well-maintained metal roof, or 0.75 for an asphalt shingle roof.
Using the 0.75 efficiency factor for an asphalt roof, that single 1-inch rainstorm will realistically yield about 700 gallons of collectable water. By cross-referencing your roof size with historical precipitation data from the National Oceanic and Atmospheric Administration (NOAA), you can accurately predict your monthly water yield and size your storage tanks accordingly.
Rain Barrels vs. Cisterns: Choosing Your Storage System
Once you understand your legal boundaries and storage needs, it is time to select the physical containers for your off grid water collection. The choice generally comes down to utilizing modular rain barrels or investing in large-scale cisterns. Each approach has distinct advantages and drawbacks depending on your property size, budget, and climate.
The Case for Rain Barrels
When most people think of a rainwater collection system, they picture a standard 55-gallon blue or terracotta-colored barrel sitting under a downspout. Utilizing a rain barrel emergency water system is the most accessible entry point for beginners. They are inexpensive, easy to source from local hardware stores, and can be installed in a single afternoon without professional help.
The primary advantage of rain barrels is their modularity. You can easily link multiple barrels together using a daisy-chain method. As the first barrel fills, an overflow hose directs water into the second, and so on. This allows you to slowly expand your storage capacity over time as your budget permits. They are also easy to conceal behind landscaping, which is ideal for strict HOA neighborhoods.
The major drawback of rain barrels is their limited capacity. A single 55-gallon barrel will fill up in just a few minutes during a heavy downpour, meaning you are letting hundreds of gallons of potential emergency water overflow into your yard. Furthermore, above-ground barrels are highly susceptible to freezing in winter climates, which can crack the plastic and ruin your supply.
The Case for Cisterns
For serious, long-term rainwater harvesting emergency prep, a cistern is the ultimate solution. Cisterns are large-scale storage tanks that range in capacity from 200 gallons to well over 10,000 gallons. They can be installed above ground, partially buried, or completely underground. Common materials include high-density polyethylene (HDPE), galvanized steel, and poured concrete.
The obvious advantage of a cistern is its massive storage volume. A single 2,500-gallon cistern can capture and hold enough water to sustain a family of four for several months. Underground cisterns offer the added benefit of temperature regulation. The earth acts as an insulator, keeping the water cool in the summer to prevent algae growth and preventing the water from freezing during harsh winters.
The downsides of cisterns are cost and complexity. Purchasing a large tank, excavating the ground, and routing underground plumbing requires a significant financial investment and often necessitates professional engineering and municipal permits. Additionally, underground systems require a reliable pump—either electric, solar, or manual hand-pump—to extract the water when you need it.
Anatomy of a Rooftop Rainwater Harvest: Essential Mechanics
A functional rainwater collection system is more than just a roof and a tank. It is a carefully engineered series of components designed to capture water efficiently while keeping debris, pests, and sunlight out. Understanding the anatomy of the system ensures your water remains as clean as possible before it even reaches your filters.
The Catchment Surface and Gutters
The roof is your primary catchment surface, and the material matters. Metal roofs (like standing seam galvalume) are the gold standard for water collection. They shed water quickly, are easy to clean, and do not leach chemicals. Asphalt shingles, which are the most common roofing material in the U.S., are acceptable but require more robust filtration. Asphalt roofs shed petroleum-based particulate matter and grit, especially when they are new or degrading.
Your gutters and downspouts are the transportation network of your system. They must be appropriately sized to handle heavy torrential downpours without overflowing. Installing high-quality leaf guards over your gutters is the first line of defense. This prevents large debris, leaves, and twigs from clogging the downspouts and rotting in your pipes.
The First-Flush Diverter
If there is one non-negotiable component of an emergency rainwater system, it is the first-flush diverter. When it hasn't rained for several days, your roof collects dust, pollen, industrial soot, dead insects, and bird droppings. When the rain finally falls, the first few gallons of water wash all this toxic debris directly into your gutters.
A first-flush diverter is a simple mechanical device—usually a length of PVC pipe with a floating ball valve inside—installed before the water enters your main storage tank. It captures the initial, highly contaminated "first flush" of rain. Once the diverter pipe fills up, the floating ball seals the chamber, and the subsequent, much cleaner rainwater flows over it and into your storage tank.
As a general rule, your diverter should be sized to capture 1 to 2 gallons of water for every 100 square feet of roof surface. After the storm passes, a slow-drip valve at the bottom of the diverter slowly empties the contaminated water, resetting the system for the next rainfall.
Screens and Light Blocking
Before water drops into your barrel or cistern, it should pass through a fine stainless steel mesh screen. This prevents mosquitoes from entering the tank and laying eggs, which is a massive vector for disease in stagnant water. Additionally, your storage tanks must be completely opaque. Sunlight penetrating a water tank will cause rapid algae blooms, turning your precious emergency supply into a toxic green sludge. Always choose dark-colored tanks or paint them to block UV light.
Filtration and Purification: Making Rainwater Safe to Drink
This is the most critical section of any rainwater harvesting emergency prep plan. The CDC explicitly states that rainwater is not inherently safe to drink. While the rain itself is relatively pure as it falls from the clouds, the moment it strikes your roof, it picks up biological pathogens (bacteria, viruses, parasites from animal feces) and chemical contaminants (heavy metals, roofing chemicals, atmospheric pollutants).
Using a rain barrel emergency Water Calculator to flush toilets or water a garden requires no treatment. However, if you intend to consume this water, cook with it, or use it for oral hygiene, you must implement a rigorous, multi-stage filtration and purification protocol.
Stage 1: Mechanical Pre-Filtration
Pre-filtration begins before the water is even needed. The leaf guards, first-flush diverter, and tank inlet screens discussed earlier serve as the initial mechanical filtration. By keeping organic matter out of the tank, you drastically reduce the bacterial load and prevent the water from turning septic. A well-maintained tank will yield clear water that is much easier to process through micro-filters.
Stage 2: Sediment and Carbon Filtration
When you draw water from your tank during an emergency, it must first pass through a sediment filter to remove suspended solids, dirt, and microscopic grit. A two-step sediment filtration process is ideal: passing the water through a 5-micron filter, followed by a finer 1-micron filter. This removes the bulk of physical debris that would otherwise clog your more expensive purification elements.
Following the sediment filter, the water should pass through an activated carbon block filter. Carbon is highly effective at absorbing chemical contaminants, volatile organic compounds (VOCs), and heavy metals that may have leached from your roof or atmospheric pollution. Carbon filters also vastly improve the taste and eliminate foul odors from the water.
Stage 3: Biological Purification
Even after sediment and carbon filtration, dangerous microscopic pathogens like E. coli, Giardia, and Cryptosporidium may still be present. To make the water biologically safe, you must purify it. There are three primary methods for emergency biological purification:
- UV Light Treatment: If you have an off-grid power source (like a solar generator), running the filtered water through an ultraviolet (UV) light chamber instantly neutralizes the DNA of bacteria and viruses, rendering them harmless. This is the preferred method for whole-house off grid water collection systems.
- Gravity Water Filters: For localized emergency use, high-end gravity filters (such as Berkey, LifeStraw Family, or Doulton systems) are incredibly reliable. These countertop units use dense ceramic or hollow-fiber membranes that physically trap bacteria and cysts. Simply pour your pre-filtered rain barrel water into the top chamber, and safe drinking water drips into the bottom.
- Chemical Treatment: If physical filters fail, chemical purification is your backup. The Environmental Protection Agency (EPA) advises using regular, unscented household bleach (containing 5.25% to 8.25% sodium hypochlorite). Add 2 drops of bleach per quart of water, or 8 drops per gallon. Stir well and let it sit for 30 minutes before drinking. The water should have a slight chlorine odor; if it doesn't, repeat the dosage and wait another 15 minutes.
- Boiling: The oldest and most foolproof method. The CDC recommends bringing filtered water to a rolling boil for 1 full minute (or 3 minutes if you are at an elevation above 6,500 feet) to kill all biological pathogens.
Winterization: Protecting Your System in Cold Climates
A common failure point in rainwater harvesting emergency prep occurs during the winter. If you live in a region that experiences freezing temperatures, water expanding inside your pipes, diverters, and above-ground tanks will cause catastrophic damage. Plastic rain barrels can split wide open, and PVC pipes will shatter under the pressure of expanding ice.
To winterize an above-ground system, you must drain the tanks completely before the first hard freeze. Disconnect your diverters and route your downspouts away from the foundation, restoring them to their standard configuration. Leave the spigots on your empty rain barrels in the open position so any residual moisture can escape rather than freezing and cracking the valve.
If you require year-round water collection in a cold climate, an underground cistern buried below the frost line is mandatory. The earth's natural thermal mass will keep the water in a liquid state. You will also need to ensure that all intake pipes are sloped aggressively so that water cannot pool and freeze inside the plumbing before it reaches the subterranean tank.
Maintaining Your Water Independence
An off grid water collection system is a living piece of infrastructure that requires periodic maintenance. Inspect your gutters and screens every spring and fall. Clean out your first-flush diverters monthly during the rainy season. If you are storing water long-term in a cistern, it is wise to periodically shock the tank with a small amount of chlorine bleach to prevent algae and bacterial colonization, just as you would treat a swimming pool or a well.
Taking control of your water supply is one of the most profound steps you can take toward household resilience. By understanding the legal landscape, doing the precise math on your storage needs, and implementing rigorous filtration standards, you transform your roof into a life-saving asset.
Water independence provides an unmatched peace of mind. When municipal lines fail, storms knock out the power grid, or local boil-water advisories are issued, you won't have to stand in line at a grocery store fighting for plastic bottles. With a properly designed rainwater harvesting system, you will have the knowledge, the equipment, and the resources to keep your family safe, hydrated, and entirely self-reliant.
Frequently Asked Questions
Is rainwater harvesting legal in my state?
Most US states explicitly allow rainwater collection; some (like Texas and Oregon) actively incentivize it. Check your state's water law and local ordinances — most places allow collection from your own roof with no permit required for small residential systems.
How much water can a typical roof collect?
Use this formula: square footage × rainfall in inches × 0.623 = gallons collected. A 1,000 sq ft roof in a 1-inch rain event collects about 623 gallons. Real yield is 75-85% after accounting for first-flush diversion and evaporation.
Is harvested rainwater safe to drink?
Collected rainwater contains bacteria, particulates, and potentially heavy metals from roofing materials. For drinking: filter through a quality ceramic or carbon block filter, then disinfect with UV purifier or chemical treatment. For non-drinking uses no treatment is necessary.
Learn about water and food storage planning. Explore private water sources for rural properties. Plan with family emergency planning guides. Use our water calculator to determine needs and browse preparedness courses.
Sources & Further Reading
- EPA Stormwater Management Rainwater Harvesting
- Texas Water Development Board Rainwater Harvesting Manual
- American Rainwater Catchment Systems Association