⚡ Key Facts
- Genetic Erosion: According to the Food and Agriculture Organization (FAO), more than 75% of global crop diversity has been lost since 1900 as farmers switched to genetically uniform, high-yielding varieties.
- Supply Chain Vulnerability: FEMA reports that major supply chain disruptions can empty grocery store shelves within 72 hours, highlighting the critical need for localized, independent food production systems.
- The Seed Lifespan Rule: For every 10°F (5.6°C) decrease in storage temperature, the storage life of a seed doubles, provided moisture levels are kept under strict control.
- Pollination Integrity: To maintain genetic purity, certain wind-pollinated crops like corn require an isolation distance of up to two miles from other varieties to prevent unwanted cross-hybridization.
- Strategic Reserve: A well-curated survival seed bank consisting of open-pollinated heirloom seeds can remain viable for 5 to 15 years when preserved using professional desiccation and sub-zero thermal storage.
When a systemic crisis strikes—whether driven by severe weather anomalies, geopolitical instability, or critical infrastructure failure—the fragility of our modern, just-in-time emergency food storage guide chain becomes immediately apparent. The Federal Emergency Management Agency (FEMA) and the American Red Cross consistently emphasize the necessity of maintaining at least a two-week supply of non-perishable food. However, during an extended, multi-year crisis, stockpiled canned goods and freeze-dried meals eventually run out. True, long-term food security requires a shift from passive consumption to active production. This transition rests entirely on your ability to cultivate, harvest, and preserve the genetic foundations of agriculture: heirloom seeds. Establishing a self-sustaining survival garden is not merely an agricultural hobby; it is a critical security measure that ensures your family's nutritional survival when the grid fails.
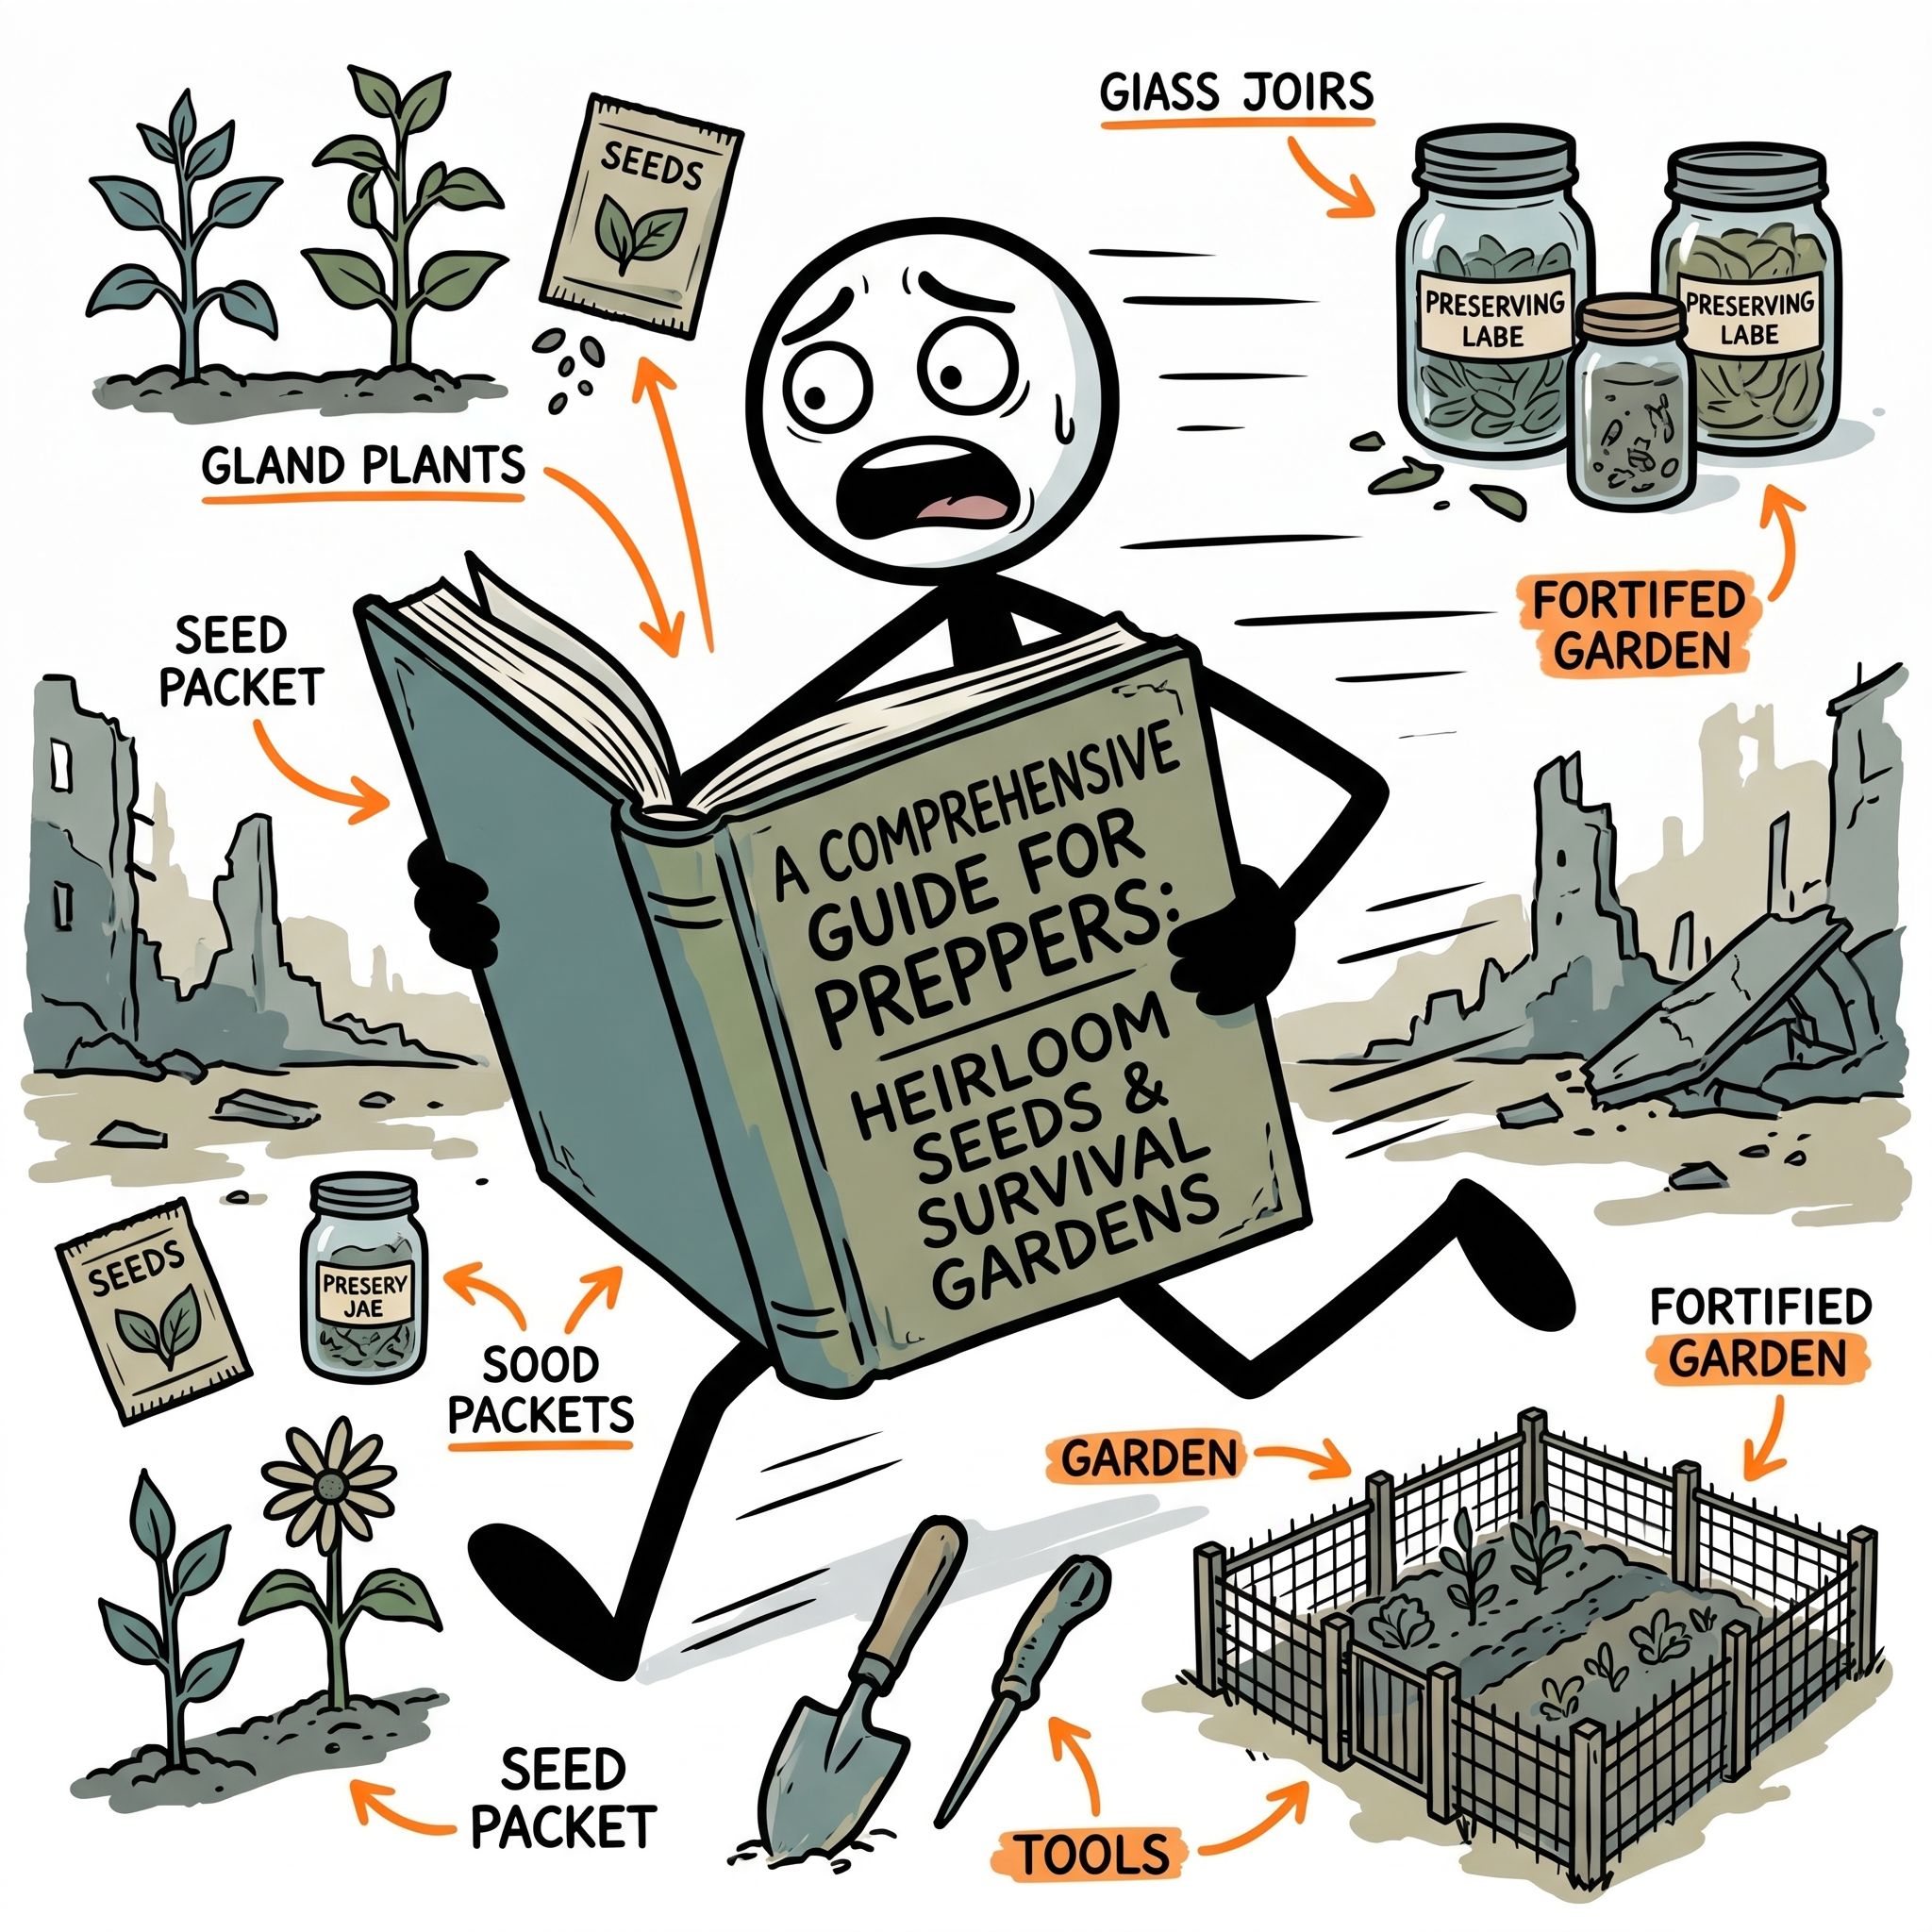
The Botanical Foundation: Why Heirlooms are Non-Negotiable
To build a resilient food production system, you must understand the genetic differences between the seeds available on the market. For the survivalist, the choice of seed variety is a critical decision that determines whether a garden can regenerate year after year or fail after a single season.
Heirloom vs. Hybrid (F1) Seeds
Heirloom seeds are open-pollinated varieties that have been carefully selected, preserved, and passed down through generations—often for 50 years or more. Their defining characteristic is that they breed "true to type." This means that the seeds harvested from an heirloom plant will produce offspring that are genetically identical to the parent plant, exhibiting the same growth habits, flavor, disease resistance, and nutritional profiles. This predictability is the cornerstone of seed saving for food security.
In contrast, hybrid (F1) seeds are the result of controlled cross-pollination of two distinct, inbred parent lines. While F1 hybrids often exhibit "hybrid vigor" (rapid growth and high yields in the first generation), their offspring are highly unstable. If you harvest and plant seeds from an F1 hybrid crop, the resulting second-generation (F2) plants will revert to the diverse, often undesirable traits of the grandparent lines. You may end up with sterile plants, poor yields, or bitter, inedible fruit. Relying on hybrid seeds for an ongoing crisis ties your survival to commercial seed producers.
The Danger of Genetically Modified (GMO) Seeds
Genetically Modified Organisms (GMOs) are altered in laboratory settings using genetic engineering technology, often incorporating DNA from entirely different species to introduce traits like herbicide resistance. These seeds are patent-protected, highly regulated, and generally unavailable to the retail consumer. More importantly, they require specific chemical inputs, such as proprietary synthetic herbicides, to perform as designed. In an off-grid scenario, where access to industrial agricultural chemicals is non-existent, GMO crops are impractical and unsustainable.
Adapting to Local Microclimates
One of the greatest advantages of utilizing heirloom seeds for survival is their capacity for localized adaptation. When you save seeds from the strongest, most productive plants in your garden year after year, you are conducting localized natural selection. Over several seasons, these seeds adapt to your specific soil chemistry, rainfall patterns, pest populations, and temperature fluctuations. This process creates a highly resilient, customized crop variety optimized to thrive in your specific geographic region, significantly increasing your yields during an extended emergency.
Designing the Survival Garden for Genetic Purity
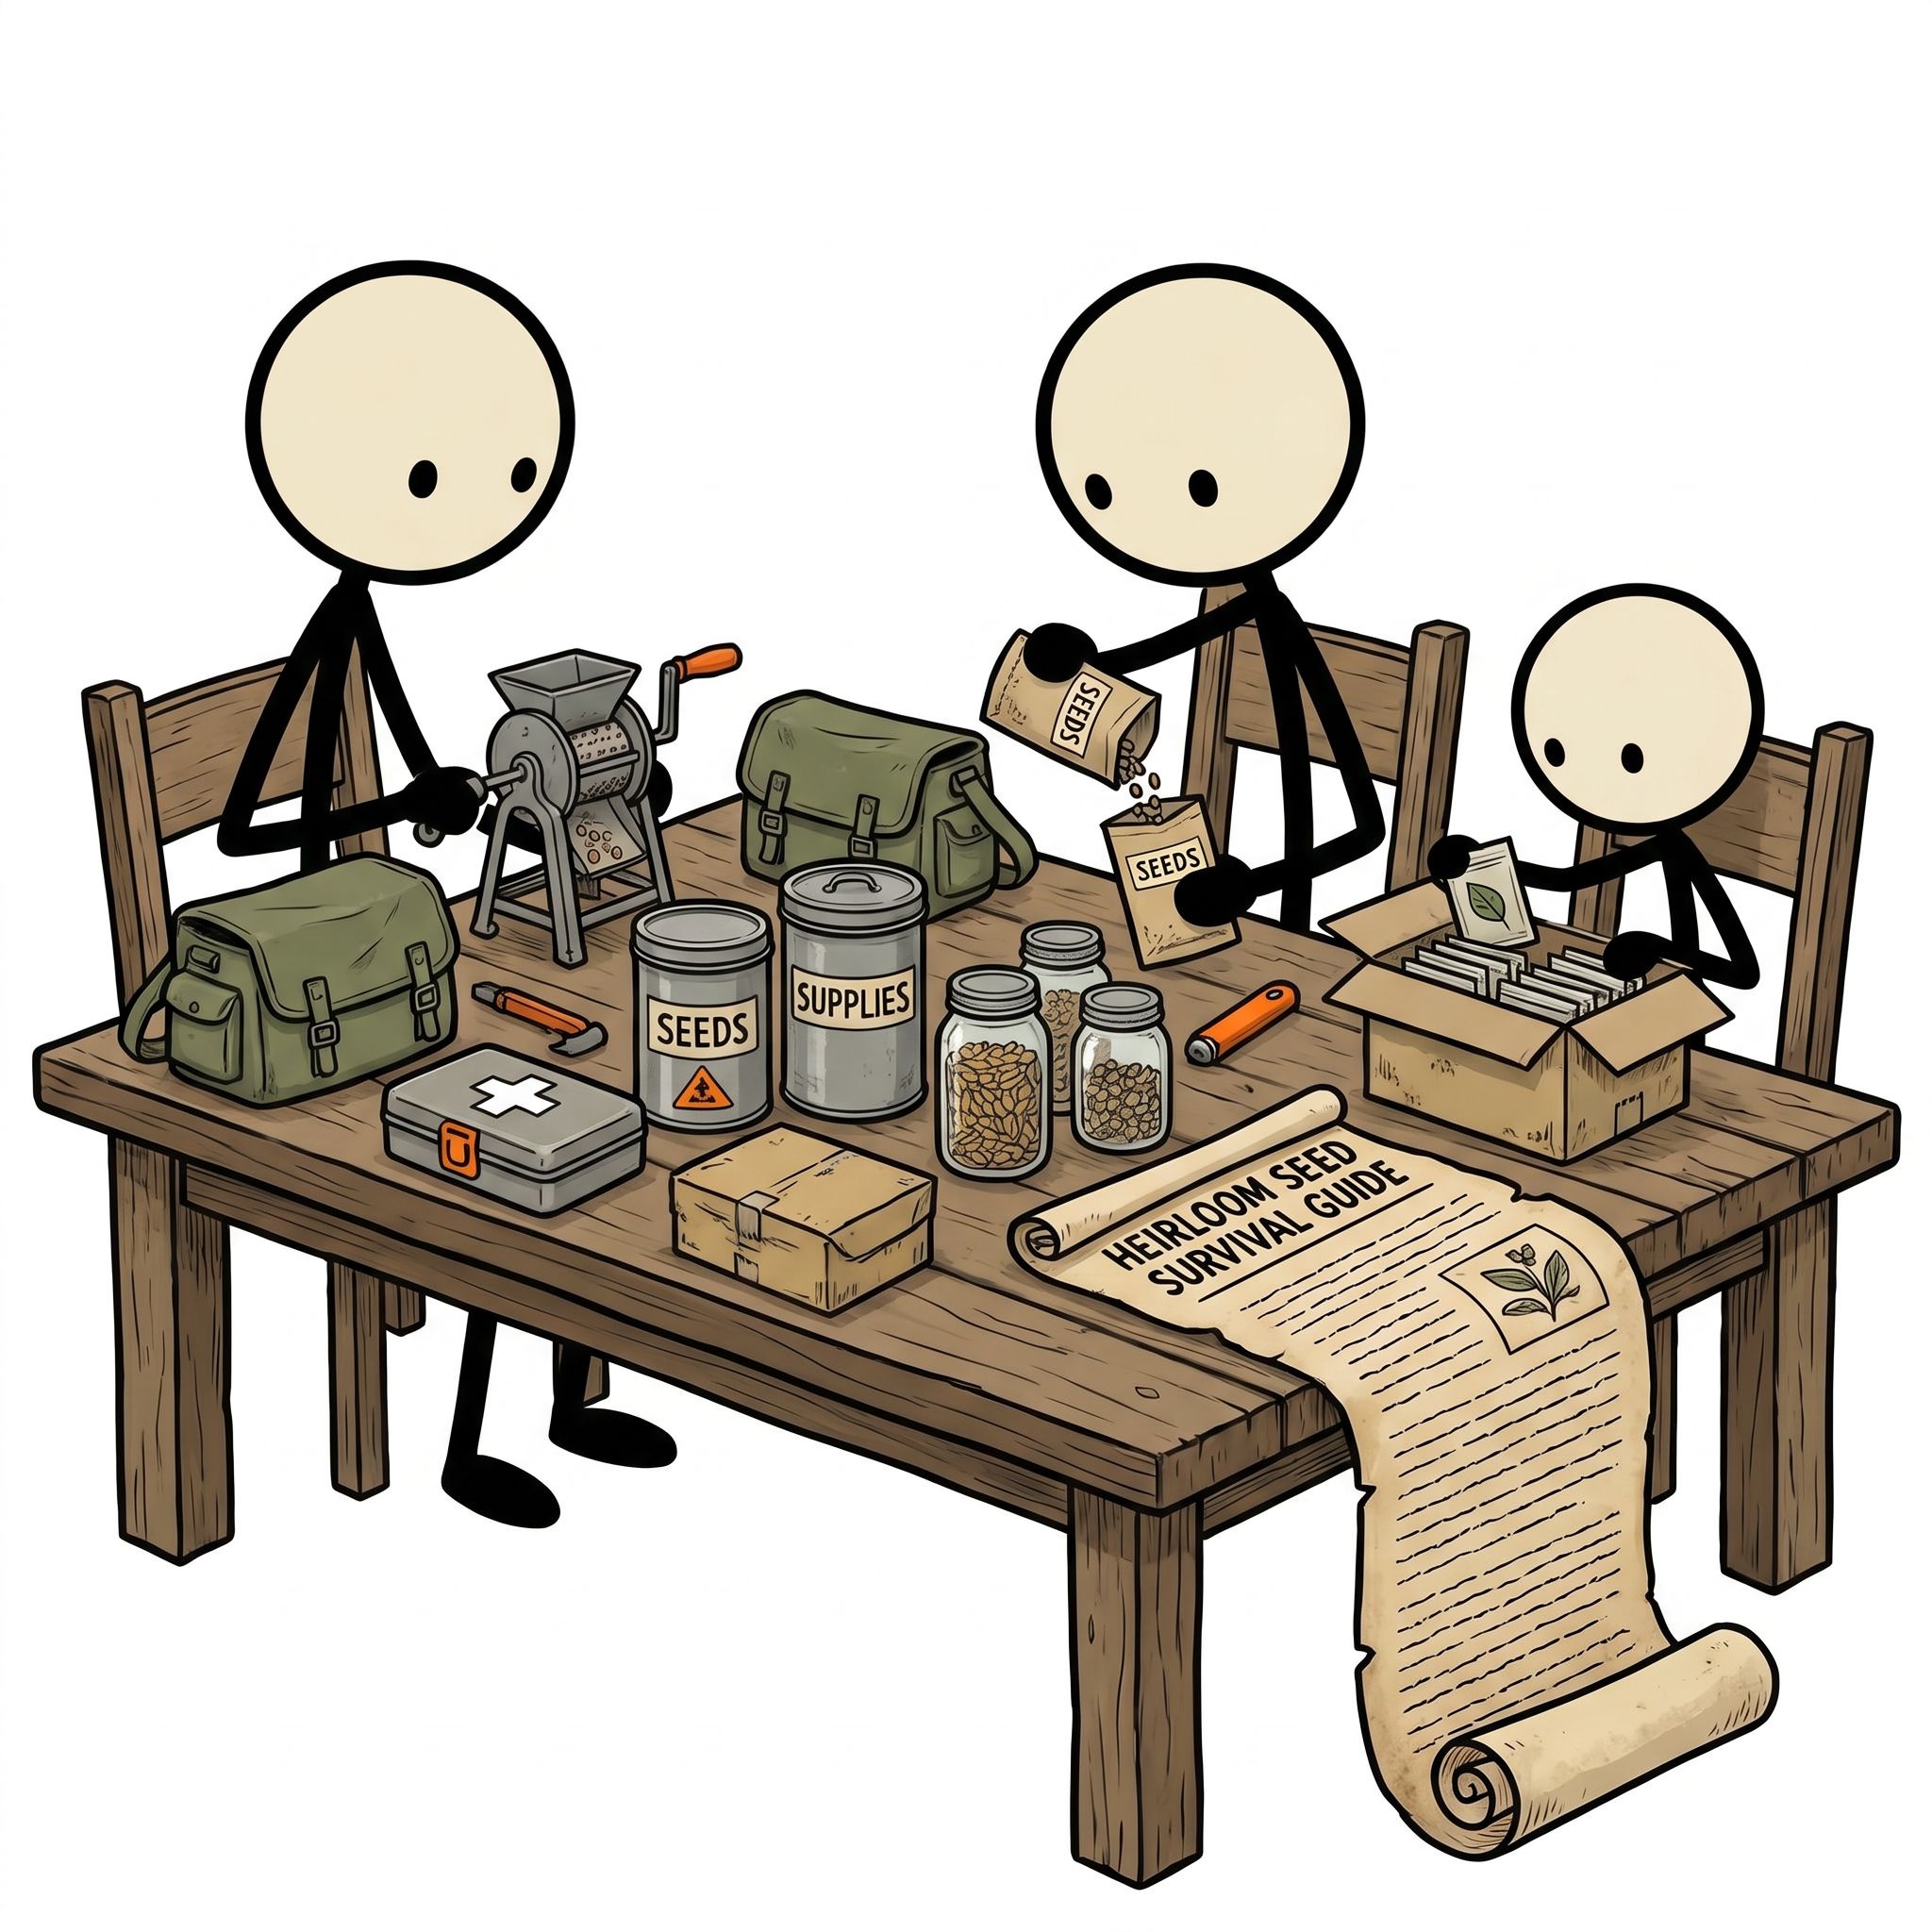
An effective emergency gardening strategy requires careful planning. You cannot simply plant various crops close together and expect to harvest genetically pure seeds. Without proper spatial and biological management, cross-pollination will compromise your seed stock.
Understanding Pollination Mechanisms
To prevent unwanted cross-hybridization, you must understand how different plants reproduce. Crops generally fall into two categories:
- Self-Pollinating (Selfers): These plants have flowers that fertilize themselves before they even open. Because the reproductive organs are enclosed within the petal structure, the risk of cross-pollination from neighboring plants is low. Examples include tomatoes, beans, peas, and lettuce. These are the easiest crops for beginners starting their first survival garden.
- Cross-Pollinating (Crossers): These plants rely on wind, insects, or animals to transfer pollen from one flower to another. If two different varieties of the same species are grown near each other, they will readily cross-pollinate, producing hybrid seeds with unpredictable traits. Examples include corn, squash, cucumbers, brassicas (broccoli, kale, cabbage), and root crops like carrots.
Implementing Isolation Barriers
To preserve the genetic integrity of cross-pollinating heirlooms, you must employ isolation techniques to prevent unwanted cross-talk between varieties. There are three primary methods used to achieve this:
| Method | Application | Requirements | Best For |
|---|---|---|---|
| Physical Distance | Separating varieties in space to prevent wind or insect pollen transfer. | 10 feet for selfers; up to 2 miles for wind-pollinated crops like corn. | Large properties, rural homesteads. |
| Temporal Isolation | Staggering planting dates so that different varieties do not bloom at the same time. | Meticulous planting schedules; requires a long growing season. | Corn, brassicas, fast-maturing annuals. |
| Physical Barriers | Using physical netting, bagging, or isolation cages to exclude pollinators. | Fine mesh bags (organza), hand-pollination techniques. | Squash, peppers, tomatoes, cucumbers. |
The Minimum Viable Population (MVP)
To prevent inbreeding depression—a genetic decline that reduces vigor, disease resistance, and yields over time—you must save seeds from a sufficiently large pool of plants. Saving seeds from only one or two plants narrows the genetic bottleneck. For self-pollinating crops like beans, a minimum population of 5 to 10 plants is sufficient to maintain genetic health. For highly cross-pollinating crops like corn, you should save seeds from a minimum of 100 to 200 individual plants to preserve genetic diversity and prevent crop degradation over generations.
Harvesting Heirloom Seeds: Wet and Dry Extraction
Harvesting seeds requires patience and precision. Seeds must be harvested only when they are fully mature. In many cases, this occurs long after the crop is past its prime culinary stage.
Dry Seed Harvesting Techniques
Dry seeds are produced by crops whose seeds mature in dry pods, husks, or seed heads on the plant. This category includes legumes (beans and peas), grains (corn, wheat, quinoa), brassicas, and many herbs.
- Allow On-Plant Maturation: Leave the seed pods on the vine or stalk until they turn brown, dry, and brittle. For beans and peas, you should hear the seeds rattle inside the pod when shaken.
- Harvesting: Choose a dry, sunny afternoon to harvest. Moisture from morning dew or rain can introduce mold and ruin the harvest. Cut the dry pods or seed heads directly into a clean collecting bucket.
- Threshing and Winnowing: Threshing involves breaking open the pods or seed heads to release the seeds. For small batches, crush the pods by hand or step on them inside a clean tarp. Winnowing uses air currents to separate the heavy seeds from the light, dry plant debris (chaff). Pour the threshed mixture slowly from one bucket to another in front of a steady outdoor breeze or an electric fan. The wind will blow away the lighter chaff, leaving the clean, heavy seeds in the bottom bucket.
Wet Seed Harvesting and Fermentation
Wet seeds are embedded in the moist flesh of soft fruits, such as tomatoes, squash, cucumbers, and melons. These seeds require wet extraction and, in some cases, fermentation to remove natural germination inhibitors.
Tomatoes and cucumbers are surrounded by a gel-like sheath containing chemical inhibitors that prevent the seed from sprouting inside the warm, wet fruit. To remove this sheath and eliminate seed-borne pathogens, you must replicate the natural decay process through fermentation:
- Extract the Seeds: Squeeze the seeds, gel, and juices of fully ripe (or slightly overripe) heirloom tomatoes into a clean glass jar. Add a small amount of non-chlorinated water if the mixture is too thick.
- The Fermentation Window: Cover the jar with a breathable cloth or paper towel secured by a rubber band to keep out fruit flies. Place the jar in a warm location (70°F to 85°F) out of direct sunlight. Stir the mixture once daily.
- Monitoring the Process: Within 2 to 4 days, a layer of white or grey mold will form on the surface of the liquid, accompanied by a sour odor. This indicates that the fermentation process is complete. Do not let it ferment past this stage, or the seeds may begin to sprout.
- Rinsing and Separating: Pour the contents of the jar into a deep bowl and add water. Stir vigorously. The viable, heavy seeds will sink to the bottom, while the mold, pulp, empty seeds, and debris will float to the top. Carefully pour off the floating debris. Repeat this rinsing process several times until only clean seeds remain at the bottom of the bowl.
- Drying: Pour the clean seeds into a fine-mesh strainer to remove excess water, then spread them in a single layer over a flat, non-stick surface, such as a ceramic plate, baking sheet, or window screen. Avoid using paper towels, as the wet seeds will stick to the paper fibers. Place the drying seeds in a warm, well-ventilated area out of direct sunlight. Stir them daily to ensure even drying. This process can take up to two weeks.
The Physics of Preservation: How to Store Seeds Long Term
Once your seeds are harvested and thoroughly dried, you must preserve them. Improper storage can ruin months of hard work, destroying the viability of your seeds. Understanding how to store seeds long term requires managing three environmental factors: moisture, temperature, and light.
The Enemy Within: Moisture and the "Rule of 100"
Moisture is the single greatest threat to seed longevity. High moisture levels encourage fungal growth, invite insect infestations, and accelerate the seed's internal respiration rate, burning through its limited energy reserves and causing early death. Conversely, if a seed is dried too aggressively (below 4% moisture), its internal cellular structures can suffer irreversible damage.
Professional seed banks rely on the Rule of 100 as a guideline for safe storage: the sum of the storage temperature (in degrees Fahrenheit) and the relative humidity (RH) percentage of the storage environment should ideally be less than 80, and must never exceed 100.
$\text{Storage Temperature (}^\circ\text{F)} + \text{Relative Humidity (\%)} < 80$
For example, if your storage room is 60°F, the relative humidity of that room must be kept below 20% to maintain optimal long-term viability.
Achieving the Perfect Dryness
To prepare seeds for a long-term survival seed bank, their internal moisture content should be reduced to approximately 8% to 10%. You can test this using the "shatter test" for large seeds: a dry bean or pea placed on a hard surface should shatter when struck with a hammer, rather than mashing flat. For smaller seeds, the "bend test" applies: a dry seed should snap cleanly in half rather than bending pliantly.
To achieve this level of dryness, package your seeds with food-grade silica gel desiccant packets. Use approximately 5 grams of silica gel per cup of seeds. Once the seeds have reached their target dryness, remove the silica packets before sealing them long-term to prevent over-desiccation.
Packaging Materials: Shielding from Light and Air
Once dried, seeds must be sealed in airtight, light-blocking containers to prevent reabsorption of ambient moisture and to shield them from ultraviolet light, which degrades genetic material. The gold standard for survivalists is the combination of Mylar bags and glass jars:
- Mylar Envelopes: Mylar is a polyester film that provides an exceptional barrier against oxygen, moisture, and light. Place your dried, labeled seeds inside small Mylar envelopes, add an appropriate size oxygen absorber (O2 absorber), and seal the edge with a household iron or heat sealer.
- Glass Mason Jars: For added protection against rodents and physical damage, place the sealed Mylar packets inside heavy-duty glass mason jars with rubber-gasketed lids. Store these jars in a dark, cool location, such as a root cellar, basement, or dedicated climate-controlled space.
Thermal Dynamics: Cold and Frozen Storage
Metabolic activity in seeds is temperature-dependent. For every 10°F reduction in temperature, the rate of seed respiration cuts in half, doubling their storage life. While cool closet storage (50°F to 60°F) is acceptable for short-term annual rotation, sub-freezing temperatures (0°F or -18°C) can preserve seed viability for decades.
However, freezing seeds requires caution. If you freeze a seed with an internal moisture content above 12%, the water inside will expand as it freezes, rupturing the cellular walls and killing the embryo. Only freeze seeds that have been thoroughly desiccated to under 8-10% moisture and sealed in vapor-proof packaging. When removing seeds from the freezer, do not open the sealed container immediately. Allow the container to sit at room temperature for several hours until it warms up completely. Opening it cold will cause ambient moisture to condense on the cold seeds, ruining their viability.
Maintaining Viability: Testing and Rotation
A survival seed bank is not a static resource to be buried and forgotten. Seeds are living organisms with a finite lifespan. To ensure your seed bank remains viable during a crisis, you must implement a systematic program of testing, monitoring, and rotation.
The Paper Towel Germination Test
Before relying on a stored seed lot for your survival garden, you should verify its germination rate. Perform a simple germination test every 12 to 24 months:
- Sample Selection: Randomly select 10 seeds from your stored seed packet.
- Preparation: Dampen a clean paper towel with distilled, room-temperature water. It should be moist but not dripping wet.
- Placement: Space the 10 seeds evenly across one half of the paper towel, then fold the other half over them.
- Incubation: Slide the folded paper towel into a sealable plastic zip-top bag to retain moisture. Place the bag in a warm, dark location (70°F to 80°F).
- Monitoring: Check the seeds every 2 days to ensure the towel remains moist. After a designated period (usually 7 to 14 days, depending on the crop), count the number of sprouted seeds.
Calculate your germination percentage: if 9 out of 10 seeds sprouted, your germination rate is 90%. If the germination rate drops below 70%, it is time to grow out that seed lot to harvest fresh, high-viability seeds for replenishment.
Viability Timelines of Common Heirloom Varieties
Even under good storage conditions, different plant species have varying natural lifespans. Understanding these timelines helps you prioritize which seeds need to be rotated and replenished first.
| Crop Type | Average Viability (Standard Storage) | Extended Viability (Sub-Zero Storage) | Viability Risk Level |
|---|---|---|---|
| Onions, Parsnips, Leeks | 1 Year | 3 - 5 Years | Very High (Must rotate annually) |
| Sweet Corn, Spinach, Carrots | 2 Years | 5 - 7 Years | High (Rotate every two years) |
| Beans, Peas, Brassicas | 3 - 5 Years | 10 - 15 Years | Medium (Highly stable) |
| Tomatoes, Peppers, Squash | 4 - 6 Years | 15+ Years | Low (Extremely resilient) |
Strategic Crop Rotation and Replenishment
To keep your survival seed bank fresh, incorporate seed saving into your annual gardening routine. Do not attempt to save seeds from every crop every year. Instead, establish a rotational schedule. For example, focus on saving brassica seeds in Year 1, cucurbits in Year 2, and legumes in Year 3. This approach keeps your work manageable while ensuring that no single seed variety in your vault exceeds its viability window.
Building a Community Seed Network
True resilience is rarely achieved in isolation. In a prolonged grid-down scenario, a single homestead may struggle to maintain the genetic diversity of dozens of different crop varieties while managing daily survival tasks. Establishing a localized seed-saving network or community seed bank is a highly effective way to distribute risk and ensure collective food security.
By partnering with trusted neighbors or local agricultural groups, you can assign specific crop families to different households. For instance, one homestead with isolated acreage can focus on preserving wind-pollinated corn varieties, while another specializes in brassicas, and a third manages self-pollinating legumes and nightshades. This collective division of labor prevents inbreeding depression across all crops, reduces the physical workload on individual families, and establishes a robust, regional network of food security that can withstand severe, long-term disruptions.
Cultivating Sovereign Security
When the systems we rely on falter, true sovereignty belongs to those who can produce their own resources. A premium survival seed bank is more than just a collection of future meals; it is an enduring repository of agricultural heritage, biological resilience, and independence. By mastering the skills of selecting, harvesting, and preserving heirloom seeds, you secure your food supply against inflation, shortages, and systemic failures. Step out of the cycle of dependency, invest in high-quality heirloom genetics, and build a living legacy of self-reliance that will sustain your family through any crisis.
Frequently Asked Questions
What are heirloom seeds, and why are they important for emergency gardening?
Heirloom seeds are open-pollinated varieties passed down through generations. Unlike hybrid seeds, they breed true to type, meaning the seeds you save from your harvest will grow into the exact same plant, ensuring a continuous, self-sustaining food source.
How should seeds be stored for long-term survival use?
Seeds should be stored in a cool, dark, and dry environment. Keep them in airtight glass jars or Mylar bags with silica gel packets to absorb moisture, maintaining temperatures below 50°F (10°C) for maximum longevity.
Can I save seeds from store-bought hybrid vegetables?
No, seeds saved from hybrid (F1) vegetables will either be sterile or revert to parent traits, producing unpredictable and often unproductive crops. Always use open-pollinated or heirloom seeds for emergency seed saving.
What are the easiest crops to start with for emergency seed saving?
Beans, peas, tomatoes, lettuce, and peppers are the easiest crops for beginners. They are self-pollinating and require minimal isolation distance to prevent cross-pollination with other varieties.
How long do saved seeds remain viable?
Most seeds remain viable for 2 to 5 years if stored properly. Some crops like onions and parsnips lose viability after 1 year, while others like melons, squash, and cucumbers can remain viable for up to 10 years.
Plan your food storage and preservation strategy. Learn about farm animal preparedness. Develop family emergency planning protocols. Use our supply calculator and browse our courses.