⚡ Key Facts
- The Limits of Tech: According to the National Park Service (NPS), search and rescue (SAR) teams respond to over 3,000 incidents annually, with a significant percentage initiated after mobile devices fail due to battery depletion, lack of cellular coverage, or environmental damage.
- The Power of Three: The international distress signal is universally recognized as any signal repeated three times in a row—such as three whistle blasts, three fires in a triangle, or three mirror flashes.
- Line-of-Sight Reach: Under clear atmospheric conditions, a standard 2x3-inch glass signal mirror can reflect sunlight up to 10 miles (16 kilometers), making it one of the most efficient, weight-to-performance survival tools available.
- Acoustic Advantage: A high-decibel, pealess survival whistle can produce sounds exceeding 120 decibels—significantly louder than a human scream (which averages 80-90 decibels)—and can carry over a mile depending on terrain and wind direction.
- Contrast is Key: Aerial search teams look for anomalies in the natural environment; therefore, effective ground-to-air signals must emphasize high contrast in color, shadow, and geometric regularity to be spotted from thousands of feet above.
Pair Signaling With Two-Way Communication
Whistles, mirrors, and visible signals help rescuers find you, while family radios help your group coordinate before help arrives. Use the FRS, GMRS, and ham radio frequency guide to choose a legal, realistic radio option and agree on a simple call plan.
Imagine navigating a dense, remote stretch of the backcountry when a sudden misstep leads to a fractured ankle. As the sun dips below the horizon, you reach for your smartphone or satellite communicator, only to find the battery completely drained by the cold, or the screen shattered from the fall. In these critical moments, your survival depends entirely on your ability to bridge the gap between your location and the search teams looking for you. According to statistics compiled by the National Association for Search and Rescue (NASAR), the first 24 hours of a Survival Scenarios are the most critical. When modern GPS and cellular networks fail, mastering primitive and non-electronic emergency signaling techniques is not merely an auxiliary skill—it is your primary lifeline to the outside world. For broader readiness basics, keep the emergency preparedness guide close to this checklist. For a quick definition, see signal mirror.
The Psychology and Science of Emergency Signaling
Before deploying any physical signal, a survivor must understand how search and rescue operations function. When a person is reported missing, agencies like the Federal Emergency Management Agency (FEMA) and state-level SAR coordinators establish search grids based on the subject's last known point (LKP). Rescue teams utilize both ground searchers and aerial assets, such as helicopters and fixed-wing aircraft. From an altitude of 1,500 feet, the human eye struggles to isolate a single, stationary human figure wearing earth-toned clothing. To be found, you must actively disrupt the natural patterns of the landscape. Pair these techniques with a written family emergency plan before anyone heads into remote terrain.
Effective emergency signaling relies on three fundamental principles: contrast, movement, and geometric regularity. Nature rarely produces perfect straight lines, equilateral triangles, or highly reflective surfaces. By introducing these anomalous elements into your environment, you signal human presence. Whether you are constructing ground-to-air symbols, utilizing a signal mirror, or setting controlled fires, your goal is to create a visual or auditory disruption that demands investigation from passing pilots or ground teams. These methods also support the site's real-world emergency scenarios training path.
The Universal Rule of Three
In the realm of wilderness survival signals, the number three is universally recognized as an urgent cry for assistance. This convention is utilized worldwide by civilian and military rescue operations alike. When deploying any non-electronic signaling method, you must structure your efforts in groups of three: If you want guided practice, start with Catastrophe Survival 101.
- Three Auditory Blasts: Three sharp, distinct blasts on a whistle, spaced one second apart, followed by a minute of silence to listen for a response.
- Three Visual Markers: Three piles of rocks, three brush piles, or three distinct ground markings arranged in a straight line or an equilateral triangle.
- Three Flashes of Light: Three rapid flashes from a mirror or flashlight, paused, and then repeated.
- Three Pillars of Smoke: Three controlled fires arranged in a triangular formation, spaced approximately 100 feet (30 meters) apart to prevent them from merging into a single column.
Ground-to-Air Signals (GTAS)
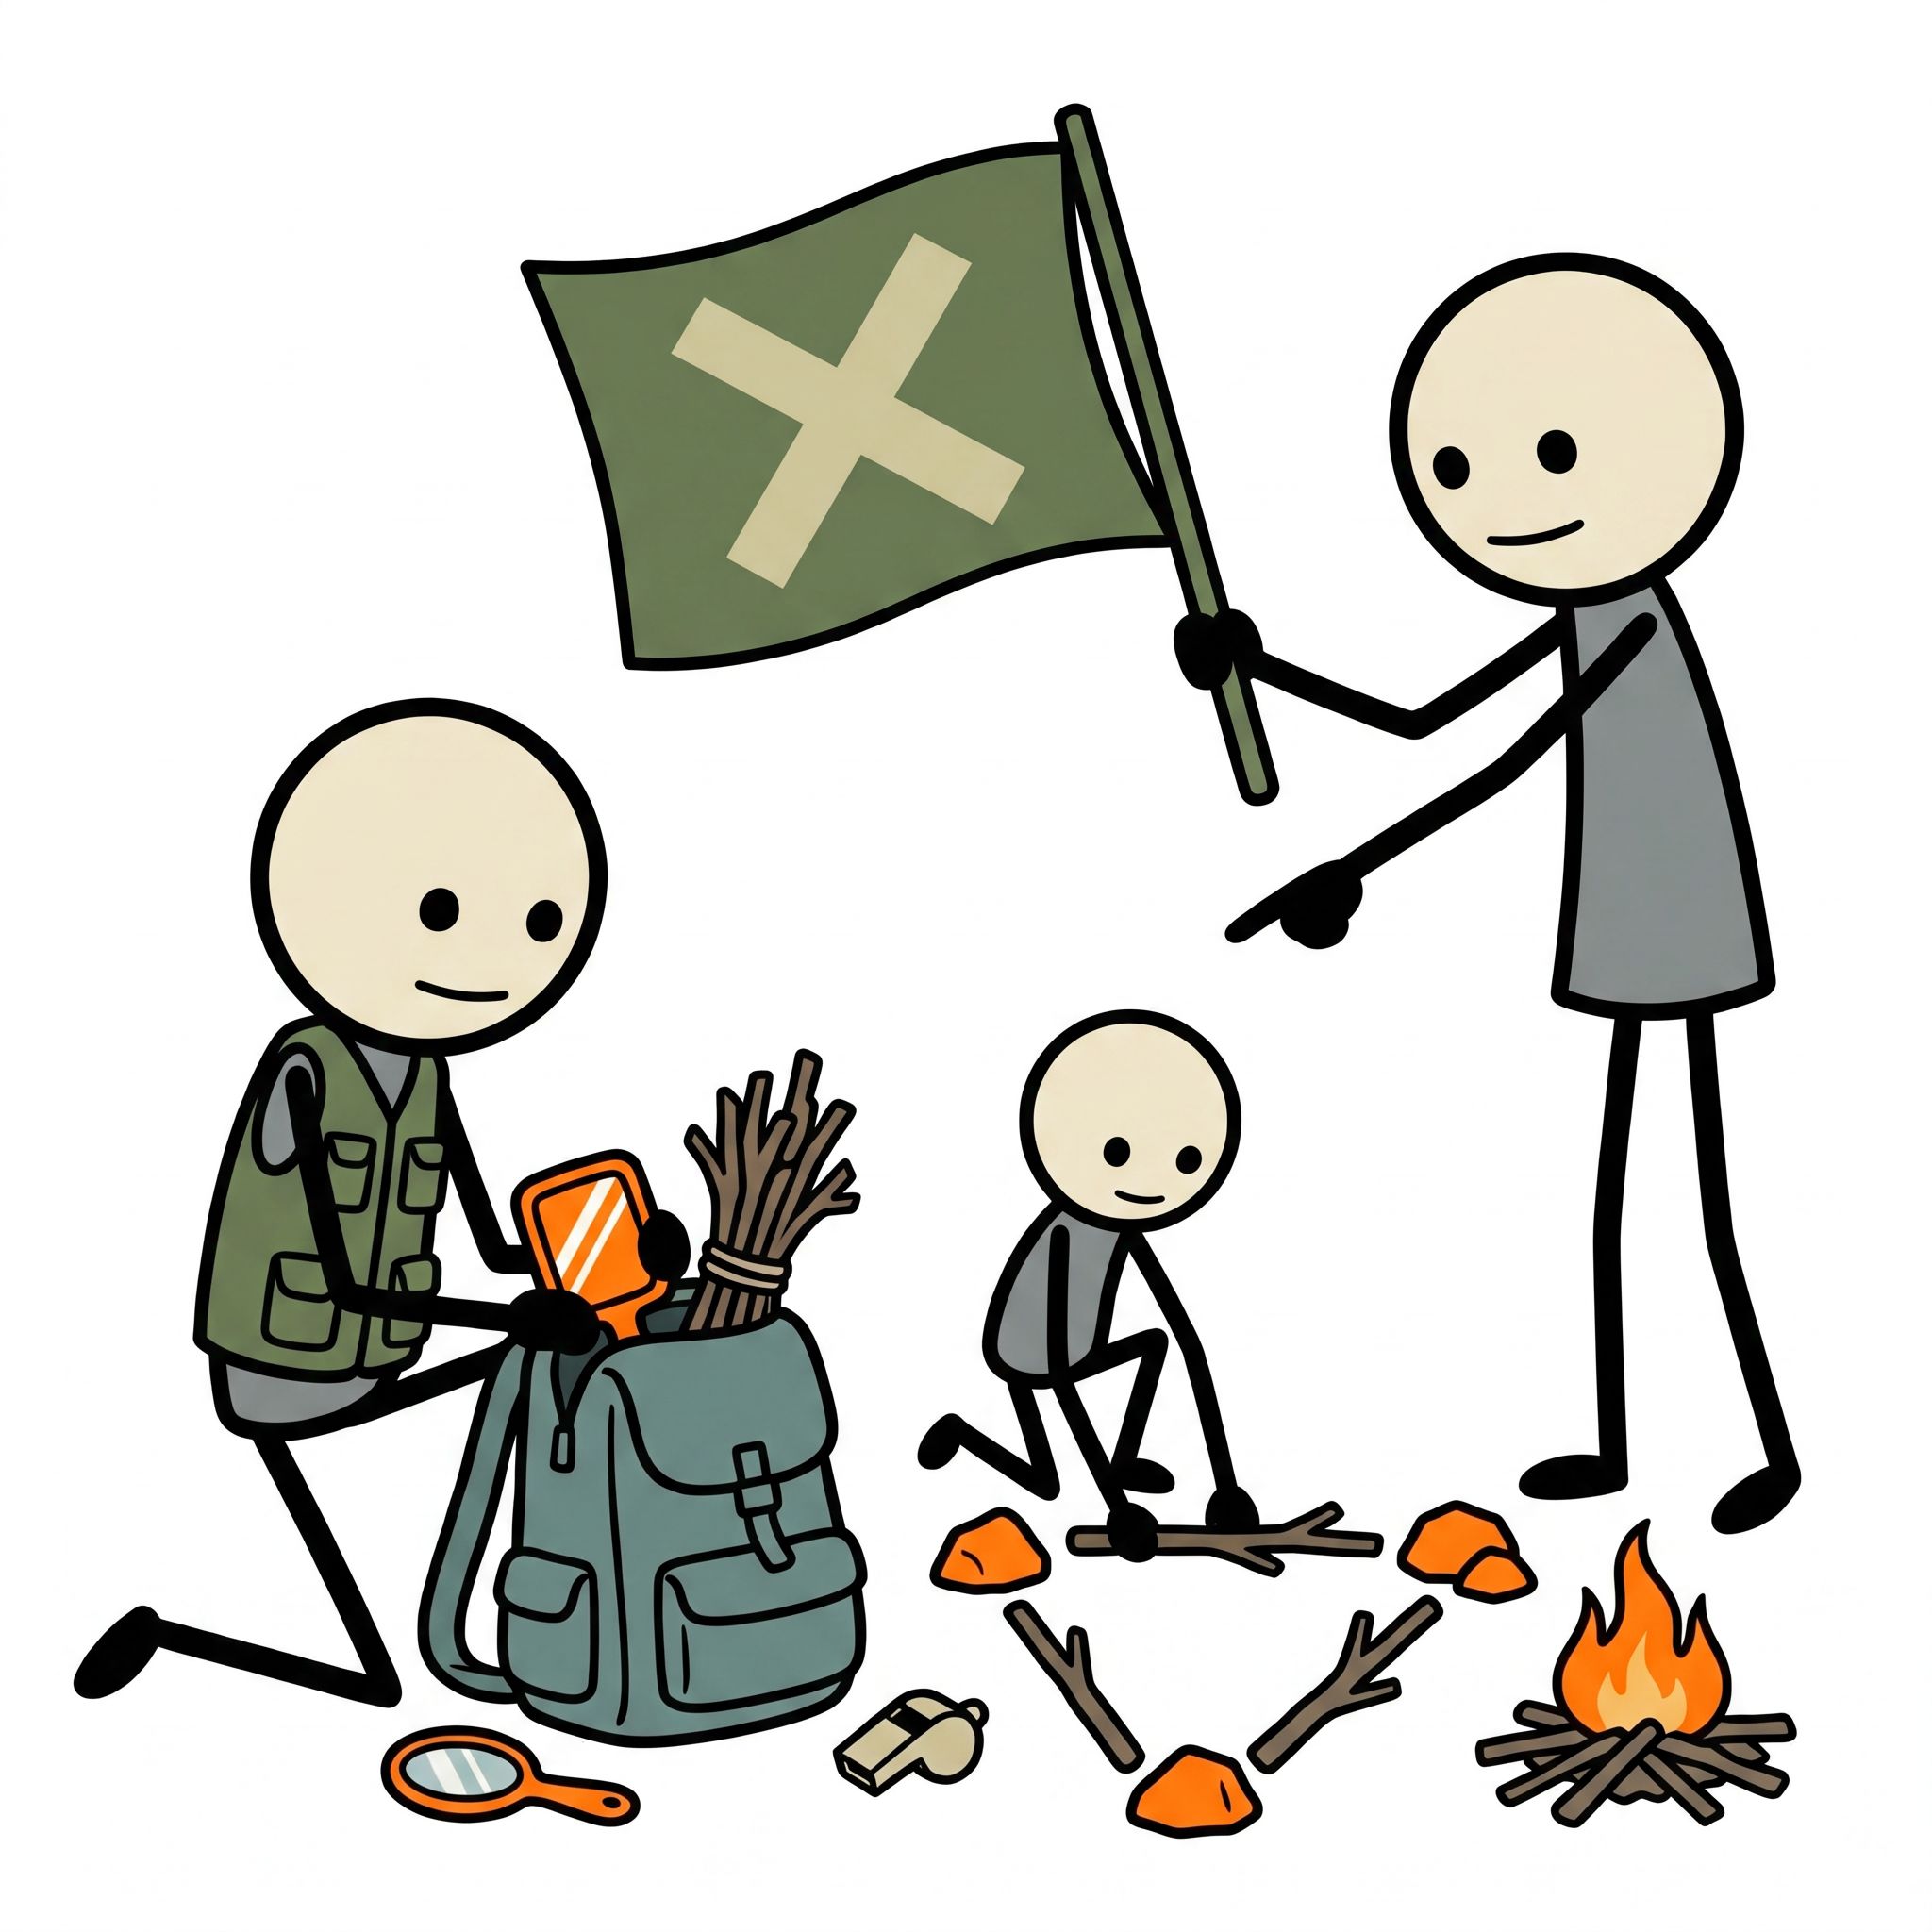
When aerial search assets are deployed, pilots scan vast expanses of terrain. Ground-to-air signals (GTAS) are passive, semi-permanent markers constructed on the ground to communicate your status and location to aircraft. To ensure these signals are visible from altitudes of 1,000 to 5,000 feet, they must be constructed with meticulous attention to size, contrast, and shadow. For course access decisions, check the pricing page.
Constructing High-Visibility Symbols
The standard size for any ground-to-air survival signal is at least 10 feet (3 meters) in length, though 18 to 20 feet is highly recommended for faster detection. The width of the lines forming the symbols should be at least 2 to 3 feet. The ratio of the symbol's length to its width should ideally be 6:1 to maintain legibility from high altitudes.
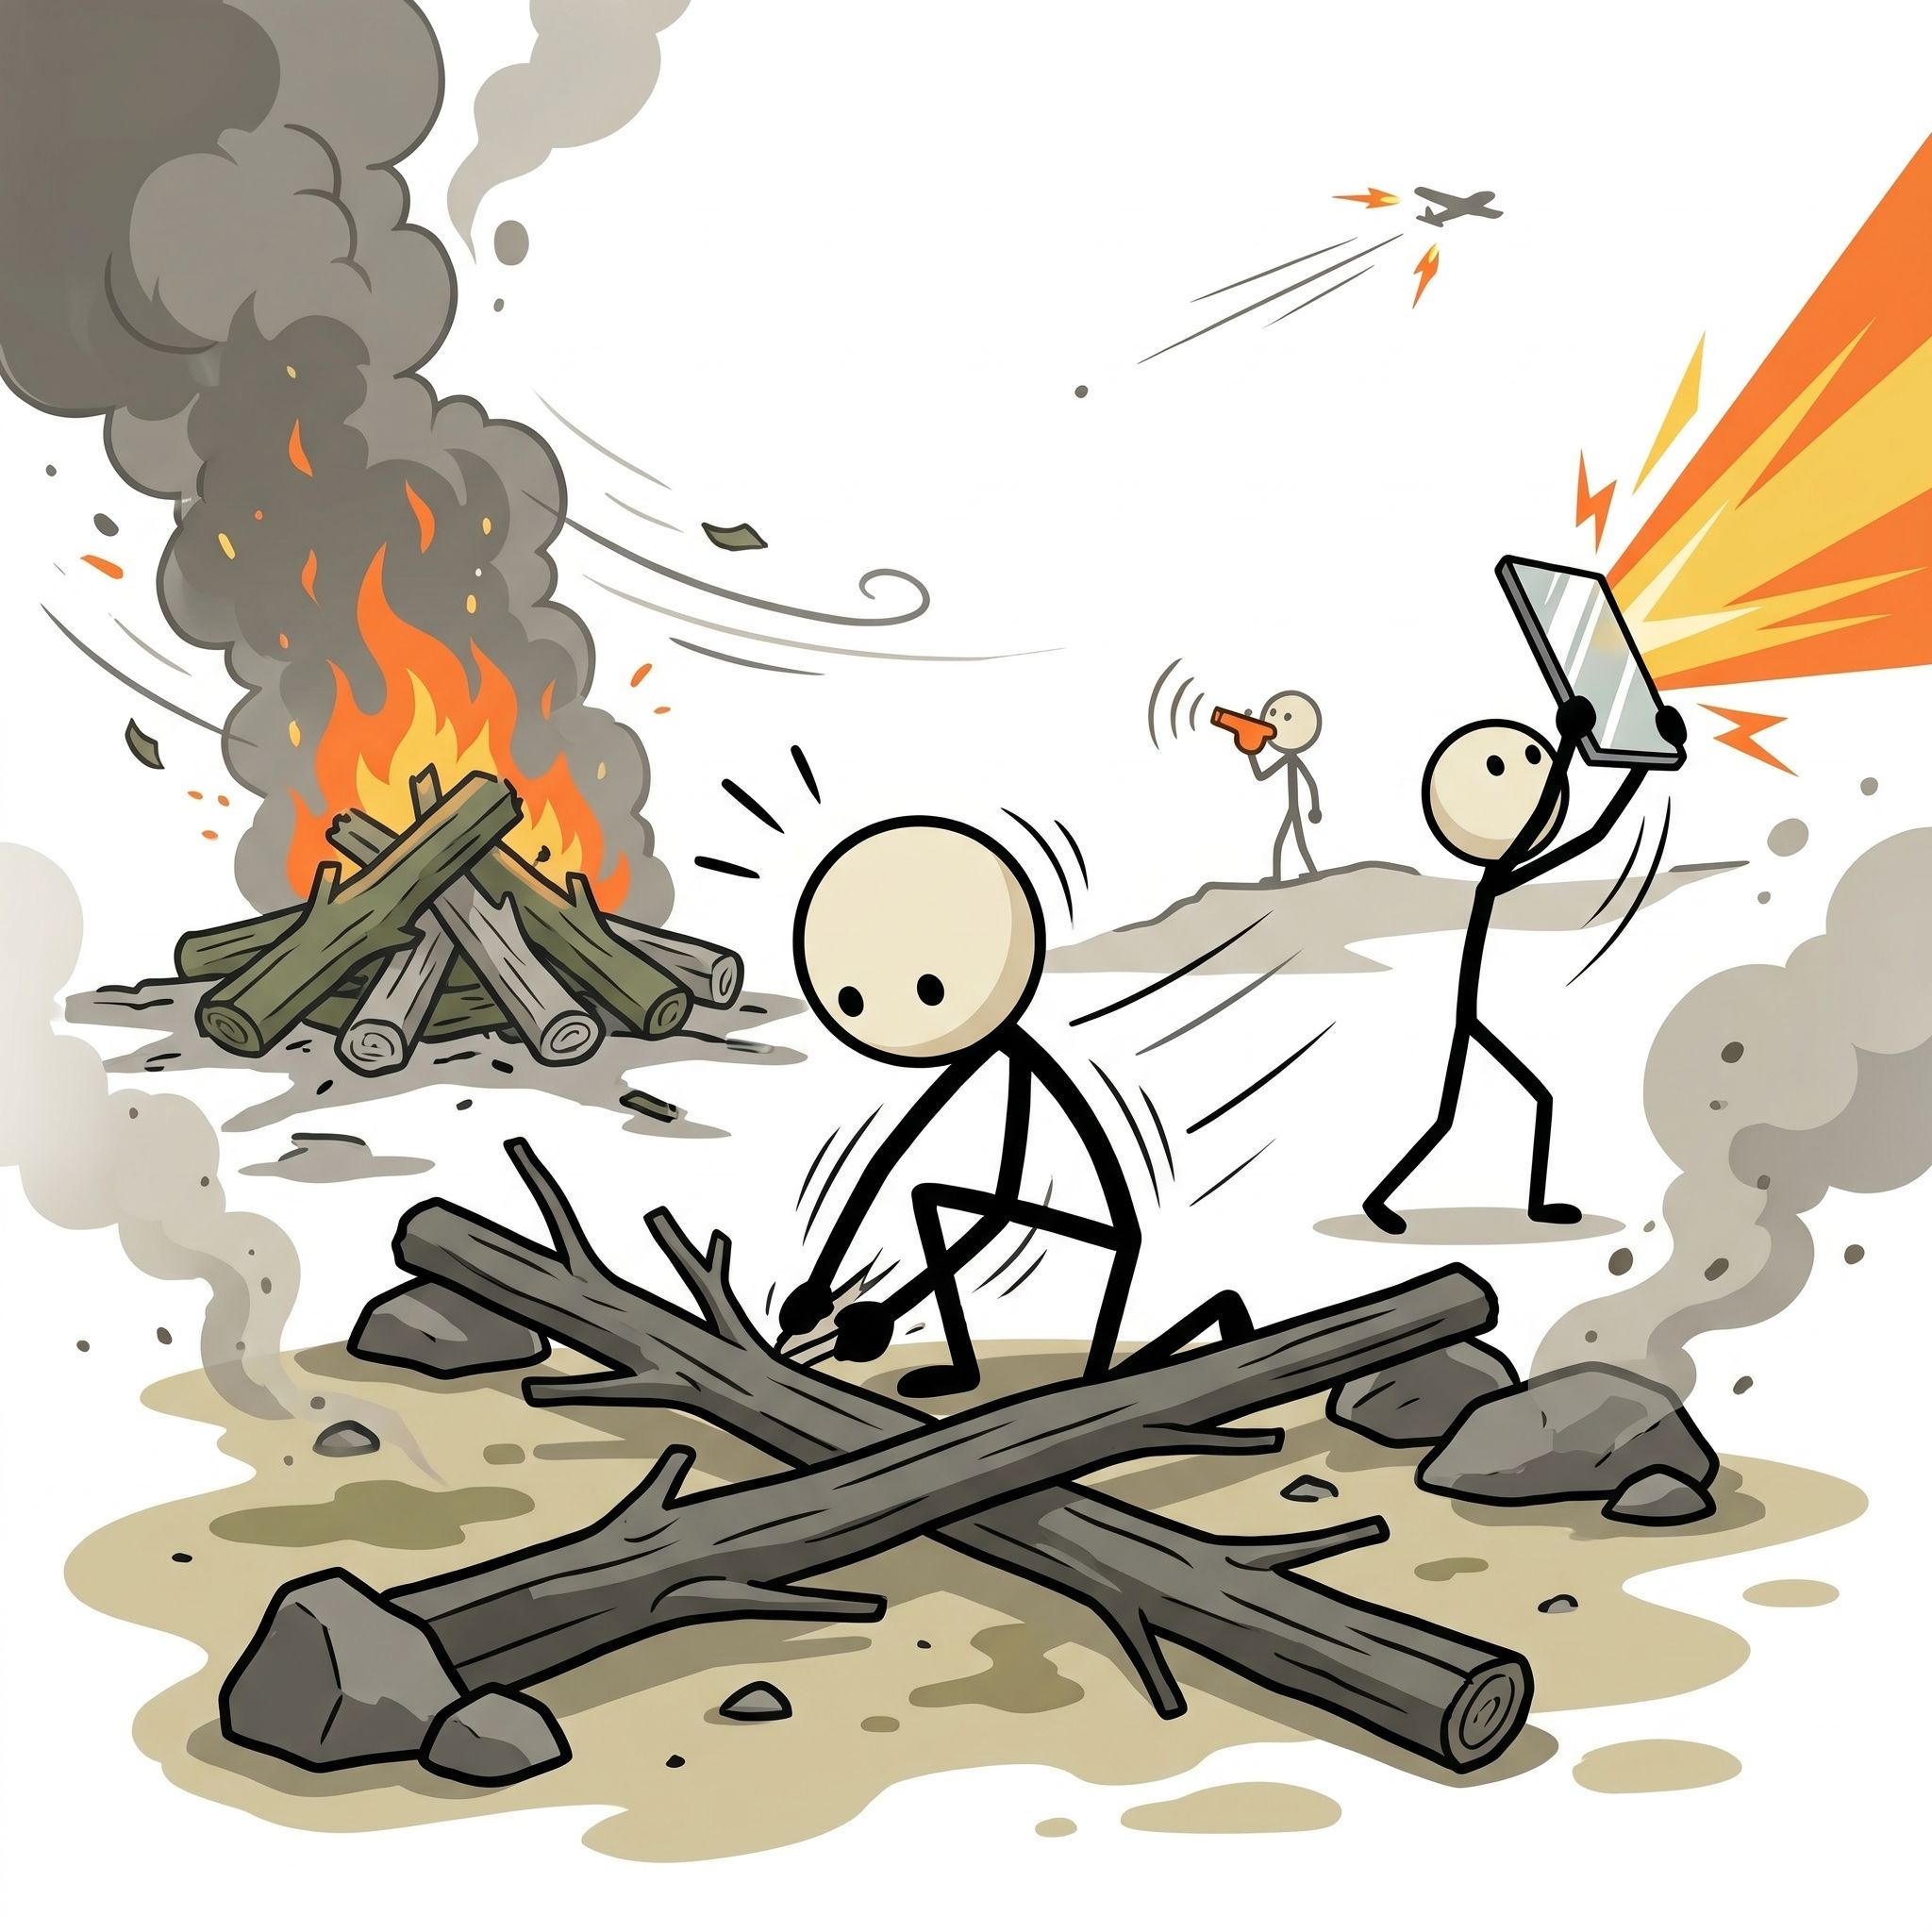
To maximize visibility, you must create contrast against the surrounding terrain:
- In Snowy Environments: Dig deep trenches in the snow to expose the dark soil underneath, or pack down the snow inside the symbol and fill it with pine boughs, dirt, or charcoal from your campfire. The shadows cast by the deep trenches will also highlight the symbol when the sun is at an angle.
- In Forested or Grassy Areas: Clear away brush and grass to reveal bare earth, or lay down large, light-colored rocks, logs, or sand. If you possess a brightly colored tarp or emergency space blanket, secure it flat on the ground using heavy stones at the corners.
- In Desert Regions: Use dark volcanic rocks or dried vegetation to construct symbols on light-colored sand. Alternatively, scrape away the top layer of sun-baked crust to reveal lighter soil underneath.
The International Ground-to-Air Emergency Code
The Search and Rescue community recognizes a standardized set of single-character symbols established by the International Civil Aviation Organization (ICAO). These symbols communicate critical information without the need for a shared language:
| Symbol | Meaning | Context for Use |
|---|---|---|
| V | Require Assistance | General distress signal indicating you need help but are not necessarily injured. |
| X | Require Medical Assistance | Indicates severe injury or illness requiring immediate medical intervention. |
| N | No / Negative | Used to answer questions or indicate a negative response to aerial instructions. |
| Y | Yes / Affirmative | Used to confirm instructions or indicate that resources are sufficient. |
| → | Proceeding in this Direction | An arrow pointing toward your path of travel if you must abandon your camp. |
Body Signaling to Aircraft
If an aircraft passes directly overhead and you do not have pre-constructed symbols, your body can serve as an active non-electronic signaling device. Stand in an open clearing free of canopy cover. Do not wave your arms frantically with both hands at your sides, as this can be mistaken for a casual greeting. Instead, use the standardized body signals:
- "Need Assistance" (Y): Extend both arms upward and outward at a 45-degree angle, forming the letter "Y" with your body. Stand still and maintain this position as long as the aircraft is in sight.
- "Do Not Need Assistance" (I): Lie flat on the ground or stand with one arm pointed straight down and the other flat against your side, forming a vertical line ("I").
Reflective Signaling: The Power of the Signal Mirror
Of all the tools in a wilderness survival kit, a dedicated glass signal mirror is arguably the most efficient and lightweight device for long-range communication. It requires no electricity, has an indefinite shelf life, and can project a beam of light that cuts through atmospheric haze, dust, and even light fog. In survival scenarios, search pilots have reported spotting mirror flashes from distances exceeding 20 miles under optimal conditions.
The Science of Retroreflection
A high-quality survival signal mirror features a retroreflective aiming indicator in its center. This mesh or red-dot indicator allows the user to aim the reflected beam of sunlight with pinpoint accuracy. When sunlight passes through the aiming hole, it projects a bright spot of light onto your face or hand. By aligning this bright spot (the "target indicator") with the aiming hole while looking through the center, you align the reflected beam precisely with the target aircraft or vessel.
How to Aim a Signal Mirror (Step-by-Step)
If you are using a professional signal mirror with an aiming hole, follow this precise protocol to target an aircraft or search team:
- Hold the mirror close to your eye with one hand, looking through the central sighting hole directly at the target (the aircraft or distant search party).
- Extend your other arm toward the target, forming a "V" with your index and middle fingers, framing the target within your fingers.
- Angle the mirror toward the sun until a bright spot of light appears on your extended hand or fingers. This is your aiming spot.
- Slowly tilt the mirror to bring the bright spot of light into alignment with the sighting hole. Once aligned, the reflected beam of sunlight is pointing directly at your target.
- Sweep the mirror slowly across the horizon or directly over the cockpit of the aircraft. Avoid shining the beam continuously into a pilot's eyes to prevent temporary flash blindness, which could cause them to lose control or look away.
Improvising Reflective Surfaces
If you do not possess a dedicated glass signal mirror, you can improvise using reflective items commonly found in backpacking gear or vehicles:
- Compact Discs (CDs/DVDs): The highly reflective backing of a CD makes an excellent emergency mirror. Use the center hole as your aiming device.
- Mylar Space Blankets: Stretch a section of a shiny Mylar blanket over a flat piece of bark or cardboard to create a rigid, highly reflective panel.
- Polished Metal: The back of a stainless-steel camp mirror, a polished knife blade, the reflective interior of a metal can, or the headlight housing of an abandoned vehicle can all be polished with fine sand or toothpaste to create a reflective surface.
Acoustic Signaling: Whistles and Sound Projection
While visual signals are highly effective during the day with clear visibility, acoustic signaling is indispensable in dense forests, deep canyons, heavy fog, and complete darkness. Sound travels differently depending on humidity, wind speed, and terrain, but it remains one of the most reliable ways to alert ground searchers who are actively combing an area.
Why the Human Voice Fails
Many lost hikers make the critical mistake of screaming for help. The human voice is highly inefficient for long-term survival signaling. Screaming rapidly strains the vocal cords, leading to hoarseness or complete voice loss within hours. Furthermore, a human scream is easily absorbed by dense foliage, pine needles, and soft snow, rarely carrying more than a few hundred yards. Screaming also depletes valuable metabolic energy and accelerates dehydration.
In contrast, a dedicated survival whistle requires minimal physical exertion, can be blown continuously for hours, and produces a high-frequency sound that cuts through ambient forest noise, such as rushing water or wind. The sound of a whistle is distinctly artificial, preventing searchers from dismissing it as an animal call.
Selecting and Operating a Survival Whistle
When preparing your emergency kit, choose a whistle designed specifically for survival applications, such as those recommended by the National Association for Search and Rescue (NASAR):
- Pealess Design: Avoid whistles with a small ball (the "pea") inside, such as traditional referee whistles. In freezing temperatures, your breath can cause moisture to freeze inside the whistle, locking the pea in place and rendering the device silent. Dirt, sand, and water can also jam a pea whistle. Pealess whistles (e.g., Fox 40) use air-flow dynamics to generate sound and are highly reliable in all climates.
- Decibel Level: Opt for a whistle that produces at least 110 to 120 decibels. This level of sound is loud enough to pierce through dense brush and can be heard over the noise of running engines or wind.
- The Signaling Protocol: Blow three sharp, high-volume blasts, holding each blast for approximately two seconds. Pause for 60 seconds to listen intently for a response. Ground searchers are trained to stop, listen, and blow their own whistles in return. Do not blow continuously without pausing, as you will fail to hear the rescue team's response.
Pyrotechnic and Thermal Signaling: Controlled Emergency Fires
Fire has been used as a primary signaling method since antiquity. During the day, the smoke from a fire is visible from miles away; at night, the bright flame serves as an unmistakable beacon. However, utilizing fire for emergency signaling requires strict adherence to safety protocols to prevent triggering a catastrophic wildfire, which would put both you and your rescuers in extreme danger.
Selecting the Right Location
Never build a signaling fire under a thick forest canopy, hanging branches, or on top of dry, combustible organic matter (peat, pine needles, or dry grass). Select an open clearing, a rocky outcrop, a river sandbar, or a natural ridge line. Clear a circle of at least 10 feet (3 meters) down to bare mineral soil, removing all flammable debris. If possible, surround your fire pit with large, dry rocks to contain the coals.
Creating Contrast with Smoke
The visibility of a daytime signal fire depends on the color and density of the smoke column, which must contrast sharply with the background sky and terrain:
- White Smoke (Contrast Against Dark Backgrounds): If you are surrounded by dark green pine forests, deep canyons, or dark rock formations, white smoke is highly visible. To produce thick white smoke, build a hot, established wood fire, then heap damp vegetation, green pine boughs, moss, ferns, or a small amount of water onto the hot coals. The high moisture content will generate dense, billowing white steam and smoke.
- Black Smoke (Contrast Against Light Backgrounds): If you are lost in a snowy landscape, a sandy desert, or under a bright, overcast sky, white smoke will blend in. You must produce dark, black smoke. This is achieved by burning petroleum-based materials. If you have access to a vehicle, small amounts of motor oil, rubber floor mats, or a piece of a tire added to an established fire will produce highly visible black smoke. Warning: Handle these materials with extreme caution, and only burn them in a controlled survival situation to avoid toxic inhalation.
The Three-Fire Triangle
If resources and physical energy permit, construct three separate fires arranged in an equilateral triangle, with each fire spaced approximately 100 feet (30 meters) apart. This geometric layout is recognized worldwide as an international distress signal. If you do not have the space or materials for a triangle, arrange the three fires in a straight line with equal spacing between them. Keep these signal piles pre-constructed and protected from rain with large bark sheets or tarps, ready to be ignited the moment you hear an approaching aircraft or ground team.
Passive and Improvised Signaling Strategies
Active signaling—such as blowing a whistle or flashing a mirror—requires your constant presence and physical effort. However, if you are injured, hypothermic, or sleeping, you need passive signaling systems that work on your behalf 24 hours a day.
Creating a "Signal Platform"
A signal platform is a designated area near your shelter designed to attract attention automatically. Choose the highest, most open ground near your camp. Here are several passive techniques to deploy:
- The Tarp Spread: Secure a bright orange, blue, or red tarp flat to the ground using heavy rocks. If you have an emergency space blanket, lay it out with the silver, reflective side facing upward. Ensure it is anchored securely so the wind cannot blow it away or flip it over.
- The Tree Shake: If you hear an aircraft but cannot see it due to canopy cover, find a young, flexible birch or pine tree. Climb up slightly or use a rope to vigorously shake the crown of the tree. The sudden, rhythmic movement of a single treetop stands out to aerial observers looking down at a static canopy.
- Debris Writing: Spell out "SOS" or "HELP" in giant letters (minimum 10 feet tall) using large logs, dark rocks, or packed earth. Ensure the letters are oriented to face the most likely flight path of search aircraft.
Utilizing Personal Gear for Contrast
When purchasing outdoor gear, consider its signaling utility. While earth-toned backpacks, jackets, and tents blend beautifully with nature, they make you nearly invisible during a search. Opt for high-visibility colors—such as blaze orange, neon yellow, or cobalt blue—for rain covers, tarps, and outer layers. If you must buy dark gear, carry a lightweight, high-visibility panel or bandana specifically for emergency signaling.
Working in Harmony with Search and Rescue (SAR)
Understanding how SAR teams operate will help you optimize your signaling efforts. When a search is initiated, the team's first goal is to establish the "Probability of Area" (POA) and "Probability of Detection" (POD). By staying in one place and establishing highly visible, consistent signals, you drastically increase your POD.
What to Do When You Hear or See Rescuers
The moment you detect signs of an approaching rescue team—whether it is the distant thrum of a helicopter rotor or the sound of voices shouting in the woods—do not panic or run blindly toward the sound. This can lead to further injury or cause you to wander out of the search grid. Instead, execute these steps:
- Confirm the Direction: Stop, stay calm, and determine where the sound is coming from.
- Initiate Auditory Signals: Blow your whistle in groups of three. If you do not have a whistle, bang two rocks or dry logs together rhythmically. Sound travels farther than you think, especially in cold or damp air.
- Deploy Your Mirror or Fire: If an aircraft is approaching, immediately prepare your signal mirror or ignite your pre-constructed signal fires. If using a mirror, sweep the beam across the aircraft's path to catch the pilot's attention.
- Stay Put: Unless you are in immediate danger from rising waters, rockfalls, or wildfire, do not abandon your location. A moving target is significantly harder for SAR teams to track than a stationary one.
Preparation is the Ultimate Signaling Tool
When you step into the wilderness, you leave behind the safety net of modern infrastructure. While satellite messengers and cell phones are invaluable tools, they are susceptible to dead batteries, water damage, cold-induced failure, and physical destruction. Non-electronic signaling techniques do not rely on satellites, microchips, or lithium-ion batteries; they rely on physics, geometry, and your preparedness.
By carrying a lightweight, high-decibel pealess whistle and a compact glass signal mirror in your pocket—not packed deep in your backpack—you ensure that you are always ready to signal for help. Practice these techniques in safe, controlled environments before you head out. Understand how to aim a mirror using the sun, practice constructing ground-to-air symbols with fallen branches, and learn to build a clean, controlled fire. In the backcountry, knowledge is your most powerful survival tool, and the ability to communicate your distress when technology fails is what will ultimately bring you home.
Related preparedness term: fire triangle.
Frequently Asked Questions
What is the universal distress signal using sound or light?
The universal distress signal is a series of three of any signal—such as three whistle blows, three flashes of light, or three smoke columns—spaced evenly apart.
How do you use a signal mirror effectively?
Hold the mirror close to your eye, look through the sighting hole, and align the reflected light spot with your target. Sweep the reflection across the horizon toward rescuers.
How do you construct a highly visible signal fire?
Build three fires in a straight line or triangle spaced 100 feet apart. Use dry wood to start them quickly, then add green boughs, moss, or damp leaves to produce thick smoke.
What are ground-to-air signals and how should they be made?
Ground-to-air signals are large symbols made on open ground using contrasting materials like rocks or logs. An 'SOS' or an 'X' should be at least 10 feet long to be visible from aircraft.
What colors are most effective for emergency signaling?
Bright, high-contrast colors like international orange, neon yellow, and bright red are most effective because they do not occur naturally in most wilderness environments.
Master bug-out evacuation strategies. Learn land navigation skills. Prepare for natural disaster survival scenarios. Build your kit with our go-bag builder and browse our courses.