⚡ Key Facts
- The Silent Grid Threat: According to the Federal Emergency Management Agency (FEMA), winter storms and extreme cold are responsible for dozens of direct fatalities annually, but secondary hazards—such as carbon monoxide poisoning from improper indoor heating—claim hundreds more during prolonged power outages. For the practical checklist side, use the community emergency preparedness guide.
- The Physics of Heat Loss: Water conducts heat away from the body 25 times faster than air. Wet clothing or sweat-soaked base layers can trigger hypothermia in ambient temperatures as high as 40°F (4.4°C). For the practical checklist side, use the neighborhood preparedness network.
- The Carbon Monoxide Risk: The Centers for Disease Control and Prevention (CDC) reports that over 400 Americans die each year from accidental carbon monoxide poisoning, with a significant spike occurring during winter blackouts due to the unsafe use of generators and alternative heating sources. For the practical checklist side, use the family emergency planning guide.
- Metabolic Demands: Active shivering to maintain core body temperature can increase your metabolic rate and caloric expenditure by up to 500%, requiring rapid, high-density caloric intake to prevent thermal depletion. For the practical checklist side, use the real-world emergency scenarios guide.
When a severe winter storm de-energizes the electrical grid, your home transitions from a climate-controlled sanctuary into a thermal sieve. Within hours, interior temperatures can plummet toward freezing, transforming a standard residential space into a hostile survival environment. Surviving extreme cold without utility-provided heating is not a matter of endurance; it is a systematic exercise in thermodynamics, human physiology, and resource management. By understanding how the human body loses heat, how materials insulate, and how to safely manipulate your immediate microclimate, you can maintain thermal equilibrium indefinitely. This guide outlines the precise, field-tested protocols required to survive a prolonged winter blackout, prevent life-threatening cold-weather injuries, and maintain a safe, passive heat source inside your home.
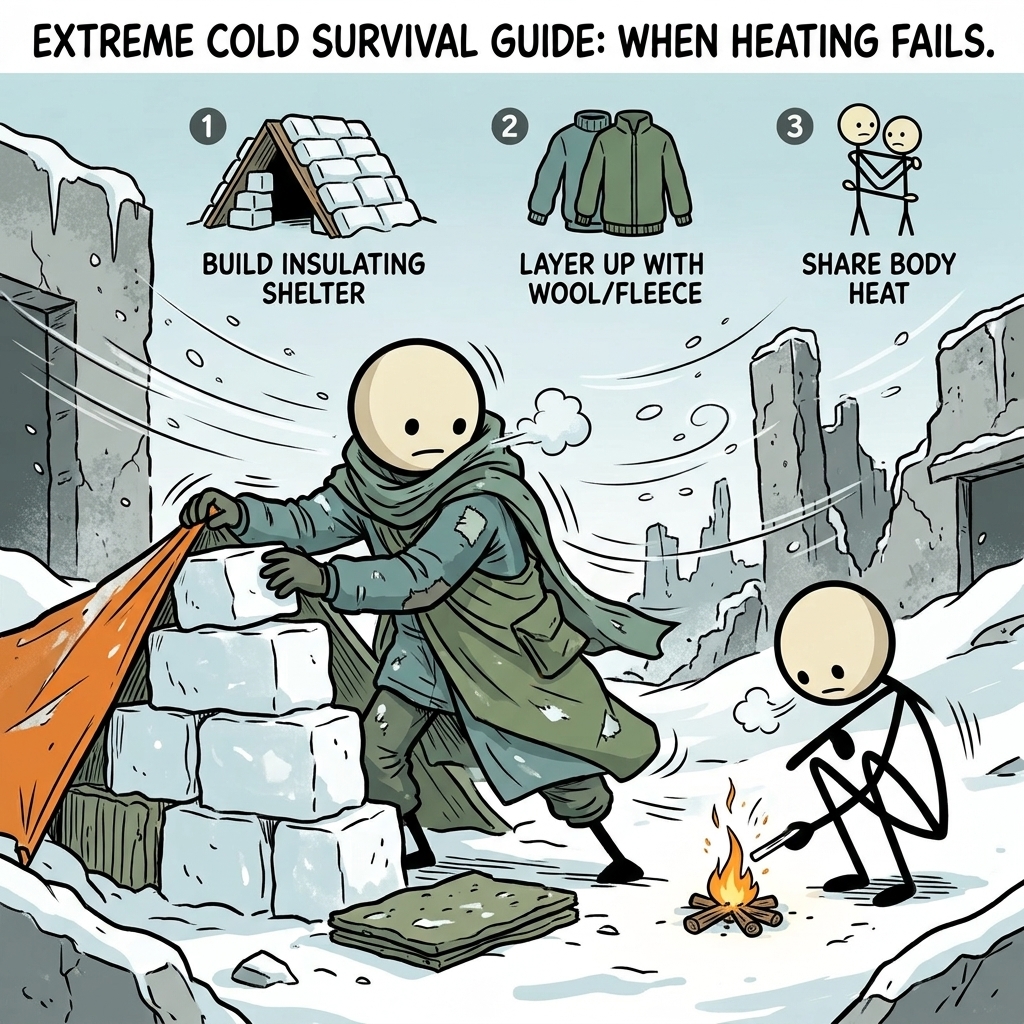
1. The Physiology of Cold: Hypothermia Recognition and Treatment
To survive a severe cold-weather event, you must understand your body’s thermal engine. Human core temperature must remain within a narrow band—around 98.6°F (37°C)—to sustain metabolic processes. When the rate of heat loss exceeds the rate of metabolic heat production, the body enters a state of thermal debt, eventually leading to hypothermia. Implementing a structured hypothermia prevention guide begins with recognizing how heat escapes your body and identifying the progressive stages of systemic cooling.
The Five Mechanisms of Heat Loss
Thermodynamics dictates that heat always moves from an area of higher temperature to an area of lower temperature. In an extreme cold survival home scenario, your body loses heat through five distinct physical pathways:
- Conduction: Direct physical contact with a colder object. Sitting on a concrete floor, touching cold metal, or sleeping on an uninsulated mattress drains heat directly from your body.
- Convection: The movement of air or liquid across the skin. Drafts, wind leaks, and moving indoor air currents strip away the thin layer of warm air warmed by your body.
- Radiation: The electromagnetic emission of heat energy. Your body constantly radiates infrared heat into the surrounding room, which is absorbed by cold walls and furniture.
- Evaporation: The phase change of liquid moisture (sweat) into vapor. This process absorbs thermal energy from your skin, cooling you rapidly even if you do not feel warm.
- Respiration: The inhalation of cold air and exhalation of warm, moist air. Each breath draws cold air into the lungs, where it absorbs body heat before being expelled.
Identifying the Three Stages of Hypothermia
Hypothermia is a progressive, insidious condition. Victims often lose cognitive function before they realize they are in danger, making buddy-checks and self-awareness critical during a winter blackout survival tips scenario.
| Stage | Core Temperature | Physical Symptoms | Cognitive / Behavioral Signs |
|---|---|---|---|
| Mild | 95°F – 98°F (35°C – 36.6°C) |
Involuntary shivering, cold hands/feet, loss of fine motor skills (fumbling fingers). | Apathy, mild confusion, slurred speech, the "umbles" (stumbles, mumbles, grumbles). |
| Moderate | 89.6°F – 95°F (32°C – 35°C) |
Violent, uncontrollable shivering, muscular incoordination, pale or blue-tinged skin. | Confusion, disorientation, memory loss, extreme lethargy, slow response times. |
| Severe | Below 89.6°F (32°C) |
Shivering stops entirely, muscle rigidity, shallow breathing, barely detectable pulse. | Hallucinations, "paradoxical undressing" (feeling hot due to vasomotor failure), stupor, unconsciousness. |
Emergency Rewarming Protocols
Treating hypothermia requires immediate, deliberate intervention. Improper rewarming can trigger "afterdrop"—a dangerous phenomenon where cold, highly acidic blood from the extremities rushes back to the core as peripheral blood vessels dilate, causing cardiac arrest.
If you or someone in your household shows signs of moderate to severe hypothermia, follow these steps immediately:
- Isolate from the Cold: Move the victim to the warmest available microclimate (such as an insulated tent or sleeping bag). Remove all damp or wet clothing immediately.
- Apply Passive External Rewarming: Wrap the victim in dry blankets, sleeping bags, or wool layers. Focus on insulating the head and neck, leaving only the face exposed.
- Apply Active External Rewarming (Core Only): Apply warm (not hot) chemical heat packs, warm water bottles wrapped in towels, or warm damp cloths to the axial zones: the groin, axillae (armpits), and sides of the neck. Never apply heat sources directly to the bare skin or the extremities (arms and legs).
- Provide Warm, Sweet Liquids: If and only if the victim is fully conscious, coherent, and able to swallow, administer warm, sweetened, non-caffeinated liquids. Sugar provides the immediate caloric fuel needed to restart the shivering response.
- Avoid Dangerous Interventions: Do not rub or massage the victim's limbs, as this can damage fragile tissues and trigger afterdrop. Do not use hot baths, heating pads, or direct fire heat, which can cause severe burns and cardiovascular shock. Do not administer alcohol, as it is a vasodilator that accelerates core heat loss.
2. Cold-Weather Clothing Science: The Layering System
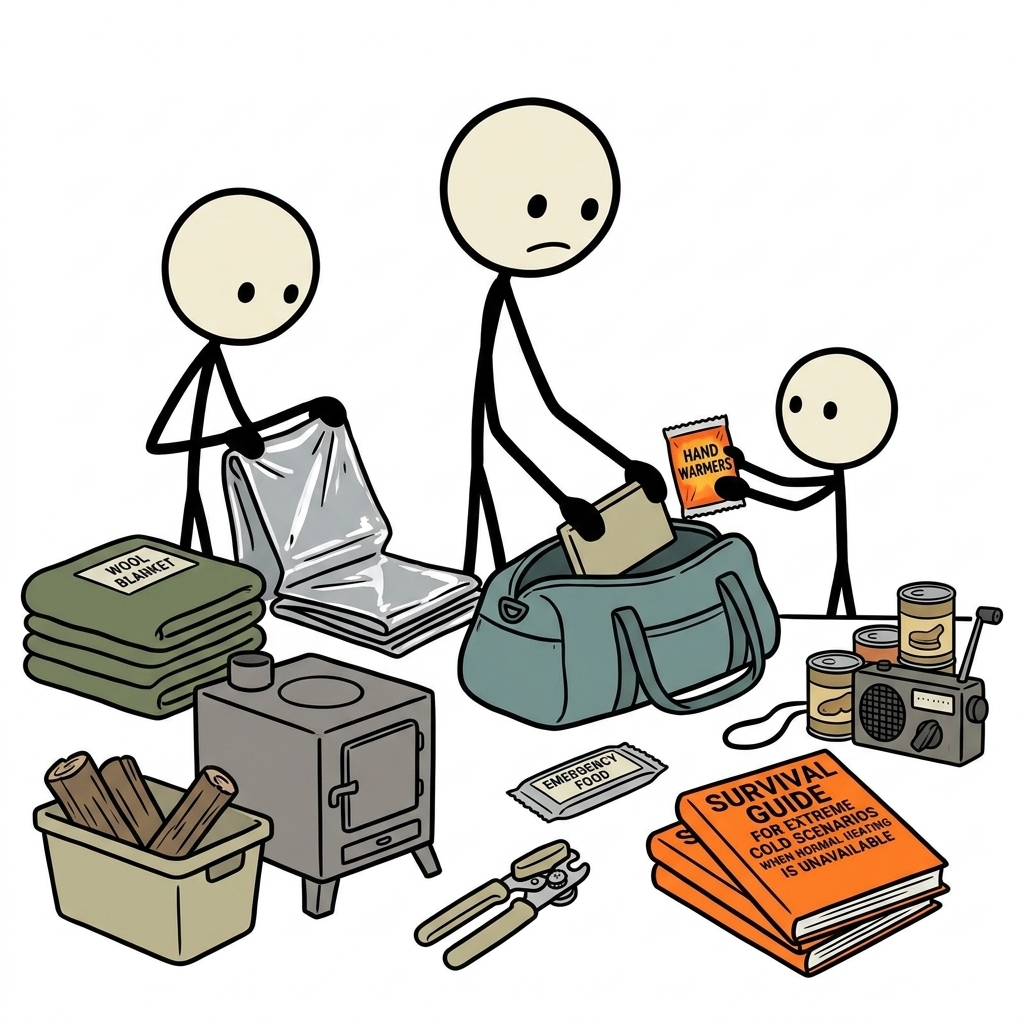
When surviving cold weather survival without heat, your clothing is your primary line of defense. It acts as a personal thermos, trapping a layer of warm air next to your skin while allowing metabolic moisture to escape. To achieve this, you must construct a precise three-layer system based on thermodynamic principles.
The Three-Layer System
Each layer of your clothing has a specific, non-negotiable function. Mixing up this order or using the wrong materials can compromise your entire thermal profile.
1. The Base Layer (Moisture Management)
The primary function of the base layer is to pull moisture (sweat) away from your skin. It must fit snugly against your body to maximize capillary action (wicking).
- Approved Materials: Merino wool, polyester, polypropylene, or silk. Merino wool is highly prized because it retains some insulating properties even when damp and naturally resists odors.
- Critical Warning: Never wear cotton as a base layer. Cotton fibers are hydrophilic; they absorb up to 27 times their weight in water and hold it against the skin. When cotton gets wet, it loses 97% of its insulating capacity, accelerating hypothermia. This is the origin of the survival adage, "cotton kills."
2. The Mid Layer (Insulation)
The mid layer is designed to trap the warm air generated by your body. The efficiency of this layer depends on its "loft"—the thickness and volume of dead air spaces within the material.
- Approved Materials: Heavyweight fleece, boiled wool, high-loft synthetic insulation (such as PrimaLoft), or natural goose down.
- Down vs. Synthetics: Natural down offers the highest warmth-to-weight ratio and compresses exceptionally well. However, if down gets wet, the feathers clump together, losing all loft and insulation value. Synthetic insulation is heavier and bulkier but retains most of its insulating capacity when damp, making it safer in high-humidity or condensation-prone indoor environments.
3. The Outer Shell (Environmental Protection)
Even indoors, convective currents can strip away your trapped body heat. The outer shell protects your insulating layers from drafts, wind leaks, and external moisture.
- Approved Materials: Breathable, windproof membranes (such as Gore-Tex) or tightly woven nylon shells.
- Function: The shell must be breathable to allow moisture vapor from your base and mid layers to escape into the room. If the shell is non-breathable (like a plastic rain poncho), sweat will condense on the inside, soaking your insulating layers from the outside in.
Protecting the Extremities
When the body detects a drop in core temperature, it initiates vasoconstriction—shunting warm blood away from the extremities to protect vital organs. This makes your hands, feet, and head highly vulnerable to rapid cooling.
- The Head and Neck: While the old myth that you lose 50% of your body heat through your head has been debunked, the head, neck, and face remain highly vascularized areas that do not constrict as efficiently as the limbs. Wear a snug-fitting, windproof fleece or wool watch cap. Protect the neck with a gaiter or scarf to seal the "chimney effect" (warm air escaping from the collar of your jacket).
- Hands: Mittens are thermally superior to gloves because they keep your fingers in direct contact with one another, sharing radiant heat. Use a thin synthetic liner glove inside a heavy, insulated mitten shell.
- Feet: Wear a thin, moisture-wicking synthetic liner sock under a thick, loop-stitched merino wool sock. Ensure your footwear is not too tight; constricting blood flow to your feet will cause them to freeze rapidly, regardless of how many socks you wear. Wiggle your toes frequently to stimulate circulation.
3. Creating a Microclimate: Safe Passive Heating of a Single Room
Attempting to heat an entire single-family home during an extreme cold event is a waste of limited energy and resources. Instead, you must apply the principle of "micro-zoning." This involves selecting, sealing, and occupying a single, highly insulated room to concentrate all available heat—including your own metabolic output.
Selecting the Survival Room
The ideal survival room should be chosen based on its physical and thermodynamic characteristics:
- Small Volume: A smaller room requires less energy to heat. Bedrooms, walk-in closets, or small dens are ideal. Avoid open-concept living spaces with high ceilings.
- Interior Location: Choose a room with the fewest exterior walls. A room buffered by adjacent hallways, closets, or other rooms will lose heat much slower.
- Southern Exposure: If the room has windows, southern exposure is preferred to capitalize on passive solar gain during daylight hours.
- Minimal Glazing: Windows are thermal weak points. Select a room with minimal window surface area.
Sealing and Insulating the Space
Once you have selected your survival room, you must turn it into a sealed thermal cell. Treat every gap, crack, and window as a critical leak.
- Isolate the Room: Close all doors to adjacent rooms. Hang heavy blankets, quilts, or plastic sheeting over the doorways to prevent convective air exchange with the rest of the unheated house. Secure the edges of these barriers with duct tape or heavy tacks.
- Seal the Windows: Cover window glass with bubble wrap (spritz the window with water, and the bubble wrap will stick naturally) or plastic window-sealing kits. Hang heavy drapes, quilts, or sleeping bags over the windows. Ensure these thermal curtains are sealed at the edges to prevent cold air from cascading down the glass and into the room.
- Block Drafts: Roll up towels, rugs, or clothing and wedge them tightly under door sweeps and along window sills. Use painter's tape or duct tape to seal gaps around electrical outlets, switch plates, and baseboards on exterior walls.
- Insulate the Floor: Cold air sinks, and uninsulated floors (especially concrete, tile, or hardwood) are major conductive heat drains. Cover the entire floor of your survival room with rugs, thick blankets, sleeping pads, or cardboard.
Constructing an Indoor Micro-Shelter
Within your sealed survival room, you should construct an even smaller micro-shelter. This is the ultimate application of the microclimate concept.
Set up a small, multi-person camping tent in the center of the room. If a tent is unavailable, construct a "blanket fort" using a sturdy table, chairs, or broomsticks as a frame, draped with heavy blankets and sleeping bags. The interior volume of a small tent or blanket fort occupied by two or more people can easily maintain a temperature 15°F to 20°F (8°C to 11°C) warmer than the surrounding room, solely from trapped body heat.
Safe vs. Dangerous Passive Heating Methods
When heating a closed space without electricity, safety must be your absolute priority. Improper heating choices can lead to fatal carbon monoxide (CO) poisoning or catastrophic house fires.
| Heating Method | Safety Status | Operational Protocols & Hazards |
|---|---|---|
| Indoor Propane Heaters (e.g., Mr. Heater Buddy) |
CONDITIONAL | Must be explicitly rated for indoor use. These units feature an Oxygen Depletion Sensor (ODS). However, you must crack a window 1/4 inch to provide fresh oxygen and prevent CO buildup. Always run a battery-operated CO detector in the same room. |
| Clay Pot / Candle Heaters | NOT RECOMMENDED | A popular internet DIY project that uses tea lights under inverted terracotta pots. They produce negligible heat (a single tea light produces about 30 Watts/100 BTUs) and present a significant fire hazard if knocked over or if paraffin wax vapors ignite. |
| Charcoal Grills / Camp Stoves | EXTREMELY DANGEROUS | NEVER use charcoal grills, hibachis, or liquid-fuel camp stoves indoors. Charcoal produces lethal amounts of carbon monoxide that can kill an entire family in minutes without smoke or odor. Camp stoves are designed for outdoor ventilation only. |
| Gas Ovens / Cooktops | EXTREMELY DANGEROUS | Never use your kitchen oven or range to heat your home. Unattended gas burners can go out, filling your home with explosive natural gas. Even when burning cleanly, they deplete oxygen and generate dangerous levels of CO and nitrogen dioxide. |
| Mylar Emergency Blankets | SAFE & EFFECTIVE | Highly effective for reflecting radiant body heat. Wrap them over your sleeping bag or hang them on the interior walls of your micro-shelter to bounce radiant heat back toward the occupants. Do not allow them to touch bare skin directly, as condensation will form. |
4. Frostbite First Aid and Prevention
While hypothermia is a systemic cooling of the body, frostbite is a localized injury caused by the actual freezing of body tissue. Understanding the pathophysiology of tissue freezing and knowing how to administer proper frostbite first aid prevention is critical to preventing permanent tissue loss or amputation.
The Pathophysiology of Frostbite
When skin is exposed to temperatures below 32°F (0°C), blood vessels constrict to conserve core heat. As tissue temperatures drop, ice crystals begin to form in the extracellular fluid between cells. These crystals draw water out of the cells, causing severe dehydration and chemical imbalances that destroy cellular membranes. Concurrently, blood flow in the tiny capillaries stops, leading to localized oxygen deprivation (ischemia) and tissue death.
Recognizing the Three Stages of Frostbite
Frostbite progresses through three distinct, recognizable phases:
- Frostnip (First Degree): The mildest form of cold injury. The skin turns pale, red, or yellowish and feels cold, numb, or tingling. No permanent tissue damage occurs at this stage. Rewarming may cause mild throbbing or burning.
- Superficial Frostbite (Second Degree): The skin turns white, gray, or waxy-blue. It feels firm or hard on the surface, but the tissue underneath remains soft and pliable. Upon rewarming, the skin may appear mottled and develop blisters filled with clear or straw-colored fluid within 24 hours.
- Deep Frostbite (Third Degree): The freezing extends through the skin into the subcutaneous fat, muscles, tendons, and bone. The skin feels hard, cold, and completely numb. It may appear white, gray, or eventually turn black and leathery as the tissue dies (gangrene). Blisters at this stage are typically filled with dark, bloody fluid.
Field Protocol for Frostbite First Aid
If you suspect someone has sustained a frostbite injury, you must act carefully. Incorrect treatment can cause more damage than the initial freezing.
- Step 1: Assess for Hypothermia: Always treat systemic hypothermia before treating localized frostbite. Core temperature takes precedence over limb preservation.
- Step 2: Prevent Refreezing: Never attempt to rewarm a frostbitten limb if there is any chance it could freeze again before reaching safety. Refreezing a thawed limb causes catastrophic, irreversible tissue destruction.
- Step 3: Protect the Area: Remove any tight jewelry, watches, or wet clothing from the affected area. Do not rub, massage, or squeeze the frozen tissue; ice crystals inside the cells will act like tiny knives, shredding the surrounding tissue.
- Step 4: Conduct Controlled Wet Rewarming: Immerse the affected area in a container of warm water. The water temperature must be carefully monitored and kept between 100°F and 104°F (37.7°C to 40°C). If you do not have a thermometer, test the water with an uninjured elbow; it should feel comfortably warm, not hot. Keep the water circulating and add warm water as needed to maintain the temperature. Rewarming typically takes 15 to 30 minutes and can be extremely painful.
- Step 5: Dress and Elevate: Once thawed, the skin will be highly sensitive and prone to infection. Gently pat the area dry (do not rub). Place clean, sterile cotton or gauze pads between frozen fingers or toes to keep them separated. Wrap the area loosely with a sterile bandage. Elevate the injured limb above heart level to reduce swelling.
What NOT to Do
Avoid these common, dangerous mistakes when treating frostbite:
- No Dry Heat: Never use a campfire, space heater, hair dryer, or heating pad to rewarm frostbitten tissue. Because the area is numb, the victim cannot feel if they are burning, and dry heat can easily cause severe, deep tissue burns.
- No Snow Rubbing: Never rub snow on a frostbitten area. This is a dangerous myth that increases mechanical trauma to frozen cells and accelerates heat loss.
- Do Not Pop Blisters: Leave all blisters intact to minimize the risk of bacterial infection.
5. Tactical Nutrition and Hydration in Extreme Cold
Your body is a combustion engine. To generate heat through shivering and metabolic thermogenesis, it requires a steady supply of fuel and water. Neglecting nutrition and hydration during a cold-weather emergency will rapidly exhaust your physical reserves, leaving you highly susceptible to hypothermia.
The Metabolic Demands of Thermogenesis
In a comfortable environment, your basal metabolic rate keeps your core warm. In extreme cold, your body must work harder to maintain its thermal setpoint. Involuntary shivering can increase your body’s heat production by up to five times, burning through glycogen stores at an alarming rate. To fuel this internal furnace, you must adjust your caloric intake:
- Increase Caloric Density: Focus on foods high in fats and proteins. Fats contain 9 calories per gram, compared to only 4 calories per gram for carbohydrates and proteins. Fats take longer to digest, providing a slow, sustained release of metabolic heat over several hours.
- Before-Bed Nutrition: Eat a high-fat, high-protein snack (such as peanut butter, nuts, cheese, or pemmican) immediately before going to sleep. The digestion of these complex foods triggers "diet-induced thermogenesis," warming your body from the inside out during the coldest hours of the night.
- Frequent, Small Meals: Instead of eating three large meals, consume small, energy-dense snacks every 2 to 3 hours to maintain a steady blood glucose level.
The Cold-Weather Hydration Paradox
Dehydration is one of the most overlooked catalysts of hypothermia. In cold weather, your thirst response is suppressed by up to 40%, even though your body is losing water at a significant rate through respiration and cold-induced diuresis.
- Cold-Induced Diuresis: When peripheral vasoconstriction shunts blood to your core, your kidneys detect an apparent increase in blood pressure. To compensate, they filter out excess fluid, causing you to urinate more frequently. This rapid fluid loss quickly leads to dehydration.
- Respiratory Water Loss: The cold, dry air you inhale must be warmed and humidified by your lungs. Every exhaled breath expels a significant amount of moisture, depleting your body's water reserves.
- The Impact on Circulation: Dehydration reduces overall blood volume, which impairs your body's ability to circulate warm blood to your extremities. This increases your risk of both frostbite and hypothermia.
- Hydration Protocols: Force yourself to drink water regularly, even if you do not feel thirsty. Warm liquids, such as herbal teas, broths, or warm water with honey, are ideal because they introduce thermal energy directly into your core. Avoid alcohol and excessive caffeine; both are diuretics, and alcohol acts as a vasodilator, which lowers your core temperature.
6. Developing a Family Cold-Weather Survival Protocol
When the grid goes down and the temperature drops, clear emergency communication plan and coordinated action are your most valuable assets. Having a pre-established, step-by-step checklist ensures that every family member knows exactly what to do to secure the home and protect themselves.
📋 Immediate Action Checklist: Grid Down in Freezing Conditions
- Hour 1: Secure the Perimeter
- Close all interior doors to unused rooms.
- Install draft stoppers under doors and seal window gaps with towels or tape.
- Locate and test your battery-operated carbon monoxide and smoke detectors.
- Hour 2: Establish the Micro-Shelter
- Select the smallest, most insulated interior room as your survival zone.
- Set up a camping tent or construct a blanket fort in the center of the room.
- Layer the floor of the micro-shelter with sleeping pads, blankets, or cardboard.
- Hour 3: Deploy Personal Thermal Gear
- Change into a dry, three-layer clothing system (wicking base, insulating mid, windproof shell).
- Put on a wool watch cap, neck gaiter, and insulated socks.
- Distribute chemical hand warmers and prepare sleeping bags.
- Hour 4: Secure Water and Utilities
- If temperatures inside the house are
Frequently Asked Questions
What are the signs of hypothermia and how do I treat it?
Mild hypothermia: shivering, confusion, slow speech. Moderate: shivering stops (danger sign), muscle stiffness, drowsiness. Severe: no shivering, unconscious, appears dead. Treatment: move to warmth, remove wet clothing, cover with dry blankets, focus on trunk not extremities (rewarming cold extremities first can cause cardiac arrest). Give warm (not hot) beverages if conscious. Severe hypothermia needs emergency medical care.
How do I keep one room warm when there's no heat?
Choose the smallest interior room (less volume to heat). Hang heavy blankets over windows and door gaps. Body heat from multiple people significantly warms a small space. Use a catalytic propane heater (Mr. Heater Big Buddy rated for indoor use) with a CO detector. Seal any gaps under doors with rolled towels. A candle lantern (4+ candles) in a small space can raise temperature 5-10°F.
What is the layering system for cold weather and why does it work?
The three-layer system: (1) Base layer — moisture-wicking synthetic or merino wool against skin (NEVER cotton — cotton kills when wet), (2) Mid layer — insulating fleece or down, (3) Outer layer — wind and water resistant shell. Each layer traps air (insulation) while the base wicks sweat away. More thinner layers outperform a single heavy layer because you can adjust to activity level.
What is the most dangerous cold weather mistake?
Wearing cotton. Cotton absorbs moisture (sweat or rain), loses all insulating properties when wet, and actually conducts heat away from your body. This is why outdoor professionals say 'cotton kills.' Replace cotton base layers with merino wool or synthetic moisture-wicking fabrics. Keep at least one complete change of non-cotton layering in your go-bag.
How do I treat frostbite in a field situation?
Do NOT rub frostbitten skin (causes cellular damage). Do NOT rewarm if there is risk of refreezing (thaw-refreeze is more damaging than leaving frozen). If definitive warming is possible: submerge in warm (not hot) water at 100-105°F (just above body temperature) for 15-30 minutes. The thawing is extremely painful — this confirms blood flow is returning. After thawing, keep warm, slightly elevated, and do not walk on frostbitten feet.