⚡ Key Facts
- Under-Preparedness Epidemic: According to FEMA’s National Household Survey, while 80% of Americans live in counties that have experienced a declared disaster, only 39% have actually developed and practiced a family emergency plan.
- The Two-Minute Window: The American Red Cross warns that you may have as little as two minutes to safely escape a burning home, making an immediate, pre-determined exterior meeting place a matter of life or death.
- emergency communication plans Collapse: During major disasters, local cellular networks experience traffic spikes of up to 300%, frequently resulting in immediate network congestion and dropped calls, rendering real-time coordination impossible.
- School Vulnerability: Save the Children reports that 60% of parents do not know their child’s school evacuation or reunification plan, highlighting a critical gap in family emergency preparedness.
Imagine this scenario: It is 2:15 PM on a Tuesday. You are at your office fifteen miles from home, your spouse is running errands on the other side of town, and your children are at school. Suddenly, a fast-moving wildfire, a major earthquake, or a sudden industrial accident triggers an immediate, chaotic evacuation of your neighborhood preparedness network. Within minutes, cell towers are overwhelmed, rendering your smartphone useless. You try to call, but you get a "Network Busy" signal. You try to text, but the messages hang in limbo. In this terrifying moment of silence, does your family know exactly where to go, how to get there, and how to report that they are safe? Without a pre-established, practiced plan, panic takes over. With a plan, muscle memory kicks in, transforming chaos into a structured, calm response.
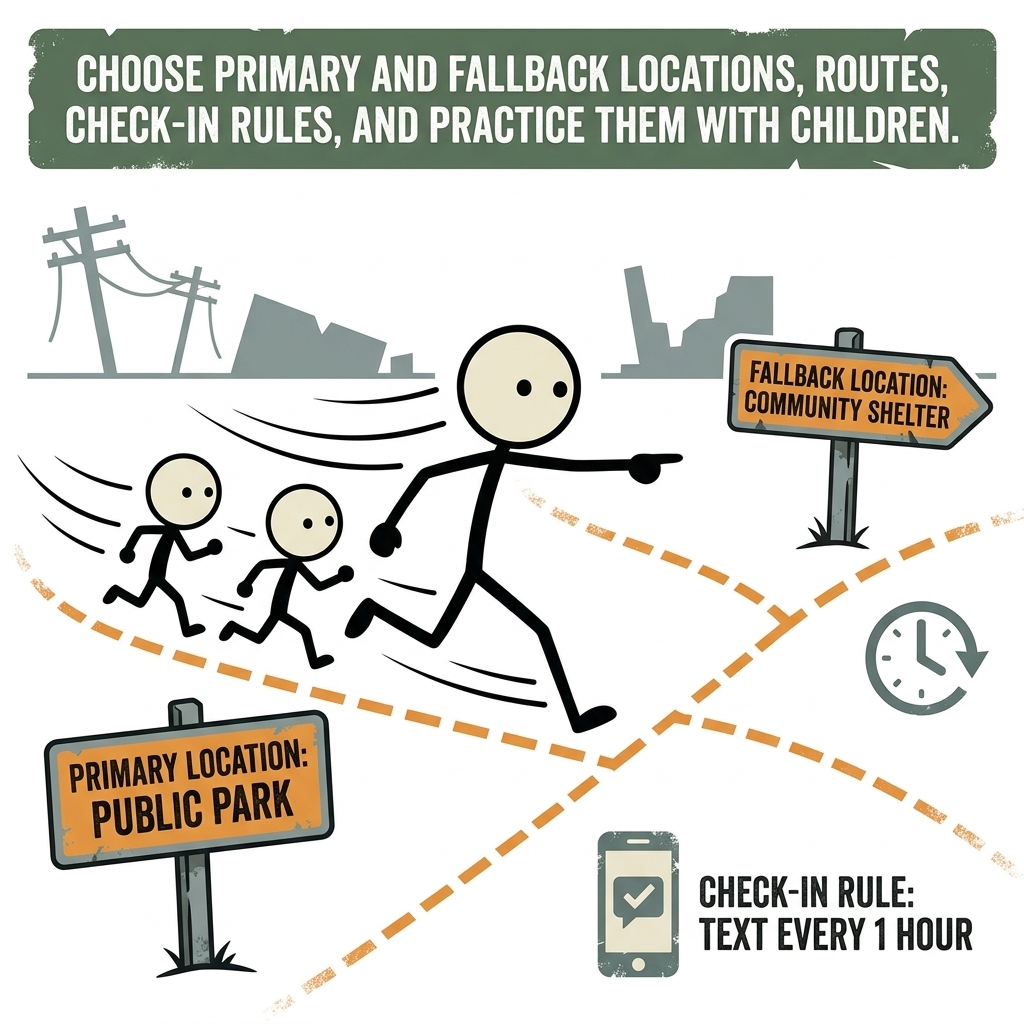
The Critical Importance of Pre-Arranged Emergency Locations
When a crisis strikes, cognitive function drops significantly. Under high stress, the human brain struggles with decision-making, spatial reasoning, and logical analysis. This cognitive decline is even more pronounced in children, who look to adults for cues on how to react. If parents are not physically present, a child's natural response is often to freeze, hide, or make dangerous attempts to travel back to their home, even if that home is directly in the path of danger. This is why establishing a multi-tiered emergency meeting place is the foundational pillar of family safety.
Relying on real-time communication during a disaster is a dangerous gamble. The Federal Emergency Management Agency (FEMA) and the Federal Communications Commission (FCC) consistently warn that disasters destroy physical infrastructure. Cell towers lose power, fiber-optic lines are severed, and the sudden surge in emergency call volume collapses local cellular routing. By choosing your locations in advance, you eliminate the need for real-time coordination. Your family members do not need to ask "Where should we meet?" because the answer has already been decided, memorized, and practiced.
Furthermore, having designated locations reduces the burden on local emergency responders. When families have a clear plan to reunite independently, they do not add to the congestion of emergency lines or require search-and-rescue assistance simply to locate one another. This proactive approach is a cornerstone of Protocol Survival community and individual self-reliance.
The Four-Tiered Emergency Meeting Place Strategy
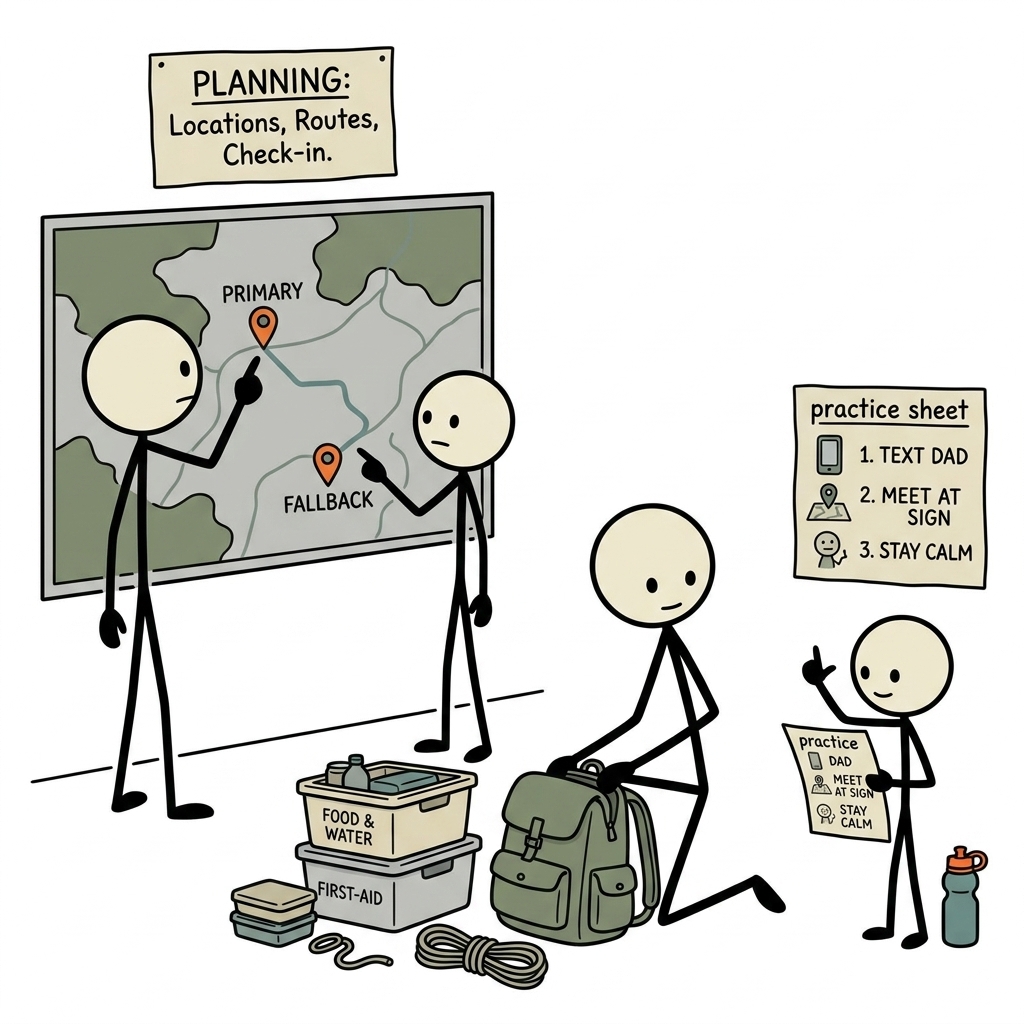
An effective family plan cannot rely on a single meeting location. Different disasters present different threats and geographic constraints. A house fire requires you to gather just yards from your front door, while a regional flood or wildfire may require you to evacuate miles away. To cover all scenarios, your family must establish a four-tiered system of meeting places.
Tier 1: The Immediate Safe Zone (Inside the Home)
This is your designated shelter-in-place location for rapid-onset events where leaving the structure poses a greater risk than staying inside. This is typically used during tornadoes, severe straight-line winds, extreme seismic activity, or active shelter-in-place orders (such as hazardous material spills).
- The Location: For tornadoes or high winds, this should be a windowless interior room on the lowest level of your home, such as a basement, storm cellar, or a reinforced closet or bathroom. For earthquakes, as advised by the United States Geological Survey (USGS), it is the space immediately adjacent to sturdy furniture where family members can "Drop, Cover, and Hold On."
- Child-Centric Prep: Ensure this space is stocked with a flashlight, a battery-powered NOAA weather radio, and a few comfort items like books or stuffed animals to reduce anxiety during a prolonged shelter-in-place event.
Tier 2: The Neighborhood Meeting Place (Immediate Exterior)
This location is designed specifically for sudden evacuations of the home itself, most commonly during a residential fire or a localized gas leak. It must be close enough to the home to reach in seconds, but far enough away to protect your family from smoke, heat, collapsing structures, and arriving emergency vehicles.
- The Location: Excellent choices include a specific neighbor's mailbox, a distinct street light at the end of the driveway, or a prominent, healthy tree on the edge of the property line. Avoid choosing parked cars, which may need to be moved, or locations that require crossing a busy street immediately upon exiting.
- The Golden Rule: Once a family member reaches this Tier 2 location, they must stay there. They must never, under any circumstances, re-enter a burning or compromised structure to look for others.
Tier 3: The Local Fallback Location (Out-of-Neighborhood)
This location is utilized when you cannot return to your neighborhood, or if your neighborhood is being evacuated but the surrounding town or city remains safe. This is crucial if a disaster occurs while parents are at work and children are at school or extracurricular activities, and the residential area is cordoned off by emergency personnel.
- The Location: Choose a public, easily recognizable landmark with indoor shelter, public restrooms, and access to landline communications. Excellent options include the local public library, a community recreation center, a trusted place of worship, or a specific park pavilion.
- Accessibility: Ensure the location is easily accessible by foot, bicycle, or public transit, in case vehicular travel is blocked by gridlock or road closures.
Tier 4: The Regional Fallback Destination (Out-of-Area)
For large-scale disasters—such as hurricanes, major wildfires, regional flooding, or widespread grid failures—you must have a destination outside of your immediate metropolitan area. This location serves as your ultimate evacuation point where the family can regroup and shelter for days or weeks.
- The Location: This is typically the home of a relative or close family friend living 50 to 100 miles away, outside of your local hazard zone. Alternatively, it can be a specific hotel in a designated distant town.
- Coordination: Ensure the hosts of your regional destination are fully aware of their status in your plan and have copies of your family's contact information and medical needs.
Mapping Your Routes: Primary and Fallback Paths
Choosing your destinations is only half the battle; you must also determine how you will get there. During an emergency, your standard daily commute route may be completely impassable due to accidents, rising floodwaters, downed power lines, or police blockades. Therefore, you must map out multiple paths to each of your Tier 3 and Tier 4 locations.
Start by analyzing your local geography through the lens of potential hazards. If you live in an area prone to flooding, consult the Federal Emergency Management Agency (FEMA) Flood Map Service Center to identify low-lying roads and underpasses that are likely to become inundated. As the National Oceanic and Atmospheric Administration (NOAA) repeatedly emphasizes, "Turn Around Don't Drown"—never plan a route that crosses a known flood zone or low-water crossing.
For seismic hazards, identify bridges, overpasses, and areas with tall buildings or heavy power infrastructure that could collapse and block your path. When planning evacuation routes, always establish a primary route and at least two alternative routes. Write these down on physical paper maps.
| Location Tier | Primary Route | Fallback Route A | Fallback Route B |
|---|---|---|---|
| Tier 3 (Local Library) | Main Street (Northbound) | Oak Avenue to 4th Street | Riverside Bike Path (Pedestrian/Bike only) |
| Tier 4 (Uncle's House - 60mi) | Interstate 80 West | State Route 6 (Scenic Highway) | County Road 12 to Highway 9 |
In our digital-first society, we have become dangerously dependent on GPS and turn-by-turn navigation apps. In a severe disaster, GPS signals can degrade, cell tower triangulation can fail, and your phone's battery will eventually die. Keep a physical road atlas or printed local maps in your vehicle's glove box and inside your family’s emergency go-bag essentials guides. Mark your primary and fallback routes clearly with highlighters, and teach your older children how to read these physical maps.
Establishing Bulletproof Check-In Rules and Communication Protocols
When a disaster occurs, the instinct to call loved ones is overwhelming. However, as noted, voice networks will quickly clog. To ensure your family can communicate their safety and coordinates without relying on fragile local voice channels, you must implement a structured communication protocol.
The "Text First, Call Second" Rule
The cellular industry and emergency management agencies advocate for SMS text messaging over voice calls during emergencies. Text messages require significantly less bandwidth than voice calls. While a voice call requires a continuous, stable connection, a text message is broken into small packets of data that can slip through congested networks when a brief window of bandwidth opens up. Teach your children that if they cannot get a call to go through, they should send a short, clear text message: "I am safe at [Location]. Battery at 80%. Will check in again at [Time]."
The Out-of-State Contact Strategy
During a localized disaster, local telecommunication switches are often overwhelmed by the sheer volume of local-to-local calls. However, long-distance lines frequently remain open and functional. By designating an "Out-of-State Contact"—a relative or friend living in a completely different region—you create a central communication hub for your family.
If you cannot reach your spouse or child directly, both you and your child will contact the designated out-of-state contact. For example, your child calls Aunt Sarah in Ohio to report they are safe at the local library. You then call Aunt Sarah, who relays the message to you. This simple, elegant strategy bypasses local network congestion and keeps everyone informed.
ICE Cards and Physical Credentials
Children cannot be expected to memorize multiple long-distance phone numbers, addresses, and medical details, especially when under severe stress. Every child should have a laminated Emergency Contact Card (often referred to as an ICE - In Case of Emergency card) tucked securely into their school backpack, their jacket pocket, or their wallet.
This card should contain:
- The child’s full name, date of birth, and any critical medical conditions or allergies.
- Full names and contact numbers for parents/guardians.
- The name, phone number, and location of your Out-of-State Contact.
- The exact names and addresses of your Tier 2, Tier 3, and Tier 4 meeting places.
The Ultimate Emergency Meeting Place Checklist
To ensure your locations are practical, safe, and resilient, use this comprehensive emergency meeting place checklist to evaluate each site you select. This checklist is a vital tool for your family's emergency meeting place emergency preparedness efforts.
📋 Emergency Meeting Place Checklist
- ⬜ Is the location recognizable? Can a young child easily identify it without needing a map or GPS?
- ⬜ Is it free of overhead hazards? Ensure there are no dead trees, hanging power lines, or unstable structures overhead.
- ⬜ Is it accessible 24/7? If it is a public building, is there an outdoor sheltered area where children can wait safely if the building is closed?
- ⬜ Are there multiple access routes? Can you reach the location from the north, south, east, and west?
- ⬜ Is it out of known hazard zones? Is the site located outside of local floodplains, landslide paths, or industrial runoff zones?
- ⬜ Does it have reliable shelter from the elements? Will your children be protected from extreme heat, freezing rain, or snow while they wait?
- ⬜ Is there a secondary backup location nearby? If the primary local meeting place is compromised, is there an obvious fallback nearby?
When evaluating these locations, physically walk or drive to them with your family. Do not simply look at a map and assume a location is suitable. A park that looks perfect on Google Maps might be fenced off, under construction, or populated by hazards that make it unsafe for a child to wait alone.
Practice Makes Prepared: Gamifying Drills with Children
Having a plan on paper is useless if it has never been put into practice. In a real emergency, panic can cause children to forget verbal instructions. True safety lies in muscle memory, which is built through physical repetition and practice. However, it is crucial to approach these drills in a way that empowers children rather than terrifying them.
Gamifying the Drills
Frame emergency drills as a fun, family challenge rather than a frightening Survival Scenarios. Children respond incredibly well to gamification. For example, you can run a "Fire Drill Challenge" where you set a timer and see if the family can exit the house and gather at the Tier 2 meeting place (the mailbox) in under two minutes. Celebrate their success with a small treat or reward.
For older children, turn route-planning into a scavenger hunt. Give them a physical map and ask them to navigate the family to the Tier 3 local fallback location without using their smartphones. This builds critical navigation skills and boosts their confidence, making them active participants in their own safety rather than passive observers.
Age-Appropriate Training Strategies
Tailor your drills to the developmental level of your children:
- Toddlers and Preschoolers (Ages 2-5): Focus on simple, concrete concepts. Teach them to recognize the uniforms of first responders (firefighters, police officers, paramedics) so they know who to trust. Use simple songs or rhymes to help them memorize their first and last names and the name of their primary meeting place.
- Elementary Schoolers (Ages 6-10): This age group can understand the multi-tiered location system. Practice the "Text First" rule with them on a dummy phone or their own devices. Have them practice retrieving their emergency contact cards from their backpacks and explaining what they would do if they were separated from you at school.
- Middle and High Schoolers (Ages 11-18): Involve teenagers in the actual planning process. Assign them responsibilities, such as being in charge of the family pet's evacuation kit, or monitoring the NOAA weather radio during a drill. Ensure they know how to shut off utilities (gas, water, electricity) at the main valves if required.
The "Unannounced" Drill
Once your family has mastered scheduled drills, introduce the "unannounced" drill. Pick a random Saturday afternoon, or a quiet evening, and announce: "Scenario: The power is out, and we cannot use our phones. Where do we meet?" Observe how your children react. Do they locate their emergency cards? Do they head toward the correct designated area? Use any mistakes as a constructive learning opportunity to refine your plan.
Conduct these drills at least twice a year. A great way to remember is to schedule your family emergency drills on the weekends when you change your clocks for Daylight Saving Time. This aligns perfectly with the standard safety recommendation to check and replace the batteries in your home smoke and carbon monoxide detectors.
Integrating with School and Caregiver Plans
Your family plan does not exist in a vacuum. Your children spend a significant portion of their week at school, daycare, or after-school programs. It is vital that your family's emergency meeting place emergency preparedness strategy aligns with the emergency protocols of these external organizations.
At the start of every school year, request a copy of your child's school real-world emergency scenarios guide plan. Specifically, ask about their "Reunification Plan." If the school must evacuate to an off-site location due to a threat, where will that location be? How will parents be notified, and what credentials must you present to claim your child? Write this designated school reunification site down on your master family plan.
Additionally, ensure that any babysitters, grandparents, or neighbors who regularly care for your children are fully briefed on your family's emergency protocols. Provide them with a copy of your emergency contact cards and walk them through your Tier 2 and Tier 3 meeting places. If a crisis occurs while a caregiver is in charge, they must be able to seamlessly execute your family's plan.
Final Thoughts: Empowerment Through Preparation
True emergency preparedness is not about living in fear or preparing for an apocalyptic wasteland; it is about reclaiming control over the unpredictable. By taking the time to sit down with your family, identify your primary and fallback locations, map out resilient routes, establish clear communication rules, and practice them until they become second nature, you are giving your children an invaluable gift: the gift of calm confidence. When a crisis inevitably comes, your family will not be paralyzed by panic. Instead, you will act with purpose, precision, and the comforting knowledge that you know exactly how to find your way back to one another.
Frequently Asked Questions
What should a emergency meeting place plan include?
Start with the immediate safety steps, the supplies and records your household needs, a communication plan, and a regular review schedule. Follow local official guidance during an active emergency.
How often should I review emergency meeting place preparations?
Review them at least twice a year and whenever your household, medication, location, or local risks change. Replace expired supplies and practice key steps.
Where can I find reliable emergency guidance?
Use local emergency management alerts and established public-health or emergency-management agencies. A blog guide should support, not replace, official real-time instructions.