⚡ Key Facts
- High Prevalence in the Wild: According to Wilderness Medical Society (WMS) data, extremity trauma and fractures account for approximately 10% to 15% of all search and rescue (SAR) evacuations globally. For the practical checklist side, use the community emergency preparedness guide.
- Critical Window of Care: The American Red Cross emphasizes that checking and maintaining proper distal circulation (CSM) before and after splinting reduces the risk of permanent nerve damage and tissue ischemia by over 80%. For the practical checklist side, use the neighborhood preparedness network.
- Infection Risks: The Centers for Disease Control and Prevention (CDC) notes that open fractures have an infection rate as high as 30% if wound debridement and stabilization are delayed beyond the first 6 hours. For the practical checklist side, use the emergency communication plan.
- Improvised Success: FEMA emergency training manuals confirm that over 90% of non-urban extremity fractures can be successfully stabilized using standard outdoor gear like trekking poles, foam pads, and duct tape. For the practical checklist side, use the family emergency planning guide.
Imagine you are deep in the backcountry, miles from the nearest trailhead, when a sudden slip on a wet granite ledge changes everything. A sharp, sickening crack is followed by immediate, agonizing pain in your partner's lower leg. The bone is visibly deformed, swelling is setting in rapidly, and your cell phone has no signal. In remote environments, an unstable bone fracture is not just a painful injury—it is a life-threatening emergency that can lead to severe internal bleeding, permanent nerve damage, or systemic shock. When professional rescue is hours or days away, knowing how to perform field fracture splinting using only the gear on your back is the difference between a successful rescue and a tragic outcome.
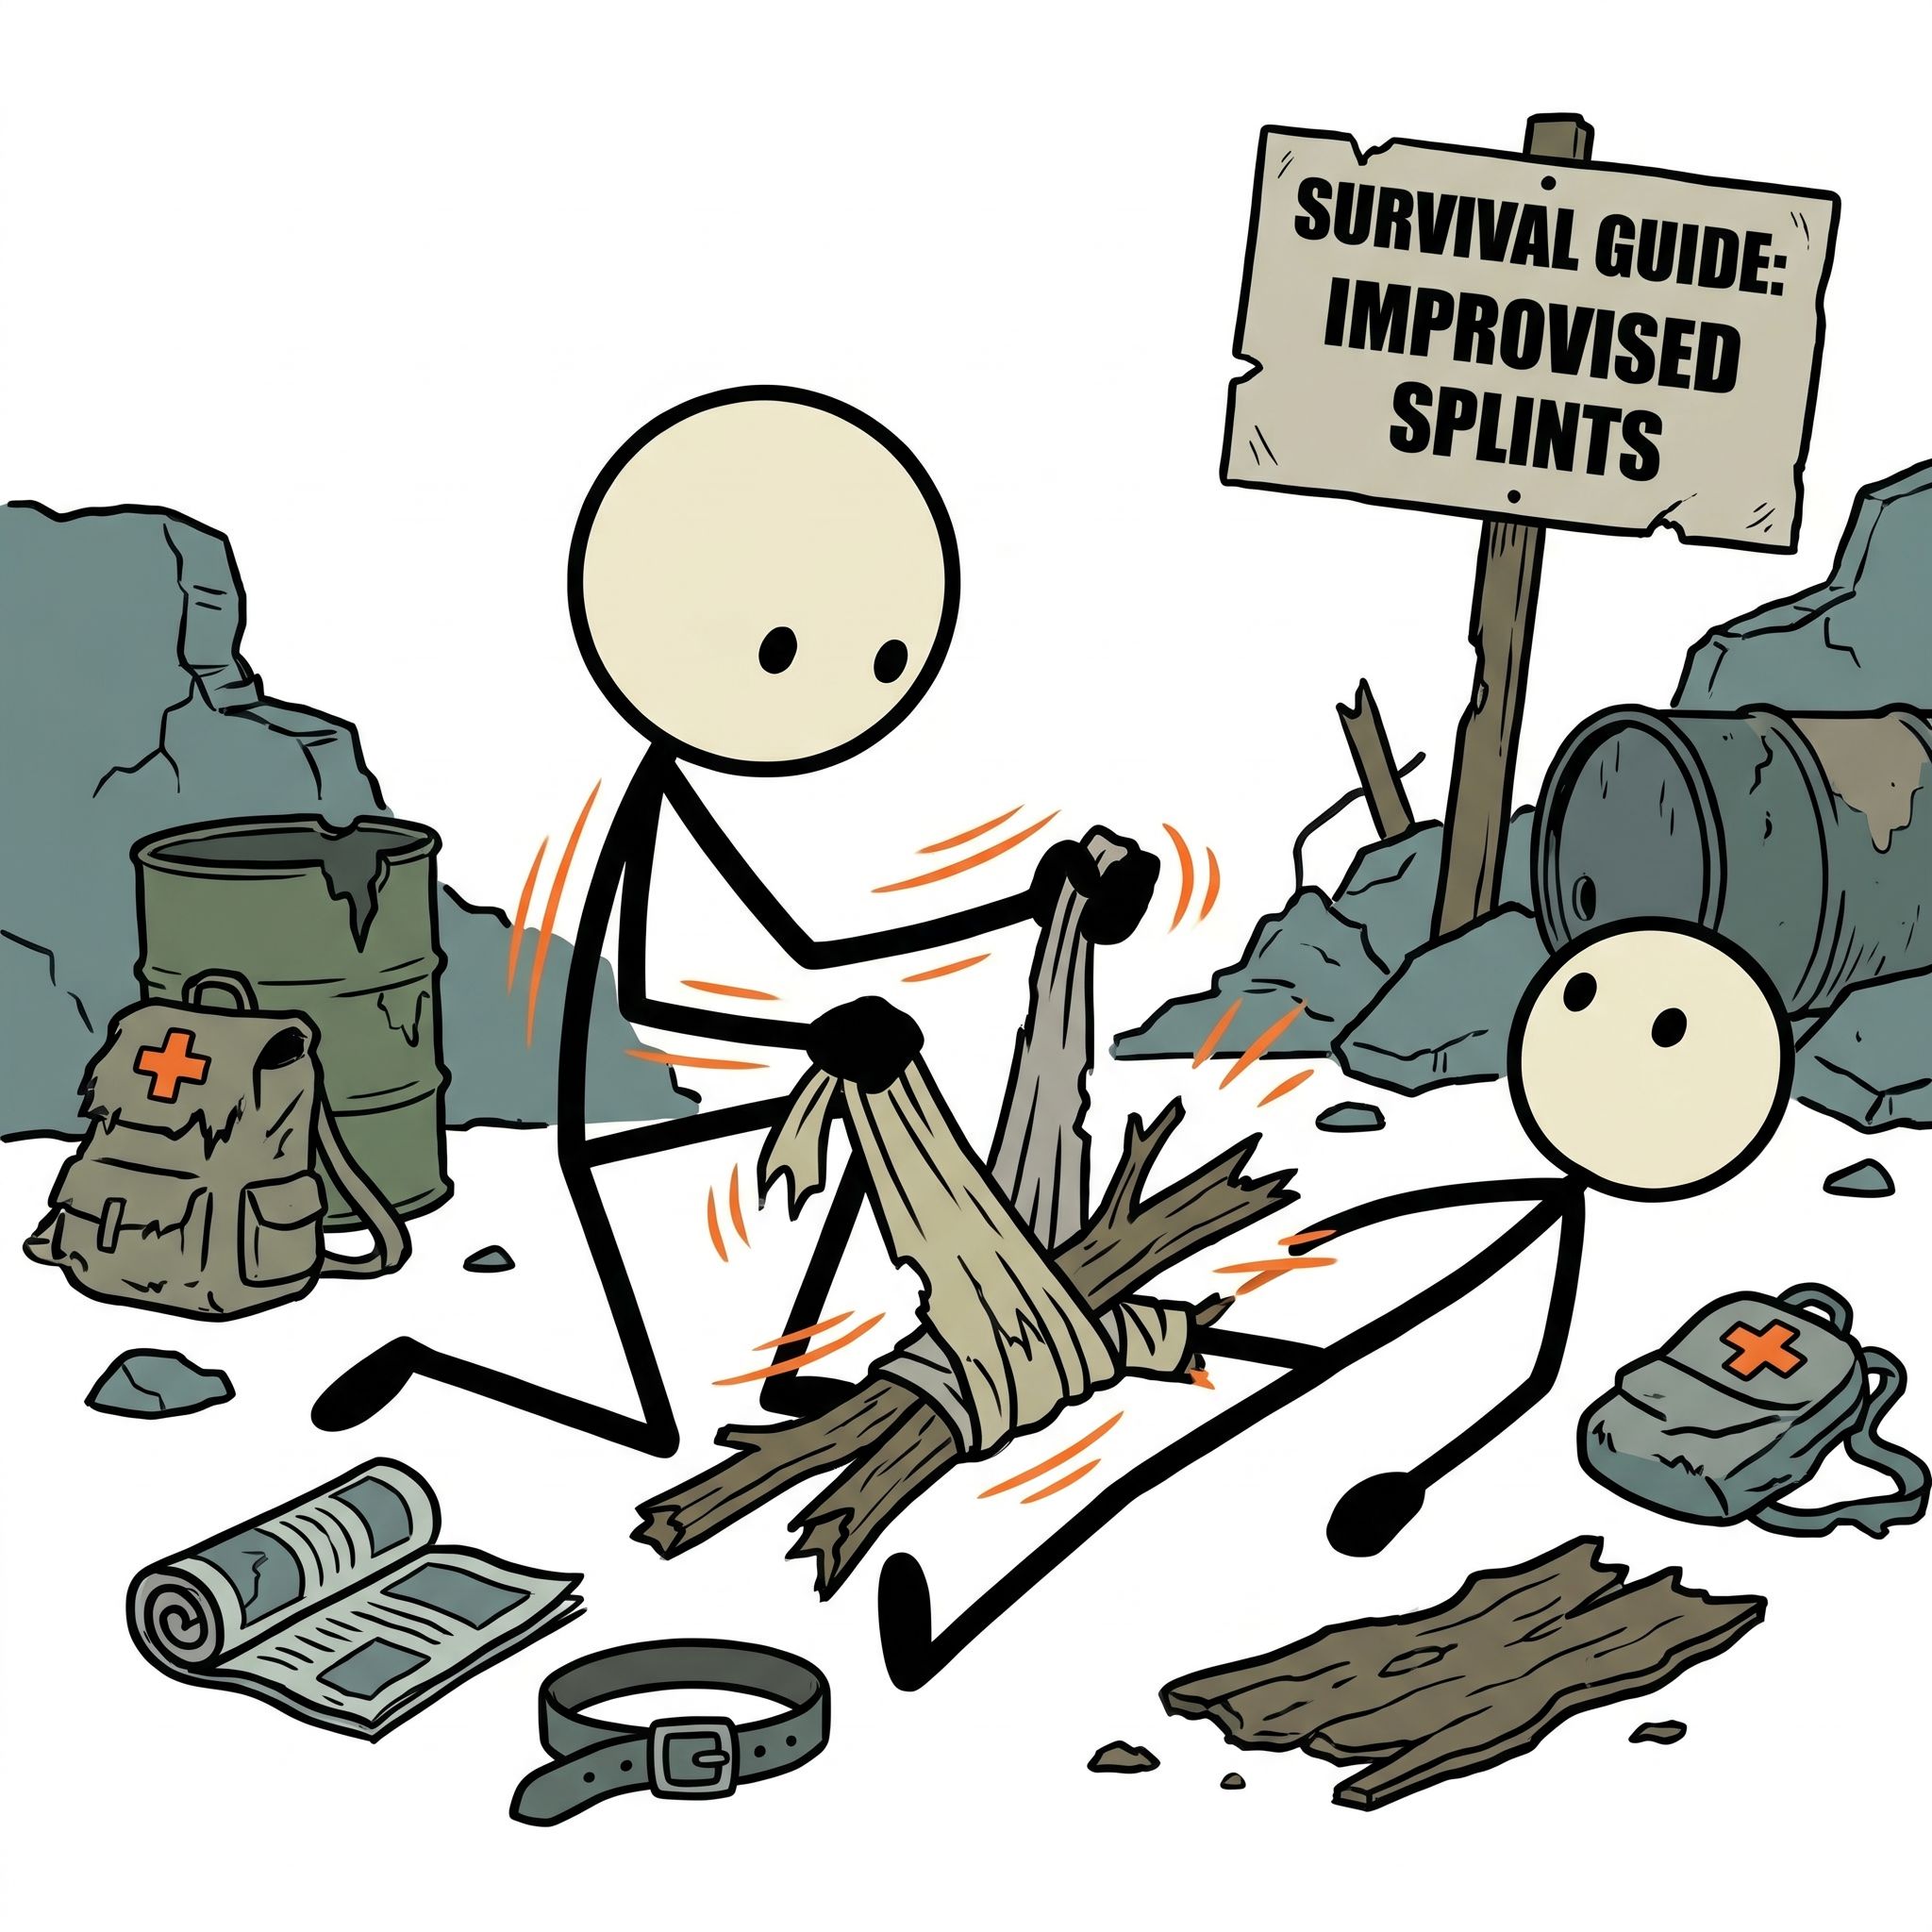
The High Stakes of Wilderness Orthopedic Injuries
In a modern hospital, a bone fracture is treated with digital X-rays, sterile operating rooms, and orthopedic casts. In the wilderness, however, you must adapt to a hostile environment where your primary goal is stabilization, not correction. The National Park Service (NPS) reports that falls are the leading cause of search and rescue incidents in the United States. When a bone breaks, the sharp, fractured edges can slice through surrounding muscles, tendons, blood vessels, and nerves like a scalpel every time the limb moves.
Understanding first aid for broken bones in a remote setting requires a shift in mindset. You are not trying to "set" or heal the bone; you are attempting to prevent further tissue destruction, mitigate agonizing pain, and preserve distal blood flow. Uncontrolled movement of a fractured femur, for example, can cause lacerations to the femoral artery, leading to rapid, fatal internal hemorrhaging. Proper emergency fracture stabilization isolates the injured area, preventing these catastrophic secondary complications while you prepare for evacuation.
Closed vs. Open Fractures
Before touching the patient, you must identify the type of fracture you are dealing with:
- Closed Fracture: The bone is broken, but the skin remains intact. While less prone to immediate infection, closed fractures can still cause massive internal bleeding and swelling that can compromise blood flow (known as compartment syndrome).
- Open (Compound) Fracture: The broken bone has pierced through the skin, or an external wound communicates directly with the bone break. This is a high-priority emergency due to the risk of severe external bleeding and deep bone infection (osteomyelitis).
Immediate Assessment: The "Look, Feel, Move" Protocol
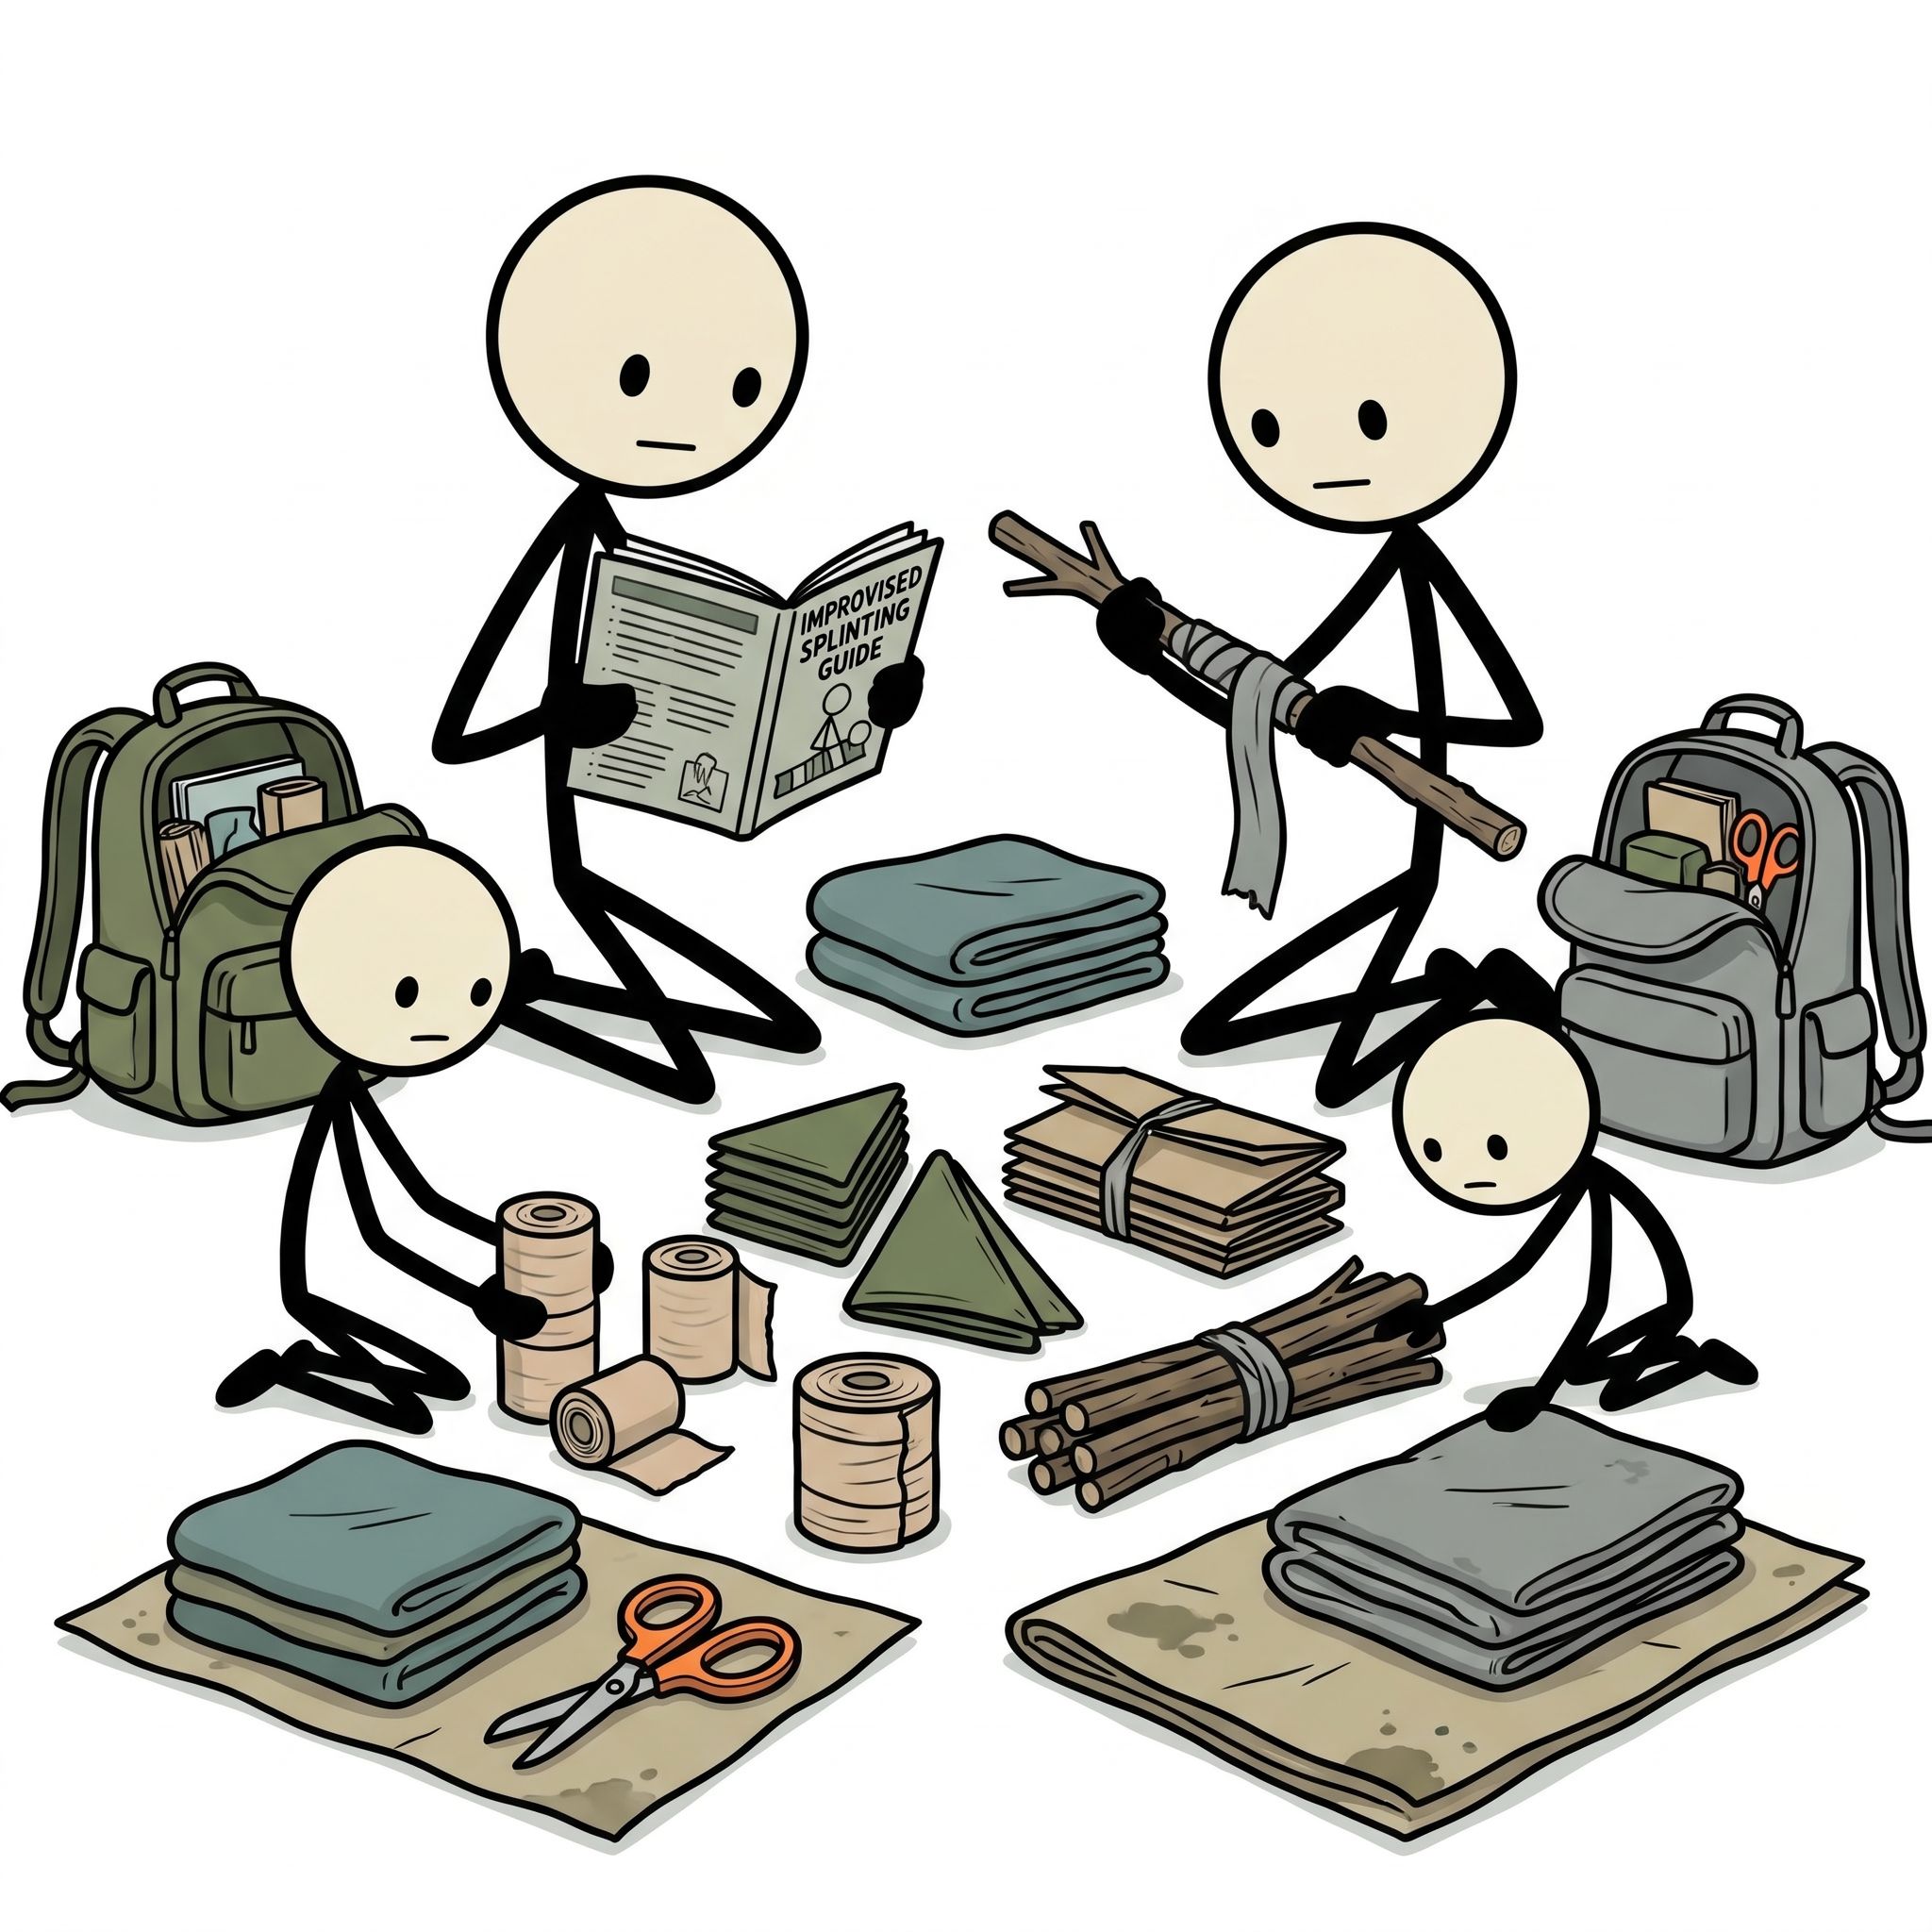
Before attempting an improvised splint wilderness application, you must conduct a rapid but thorough assessment. Never rush into splinting without evaluating the patient's overall systemic stability. Treat life-threatening issues first, such as airway blockages or massive arterial bleeding, using the standard MARC (Massive Hemorrhage, Airway, Respiration, Circulation) protocol.
Once systemic threats are managed, focus on the injured limb using the Look, Feel, Move framework recommended by emergency medicine wilderness registries:
- Look: Expose the injured limb completely by cutting or gently rolling up clothing. Inspect for deformity, swelling, bruising, open wounds, bone protrusions, or active bleeding. Compare the injured limb to the uninjured limb to assess the degree of anatomical distortion.
- Feel: Gently palpate the area starting several inches away from the suspected break and moving toward it. Feel for localized tenderness, heat, swelling, and crepitus (a crunching or grinding sensation caused by bone fragments rubbing together). Do not aggressively manipulate the limb to elicit crepitus.
- Move: Ask the patient if they can gently wiggle their fingers or toes. Do not attempt to force the patient to move the joint adjacent to the fracture, as this will cause extreme pain and potential tissue damage.
The CSM Protocol: The Golden Rule of Splinting
Before you apply any splint, and immediately after you finish, you must check CSM: Circulation, Sensation, and Motion. This is the gold standard for monitoring the neurological and vascular health of an injured extremity.
| CSM Component | How to Assess (Upper Extremity) | How to Assess (Lower Extremity) | Red Flags / Danger Signs |
|---|---|---|---|
| Circulation | Feel for the radial pulse at the wrist; check capillary refill in the fingernails (should return to pink within 2 seconds). | Feel for the dorsalis pedis pulse on top of the foot or the posterior tibial pulse behind the ankle; check toe capillary refill. | Cold, pale, or blue skin; absent pulses; capillary refill time greater than 3 seconds. |
| Sensation | Ask the patient to close their eyes. Pinch the tip of the pinky finger (ulnar nerve) and index finger (median nerve). Ask if they can feel it. | With the patient's eyes closed, pinch the big toe (peroneal nerve) and the bottom of the foot (tibial nerve). Ask if they feel the touch. | Numbness, tingling, a "pins and needles" sensation, or complete loss of feeling. |
| Motion | Ask the patient to make a fist, spread their fingers, or give a "thumbs up." | Ask the patient to flex their foot upward (dorsiflexion) and press down like a gas pedal (plantarflexion). | Inability to move digits, or movement that triggers excruciating muscle spasms. |
The Anatomy of an Improvised Splint
To build an effective improvised splint wilderness solution, you do not need medical-grade equipment. You need to understand the structural physics of immobilization. A secure, functional splint relies on three core components: rigid supports, soft padding, and securing wraps.
1. Rigid Supports (The Skeleton)
The rigid component provides the structural integrity that prevents the bone from bending or rotating. In the field, look for straight, stiff objects that can span the length of the injured bone and the joints above and below it. Excellent improvised rigid supports include:
- Trekking poles (collapsible or fixed)
- Sturdy, straight tree branches
- Internal or external backpack frame stays
- Tent poles (bound together for strength)
- A rolled-up sleeping pad (Therm-a-Rest or closed-cell foam)
- A rifle barrel or camp shovel handle (in extreme Survival Scenarioss)
2. Soft Padding (The Cushion)
Rigid materials placed directly against bare skin will quickly cause severe pain, tissue ischemia, and pressure sores. You must pad the entire length of the splint, paying extra attention to bony prominences (such as the ankles, knees, elbows, and wrists). Use soft, compressible gear:
- Puffy down jackets or fleece sweaters
- Wool socks or spare base layers
- Sleeping bag compression sacks stuffed with dry leaves or moss
- Inflatable camp pillows
3. Securing Wraps (The Binding)
The securing mechanism holds the rigid support and padding tightly against the limb. It must be adjustable, strong, and wide enough to distribute pressure evenly without cutting off circulation. Avoid thin cords like raw paracord or wire directly against the skin, as they act like tourniquets. Instead, use:
- Elastic bandages (Ace wraps)
- Triangular bandages (bandanas or shemaghs)
- Duct tape (applied over clothing or padding, never directly to skin)
- Backpack compression straps or utility webbing
- Torn strips of clothing or bedsheets
Step-by-Step Guide: How to Splint a Broken Bone
When learning how to splint a broken bone, remember this cardinal rule: Splint the limb in the position of function, and immobilize the joint above and the joint below the fracture. For example, if the forearm is broken, you must immobilize both the wrist and the elbow. If the lower leg (tibia/fibula) is broken, you must immobilize both the ankle and the knee.
Step 1: Prepare the Patient and the Limb
Calm the patient down and explain what you are going to do. Instruct them to remain completely still. If the limb is severely deformed and distal circulation is absent (cold, blue hand or foot), you may need to perform a gentle, manual "in-line traction" to realign the limb into an anatomical position before splinting. Pull gently and steadily along the long axis of the limb. If the patient experiences a massive increase in pain, or if you meet physical resistance, stop immediately and splint the limb in the deformed position.
Step 2: Measure and Fit the Splint
Measure your rigid supports against the patient's uninjured limb. This prevents unnecessary movement and pain on the injured side during the fitting process. Ensure the rigid supports are long enough to span the joints above and below the fracture site.
Step 3: Apply Ample Padding
Wrap the injured limb in soft clothing or foam padding. Fill any natural anatomical voids, such as the space behind the knee, under the ankle, or in the palm of the hand. Adequate padding prevents localized pressure points that can cause skin necrosis within hours.
Step 4: Position the Rigid Supports
Place your prepared rigid supports on opposite sides of the limb (e.g., medial and lateral sides of the leg, or anterior and posterior sides of the arm). This creates a structural "sandwich" that prevents lateral and rotational movement.
Step 5: Secure the Splint in Place
Using your securing wraps, tie or tape the rigid supports to the padded limb. Begin wrapping distal to proximal (from the fingers/toes upward toward the torso). This helps promote venous blood return and prevents fluid from pooling in the extremity.
- Do not tie directly over the fracture site. Place your ties several inches above and below the break.
- Keep fingers and toes exposed. You must leave the tips of the digits visible so you can continuously monitor capillary refill and temperature.
- Use square knots. When using bandanas or straps, tie them with secure, easily adjustable knots on the outer, rigid side of the splint—never directly over the bone.
Step 6: Reassess CSM
Immediately after securing the splint, recheck the distal pulse, sensation, and motor function. If the patient reports increased numbness, or if the capillary refill time slow down, the splint is too tight. Loosen the securing wraps slightly and retest.
Specific Splinting Techniques for Different Extremities
Different bones require distinct geometric configurations for proper emergency fracture stabilization. Below are the most common wilderness fracture scenarios and how to address them.
1. Forearm and Wrist Fractures (The Sugar-Tong Splint)
A fall on an outstretched hand (FOOSH) often results in a Colles' fracture of the radius and ulna. To stabilize this:
- Place the patient's elbow at a 90-degree angle, with the thumb pointing up toward the sky (the position of function).
- Construct a "sugar-tong" splint using a pliable material like a SAM splint or a heavily padded, U-shaped branch that wraps around the elbow, running up both sides of the forearm to the knuckles.
- Secure the splint with an elastic bandage or duct tape.
- Apply a sling to support the weight of the arm, and a "swathe" (a wide band wrapped around the chest and arm) to prevent the shoulder from moving.
2. Lower Leg Fractures (Tibia/Fibula)
A broken lower leg is a non-weight-bearing injury that requires robust stabilization to allow for evacuation.
- The Sleeping Pad Method: A closed-cell or semi-inflated foam sleeping pad is the ultimate tool for lower leg fractures. Wrap the pad snugly around the leg from the foot to above the knee, creating a rigid "cylinder" or "boot."
- Secure the pad with at least four or five utility straps or bandanas.
- If a sleeping pad is unavailable, place two sturdy trekking poles or thick branches on either side of the leg. Pad the space between the poles and the leg thoroughly, then secure the structure.
- Bind the injured leg to the uninjured leg (anatomical splinting) to provide additional stability during transport.
3. Shoulder and Clavicle Injuries
Fractures of the collarbone (clavicle) or shoulder dislocations do not require heavy rigid splints. Instead, they require immobilization against the torso.
- Place the patient's hand of the injured side on their opposite shoulder.
- Apply a standard triangular sling to support the elbow and forearm.
- Wrap a wide swathe (a shemagh or jacket) around the patient's chest and the injured arm, locking the arm flat against the ribs to eliminate rotational movement.
Managing Open (Compound) Fractures in Remote Environments
An open fracture is a medical nightmare in the wilderness. The presence of an open wound bone protrusion exponentially increases the risk of deep bacterial infection, which can lead to sepsis. If you are dealing with an open fracture, modify your treatment protocol as follows:
- Control Bleeding First: Apply direct pressure to the wound using sterile gauze. If bleeding is arterial and uncontrollable, apply a tourniquet high and tight on the limb immediately.
- Irrigate the Wound: Cleanliness is vital. If you have clean, potable water (ideally sterile saline), flush the wound thoroughly to remove dirt, debris, and organic matter. Do not use harsh chemicals like iodine or alcohol directly inside a deep wound, as this damages living tissue.
- Do Not Force Bone Back In: If bone ends are protruding, do not attempt to push them back beneath the skin. However, during gentle alignment or traction, if the bone naturally slips back into the wound, document this clearly for the search and rescue medical team.
- Dress the Wound: Cover the exposed bone and wound with a moist, sterile dressing before applying the splint. Never wrap a splint directly over an open, untreated wound.
The Improvised Materials Matrix
When you are miles from civilization, you must look at your outdoor gear through a clinical lens. The table below outlines how to convert standard backpacking and survival gear into high-performance medical stabilization tools.
| Outdoor Gear Item | Medical Function | Application Tips | |
|---|---|---|---|
| Trekking Poles | Rigid lateral/medial supports | Collapse to the correct length; remove wrist straps; wrap with clothing to protect skin. | Excellent for tibia, fibula, and femur stabilization. |
| Foam Sleeping Pad | Anatomical wrap-around splint | Cut to size if necessary, or fold into a double-layered cylinder. Semi-inflated air pads can also work but are prone to puncturing. | Highly effective for ankles, knees, and forearms. |
| Internal Frame Stays | Malleable metal splinting | Remove the aluminum stays from the back panel of your backpack. Bend them to match the contours of the patient's limb. | Perfect substitute for a commercial SAM splint. |
| Bandanas / Shemaghs | Slings, swathes, and securing ties | Fold diagonally to create a triangular bandage. Tie knots away from the bone. | Essential for upper extremity immobilization. |
| Duct Tape | Structural binding agent | Apply over clothing, foam, or bandages. Never apply directly to skin, as removing it will cause further trauma. | Provides rigid, non-slip tension to hold splint components together. |
Critical Mistakes to Avoid in Field Fracture Splinting
Even well-intentioned rescuers can make errors that exacerbate an orthopedic injury. When performing first aid for broken bones, avoid these common pitfalls:
- Splinting Too Tight: The injured limb will continue to swell. A splint that fits perfectly at first can quickly become a tourniquet, cutting off arterial blood flow. Always recheck CSM every 15 to 30 minutes.
- Neglecting to Pad Bony Prominences: Unpadded wood or metal resting against the ankle bone or elbow will cause excruciating pain and skin ulcers within hours, complicating the patient's recovery.
- Attempting to "Pop" Joints Back in Place: Unless you have specific medical training and distal circulation is completely lost, do not attempt to reduce dislocated joints (especially hips or elbows), as you can pinch major nerves and arteries.
- Securing the Splint Directly Over the Fracture: Placing ties directly over the break applies downward pressure onto the broken bone fragments, causing severe pain and potential tissue damage.
- Allowing the Patient to Bear Weight: Even a perfectly splinted leg, ankle, or foot should never bear weight. The splint is designed for stabilization during passive transport or rescue, not for hiking out under the patient's own power.
Evacuation Decisions: When to Call for Helicopter Rescue
Once the limb is stabilized and the patient's pain is managed, you face a critical decision: should you attempt to walk/carry the patient out, or should you activate an emergency beacon and wait for Search and Rescue?
According to FEMA and wilderness medicine protocols, you must initiate an emergency evacuation (such as activating a PLB/satellite messenger or calling for a helicopter) if the patient exhibits any of the following:
- An open (compound) fracture of any major bone.
- An unstable pelvis or femur fracture (both are life-threatening due to potential internal blood loss).
- A complete loss of distal pulse, cold extremity, or blue skin that does not return after a gentle alignment attempt.
- Signs of systemic shock (rapid heart rate, pale/clammy skin, confusion, rapid breathing).
- The fracture is accompanied by other severe injuries, such as a head injury or spinal trauma.
If the injury is an isolated, closed upper-extremity fracture (such as a wrist or forearm break), and the patient is fully ambulatory, you can often safely hike them out to the trailhead, provided the arm is securely splinted, slung, swathed, and their pain is under control.
Building a Culture of Self-Reliance
In the wilderness, help is not a phone call away. Survival is not determined by the high-tech gear you carry, but by your ability to apply basic physical and medical principles using the simple tools at your disposal. Mastering the art of field fracture splinting transforms panic into structured, effective action. By understanding how to assess injuries, construct rigid supports, pad vulnerable tissues, and continuously monitor distal circulation, you protect your companions and ensure that a sudden accident on the trail remains a manageable challenge rather than a backcountry tragedy. Stay prepared, stay calm, and carry the knowledge that keeps you self-reliant when it matters most.
Frequently Asked Questions
What is the primary goal of splinting a fracture in the field?
The primary goal is to immobilize the injured limb, which reduces pain and prevents further damage to surrounding muscles, nerves, and blood vessels during transport.
How do you choose materials for an improvised splint?
Use rigid items like branches, boards, or trekking poles for support, and soft materials like clothing, towels, or blankets for padding to prevent pressure sores.
Should you try to realign or straighten a deformed broken bone?
No, do not attempt to realign or push a bone back into place. Splint the limb in the exact position it was found to avoid causing severe nerve or vascular damage.
How tight should you tie the splint bindings?
Bindings should be snug enough to prevent movement but loose enough to maintain blood circulation. Always check for a pulse, warmth, and sensation below the splint.
What should you do if it is an open (compound) fracture?
Control bleeding by applying gentle pressure around the wound, cover the exposed bone with a clean or sterile dressing, and splint the limb without touching or pushing the bone.