⚡ Key Facts
- Delayed Response Times: According to FEMA, during wide-scale natural disasters or civil infrastructure failures, emergency medical services (EMS) response times can surge from an average of 8 minutes to several hours, or even days. For the practical checklist side, use the community emergency preparedness guide.
- The Bleeding Timeline: The American College of Surgeons (ACS) "Stop the Bleed" initiative notes that a person with a severed major artery can bleed to death in as little as 3 to 5 minutes, long before help can arrive in a disaster. For the practical checklist side, use the neighborhood preparedness network.
- Preventable Trauma Deaths: Data from the Wilderness Medical Society (WMS) indicates that up to 80% of preventable trauma deaths in austere environments are caused by three treatable issues: massive extremity hemorrhage, tension pneumothorax, and airway obstruction. For the practical checklist side, use the emergency communication plan.
- The Lethal Triad: The Centers for Disease Control and Prevention (CDC) warns that hypothermia can develop in trauma patients even in warm weather, triggering a metabolic cascade (acidosis and coagulopathy) that drastically reduces survival rates.
Imagine a severe weather event—a Category 4 hurricane or an EF4 tornado—striking your community. The power grid is offline, roads are choked with debris, and trees block every major transportation artery. Suddenly, a family member sustains a deep laceration from flying debris or a crushing injury from a structural collapse. You dial 911, only to hear a busy signal or a recorded dispatcher informing you that emergency services cannot deploy due to unsafe conditions. This is the reality of a grid down emergency medical scenario. When the traditional safety net of modern healthcare fails, you must transition from a passive bystander to an active medical provider. This guide provides the clinical, battle-tested protocols necessary to manage life-threatening trauma and navigate emergency medicine without ems.
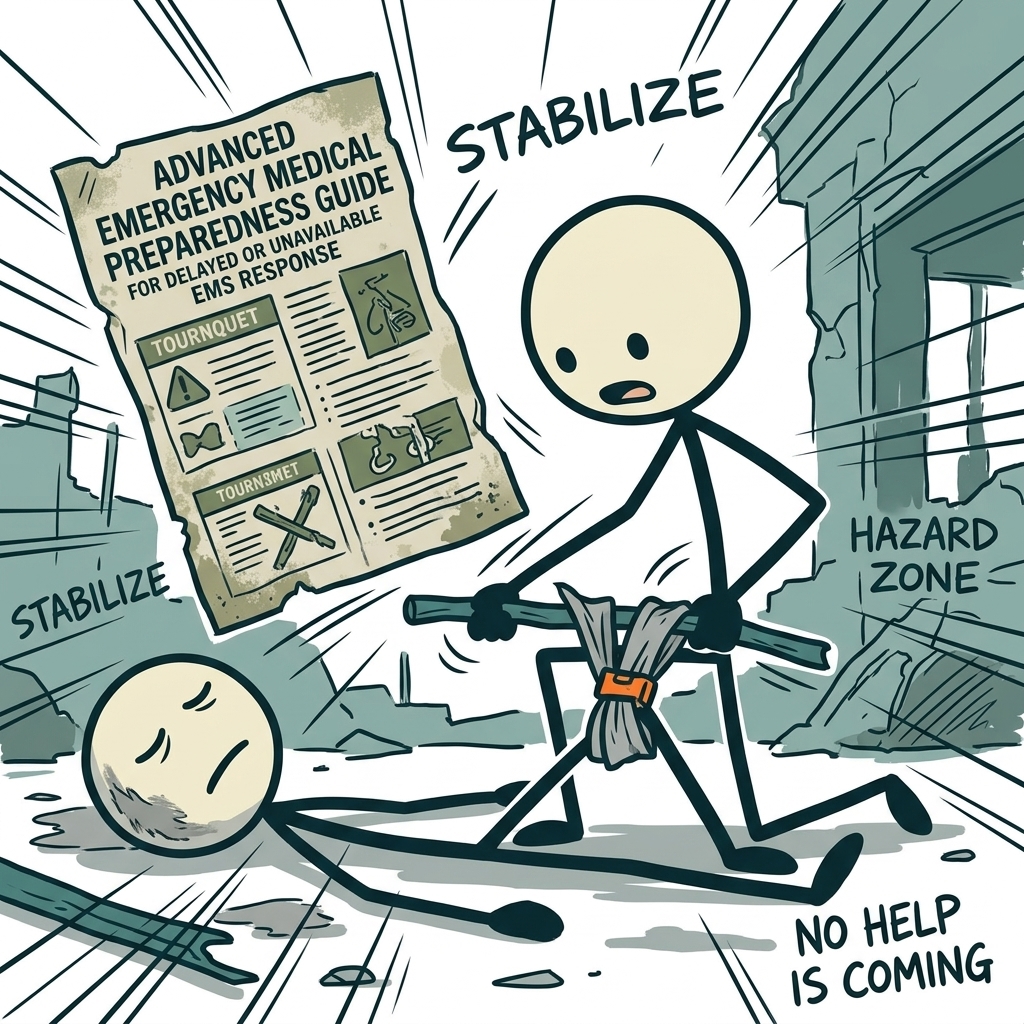
The Paradigm Shift: Transitioning to Austere Medical Care
In a standard urban setting, first aid is designed around the "Golden Hour"—the window of time during which a patient must reach a definitive care facility (a hospital) to maximize their chances of survival. Standard first aid courses teach you to stabilize a patient for 10 to 15 minutes until paramedics arrive. However, in a prolonged disaster, this model breaks down completely. You must adopt the principles of Prolonged Field Care (PFC), a discipline developed by military and wilderness medical professionals for scenarios where evacuation is delayed by hours or days.
To succeed in advanced first aid grid down scenarios, you must shift your mindset from "stabilize and wait" to "treat, monitor, and sustain." This requires a systematic approach to assessment and treatment. Without a structured protocol, cognitive overload will cause you to miss subtle, life-threatening changes in your patient's condition. The standard medical framework for this is the MARCH PAWS protocol, a tactical casualty care algorithm adapted here for civilian disaster response.
Massive Hemorrhage Control: Stopping the Clock
When dealing with severe injury real-world Survival Scenarioss guide, bleeding control is your absolute first priority. Airway management and CPR are useless if the patient has no circulating blood volume left to oxygenate. Massive arterial bleeding must be addressed within seconds.
The MARCH Protocol: Prioritizing the Killers
The military's Tactical Combat Casualty Care (TCCC) guidelines use the MARCH acronym to prioritize treatment. You must address injuries in this exact order:
- M - Massive Hemorrhage: Control life-threatening bleeding immediately.
- A - Airway: Establish and maintain a patent airway.
- R - Respiration: Treat open chest wounds and identify tension pneumothorax.
- C - Circulation: Assess perfusion, manage pelvic fractures, and prevent shock.
- H - Hypothermia/Head: Prevent heat loss and assess for traumatic brain injury (TBI).
Tourniquet Application: Myths vs. Reality
For decades, outdated first aid manuals taught that tourniquets were a tool of last resort that would inevitably lead to limb amputation. Modern medical consensus, backed by the American Red Cross and the military, has thoroughly debunked this myth. A properly applied commercial tourniquet—such as the Combat Application Tourniquet (CAT) or the SOF Tactical Tourniquet (SOFTT-W)—can remain in place for up to two hours with virtually zero risk of nerve or tissue damage, and can remain for up to six hours if necessary to save a life.
When applying a tourniquet, adhere to the following clinical guidelines:
- Placement: If the source of the bleeding is not immediately clear (such as in low-light conditions or through thick clothing), apply the tourniquet "high and tight" on the injured limb, as high up on the arm or leg as possible. If the wound is clearly visible, place the tourniquet 2 to 3 inches above the wound, directly on the skin. Never place a tourniquet directly over a joint (like the knee or elbow) or over a pocket containing bulky items.
- Tightness: Tighten the windlass until the bright red, spurting bleeding stops and the distal pulse (radial pulse for arms, pedal pulse for legs) is completely eliminated. If the first tourniquet fails to control the bleeding, apply a second tourniquet immediately adjacent to and above the first one.
- Documentation: Write the exact time of application on the tourniquet's time strap or directly on the patient's forehead using a permanent marker. This is vital information for downstream medical providers.
Wound Packing and Hemostatic Agents
Tourniquets only work on extremities. If a patient is bleeding heavily from a junctional area—such as the groin, armpit (axilla), or neck—you cannot use a tourniquet. Instead, you must perform wound packing. This technique is critical for effective trauma care no hospital environments.
To pack a wound, use a sterile hemostatic gauze (such as QuikClot, Celox, or Chitogauze) which contains agents that actively promote blood clotting. If hemostatic gauze is unavailable, use standard compressed gauze or clean cotton cloth. Locate the bleeding vessel inside the wound cavity with your finger. Feed the gauze tightly into the wound, packing it directly against the source of the bleeding. Continue packing until the entire cavity is filled and tightly packed. Once packed, apply continuous, direct, two-handed pressure to the wound for at least three minutes (for hemostatic gauze) or ten minutes (for standard gauze). Do not release pressure to "check" the wound; keep constant weight on it.
Airway and Respiration: Securing the Breath of Life
Once massive bleeding is controlled, you must secure the patient's airway. An unconscious patient's tongue can easily relax and block the back of their throat, leading to asphyxiation in minutes.
Recognizing and Clearing Obstructions
Begin by assessing the patient's airway. If they are speaking normally, their airway is patent. If they are unconscious, snoring, gurgling, or gasping, their airway is compromised. Use the following steps to clear it:
- Postural Maneuvers: If you do not suspect a spinal cord injury, perform the Head-Tilt/Chin-Lift maneuver to pull the tongue away from the back of the throat. If you suspect a spinal injury (e.g., after a fall or car crash), use the Jaw-Thrust maneuver to open the airway without moving the neck.
- Manual Clearance: Roll the patient onto their side (the recovery position) and sweep the mouth with a gloved finger to clear out blood, vomit, teeth, or foreign debris.
Advanced Airway Adjuncts
In a prolonged grid down emergency medical scenario, you cannot sit and hold a patient's jaw open indefinitely. You need an airway adjunct. The safest and most effective tool for lay responders is the Nasopharyngeal Airway (NPA).
An NPA is a soft, flexible tube inserted through the nose into the posterior pharynx. It is highly tolerated by patients, even those who are semi-conscious and have an active gag reflex (unlike an Oropharyngeal Airway, or OPA, which will induce vomiting). To insert an NPA:
- Sizing: Measure the NPA from the tip of the patient's nose to the earlobe. Choose a diameter that matches the thickness of the patient's pinky finger.
- Lubrication: Generously coat the tube with a water-soluble lubricant (never use petroleum-based jelly like Vaseline, which can damage lung tissue if inhaled).
- Insertion: Insert the NPA into the right nostril with the bevel (the angled tip) facing toward the nasal septum (the middle wall of the nose). Push the tube straight back (not upward toward the eyes) parallel to the roof of the mouth. If you meet resistance, do not force it; gently rotate the tube or try the left nostril. Push it in until the flared rim rests against the nostril.
Managing Chest Trauma and Tension Pneumothorax
Penetrating trauma to the torso (such as a puncture wound from debris) can compromise the respiratory system by letting air enter the chest cavity. This is known as an open pneumothorax, or a "sucking chest wound." As air enters the chest cavity through the wound, it prevents the lung from expanding.
To treat this, apply a vented chest seal immediately. A vented seal (such as a Halo or HyFin seal) acts as a one-way valve, allowing air and blood to escape from the chest cavity while preventing outside air from entering. If you do not have a commercial chest seal, you can improvise using clean plastic packaging (like a plastic bag or plastic wrap) taped down securely on three sides, leaving the bottom side open to act as a makeshift valve.
Monitor the patient closely for the development of a tension pneumothorax. This is a life-threatening emergency where air builds up in the chest cavity under pressure, collapsing the lung and putting pressure on the heart, cutting off blood return. Signs of a tension pneumothorax include:
- Progressive, severe shortness of breath and rapid breathing.
- Unequal chest rise (one side of the chest does not move when breathing).
- Absent or severely diminished breath sounds on the injured side of the chest.
- Bluish skin coloration (cyanosis) around the lips and fingernails.
- Tracheal deviation (a late, critical sign where the windpipe visibly shifts away from the injured side).
In a hospital, this is treated with a needle decompression or chest tube. In an austere environment without advanced medical training, your primary intervention is to burp the chest seal—peel back the seal for a few seconds during exhalation to allow the trapped, pressurized air to escape, then re-seal it.
Circulation and Shock Management: Preventing the Lethal Triad
Shock is a state of systemic hypoperfusion, meaning the body's tissues and organs are not receiving enough oxygenated blood. In trauma, shock is usually caused by severe blood loss (hypovolemic shock). Left unchecked, shock leads to multi-organ failure and death.
Understanding the Trauma Lethal Triad
In emergency medicine, the "Lethal Triad" is a medical condition consisting of three factors that feed into each other, creating a downward spiral that is incredibly difficult to reverse without hospital intervention. These three factors are:
- Hypothermia: The body loses the ability to regulate its temperature. As core temperature drops, the body's chemical processes slow down.
- Coagulopathy: The blood's ability to clot is severely impaired. Clotting enzymes require normal body temperature and pH levels to function. If the patient is cold and acidic, their blood will not clot, causing them to bleed to death despite tourniquets and wound packing.
- Acidosis: Due to lack of oxygen, tissues switch to anaerobic metabolism, producing lactic acid. This lowers the blood's pH, further disrupting clotting and heart function.
Identifying the Stages of Shock
To prevent the lethal triad, you must recognize the early signs of shock before the patient's blood pressure collapses. Watch for these progressive signs:
| Clinical Metric | Compensated Shock (Early) | Decompensated Shock (Late) |
|---|---|---|
| Mental Status | Anxious, restless, or agitated | Confused, lethargic, or unconscious | Heart Rate | Elevated (>100 bpm), thready pulse | Extremely rapid and weak, or dropping rapidly |
| Skin Signs | Pale, cool, and clammy | Ashen, cold, and blue/mottled skin |
| Respiration | Slightly elevated rate | Rapid, shallow, or gasping breaths |
| Capillary Refill | Delayed (>2 seconds) | Severely delayed or absent |
Field Interventions for Shock
To manage shock in a grid down emergency medical scenario, follow these steps:
- Stop the Bleeding: Re-assess all tourniquets and wound packing. Ensure no blood is bypassing your interventions.
- Prevent Hypothermia: This is the most critical and often overlooked step. Strip away wet clothing immediately. Wrap the patient in a high-efficiency thermal blanket (such as a Mylar space blanket) and place a heavy wool or fleece blanket over that. Crucially, insulate the patient from the cold ground by sliding a sleeping pad, foam board, or thick blankets underneath them.
- Positioning: Place the patient flat on their back (supine). Do not elevate the legs unless you are certain there are no spinal, pelvic, or head injuries, as this can worsen bleeding and alter breathing mechanics. Keeping them flat on a level surface is generally the safest approach.
- Hydration Caution: Never give oral fluids (water, sports drinks) to a patient in shock or with altered mental status. Shock causes the gastrointestinal tract to shut down, meaning any fluids swallowed will sit in the stomach, likely triggering vomiting and subsequent airway aspiration.
Improvised Medical Care: When the Kit Runs Dry
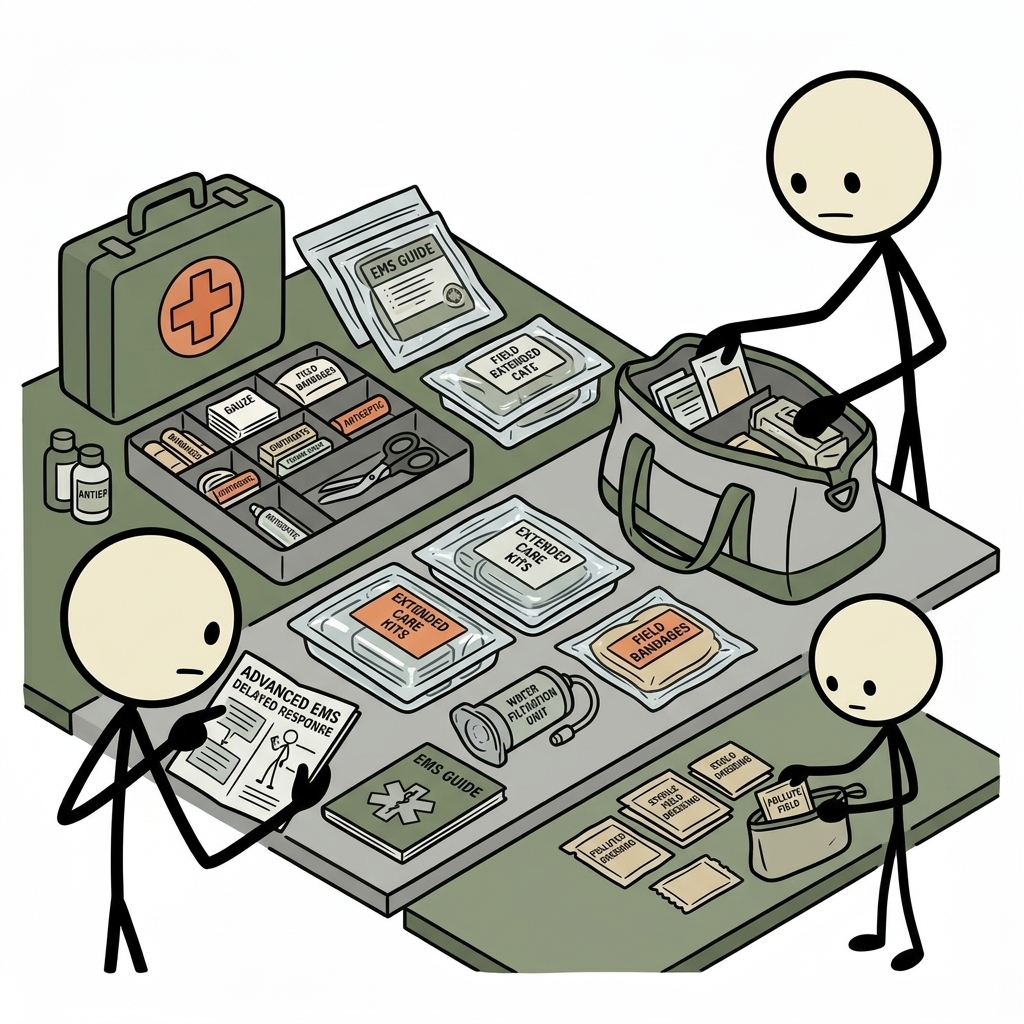
In a long-term disaster, your specialized medical supplies will eventually run out. When this happens, you must know how to safely improvise medical gear using household materials without causing further harm to the patient.
Improvising Tourniquets
Military studies show that improvised tourniquets fail up to 80% of the time, often because the materials used are too thin (cutting into the tissue and causing muscle damage without stopping arterial flow) or the windlass is too weak to hold the extreme pressure required. However, if you have no commercial tourniquets, you can construct an effective improvised one by following these precise steps:
- The Strap: Use a wide, flat, non-elastic material at least 1.5 to 2 inches wide. A triangular bandage (cravat), a heavy-duty nylon webbing strap, or a cut-up seatbelt works best. Never use wire, paracord, shoelaces, or thin rope, as these will cut through skin and muscle without stopping deep arterial bleeding.
- The Windlass: You need a rigid, strong rod that will not snap under high tension. A thick wooden dowel, a steel wrench, a metal pipe, or a heavy-duty flashlight works well. Avoid plastic pens or dry sticks, which will break.
- The Technique: Wrap the strap around the limb, tie a half-knot, place the windlass on top, and tie a full square knot over it. Twist the windlass until the bleeding stops. Secure the windlass in place using a second bandage or strip of cloth so it cannot untwist.
Improvised Splinting and Immobilization
Fractures must be immobilized to prevent bone fragments from tearing muscle tissue, nerves, and blood vessels. When improvising a splint, remember the golden rule of splinting: immobilize the joint above and the joint below the injury.
For example, if the forearm is broken, you must immobilize both the wrist and the elbow. You can use rigid items such as thick cardboard, rolled-up newspapers, tree branches, or broom handles. Pad the rigid splint with towels, clothing, or moss to prevent pressure sores. Secure the splint with duct tape, cravats, or elastic bandages, taking care not to wrap it so tightly that it cuts off circulation. Always check the patient's distal pulse and capillary refill before and after applying a splint to ensure circulation is still intact.
Wound Care and Irrigation
In a prolonged emergency medicine without ems scenario, wound infection can be just as lethal as the initial trauma. Clean the wound as soon as possible, ideally within the first 6 to 12 hours.
Do not use rubbing alcohol, hydrogen peroxide, or iodine directly inside deep wounds; these chemicals are cytotoxic, meaning they kill healthy cells and delay healing. Instead, use clean, potable water. The best way to clean a wound is pressure irrigation. Fill a clean plastic bag, poke a tiny pinhole in the corner, and squeeze the bag hard to create a high-pressure stream of water to flush out dirt, debris, and bacteria. Alternatively, use a clean syringe. Once flushed, cover the wound with a clean dry dressing and change it daily, looking for signs of infection (redness, swelling, warmth, or pus).
Self-Evacuation: Knowing When and How to Move
One of the hardest decisions in a disaster is deciding whether to shelter in place and manage a patient's injuries, or risk a self-evacuation through dangerous, compromised terrain to reach a functional medical facility.
The Evacuation Decision Matrix
To determine if you must risk self-evacuation, evaluate the patient using this clinical decision matrix:
| Patient Status | Key Clinical Signs | Evacuation Priority |
|---|---|---|
| Red (Critical) | Uncontrolled internal bleeding, signs of tension pneumothorax, compromised airway, or deteriorating mental status despite treatment. | Immediate evacuation required. High risk of death within hours without hospital care. |
| Yellow (Urgent) | Open fractures, stable chest wounds, controlled severe bleeding, or deep wounds requiring surgical closure. | Plan for evacuation within 12 to 24 hours. Monitor closely for deterioration. |
| Green (Delayed) | Minor lacerations, closed fractures of the upper extremities, sprains, or mild concussions with no neurological deficits. | Shelter in place. Treat with available supplies; evacuate only when roads are cleared and safe. |
Preparing the Patient for Transport
Before moving a critical patient, you must stabilize their injuries to prevent further trauma during transport. Secure all splints, reinforce all dressings, and ensure their airway is secured with an NPA if they are unconscious. Document all vital signs, treatments, and times of intervention on a piece of paper and secure it to the patient's clothing. Use the MIST report format to organize this information:
- M - Mechanism of Injury: What happened? (e.g., fell 10 feet, struck by flying debris).
- I - Injuries Sustained: What injuries did you find? (e.g., deep laceration to right thigh, suspected fractured left radius).
- S - Signs and Vitals: What is their pulse, respiratory rate, and mental status? (e.g., pulse 110, respirations 22, alert but anxious).
- T - Treatment Given: What did you do? (e.g., CAT tourniquet applied to right leg at 14:32, wound packed with hemostatic gauze).
Litter Construction and Carry Techniques
Carrying a patient by hand is exhausting and can quickly incapacitate rescuers. If you must transport a non-ambulatory patient, construct an improvised litter (stretcher) to distribute the weight evenly:
- The Blanket and Pole Litter: Lay two strong, rigid poles (such as thick tree limbs or heavy metal pipes) parallel on the ground. Fold a heavy wool blanket or tarp over the poles in a three-fold pattern. The patient's body weight will lock the folds in place, preventing them from slipping out.
Frequently Asked Questions
What is the most important skill in grid-down medical care?
Controlling hemorrhage (severe bleeding). Uncontrolled external bleeding kills within minutes. The Stop the Bleed protocol (tourniquet, wound packing with hemostatic gauze, pressure dressing) addresses the leading cause of preventable death in trauma. Take a free Stop the Bleed course — this one skill is the highest-impact medical training available.
What is shock and how do I treat it without EMS?
Shock occurs when tissues don't receive adequate oxygen-rich blood — from blood loss, heart failure, severe dehydration, or anaphylaxis. Signs: pale/cold/clammy skin, rapid weak pulse, confusion, nausea. Treatment: control bleeding (hemorrhagic shock), lay patient flat with legs elevated unless head/chest injury, keep warm, maintain airway, give IV fluids if trained and equipped.
What medications should serious preppers stockpile for medical emergencies?
Consult your physician. Commonly discussed: broad-spectrum antibiotics (amoxicillin, doxycycline, ciprofloxacin with fish antibiotic controversy aside — get legitimate prescriptions), ibuprofen/acetaminophen for pain and fever, diphenhydramine for allergic reactions, loperamide for diarrhea, oral rehydration salts, and wound care antiseptics. Medical training should accompany any stockpile.
What advanced first aid training should preppers pursue?
In order of impact: (1) Stop the Bleed course (free, 2 hours), (2) CPR/AED certification (Red Cross or AHA, $50-80), (3) Wilderness First Aid (WFA, 16-20 hours, teaches delayed-evacuation scenarios), (4) Wilderness First Responder (WFR, 70-80 hours, professional level for serious preppers). The WFA course is the best value for most prepared households.
How do I manage severe pain without medical-grade narcotics?
Non-prescription options: ibuprofen (anti-inflammatory, most effective for musculoskeletal pain) and acetaminophen (pain and fever) can be combined for additive effect. Topical analgesics (lidocaine gel) for surface pain. Ice and compression for injuries. Immobilization (splinting) dramatically reduces pain from fractures and dislocations. Distraction, breathing techniques, and positioning all have evidence-based pain reduction effects.