⚡ Key Facts
- Critical Temperature Threshold: According to the United States Department of Agriculture (USDA), low-acid foods must reach an internal temperature of 240°F to 250°F (116°C to 121°C) to destroy the spores of Clostridium botulinum.
- FEMA Alignment: The Federal Emergency Management Agency (FEMA) recommends maintaining a minimum two-week supply of shelf-stable food per person, highlighting home-canned goods as an excellent way to meet nutritional goals.
- Altitude Matters: Water boils at lower temperatures as altitude increases. For every 1,000 feet of elevation above sea level, pressure canner settings must be adjusted upward to ensure food safety.
- Shelf-Life Longevity: When processed using proper protocols, home pressure-canned meats, vegetables, and soups remain safe and highly nutritious for 2 to 5 years, serving as a cornerstone for long term food storage canning.
Imagine a scenario where a severe winter storm knocks out the local power grid for two weeks, or a supply chain disruption empties grocery store shelves overnight. In these moments, your family’s security relies entirely on the preparations you made months, or even years, in advance. While commercial freeze-dried meals have their place, they are expensive, high in sodium, and often lack the comforting taste of home-cooked food. This is where mastering a home pressure canning guide becomes a transformative skill for self-reliance. By learning how to safely preserve your own meats, stews, and vegetables, you transition from a passive consumer to an active producer of your own household security. This guide will demystify the science, equipment, and step-by-step processes of pressure canning, giving you the confidence to build a robust, nutritious emergency pantry.
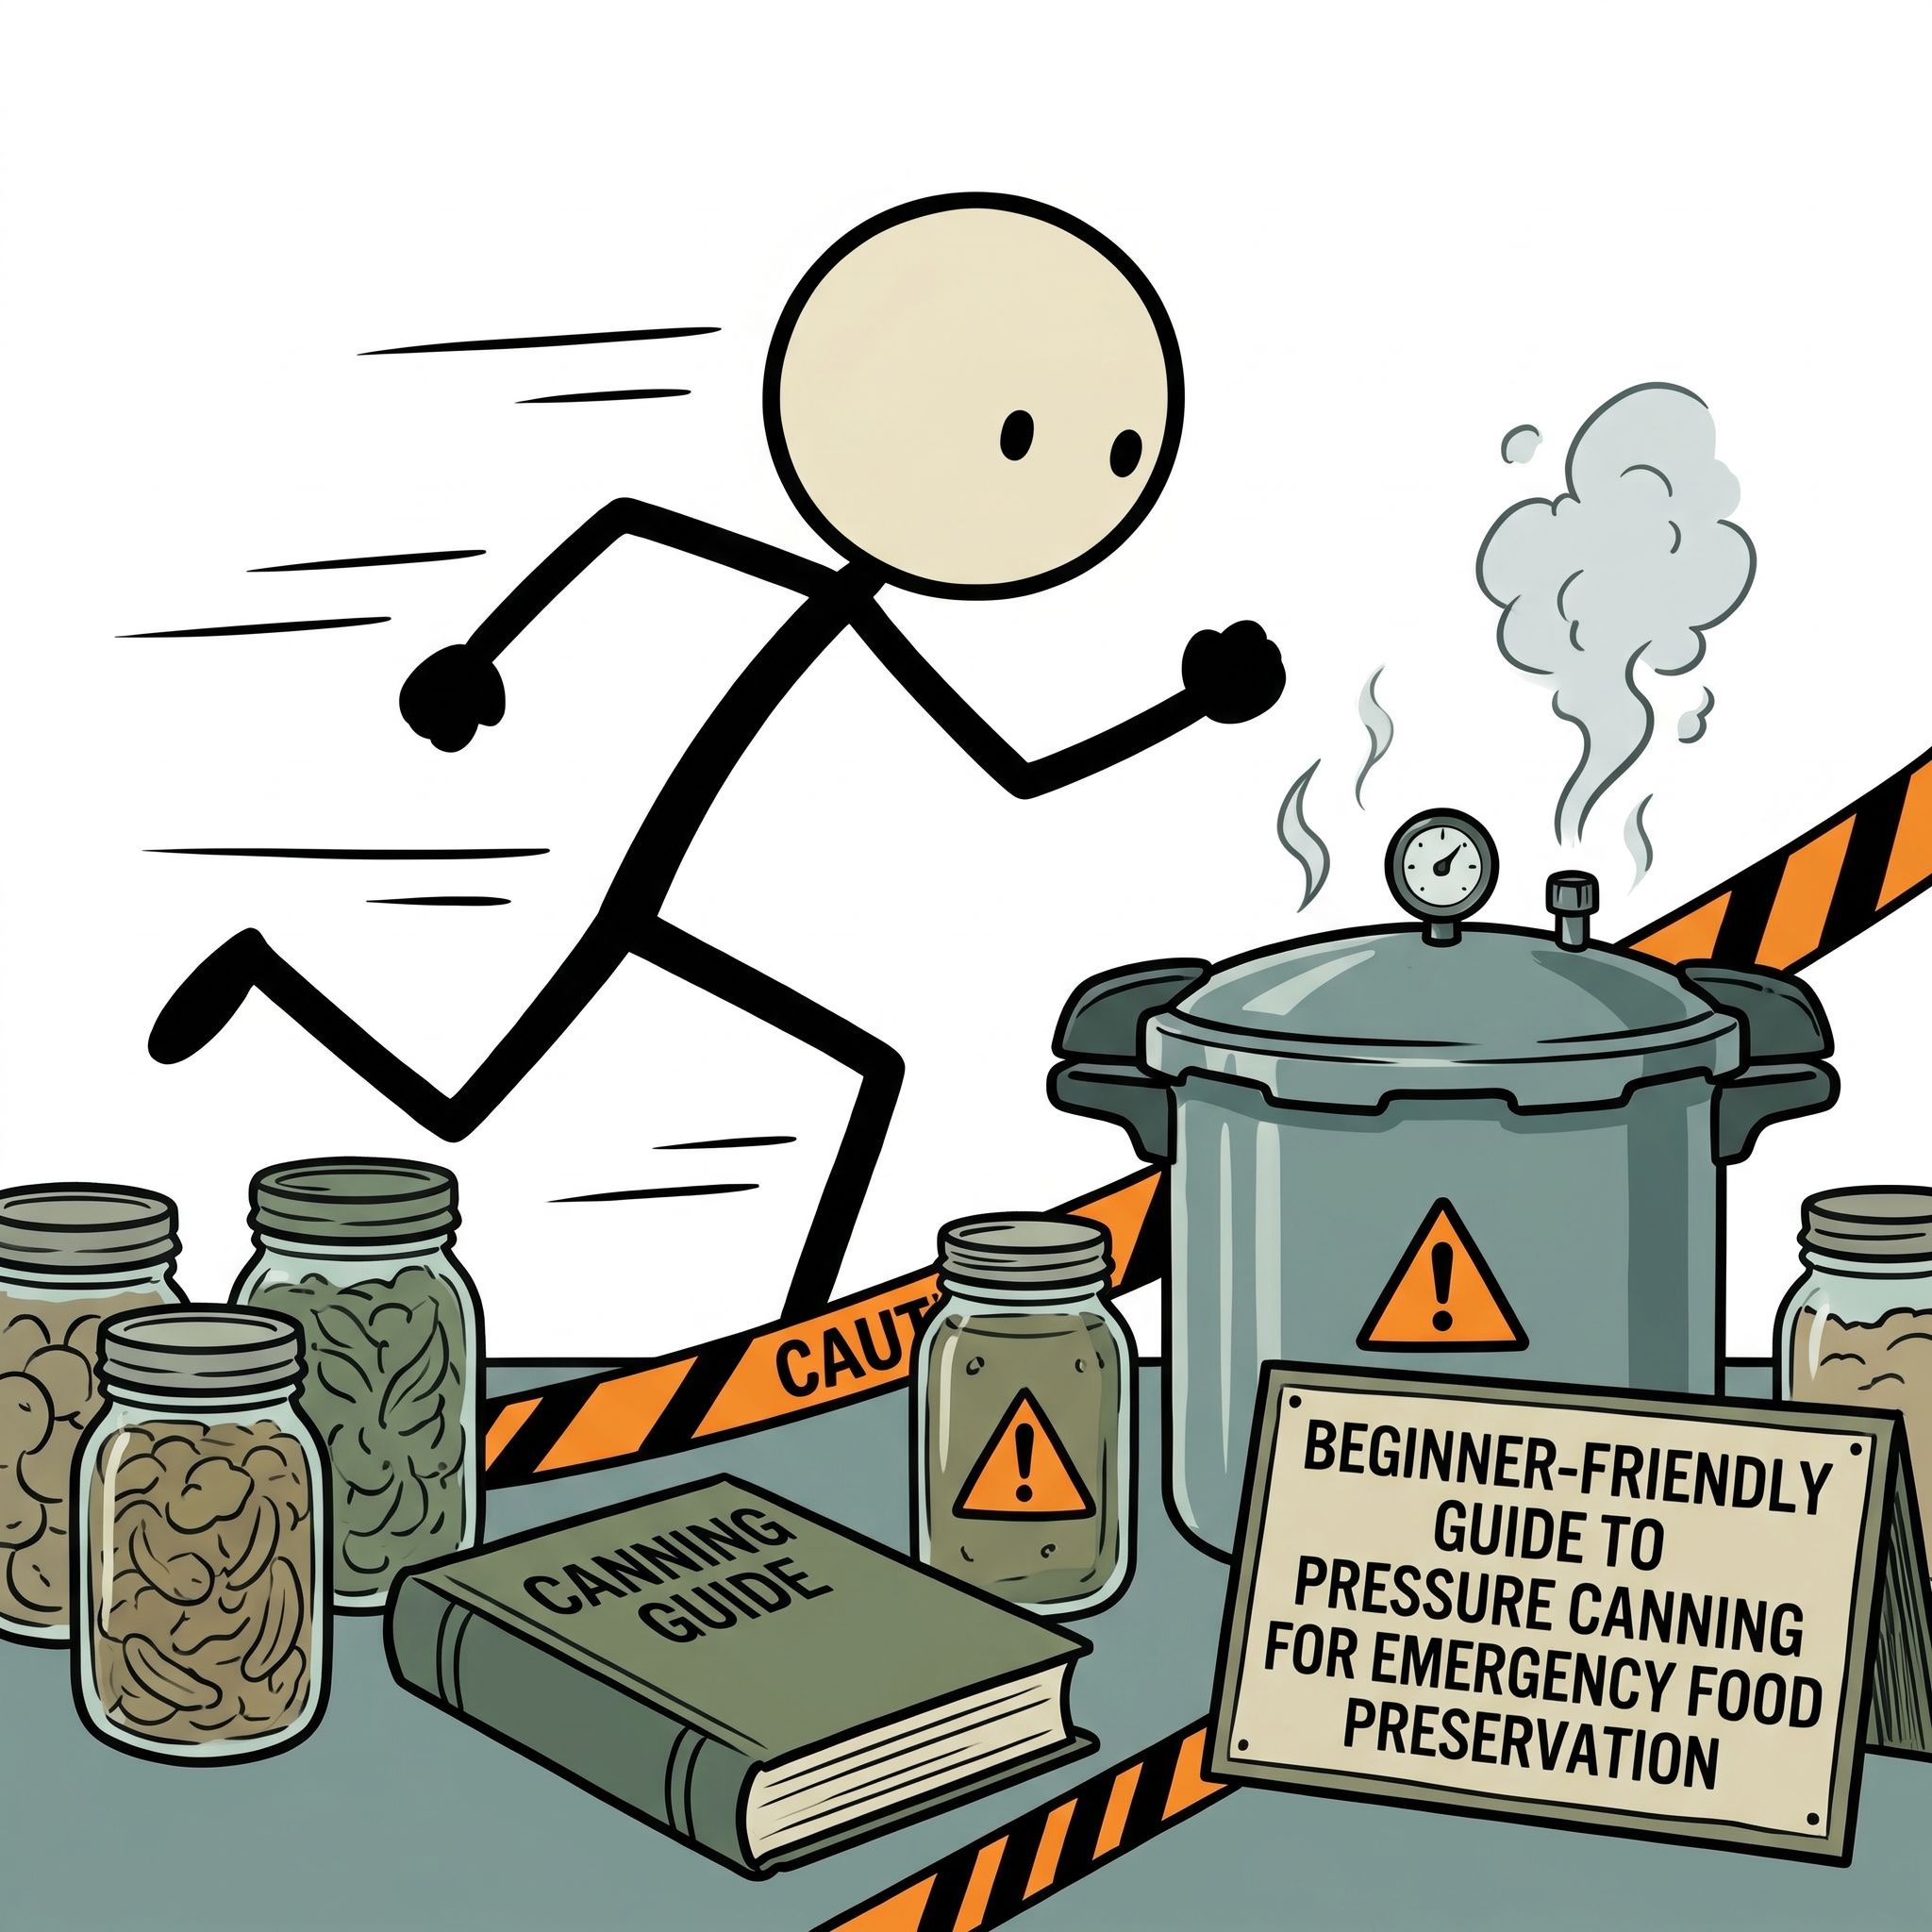
Understanding the Science: Water Bath vs. Pressure Canning
To safely preserve food at home, you must understand the microscopic battlefield of food preservation. The primary adversary in home canning is Clostridium botulinum, a soil-borne bacterium that thrives in anaerobic (oxygen-free) environments—such as a sealed canning jar. Under these conditions, the bacteria produce botulinum toxin, one of the most lethal neurotoxins known to science. According to the Centers for Disease Control and Prevention (CDC), even microscopic amounts of this toxin can cause botulism, a severe illness leading to paralysis and death. Fortunately, botulism is entirely preventable when you match your preservation method to the acidity of the food you are canning.
The dividing line in food preservation is a pH level of 4.6. Foods are classified as either high-acid (pH of 4.6 or lower) or low-acid (pH greater than 4.6). This classification dictates which preservation method is scientifically required to ensure safety.
Water Bath Canning: For High-Acid Foods
Water bath canning involves submerging filled jars in a large pot of boiling water (212°F / 100°C at sea level). This temperature is sufficient to kill molds, yeasts, and active bacteria. In high-acid environments, any remaining Clostridium botulinum spores are chemically inhibited from germinating and producing toxin. Therefore, boiling water temperatures are perfectly safe for preserving:
- Most fruits (apples, peaches, berries)
- Jams, jellies, and fruit spreads
- Pickles and acidified tomatoes (with added lemon juice or citric acid)
- Salsas and vinegars
Pressure Canning: For Low-Acid Foods
Low-acid foods lack the natural acidity required to prevent botulinum spores from germinating. These spores are incredibly heat-resistant; they can survive hours of exposure to boiling water at 212°F. To destroy them, the food must be heated to a core temperature of at least 240°F (116°C). The only way to achieve this temperature at home is by using a pressure canner.
By trapping steam inside a sealed vessel, a pressure canner increases the internal atmospheric pressure. This physical change raises the boiling point of water. At 10 to 11 pounds of pressure per square inch (psi), the steam inside the chamber reaches 240°F, effectively neutralizing all bacterial spores. This makes a pressure canner absolutely mandatory for:
- Canning meat at home (beef, poultry, pork, venison, and seafood)
- All fresh vegetables (potatoes, carrots, green beans, corn)
- Soups, stews, and bone broths
- Beans and legumes
| Food Type | pH Level | Required Method | Target Temperature | Examples |
|---|---|---|---|---|
| High-Acid | 4.6 or lower | Water Bath Canning | 212°F (100°C) | Apples, Berries, Pickles, Jams |
| Low-Acid | Above 4.6 | Pressure Canning | 240°F–250°F (116°C–121°C) | Beef, Chicken, Potatoes, Green Beans, Broth |
The Essential Gear: Setting Up Your Canning Station
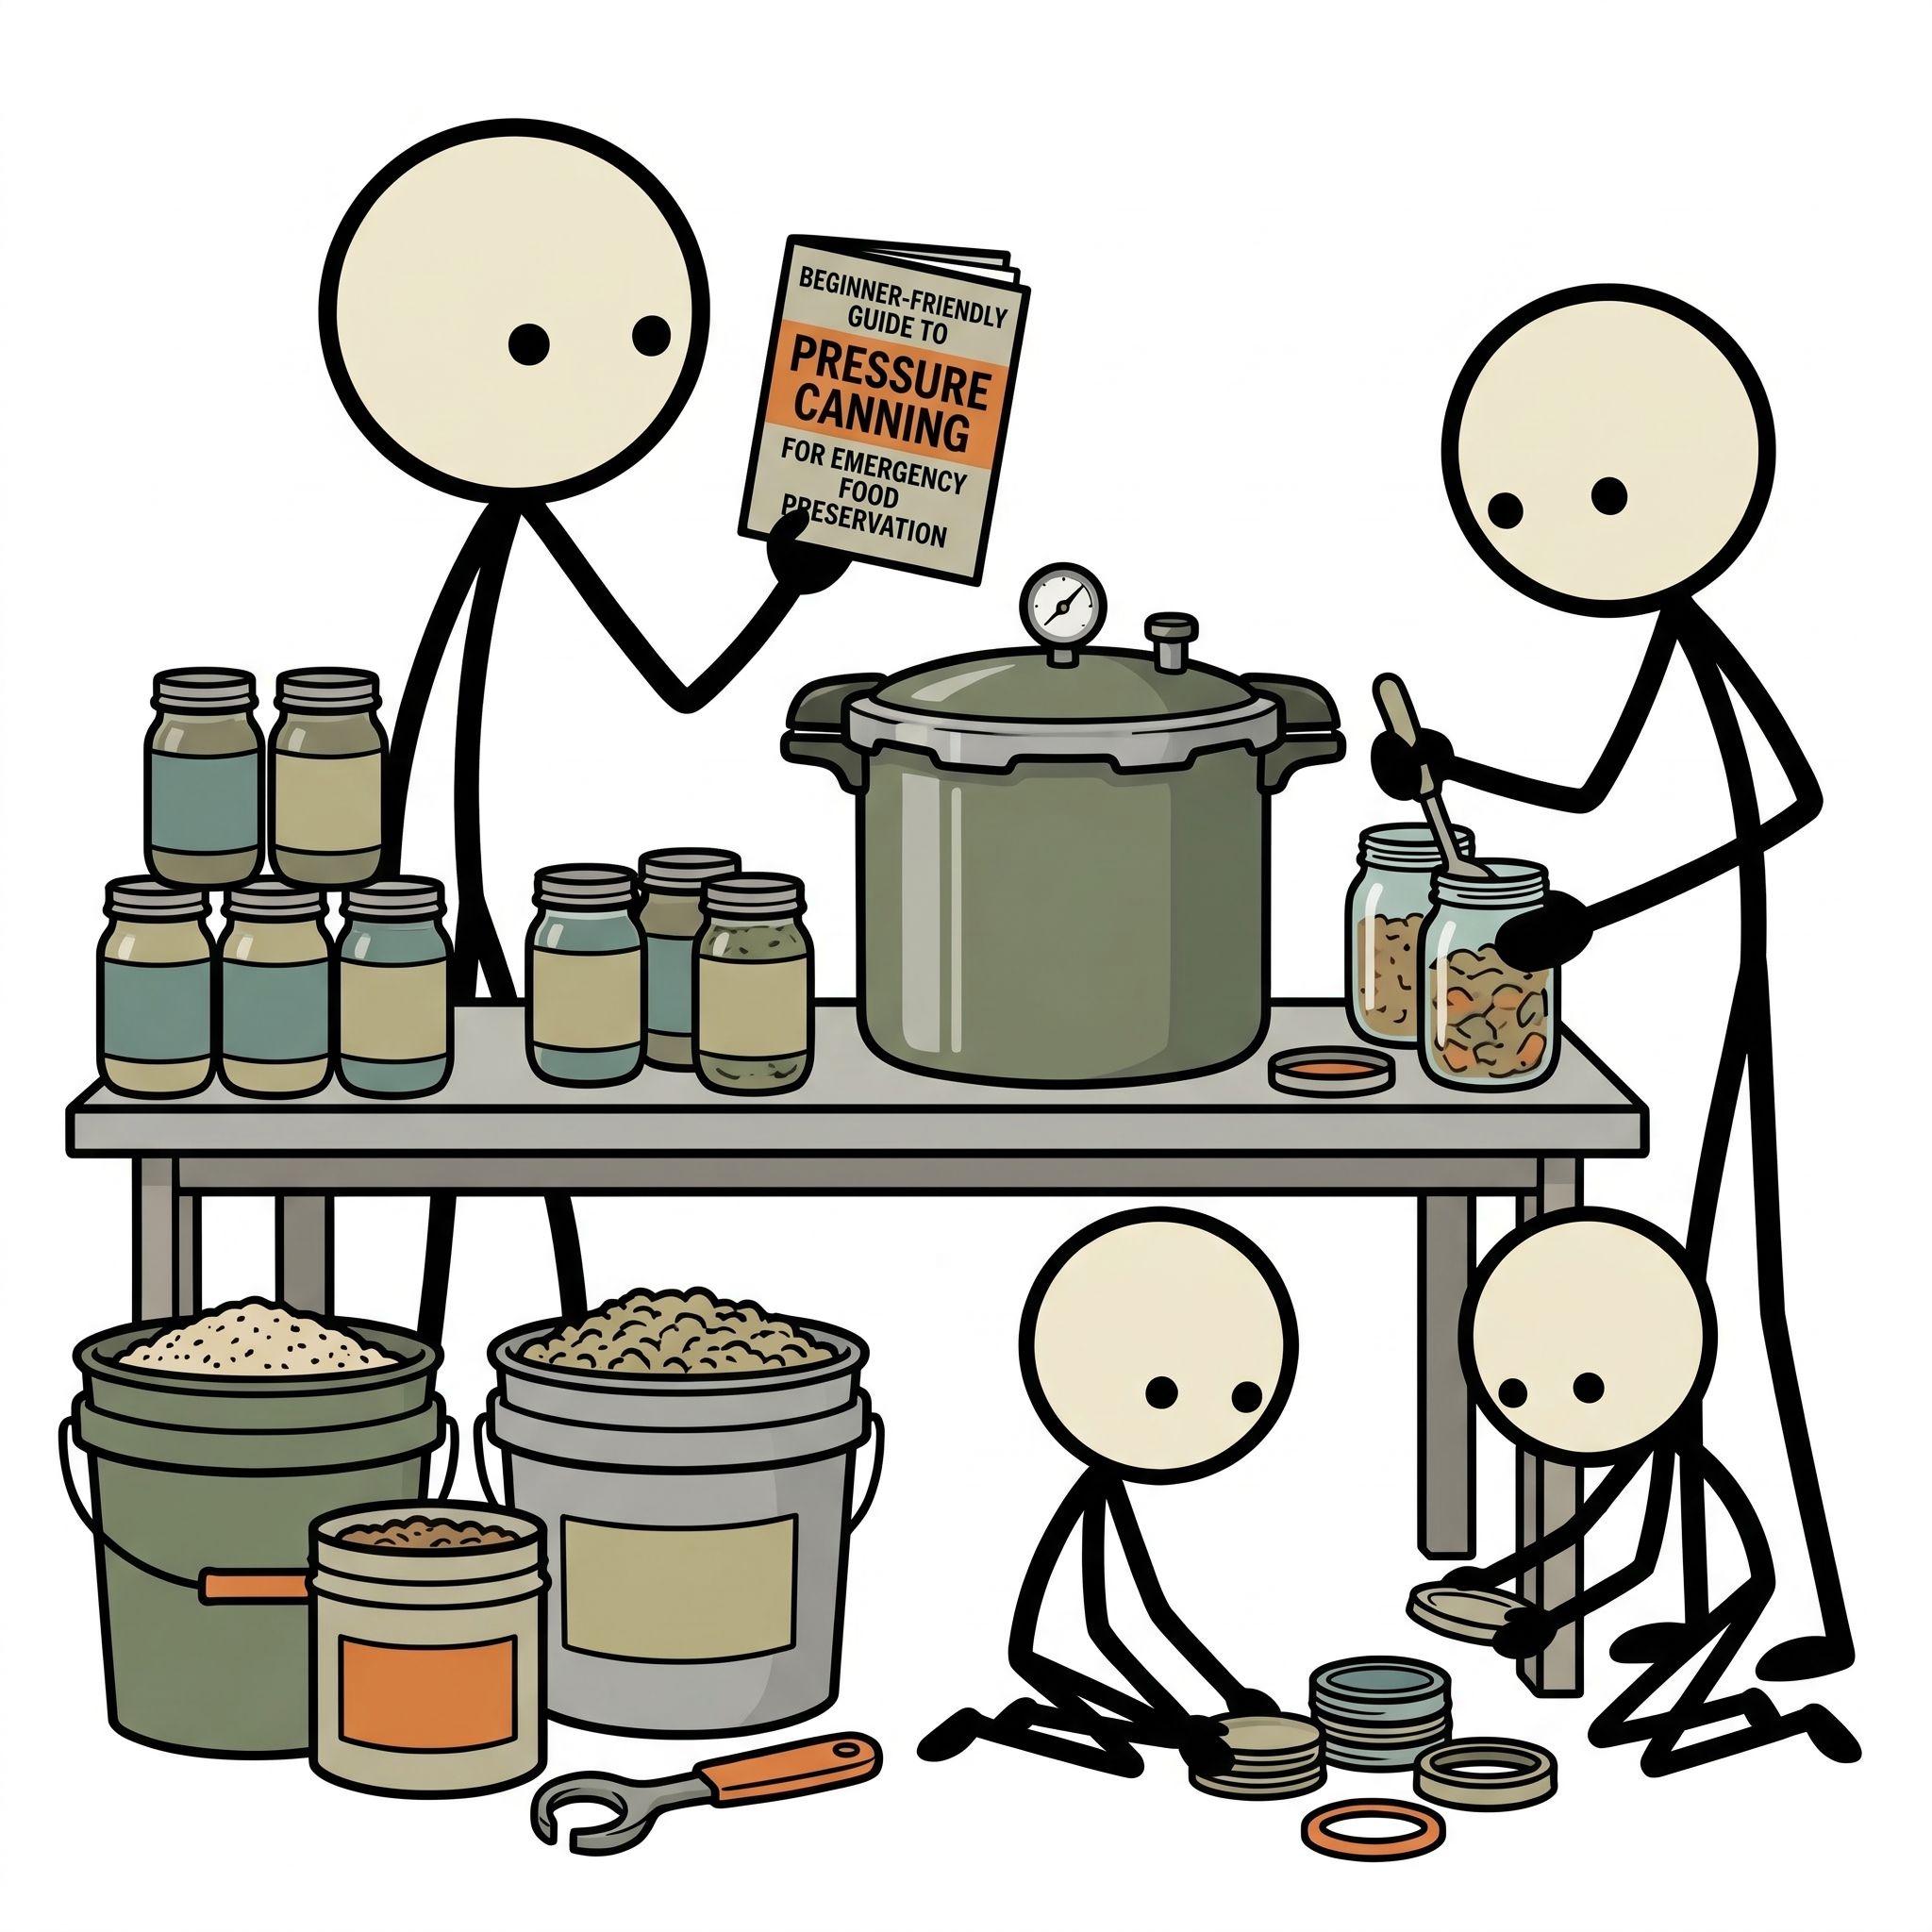
Embarking on your journey of pressure canning for beginners requires the right tools. Investing in high-quality, reliable equipment is not just a matter of convenience; it is a fundamental safety requirement. Using improvised gear can lead to seal failures, under-processed food, or even physical injury from equipment failure.
Choosing the Right Pressure Canner
First and foremost, understand that a pressure cooker (such as an Instant Pot or small pressure saucepan) is not a pressure canner. The USDA and the National Center for Home Food Preservation (NCHFP) explicitly warn against using electric multi-cookers for canning. These appliances do not have the thermal mass or precise pressure controls required to heat and cool at the rates calculated in safe canning recipes, risking under-processing. You must use a dedicated pressure canner that holds at least four quart-sized jars.
There are two primary types of pressure canners available on the market:
- Dial-Gauge Canners: These feature a physical dial that displays the internal pressure of the unit. They offer precise, real-time readings, which is highly beneficial. However, dial gauges must be tested annually for accuracy through your local university cooperative extension office or a professional service, as they can drift over time.
- Weighted-Gauge Canners: These use a heavy metal weight (often called a "jiggler") placed over the vent pipe. The weight is designed to release steam at specific pressures (usually 5, 10, or 15 psi). When the canner reaches the target pressure, the weight begins to rock gently. Weighted-gauge canners do not require annual calibration and are highly favored for their mechanical simplicity and durability in long-term off-grid scenarios.
Essential Accessories and Safety Tools
Beyond the canner itself, you will need a specialized kit of accessories to ensure a smooth, safe workflow:
- Mason Jars: Use only high-quality glass jars specifically manufactured for home canning (such as Ball or Kerr). Avoid commercial pasta sauce jars, as they have thinner glass and are prone to thermal shock and breakage under pressure.
- Two-Piece Lids: These consist of a flat metal lid with a sealing gasket and a metal screw band. While screw bands can be reused if they are free of rust, the flat metal lids must be brand new for every canning session to guarantee a reliable vacuum seal.
- Jar Lifter: A rubber-coated tong-like tool designed to safely grip hot glass jars and lift them vertically out of the hot canner. This prevents burns and accidental drops.
- Canning Funnel: A wide-mouth funnel that fits perfectly into mason jars, preventing food from spilling onto the jar rims, which could interfere with the seal.
- Bubble Remover and Headspace Tool: A plastic wand used to release trapped air bubbles from inside the jar before sealing. The stepped notches on the opposite end allow you to measure headspace precisely. Do not use metal knives or utensils, as they can scratch and weaken the glass.
Safe Processing Times and the Altitude Equation
In the world of home preservation, there is no room for guesswork. Every recipe you use must come from a scientifically validated source, such as the USDA Complete Guide to Home Canning, the NCHFP, or university extension services. These organizations have rigorously tested recipes to determine the exact thermal death time required to eliminate pathogens in specific foods.
The Importance of Headspace
Headspace is the empty space between the top of the food or liquid and the rim of the jar. This space is critical because food expands during the high-heat processing phase. If you leave too little headspace, food may boil out of the jar, leaving a greasy residue on the rim that prevents the lid from sealing. If you leave too much headspace, the processing time may not be long enough to exhaust all the air from the jar, resulting in a weak vacuum seal. Typically, low-acid foods like meat and potatoes require 1 to 1.25 inches of headspace.
Adjusting for Altitude
As your elevation above sea level increases, atmospheric pressure decreases. Consequently, water boils at lower temperatures. If you operate a pressure canner at high altitudes using sea-level settings, the internal temperature of your canner will not reach the target 240°F, leaving your food under-processed and unsafe.
To compensate, you must increase the processing pressure (psi) based on your altitude. Note that processing *time* remains identical to the recipe; only the *pressure* is adjusted. Use the tables below to calibrate your canning session:
Dial-Gauge Canner Altitude Adjustments
| Altitude (Feet) | Required Pressure (PSI) for Low-Acid Foods |
|---|---|
| 0 – 2,000 ft | 11 psi |
| 2,001 – 4,000 ft | 12 psi |
| 4,001 – 6,000 ft | 13 psi |
| 6,001 – 8,000 ft | 14 psi |
Weighted-Gauge Canner Altitude Adjustments
| Altitude (Feet) | Required Pressure (PSI) for Low-Acid Foods |
|---|---|
| 0 – 1,000 ft | 10 psi |
| Above 1,000 ft | 15 psi |
By strictly adhering to these adjustments, you guarantee that your pressure canner emergency food is processed with the exact thermal energy required to remain shelf-stable for years to come.
Critical Safety: Crucial Mistakes and How to Avoid Them
Even with the best intentions, beginners can make critical errors that compromise the safety of their preserved food. Understanding these common pitfalls is key to establishing a safe, stress-free canning routine.
1. Siphoning (Loss of Liquid)
Siphoning occurs when liquid is forced out of the jars during processing or cooling, leaving the food exposed at the top of the jar. While slightly exposed food is still safe to eat if the jar seals properly, extreme liquid loss can lead to discoloration and dry, unpalatable food. Siphoning is caused by rapid pressure fluctuations inside the canner or by cooling the canner down too quickly. To prevent this, adjust your heat source in small increments and never force-cool the canner by running cold water over it or venting the pressure weight prematurely.
2. Failing to Vent the Canner
One of the most common mistakes in pressure canning for beginners is failing to vent the canner before bringing it up to pressure. Venting is the process of letting steam escape from the open vent pipe for a full 10 minutes before placing the weight or closing the petcock. This step is non-negotiable because it forces all the cold air out of the canner. If air remains trapped inside, it creates cold spots, meaning the temperature inside the canner will be lower than what the pressure gauge indicates, leading to under-processed food.
3. Altering Approved Recipes
Canning is a science, not a culinary art. While you can safely adjust dry seasonings (like salt, pepper, or herbs), you must never alter the ratio of low-acid to high-acid ingredients, nor should you add thickeners like flour, cornstarch, or dairy. These substances alter the density and heat transfer properties of the food, preventing the core of the jar from reaching sterilization temperatures during the standard processing time.
4. Reusing Disposable Flat Lids
The plastisol compound on the underside of flat metal canning lids is formulated for a single use. During processing, the compound softens and molds to the rim of the jar. Once cooled, it hardens to form a permanent seal. Reusing these lids dramatically increases the rate of seal failure during storage, which can ruin your hard-earned stock of long term food storage canning.
Step-by-Step: Your First Pressure Canning Session
To build your confidence, let’s walk through your very first pressure canning session. We will use chicken breast as our recipe. Canning meat at home is highly rewarding because it provides a shelf-stable, high-protein foundation for your emergency emergency food storage guide. This recipe uses the "raw pack" method, which is incredibly simple for beginners because it requires no pre-cooking.
Required Ingredients and Equipment:
- Boneless, skinless chicken breasts (approximately 1 pound per pint jar)
- Canning salt (optional, for flavor only)
- Pressure canner with jar rack
- Pint-sized mason jars with new lids and clean bands
- Jar lifter, bubble remover, and canning funnel
- White vinegar (for wiping rims)
Phase 1: Prep and Sanitization
Begin by thoroughly washing your jars, lids, and bands in hot, soapy water. Rinse them completely. Keep your jars warm in a pot of hot water or in your dishwasher to prevent them from cracking due to thermal shock when filled. Inspect every jar for nicks, cracks, or chips along the rim; discard any damaged jars. Pour 2 to 3 inches of water into the bottom of your pressure canner (refer to your manufacturer’s manual for exact volume) and place the canning rack inside. Heat the water to a warm simmer (around 140°F for a raw pack).
Phase 2: Packing the Jars
Trim any excess fat or gristle from the chicken breasts and cut them into convenient 1-inch cubes. Pack the raw chicken pieces tightly into the warm jars, leaving exactly 1.25 inches of headspace. Do not add any liquid; the raw chicken will release its own natural juices during processing to create a rich, savory broth. If desired, add 1/2 teaspoon of canning salt to each pint jar for flavor.
Insert your plastic bubble remover along the inside edges of the jar, pressing gently to release any trapped air pockets. Take a clean paper towel dipped in white vinegar and carefully wipe the rim of each jar. This step is critical when canning meat, as any grease or fat on the rim will prevent the lid from forming a vacuum seal. Center a clean, flat lid on the jar and screw the metal band down until it is "fingertip tight"—meaning you turn it until you meet resistance, then just slightly more using only your fingers, not your whole hand.
Phase 3: Venting and Pressurizing
Using your jar lifter, place the filled jars vertically onto the rack inside the preheated canner. Secure the canner lid according to the manufacturer’s instructions, leaving the vent pipe completely open. Turn the heat to high. Soon, steam will begin to escape from the vent pipe. Once a steady, continuous column of steam is visible, set a timer for exactly 10 minutes. This vents the chamber of all atmospheric air.
After venting for 10 minutes, place your weighted gauge (set to the correct psi for your altitude) over the vent pipe, or close the petcock if using a dial-gauge model. The pressure inside the vessel will begin to rise. Monitor the gauge or weight closely. Once the canner reaches the target pressure (e.g., 11 psi on a dial gauge or when the weighted gauge begins to rock rhythmically), adjust your stove burner heat slightly to maintain this pressure consistently.
Phase 4: Processing and Cooling
Set your timer for 75 minutes (the scientifically validated processing time for pint jars of poultry). Keep a close watch on the pressure. If the pressure drops below your target even for a second, you must bring the pressure back up and restart the processing timer from zero to guarantee food safety.
Once the processing time is complete, turn off the heat source. **Do not touch the canner.** Allow the unit to cool naturally until the pressure drops completely to zero. This can take anywhere from 45 minutes to over an hour. You will know it is safe when the air vent/cover lock drops, indicating the internal pressure matches the external room pressure. Carefully remove the weight or open the vent, wait two additional minutes, and then remove the lid, tilting it away from your face to avoid being burned by residual steam.
Using your jar lifter, remove the jars vertically from the canner and place them onto a thick towel or wooden cutting board in a draft-free area. Do not tighten the screw bands, as this can disrupt the cooling seal. Leave the jars undisturbed for 12 to 24 hours. As they cool, you will hear a series of satisfying metallic "pings"—the sound of successful vacuum seals forming.
Building Your Long-Term Food Security
Once your jars have cooled for 24 hours, test the seals by pressing down on the center of each lid. If the lid is concave and does not flex or pop, you have successfully preserved your first batch of emergency food. Remove the screw bands, wash the exterior of the jars with warm water to remove any residue, label them with the contents and date, and store them in a cool, dark, and dry pantry. By taking control of your food preservation, you have taken a massive step toward complete household self-reliance. Pressure canning is more than just a traditional culinary skill; it is an empowering shield against uncertainty, ensuring that no matter what happens in the outside world, your family will always have a hot, nutritious, home-cooked meal ready at a moment's notice.
Frequently Asked Questions
What is the difference between water bath canning and pressure canning?
Water bath canning (212°F) is safe only for high-acid foods: fruits, jams, pickles, and tomatoes. Pressure canning (240°F) is required for low-acid foods: meat, fish, beans, corn, peas, and most vegetables. Using a water bath for low-acid foods creates botulism risk.
What equipment do I need to start pressure canning?
A quality pressure canner (Presto or All American — not a pressure cooker), Mason jars in appropriate sizes, new lids, a jar lifter, a canning funnel, a bubble remover, and the USDA Complete Guide to Home Canning as your reference. Budget $100-200 for a starter setup.
What should beginners start canning first?
Start with chicken broth or plain beans — these are simple, forgiving, and immediately useful. Chicken broth: pressure can for 20-25 minutes. Beans: dry, soak, par-cook, then pressure can for 75-90 minutes. Master the process before moving to meat.
Learn food storage planning methods. Explore home food dehydration techniques. Plan with family emergency planning guides. Use our supply calculator and browse our courses.