⚡ Key Facts
- Disaster Preparedness Standards: FEMA and the American Red Cross recommend maintaining a minimum two-week supply of non-perishable food per person for home shelter-in-place scenarios.
- Moisture Reduction: Dehydration removes 80% to 95% of the moisture content in food, effectively halting the growth of bacteria, yeast, and mold that cause spoilage.
- Nutritional Integrity: Unlike high-heat canning, low-temperature dehydration preserves up to 90% of the original vitamins, minerals, and enzymes of fresh produce.
- Space and Weight Efficiency: Dehydrated foods shrink by up to 90% in volume and lose up to 90% of their weight, making them exceptionally easy to store or carry in evacuation kits.
- Long-Term Viability: When packaged correctly with oxygen absorbers in Mylar bags, the dehydrated food shelf life of vegetables and fruits can reach 10 to 15 years.
Food Backup Skills That Support the First 72 Hours
After water and a basic 72-hour kit, close the food-access gaps that break real emergency plans. Learn how to open a can without a can opener, compare whether a home freeze dryer is worth it for preppers, and add safe wild-food awareness with the plantain weed identification guide.
According to the National Oceanic and Atmospheric Administration (NOAA), the United States experiences dozens of billion-dollar weather and climate disasters annually, from hurricanes and blizzards to severe droughts and grid failures. When these crises strike, regional supply chains can break down within hours, leaving grocery store shelves completely bare. While commercial freeze-dried survival meals are a viable option, they are often expensive, highly processed, and loaded with excess sodium. Investing in a home food dehydrator emergency prep strategy allows you to take control of your food security. By preserving fresh, nutrient-dense whole foods at a fraction of the retail cost, you build a customized, highly transportable pantry that can sustain your family through any long-term emergency.
---Why Dehydration Wins in Emergency Prep
When building an emergency emergency food storage guide, prep professionals evaluate food storage methods based on four criteria: nutritional density, shelf stability, storage space, and portability. While home canning and freezing have their place, dehydration excels across all four metrics, making it an indispensable tool for household resilience. For a quick definition, see dehydration.
The Centers for Disease Control and Prevention (CDC) warns that during a power outage, a fully stocked freezer will only keep food safe for 48 hours (or 24 hours if it is half full). Once that window closes, hundreds of dollars of meat and produce will spoil. Dehydrated foods, however, require zero electricity to maintain their shelf life once processed. They are completely immune to grid failures, making them a much safer long-term investment than relying solely on frozen storage.
Furthermore, dehydration is incredibly space-efficient. A bushel of fresh apples that would fill an entire pantry shelf can be dried and packed into a few lightweight Mylar bags or half-gallon glass jars. This dramatic reduction in weight and volume is critical if you are forced to evacuate. If you must load a Go-Bag Builder or pack your vehicle quickly, carrying heavy glass canning jars is impractical and dangerous. Dehydrated foods provide maximum caloric and nutritional density per ounce, ensuring you can carry weeks of life-sustaining rations on your back if necessary.
---Dehydrating Vegetables: Maximizing Nutrients and Versatility
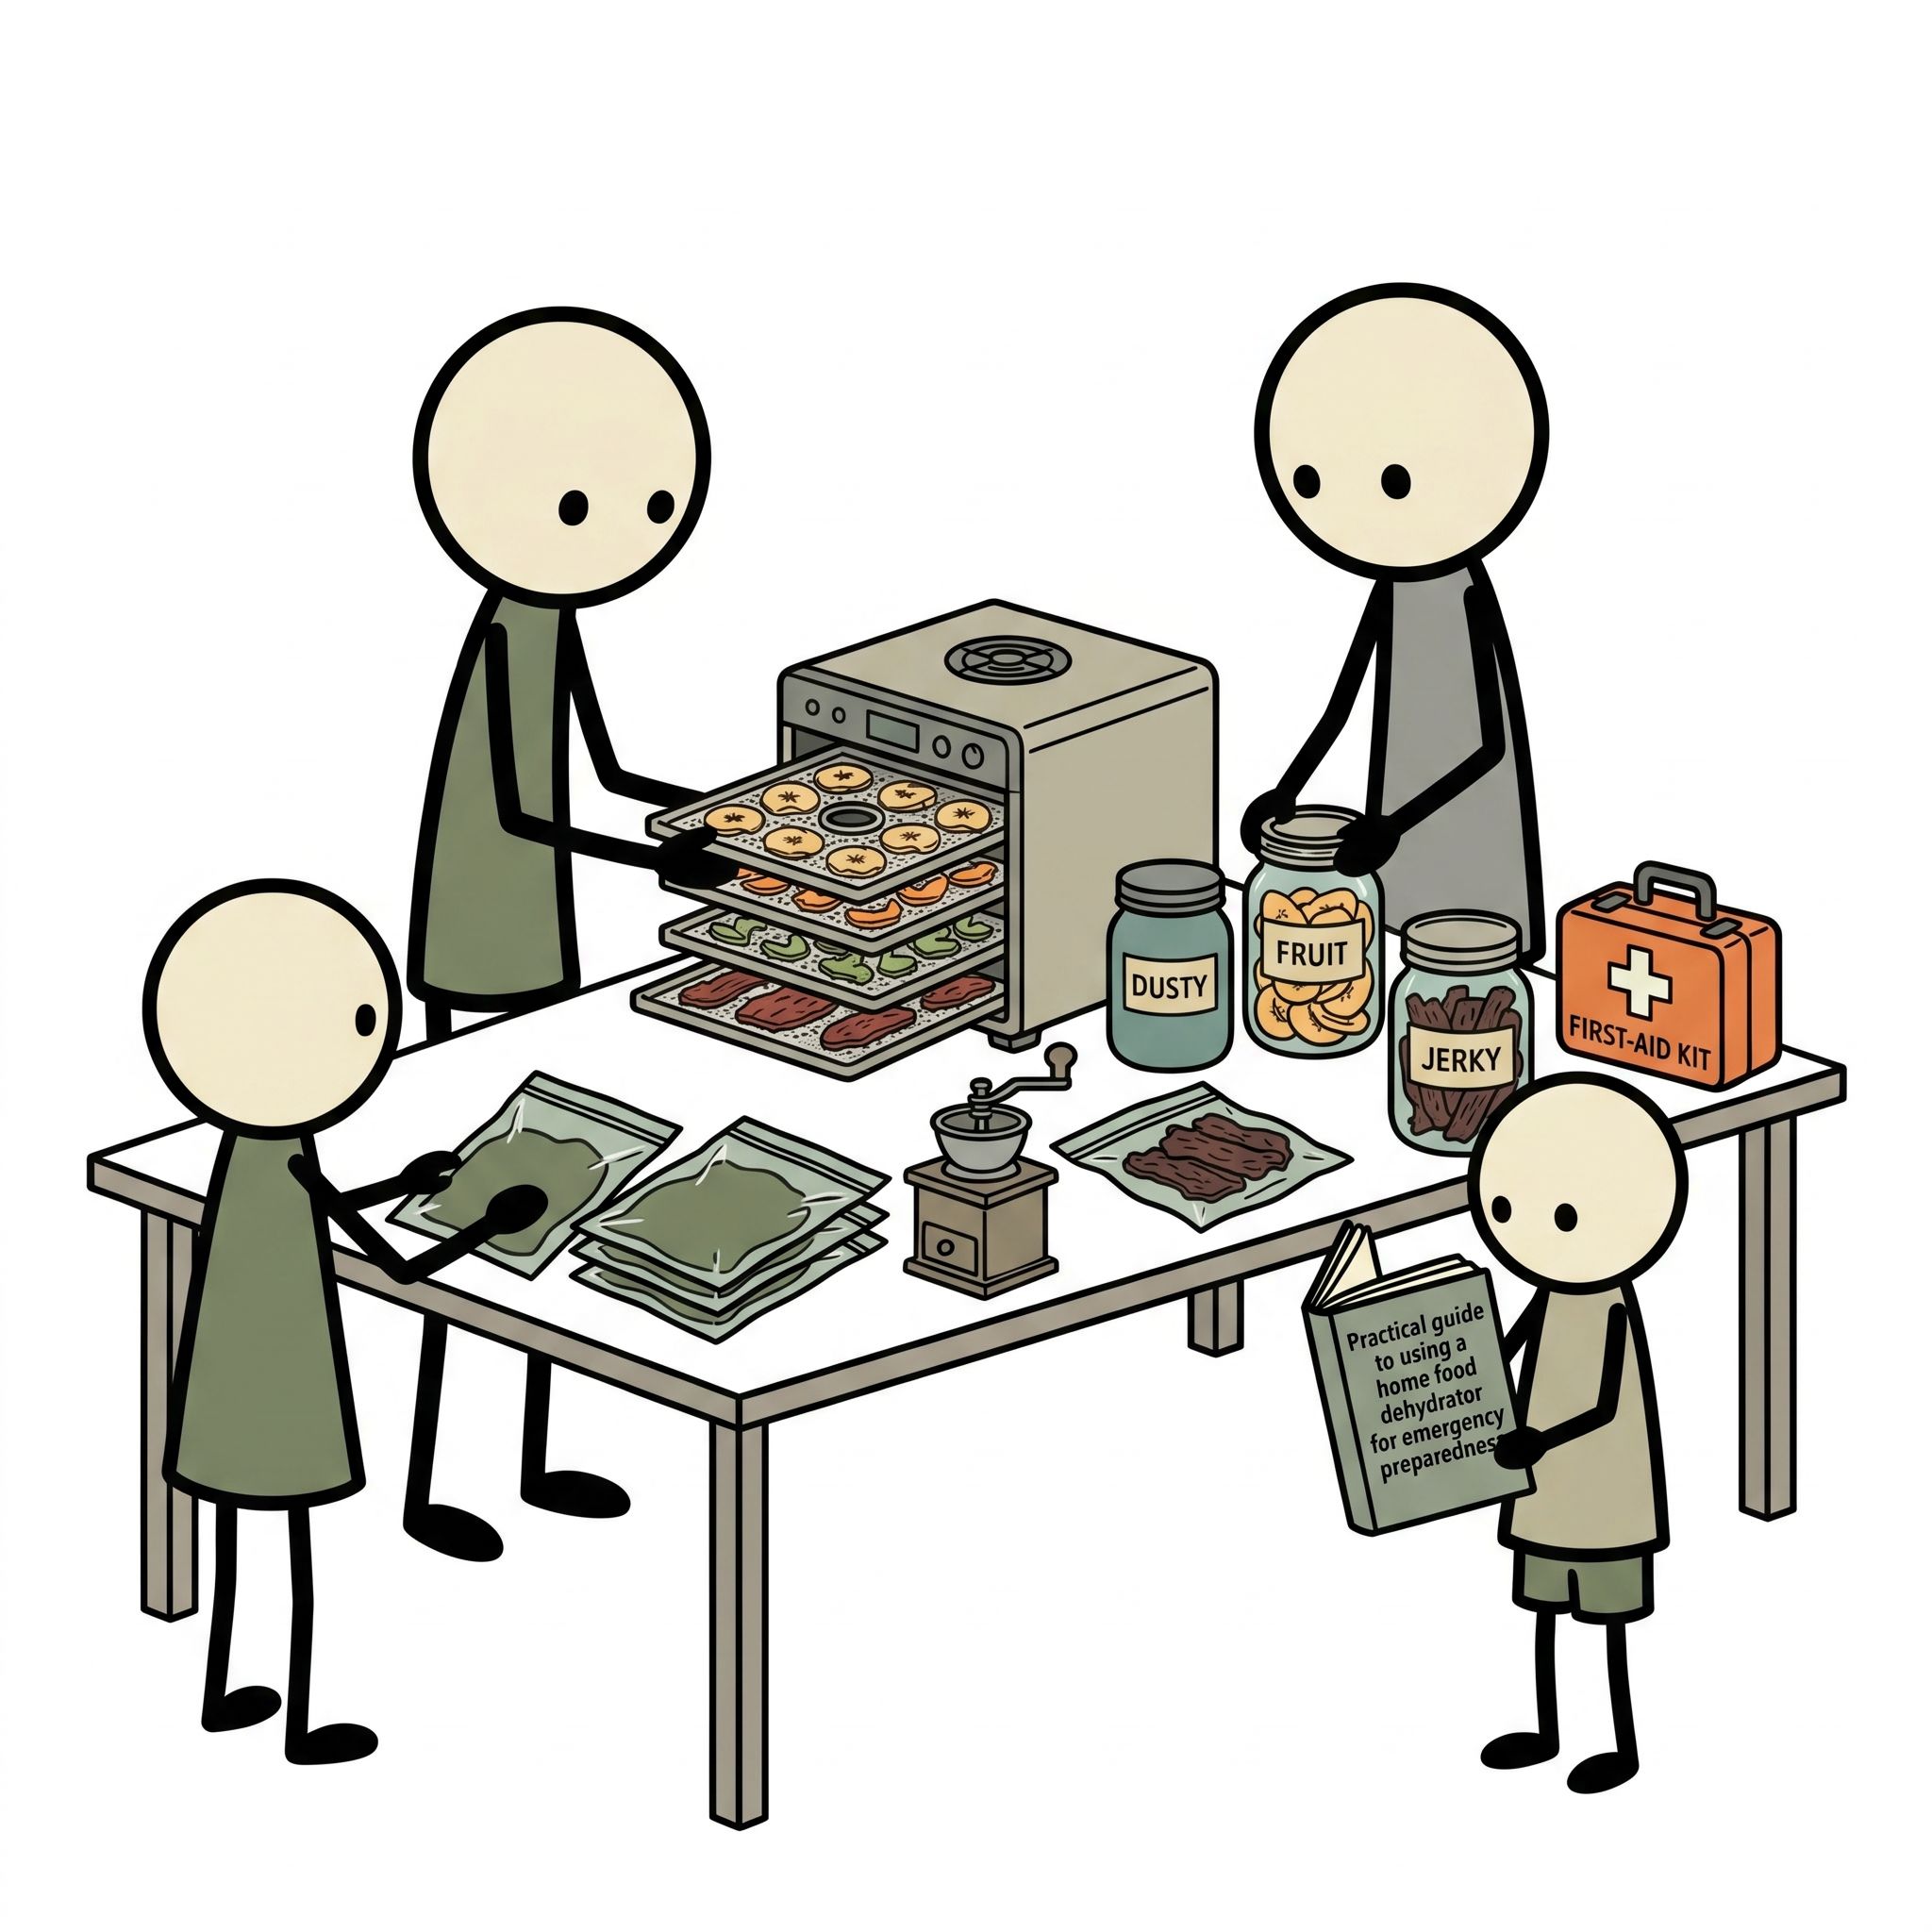
Vegetables are the cornerstone of a healthy diet, providing essential vitamins, minerals, and dietary fiber necessary to maintain health and immune function during high-stress survival situations. Fortunately, almost any vegetable can be successfully preserved using a quality home dehydrator.
The Critical Step: Blanching
Before placing vegetables on your dehydrator trays, most varieties require blanching. Blanching is the process of briefly exposing vegetables to boiling water or steam, followed by an immediate plunge into ice water to stop the cooking process. This step is crucial for emergency storage because it deactivates the natural enzymes responsible for food spoilage, loss of color, flavor degradation, and tough textures during storage.
According to the National Center for Home Food Preservation (NCHFP), blanching also softens the cell walls of vegetables, which actually speeds up the dehydration process and makes subsequent reconstitution much faster when you are ready to cook.
Step-by-Step Vegetable Dehydration
- Preparation: Wash all vegetables thoroughly in clean water. Slice them uniformly into 1/8-inch to 1/4-inch pieces. Uniformity is key; uneven slices will dry at different rates, leaving some pieces damp and prone to mold.
- Blanching: Steam-blanch or water-blanch your prepared vegetables. For example, carrots should be blanched for 3 minutes, potatoes for 5 to 6 minutes, and green beans for 4 minutes. Leafy greens, onions, and peppers do not require blanching.
- Loading the Trays: Arrange the vegetables in a single layer on your dehydrator trays. Ensure they do not overlap, as this restricts airflow and slows drying times.
- Temperature Setting: Set your dehydrator to 125°F to 135°F (52°C to 57°C). Drying at too high a temperature can cause "case hardening," a condition where the outside of the food dries and hardens into a crust, trapping moisture inside and leading to eventual spoilage.
- Testing for Dryness: Vegetables are fully dehydrated when they are brittle, hard, or crisp. If you try to bend a piece of carrot or green bean, it should snap cleanly in half. If it feels spongy or leathery, it requires more time in the dehydrator.
| Vegetable | Preparation & Blanching Time | Dehydrator Temp | Average Drying Time | Finished Texture |
|---|---|---|---|---|
| Carrots | Slice 1/8" thin; blanch 3 mins | 125°F - 135°F | 6 - 10 hours | Tough to brittle |
| Onions | Chop or slice 1/4"; no blanching | 125°F - 135°F | 8 - 12 hours | Brittle / Paper-dry |
| Potatoes | Slice 1/8" or shred; blanch 5-6 mins | 125°F - 135°F | 8 - 12 hours | Brittle / Crisp |
| Bell Peppers | Remove seeds, chop 1/4"; no blanching | 125°F - 135°F | 8 - 12 hours | Tough to brittle |
| Leafy Greens (Kale/Spinach) | Wash, remove stems; no blanching | 125°F | 4 - 8 hours | Crisp / Crumbly |
Dehydrating Fruits: Energy-Dense Survival Snacks
Fruits are an excellent source of quick-burning carbohydrates, natural sugars, vitamin C, and potassium. In an emergency, dried fruits serve as an instant morale booster and a reliable source of clean energy that requires no cooking or reconstitution to consume.
Pre-Treatment for Color and Nutrition
Many fruits, particularly apples, pears, peaches, and bananas, oxidize rapidly when exposed to air, turning brown and losing vitamin content. To prevent this, pre-treat your sliced fruit with an acidic solution before dehydration. You can soak the slices for 5 minutes in a mixture of 1 teaspoon of powdered ascorbic acid (Vitamin C) dissolved in 2 cups of water, or a simple 1:1 solution of lemon juice and water. This step not only preserves the bright color of the fruit but also enhances its long-term shelf stability.
Step-by-Step Fruit Dehydration
- Slicing: Wash, core, and slice fruits into uniform 1/4-inch slices. For berries, leave them whole but puncture the skins (or blanch them briefly to "crack" the skins) to allow moisture to escape.
- Pre-treatment: Dip the fruit slices in your ascorbic acid or lemon juice solution, then pat them dry with a clean towel to remove excess surface moisture.
- Arranging: Place the slices on the dehydrator trays with ample space between them to promote optimal, even airflow.
- Temperature Setting: Dry fruits at 135°F (57°C). This temperature is warm enough to evaporate moisture efficiently without cooking the sugars in the fruit, which can cause a bitter, caramelized flavor.
- Testing for Dryness: Unlike vegetables, dried fruits should generally not be brittle. Instead, they should be pliable, leathery, and slightly chewy. When you squeeze a cooled slice of fruit, no moisture should bead on the surface, and the piece should not feel sticky.
The "Conditioning" Process: An Absolute Must
Even when fruits feel dry, they often contain minor variations in moisture content. To prevent mold growth during long-term storage, you must "condition" your dried fruit.
Place the cooled, dehydrated fruit into clean, clear glass jars, filling them about two-thirds full. Seal the jars and store them on your counter for 7 to 10 days. Shake the jars daily. If you notice any condensation forming on the inside walls of the glass, the fruit is not dry enough. Immediately return the entire batch to the dehydrator for several more hours. If no condensation appears after 10 days, your fruit is perfectly dried and ready for permanent packaging.
---Dehydrating Meat: Safe Protein Preservation
When learning how to dehydrating food for emergency storage, mastering meat preservation is often the most intimidating step. Meat is highly susceptible to bacterial contamination, making food safety paramount. However, when done correctly, dehydrating meat allows you to store lightweight, high-protein rations that can keep you fueled when physical demands are high.
The Critical Safety Rules of Dehydrating Meat
The USDA Food Safety and Inspection Service (FSIS) warns that traditional dehydrators often do not reach temperatures high enough to kill harmful pathogens like Salmonella and E. coli O157:H7. If bacteria survive the dehydration process, they can multiply rapidly once the meat is exposed to any ambient moisture.
To safely make beef jerky emergency prep style, you must ensure the meat reaches an internal temperature of 160°F (71°C) for beef, pork, or game, and 165°F (74°C) for poultry. There are two approved methods to achieve this:
- The Pre-Cook Method (Recommended for Safety): Gently boil or bake your sliced, marinated meat in its marinade until the internal temperature reaches 160°F (or 165°F for poultry) before placing it in the dehydrator. This guarantees that all pathogens are destroyed while the meat is still wet.
- The Post-Dehydration Heat Method: Dehydrate your meat at its highest setting (155°F to 160°F) until fully dry. Immediately transfer the dried jerky to a baking sheet and bake it in a preheated conventional oven at 275°F (135°C) for 10 minutes. This quick thermal blast acts as a secondary kill step.
Selecting the Right Cut
Fat is the ultimate enemy of dehydrated food shelf life. Fat does not dry; instead, it oxidizes and goes rancid quickly, ruining your entire batch of meat. When prepping meat for dehydration, select the absolute leanest cuts available, such as beef eye of round, top round, or London broil. Trim away every visible speck of fat before slicing.
Step-by-Step Jerky Dehydration
- Slicing: Partially freeze the meat for 1 to 2 hours to firm it up. This makes it incredibly easy to slice thin, uniform strips. Slice the meat to a thickness of 1/8 to 1/4 inch. Slice with the grain for a chewy jerky, or against the grain for a tender, easy-to-chew jerky.
- Marinating: Marinate the strips in the refrigerator for 6 to 24 hours. Use an acidic marinade containing salt, soy sauce, Worcestershire sauce, and spices. Salt acts as an additional curing agent, inhibiting bacterial growth.
- Drying: Drain the strips and pat them dry with paper towels to remove excess fat and surface moisture. Arrange them on the trays, ensuring they do not touch.
- Dehydrating: Dry at 145°F to 160°F (63°C to 71°C) for 4 to 8 hours.
- Testing: Let a piece cool completely. Bend it slowly; it should bend and crack slightly, but not snap in two. It should have a dry, fibrous texture throughout when torn open.
Storage Methods: Maximizing Dehydrated Food Shelf Life
Your hard work in preparing and dehydrating your food will go to waste if your storage methods are substandard. Once food is dried, it must be protected from the five enemies of food storage: Light, Heat, Moisture, Oxygen, and Pests (LH-MOP).
The Gold Standard: Mylar Bags and Oxygen Absorbers
For true long-term emergency preparedness, storing your dried goods in high-quality Mylar bags is the gold standard. Mylar is a multi-layered, metalized polyester film that is completely impervious to light, moisture, and oxygen.
To package your food for maximum dehydrated food shelf life:
- Select the Right Bag: Use Mylar bags that are at least 5 mils thick to prevent punctures from sharp, dehydrated food edges (like dried carrots or pasta).
- Add Oxygen Absorbers: Oxygen absorbers (O2 absorbers) are small packets containing iron powder. When sealed inside a bag, they chemically lock up the remaining oxygen, leaving an atmosphere of pure nitrogen which prevents food oxidation and kills any potential insect larvae. Use a 300cc (cubic centimeter) absorber for a 1-quart bag, and a 2000cc absorber for a 1-gallon bag.
- Heat Seal: Use a household flat iron, a hair straightener, or a specialized impulse sealer to seal the open edge of the Mylar bag.
Alternative Storage: Vacuum-Sealed Mason Jars
For short-to-medium-term storage (1 to 3 years), vacuum-sealing food in canning jars is highly effective. You can use a vacuum sealer machine with a jar-sealing attachment to draw the air out of the jar. This is an excellent option for foods you plan to rotate and consume regularly, as the jars can be resealed easily after opening. Always store glass jars in a dark, cool pantry, as light will degrade the nutritional value of the food over time.
Storage Environment
Keep your sealed food containers in a cool, dry, dark location. The ideal storage temperature is between 50°F and 70°F (10°C to 21°C). For every 10°F increase in temperature above 70°F, the shelf life of your stored food is cut in half. Avoid storing your survival pantry in uninsulated garages, attics, or damp crawlspaces.
---Reconstitution and Cooking in the Field
Reconstituting dehydrated food is incredibly simple, requiring only water, heat, and a little patience. In a grid-down situation, preserving fuel is critical, so understanding how to rehydrate your food efficiently is an essential survival skill.
The Water Ratio Rule of Thumb
Generally, you will use a 1:2 ratio of dehydrated food to water. For every cup of dried food, use two cups of clean, potable water.
Rehydration Times
- Vegetables: Soak in boiling water for 15 to 30 minutes, or cold water for 45 to 60 minutes. Cooking them directly in soups, stews, or chilis is the easiest method, as they will absorb the liquid naturally as the meal simmers.
- Fruits: Soak in warm water for 15 minutes, or eat them directly as a dry, chewy snack.
- Meats: Ground beef (dehydrated after cooking and rinsing away fat) reconstitutes in about 10 to 15 minutes in boiling water. Jerky can be eaten dry or chopped and simmered in broths to add protein and rich flavor to rice or bean dishes.
Pro-Prep Tip: Never discard the water used to soak your dehydrated vegetables. During the soaking process, water-soluble vitamins leach out into the liquid. Use this nutrient-rich soaking water as the base for your soups, stews, or gravies to ensure you don't lose valuable nutrition.
---Finding the Best Food Dehydrator for Your Budget
When shopping for the best food dehydrator prepper tool, you will encounter two main designs: vertical airflow (stackable) and horizontal airflow (shelf/box style).
Vertical airflow dehydrators have a fan mounted at the top or bottom, pushing air vertically through stacked trays. They are compact and expandable, but they require you to manually rotate the trays periodically to ensure even drying. Horizontal airflow dehydrators have the fan and heating element mounted at the back of the unit, blowing air evenly across all shelves like a convection oven. This design is highly preferred for emergency preppers because it ensures uniform drying without requiring constant monitoring or tray rotation.
1. The Budget Champion: Nesco Snackmaster Pro FD-75A
For those starting out, the Nesco Snackmaster Pro is a legendary entry-level option. It features a top-mounted fan with 700 watts of drying power and an adjustable thermostat ranging from 95°F to 160°F, which is critical for safe meat dehydration. While it is a vertical-flow unit, its patented Converga-Flow system forces air down an outer chamber and horizontally across each tray, resulting in much more even drying than standard stackable units. It is expandable up to 12 trays, making it a highly versatile, low-cost workhorse.
2. The Mid-Range Powerhouse: Magic Mill Food Dehydrator (7-Tray)
The Magic Mill offers premium horizontal airflow performance at a highly competitive price point. Constructed with a durable housing and featuring stainless steel trays, this unit utilizes a rear-mounted fan to distribute heat perfectly across all levels. It comes equipped with a digital timer and an automatic shut-off feature, allowing you to run dehydration cycles safely overnight. For preppers looking to process medium-sized batches of garden produce or jerky with zero tray-rotation hassle, this is the best value on the market.
3. The Gold Standard: Excalibur 9-Tray Food Dehydrator (3926TB)
If you are serious about large-scale food preservation, the Excalibur 9-Tray is the undisputed king. Made in the USA, this heavy-duty unit boasts 15 square feet of drying space, a large 7-inch rear-mounted fan, and 600 watts of power. It features Excalibur’s patented Parallex Horizontal Airflow technology, which dries food incredibly fast and evenly. The flexible polyscreen tray inserts prevent food from sticking, and the massive capacity allows you to process entire harvest batches in a single run. It is built to last for decades, making it a cornerstone appliance for any serious homestead or survival pantry.
Building Your Long-Term Food Security
True emergency preparedness is not about reacting to panic; it is about establishing a quiet, calculated resilience long before a crisis arrives on your doorstep. By integrating a home food dehydrator into your preparedness strategy, you transform vulnerable, perishable foods into a stable, highly concentrated source of nutrition that can sustain your family for years. Start small by dehydrating seasonal fruits when they are cheap and abundant, master the safety steps of making beef jerky, and invest in proper Mylar packaging. Step by step, batch by batch, you will build a robust, nutrient-dense pantry that grants you peace of mind, no matter what the future holds.
Frequently Asked Questions
What foods dehydrate best for emergency storage?
Vegetables: carrots, onions, celery, mushrooms, tomatoes, peppers, corn - dice, blanch, dehydrate at 125°F for 6-10 hours. Fruits: apples, bananas, berries - slice, treat with lemon juice, dehydrate at 135°F. Meat: lean beef, turkey - slice thin, marinate, dehydrate at 160-165°F for 4-8 hours.
What is the shelf life of home-dehydrated food?
Properly stored with oxygen absorbers: dehydrated vegetables 2-5 years; dried fruits 1-3 years; beef jerky 1-2 years. Quality degrades before safety - older product may taste more bland. Store in cool, dark, dry conditions.
How should I package dehydrated food for long-term storage?
For 1-5+ years: vacuum-seal in bags or Mylar bags with oxygen absorbers (300cc for quart jars), then store in 5-gallon food-grade buckets. Label every container with contents, date, and preparation notes. Store in a cool, dark location - heat is the enemy of shelf life.
Learn food storage solutions with dehydration. Compare with home pressure canning methods. Plan with family emergency planning guides. Use our supply calculator and explore our courses.