⚡ Key Facts
- Unregulated Safety: The EPA does not regulate private wells; over 43 million Americans (approx. 15% of the population) are solely responsible for their own safe drinking water, according to the USGS. For the practical checklist side, use the community emergency preparedness guide.
- Pathogen Intrusion: Following major flooding events, the CDC estimates that up to 50% of shallow wells in affected areas experience microbial contamination from agricultural runoff, sewage, and surface debris. For the practical checklist side, use the neighborhood preparedness network.
- Post-Disaster Latency: Contaminants like arsenic, heavy metals, and volatile organic compounds (VOCs) are odorless and tasteless, meaning well water can look crystal clear while remaining highly toxic. For the practical checklist side, use the emergency communication plan.
- Power Grid Dependency: Standard submersible well pumps require 120V or 240V AC power; without an auxiliary power plan (solar, generator, or manual pump), a grid-down scenario immediately cuts off your Water Calculator.
For millions of households, a private well is the ultimate symbol of self-reliance. It promises independence from municipal infrastructure, freedom from chemical additives like fluoride and chlorine, and a direct line to a pristine underground aquifer. However, this independence comes with a heavy burden of responsibility. When the power grid fails, when floodwaters rise, or when an earthquake shifts the geological strata beneath your feet, your private well transitions from a secure asset to a potential biohazard. Without municipal oversight, you are the water utility manager, the laboratory technician, and the line of defense protecting your family from waterborne pathogens and chemical toxins. Mastering the protocols of well water testing and emergency water preparedness is not merely an off-grid hobby—it is a critical survival discipline. For the practical checklist side, use the family emergency planning guide.
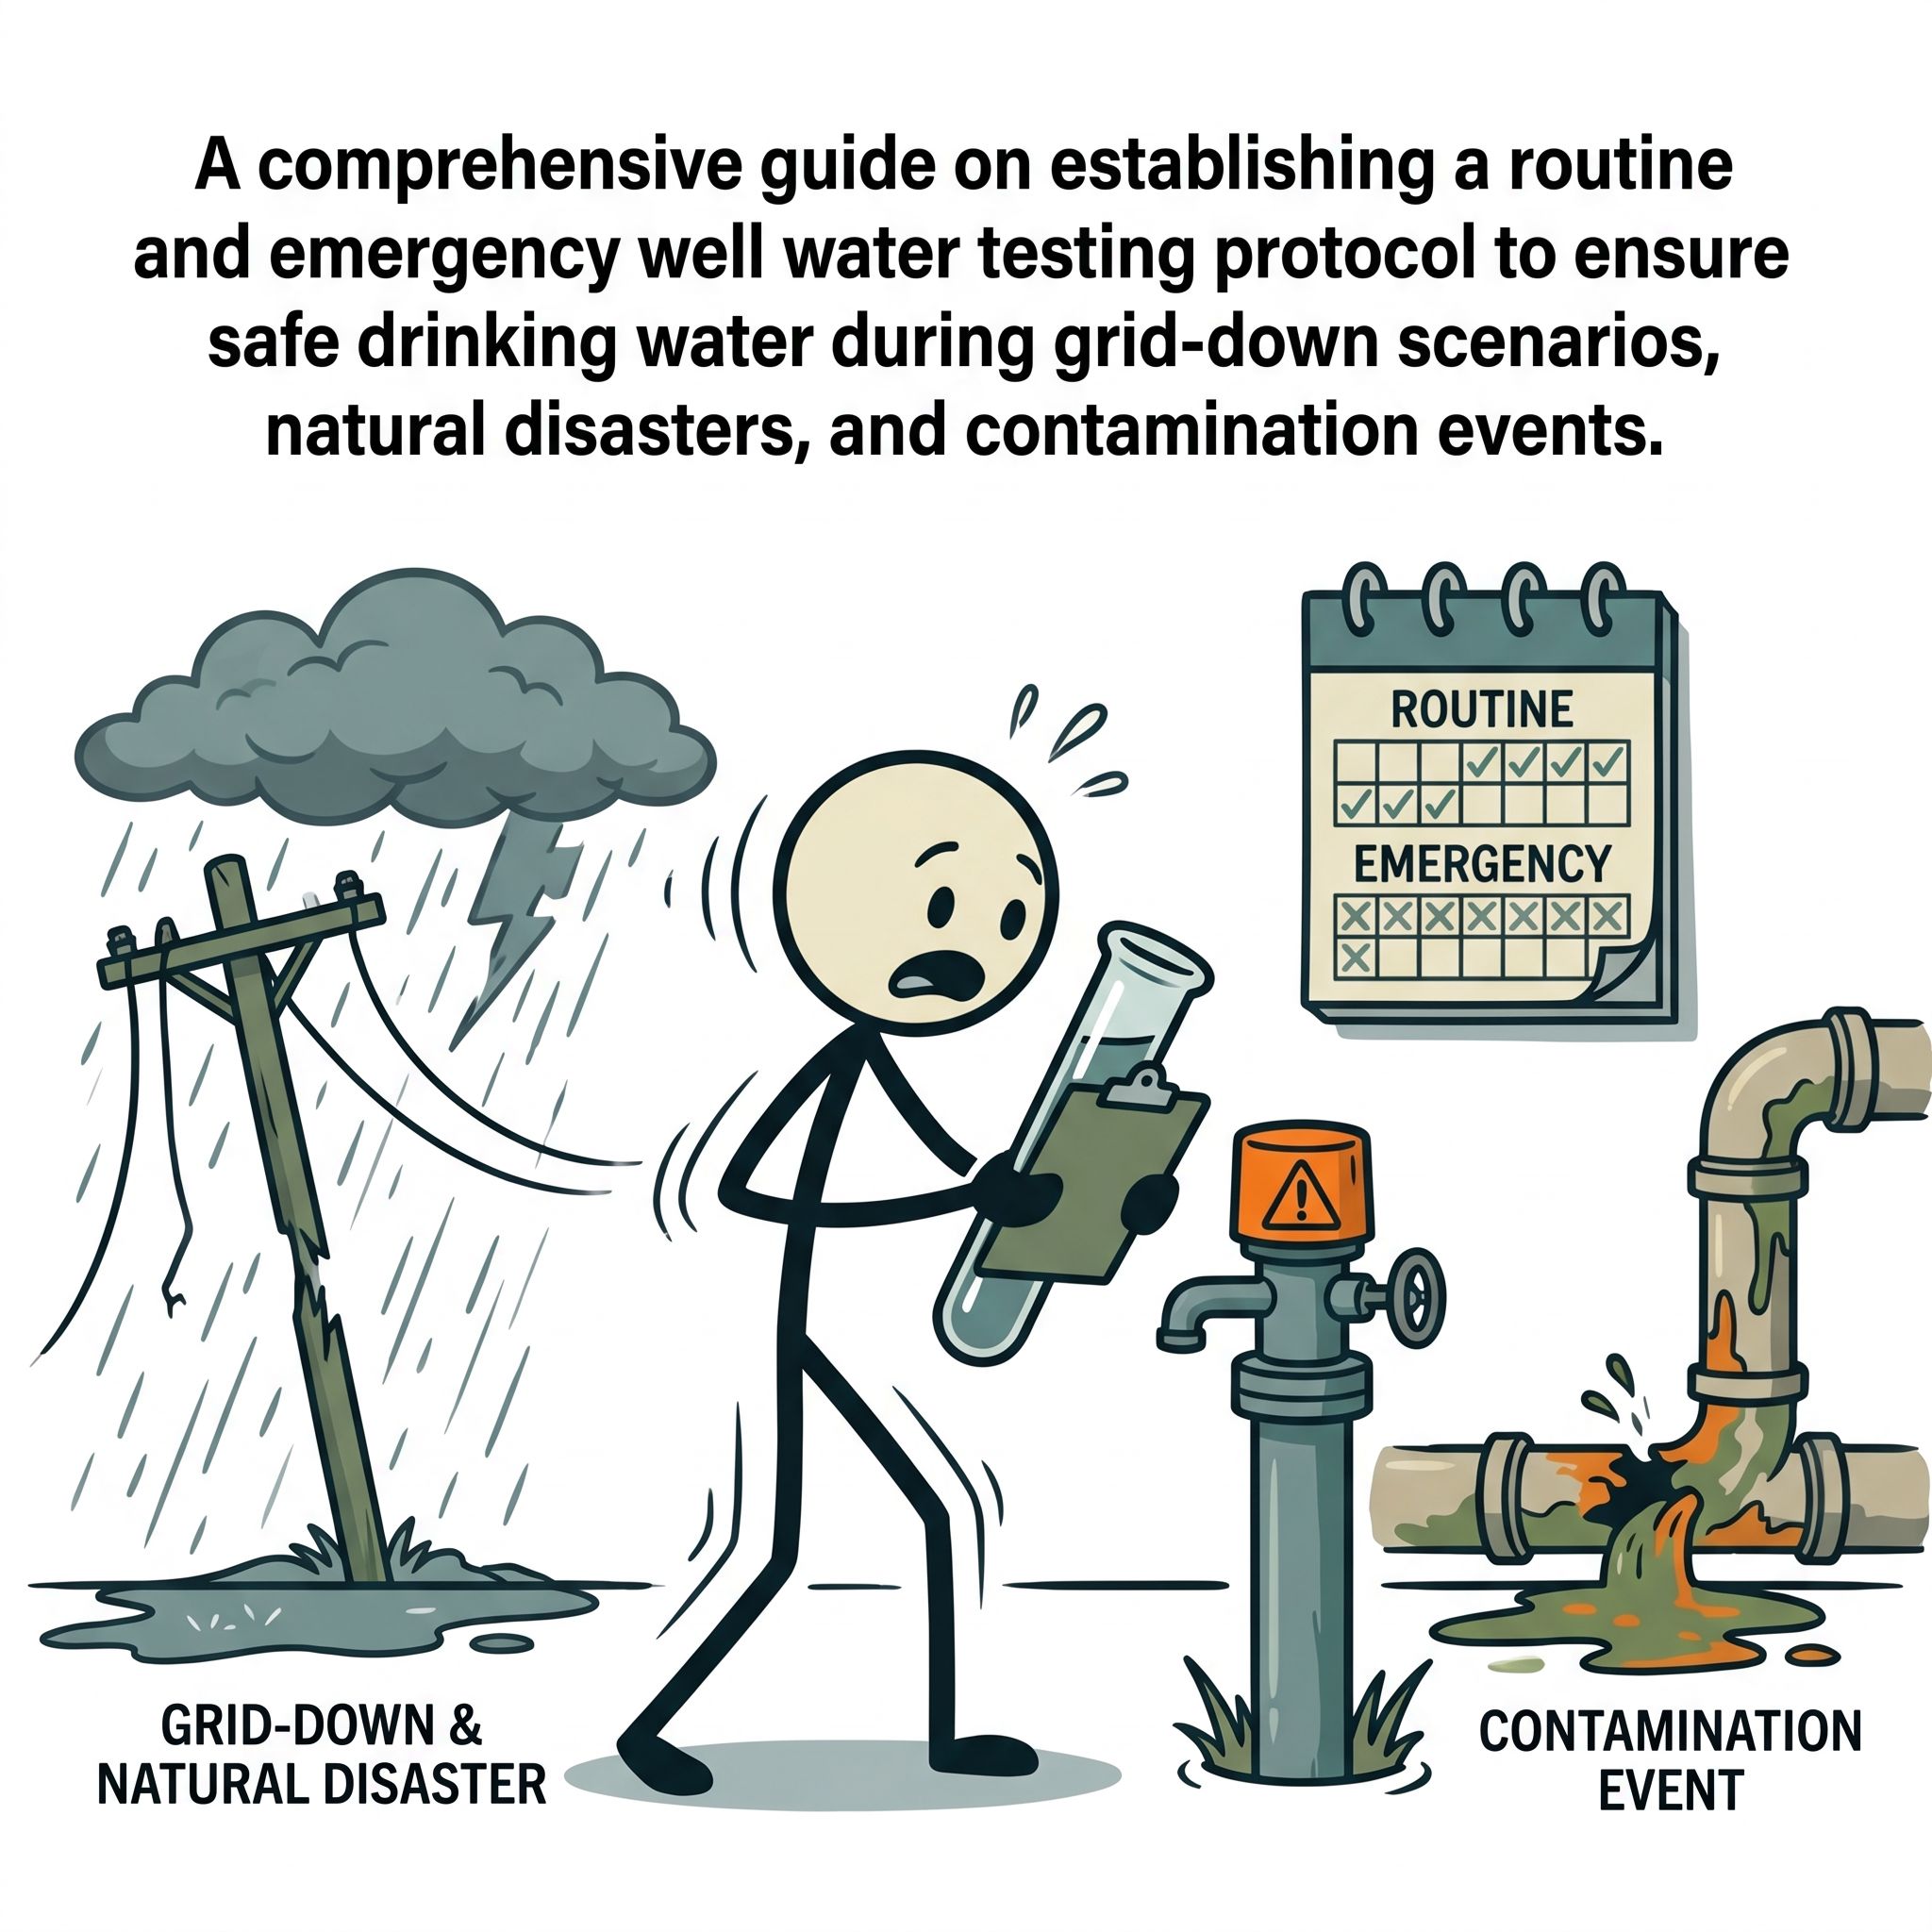
The Hidden Vulnerabilities of Well Systems During Disasters
To secure your water supply, you must first understand how natural disasters compromise underground aquifers and well infrastructure. Many well owners operate under the false assumption that because their water comes from deep underground, it is inherently shielded from surface-level disasters. In reality, the well shaft itself acts as a direct conduit from the surface to the aquifer if the physical integrity of the system is compromised.
Microbial Contamination from Flooding
Flooding is the most common cause of sudden, severe well water contamination. When hurricanes, rapid snowmelts, or torrential rains saturate the ground, floodwaters can submerge the wellhead. If the well cap is not hermetically sealed, or if the vent tube is exposed, highly contaminated surface water will pour directly into your well. This surface water carries a toxic cocktail of livestock feces, ruptured septic system effluent, agricultural pesticides, and industrial chemicals. According to the Federal Emergency Management Agency (FEMA), any well that has been submerged or surrounded by floodwaters must be treated as contaminated and unsafe to drink until it is thoroughly disinfected and tested.
Geological Shifts and Chemical Leaching
Seismic activity, such as earthquakes or nearby heavy construction, can fracture the geological formations holding your aquifer. This can open new pathways for contaminants to travel. A stable well that has produced pristine water for decades can suddenly exhibit high levels of arsenic, radon, or heavy metals like lead and iron due to shifting underground rock layers. Furthermore, these shifts can crack the grout sealing the space between your well casing and the surrounding earth (the annular space), allowing shallow, untreated groundwater to bypass your well's filtration zone and seep directly into your drinking supply.
Wildfires and Volatile Organic Compounds (VOCs)
Wildfires present a unique threat to off grid water safety. The intense heat of a wildfire can melt plastic well casings, electrical wiring insulation, and piping components made of PVC or polyethylene. When these synthetic materials burn or degrade under extreme heat, they release highly toxic Volatile Organic Compounds (VOCs), including benzene, formaldehyde, and styrene, directly into the well column. These chemicals can cling to the interior of your plumbing system, requiring extensive flushing and specialized testing to detect and remediate.
Establishing Your Routine Baseline: The Pre-Crisis Protocol
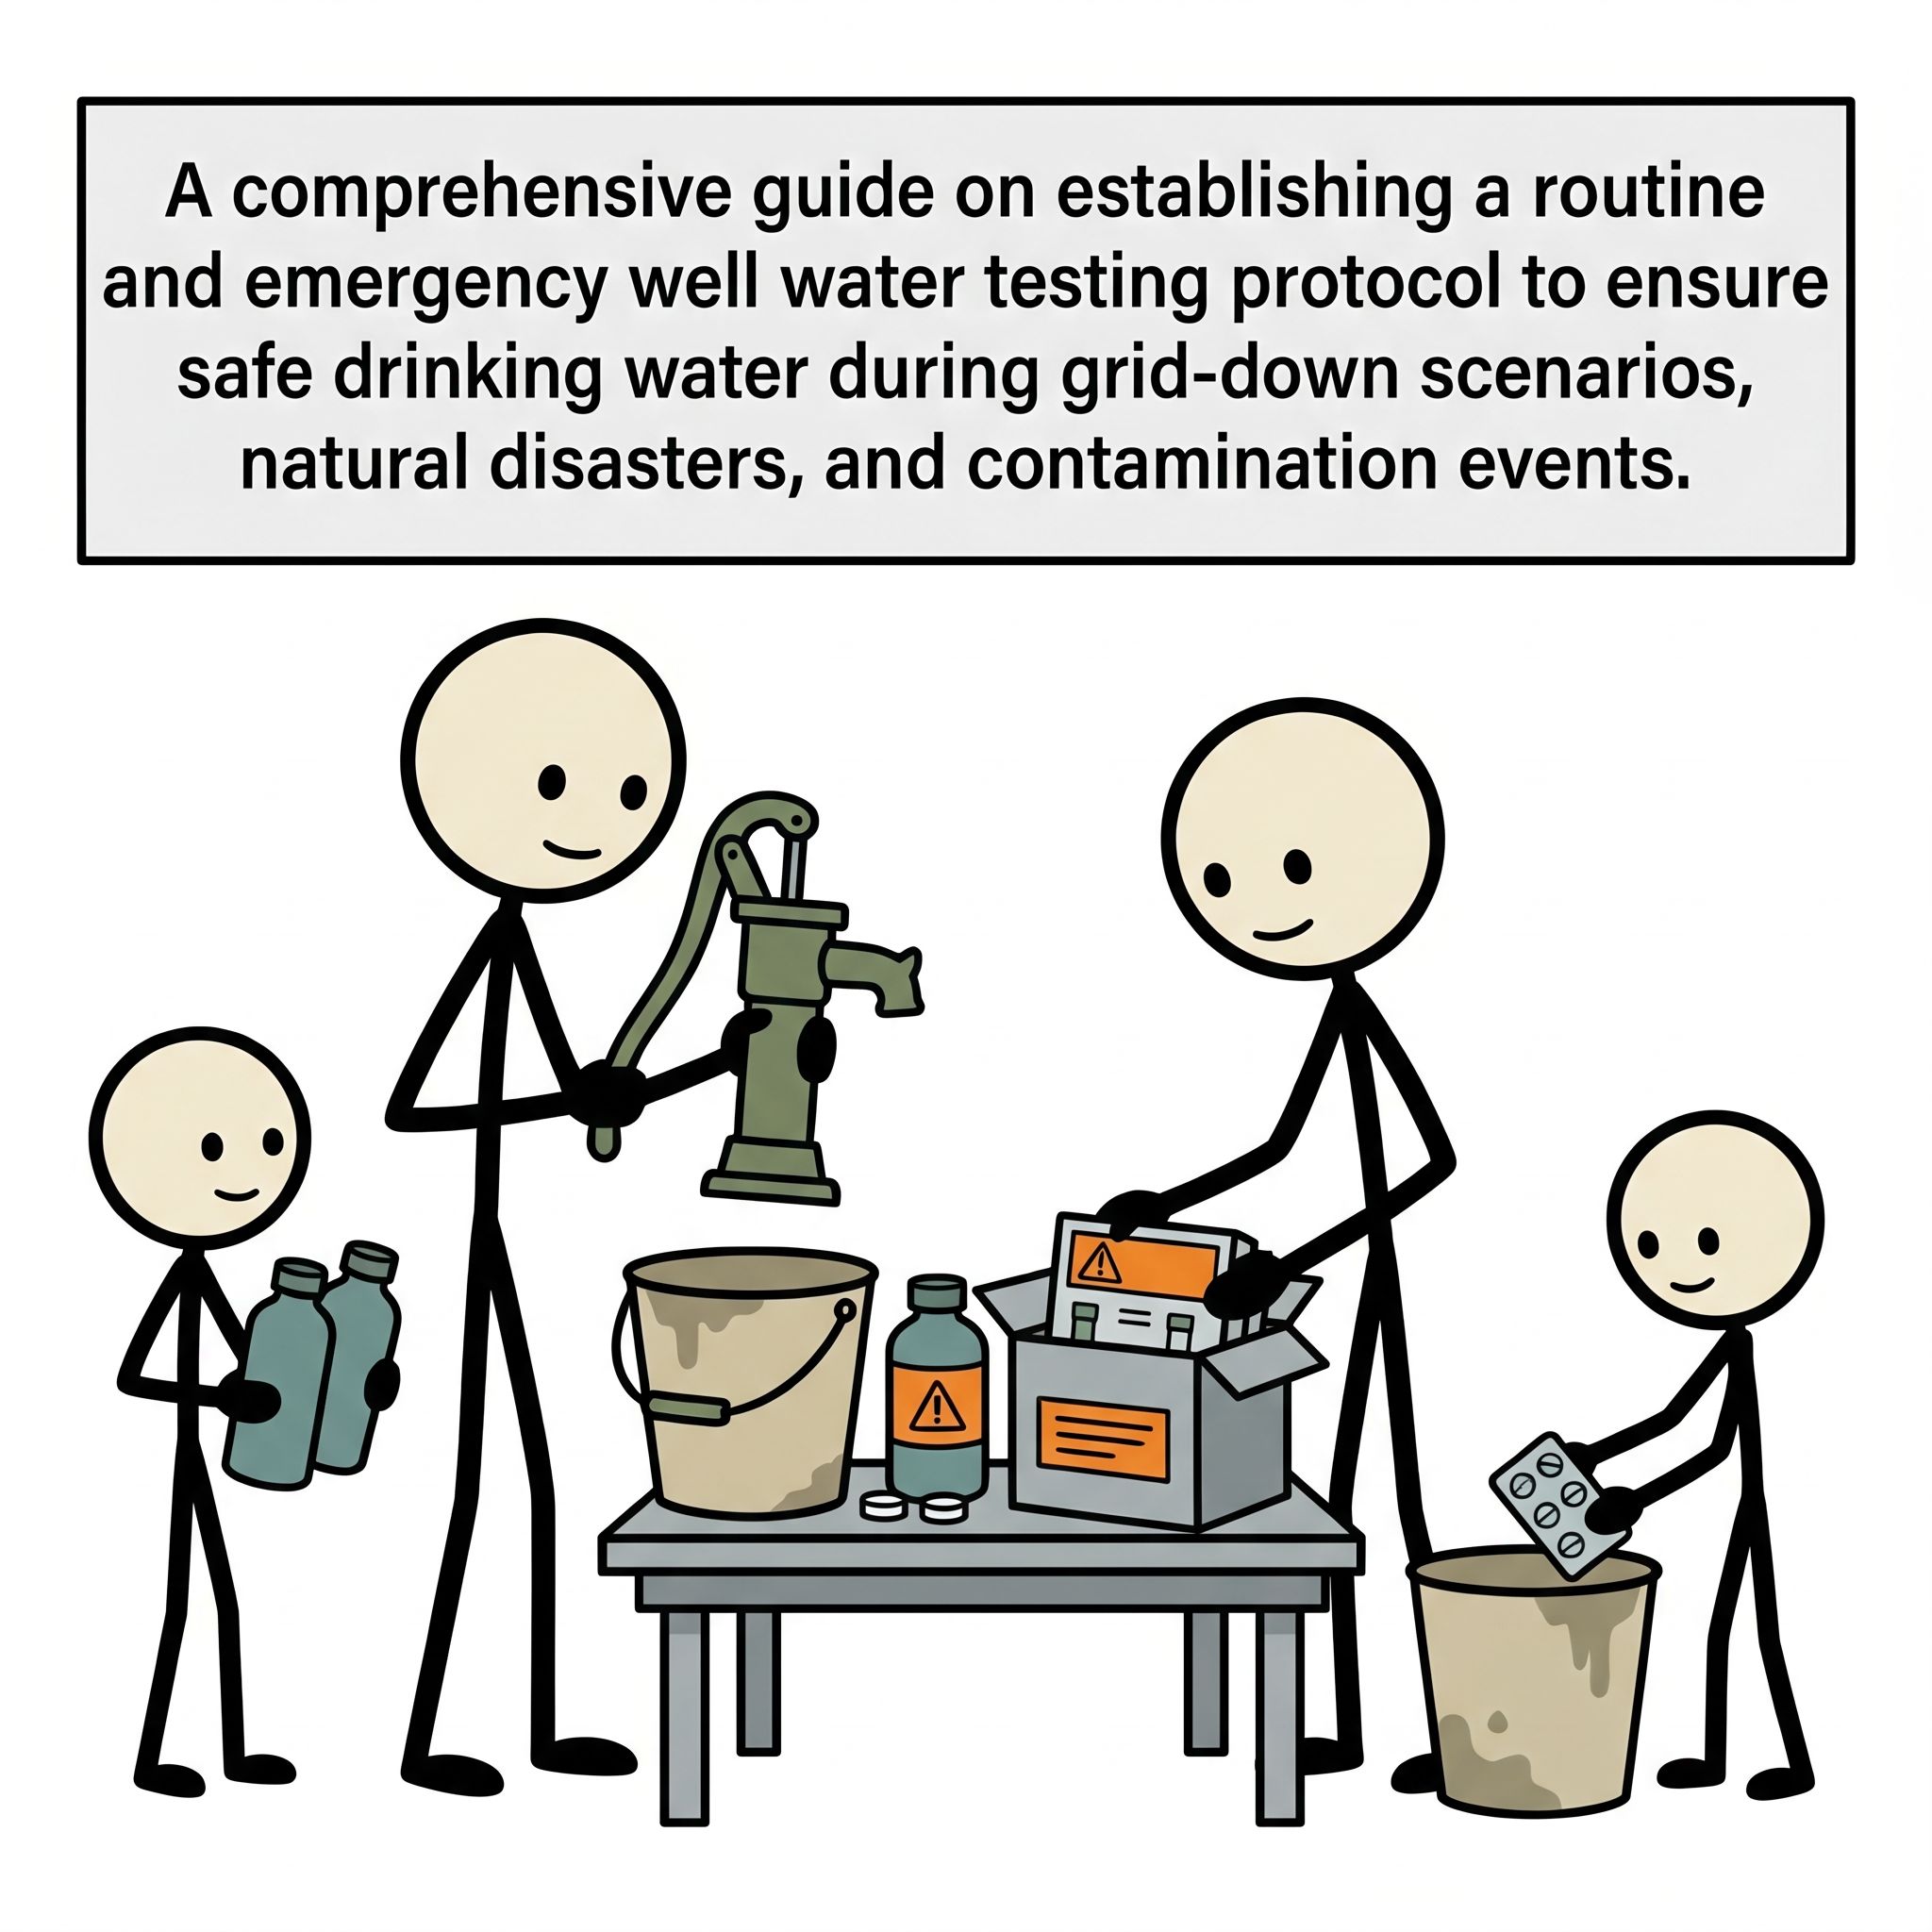
You cannot effectively identify emergency contamination if you do not know what your water looks like under normal operating conditions. Establishing a routine well water testing protocol during "peace-time" provides you with a chemical and biological baseline. This baseline serves as your control group, allowing you to quickly identify anomalies when a crisis occurs.
The Annual Testing Checklist
The Centers for Disease Control and Prevention (CDC) and the Environmental Protection Agency (EPA) recommend that private wells be tested at least once a year for basic water quality indicators. Your annual testing routine should target the following parameters:
- Total Coliform Bacteria: These bacteria are naturally present in the environment and are generally harmless, but their presence indicates that surface water has found a path into your well, bringing potentially dangerous pathogens with it.
- Fecal Coliform and E. coli: A positive result for these bacteria indicates direct contamination from human or animal waste, posing an immediate risk of severe gastrointestinal illness.
- Nitrates and Nitrites: Common in agricultural runoff and septic system leaks. High levels are particularly dangerous to infants, causing "blue baby syndrome" (methemoglobinemia).
- pH Levels: Healthy drinking water should fall between 6.5 and 8.5. Highly acidic water (low pH) can corrode copper and lead pipes, leaching toxic metals into your drinking water.
- Total Dissolved Solids (TDS): A measure of the inorganic and organic substances dissolved in your water. Rapid changes in TDS are a primary indicator of aquifer destabilization or surface water intrusion.
The 3-to-5-Year Deep Dive
Every three to five years, or if you notice a sudden change in taste, odor, or color, you should conduct a comprehensive chemical screening. This panel should include testing for heavy metals (lead, arsenic, mercury, chromium, and copper), volatile organic compounds (VOCs), radon, and pesticides. Keep a physical logbook of these lab results alongside your emergency water preparedness gear. If you ever need to analyze your water during an emergency, this logbook will be your most valuable reference tool.
How to Collect a Sterile Lab Sample
To ensure your routine tests are accurate, you must master the art of sterile sample collection. Improper collection technique can introduce skin bacteria or faucet grime into the sample, yielding a false positive that can cause unnecessary panic.
- Select the Right Tap: Use an indoor, non-swivel faucet that does not have a purification system, aerator, or water softener attached. The cold water tap in a utility sink or bathtub is often ideal.
- Sanitize the Faucet: Remove the aerator screen if present. Clean the mouth of the faucet with an alcohol wipe or a diluted bleach solution to kill any surface bacteria residing on the metal.
- Flush the System: Run the cold water on high for 3 to 5 minutes. This flushes stagnant water from your home’s plumbing and ensures you are drawing fresh water directly from the well pressure tank and aquifer.
- Fill the Container: Reduce the water flow to a gentle stream to prevent splashing. Carefully open the sterile sample bottle provided by the laboratory, taking care not to touch the inside of the cap or the rim of the bottle. Fill the bottle to the designated line, leaving a small air gap, and immediately seal it.
- Preserve and Transport: Label the bottle with your name, date, time, and location of collection. Keep the sample cold (on ice, but not frozen) and transport it to the certified laboratory within 24 hours of collection.
The Emergency Well Water Testing Protocol (Post-Disaster)
When a natural disaster strikes or the grid goes down, your routine testing protocol must adapt to a rapid-response emergency footing. In a true grid-down scenario, professional laboratories may be closed, roads may be impassable, and mail services may be suspended. You must be prepared to evaluate your water safety independently.
Step 1: Visual and Physical Inspection
Before you draw a single drop of water, conduct a thorough physical inspection of your wellhead infrastructure. If the wellhead is physically compromised, the water inside must be treated as contaminated, regardless of how clear it looks.
- Check the Well Cap: Is the sanitary seal intact? Has the cap shifted, cracked, or been submerged by floodwaters?
- Examine the Electrical Conduit: Are the wires leading into the wellhead frayed, burnt, or disconnected? If water has entered the electrical conduit, do not attempt to power the pump.
- Inspect the Surrounding Soil: Look for signs of erosion or sinkholes around the well casing. If the earth has washed away, surface water can travel down the outside of the casing directly into your water source.
- Assess Turbidity and Odor: Fill a clean glass container with water. Is it cloudy, discolored, or containing visible sediment? Does it smell of sulfur (rotten eggs), fuel, chemicals, or decaying organic material? Any change in physical characteristics is an automatic red flag.
Step 2: Understanding the Limits of Off-Grid Testing
In a prolonged grid-down scenario, you will need to rely on DIY test kits. It is critical to understand that while these kits are invaluable, they have limitations. No portable, off-grid kit can match the precision of a mass spectrometer in a certified laboratory. However, they can tell you with a high degree of certainty whether your water contains dangerous levels of bacteria, high acidity, or toxic concentrations of specific chemicals.
| Testing Method | What It Detects | Pros | Cons |
|---|---|---|---|
| Presence/Absence (P/A) Gel Kits | Coliform and E. coli bacteria | Highly accurate for biological threats; easy to read (color change). | Requires 24-48 hours of incubation at warm temperatures. |
| Digital TDS Meters | Total Dissolved Solids (mineral/salt concentration) | Instant readings; battery-operated; highly reusable. | Cannot distinguish between safe minerals and toxic chemicals. |
| Chemical Test Strips | pH, Nitrates, Lead, Copper, Iron, Free Chlorine | Rapid results (seconds); inexpensive; long shelf life. | Semi-quantitative; color matching can be subjective. |
| Photometer/Colorimeter | Precise levels of chlorine, heavy metals, and organic compounds | Lab-grade digital accuracy in the field. | Expensive; requires calibrated reagents and power source. |
How to Test Well Water Without a Lab: Your Off-Grid Toolkit
To maintain off grid water safety, you must curate and store an emergency water testing kit. This kit should be stored in a durable, waterproof, and temperature-controlled container (such as a Pelican case) alongside your other survival gear. Here is how to utilize the core components of your off-grid testing kit.
Biological Testing: The Presence/Absence (P/A) Test
The most immediate threat to human life in a post-disaster water scenario is biological. Pathogens like Vibrio cholerae, Salmonella, and E. coli can cause rapid dehydration, organ failure, and death. To test for these pathogens off-grid, use a Presence/Absence (P/A) test kit that utilizes a dry nutrient medium containing a fluorogenic substrate.
- Collect a 100ml water sample directly from the well source into the sterile testing vial provided in the kit.
- Dissolve the dry nutrient powder into the water sample by shaking gently.
- Incubate the sample. This is the trickiest part of off-grid testing. These bacteria require a temperature of 95°F (35°C) to multiply rapidly. In a grid-down scenario, you can construct a DIY incubator using a well-insulated cooler filled with warm water bottles, or by keeping the sample vial close to your body (such as in an inner pocket of your clothing) for 24 to 48 hours.
- Observe the color change. If the water turns yellow (or glows blue under a portable UV light, depending on the brand), coliform bacteria are present. If the color remains unchanged, the biological risk is low.
Chemical and Mineral Testing: Digital Meters and Strips
Once you have assessed biological safety, you must check for chemical anomalies. Begin with your digital TDS meter. Dip the electrodes into a clean glass of your well water. Compare the reading to your pre-crisis baseline. A sudden spike in TDS (for example, jumping from 150 ppm to 800 ppm) indicates that surface runoff, mineral leaching, or saltwater intrusion has occurred, rendering the water unsafe until filtered or distilled.
Next, use multi-parameter chemical test strips to check pH and nitrate levels. Dip the strip into the water for the designated time (usually 2 seconds), shake off the excess, and compare the color pads to the chart on the bottle. If your nitrates exceed 10 mg/L (expressed as Nitrogen), do not consume the water, and do not attempt to boil it to remove nitrates—boiling actually concentrates nitrate levels through evaporation.
Mitigating Contamination: Emergency Treatment and Purification
If your emergency testing reveals contamination, or if you are forced to use your well water before testing can be completed, you must implement a multi-stage purification protocol. Never rely on a single method of water treatment when dealing with unknown post-disaster water quality.
Shock Chlorination: The Ultimate Well Reset
If your well tests positive for coliform bacteria or has been breached by floodwaters, you must perform shock chlorination. This process floods the well casing, pump, and distribution lines with a highly concentrated chlorine solution to sanitize the entire system. Note: This process should only be done after floodwaters have completely receded below the wellhead.
- Calculate the Volume: You must determine how much water is in your well column to calculate the correct amount of bleach. To do this, subtract the static water level depth from the total depth of the well. Use the standard formula: Volume (gallons) = Height of Water Column x Gallons per Foot (for a standard 6-inch casing, this is approximately 1.5 gallons per foot).
- Prepare the Chlorine Solution: Use ordinary, unscented liquid household bleach (5.25% to 8.25% sodium hypochlorite). Avoid splashless or scented formulas. As a general rule of thumb, use 3 gallons of bleach per 100 feet of water column. Mix the bleach with 10 gallons of clean water in a large plastic bucket before pouring it down the well casing.
- Recirculate the Water: Connect a garden hose to an outdoor spigot and run the hose directly back into the top of the well casing. Turn on the pump and let the water run back into the well for at least 30 minutes, or until you smell a strong odor of chlorine coming out of the hose. This ensures the chlorinated water is thoroughly mixed throughout the well column.
- Flush the Household Lines: Go inside the house and turn on every cold water tap (sinks, showers, outdoor spigots) one by one. Run the water until you smell chlorine at each tap, then turn it off. Don't forget to flush toilets and run a cycle on your washing machine and dishwasher to draw the chlorinated water through those lines as well.
- Let It Stand: Allow the chlorinated water to sit undisturbed in the well and plumbing system for a minimum of 12 to 24 hours. During this period, do not use the water for drinking, bathing, or laundry.
- Flush the System Clean: Connect your garden hose to an outdoor spigot and run the water onto an open area away from your septic system, garden, and lawn (high chlorine concentrations will kill vegetation and beneficial septic bacteria). Run the water until the strong smell of chlorine completely dissipates. This can take several hours.
- Re-Test: Wait 7 to 10 days of normal well usage before conducting another biological test. Do not consume the water without boiling or filtering until a P/A test confirms the well is completely free of coliform bacteria.
Point-of-Use Emergency Filtration
When shock chlorination is not possible, or while you wait for your well to clear, you must treat your water at the point of use. A robust off-grid water safety strategy utilizes a multi-barrier filtration approach.
The Triple-Barrier Filtration Method
- Stage 1: Mechanical Pre-Filtration (Sediment Removal): Pass your raw well water through a clean cotton cloth, a paper coffee filter, or a dedicated 5-micron sediment filter. This removes suspended solids, sand, and rust, preventing them from clogging your finer purification filters in the next stages.
- Stage 2: Adsorption (Activated Carbon): Run the pre-filtered water through a high-quality activated carbon block filter. Carbon is highly effective at adsorbing organic chemicals, pesticides, chlorine, VOCs, and improving taste and odor.
- Stage 3: Micro-Filtration or Purification (Pathogen Removal): The final barrier must physically block pathogens. Use a gravity-fed ceramic or hollow-fiber membrane filter with an absolute pore size of 0.1 microns or smaller (such as a Sawyer or Berkey system). These filters physically block 99.999% of bacteria and protozoa. If viruses are suspected (common in areas with widespread sewage contamination), you must supplement filtration with chemical disinfection (chlorine dioxide tablets) or boiling.
Powering Your Well in a Grid-Down Scenario
A comprehensive emergency water preparedness plan must address the mechanical realities of drawing water without grid power. If you cannot get the water out of the ground, your testing protocols and filtration gear are useless.
Manual Hand Pumps (The Fail-Safe Back-Up)
The most reliable backup system for a private well is a manual hand pump installed in parallel with your existing submersible electric pump. High-quality deep-well hand pumps (such as the Simple Pump or Bison Pump) can draw water from depths of up to 325 feet. These pumps fit inside your existing well casing alongside your electric pump wire and drop pipe, ensuring that you can manually pump water even during a total electromagnetic pulse (EMP) or long-term grid collapse.
Solar and Generator Power Systems
If your well pump is deep (exceeding 300 feet), manual pumping becomes physically exhausting and impractical for long-term survival. You must design a power backup system capable of handling the high "startup surge" (inductive load) of a submersible pump motor.
- Traditional Generators: Ensure your portable generator has a 240V outlet and sufficient peak wattage to start your pump. A typical 3/4 HP pump requires approximately 1,500 running watts but needs up to 4,000 watts to start up. Always use a professional manual transfer switch to connect your generator to your well pump safely, preventing dangerous electrical backfeeding.
- Solar Photovoltaic Systems: For a truly sustainable off-grid water safety setup, install a dedicated solar well pump controller. Modern DC-powered submersible pumps can run directly off solar panels without the need for expensive battery banks or inverters. During peak sunlight hours, the pump fills a gravity-fed elevated storage tank, providing pressurized water to your home day and night without consuming a single drop of fuel.
Synthesizing Your Well Water Protocol
Securing your water supply during a crisis is not a matter of luck; it is a matter of systematic execution. By establishing a routine testing protocol today, you gain the knowledge required to identify contamination tomorrow. By stocking a dedicated off-grid testing kit and mastering the physical mechanics of shock chlorination, filtration, and alternative power, you transform your private well from a vulnerability into an impregnable fortress of self-reliance. True survival preparedness is defined by the transition from passive dependency to active stewardship. Take control of your water supply, document your baselines, and build the infrastructure necessary to protect your family's most fundamental resource when the rest of the world goes dark.
Frequently Asked Questions
How often should I test my well water for emergency preparedness?
Test your well water at least once a year for bacteria, nitrates, and local contaminants, and immediately after any natural disaster like flooding.
What should I test my well water for after a flood?
Test for coliform bacteria, E. coli, nitrates, and any localized chemical contaminants that may have washed into the wellhead.
How do I disinfect my well if it becomes contaminated during an emergency?
Perform shock chlorination using unscented household bleach, let it sit in the system for 12 to 24 hours, flush it out, and retest before drinking.
Can I use a standard backpacking filter for contaminated well water?
No, standard backpacking filters only remove pathogens like bacteria and protozoa; they do not remove chemical contaminants, heavy metals, or viruses.
What are the signs that my well water might be unsafe after a disaster?
Changes in water color, clarity, odor, or taste, as well as physical damage to the wellhead or standing water around it, indicate potential contamination.