⚡ Key Facts
- Rope Strength Reduction: According to the United States Coast Guard (USCG) auxiliary manuals, tying any knot in a line can reduce its overall breaking strength by 30% to 50% due to the tight bends created in the cordage. For the practical checklist side, use the community emergency preparedness guide.
- First Aid Standards: The American Red Cross wilderness first aid protocols mandate the use of flat-profile binding knots, such as the Square Knot, to secure splints and triangular bandages without causing pressure points on injured tissue. For the practical checklist side, use the neighborhood preparedness network.
- FEMA Rescue Standards: The Federal Emergency Management Agency (FEMA) and National Fire Protection Association (NFPA) recognize specific high-strength knots, like the Figure-Eight on a Bight, as standard for life-safety and rescue operations. For the practical checklist side, use the emergency communication plan.
- Environmental Degradation: The National Oceanic and Atmospheric Administration (NOAA) warns that UV exposure and saltwater can degrade synthetic utility ropes by up to 40% over a single season of exposure, making proper knot selection and rope maintenance critical. For the practical checklist side, use the family emergency planning guide.
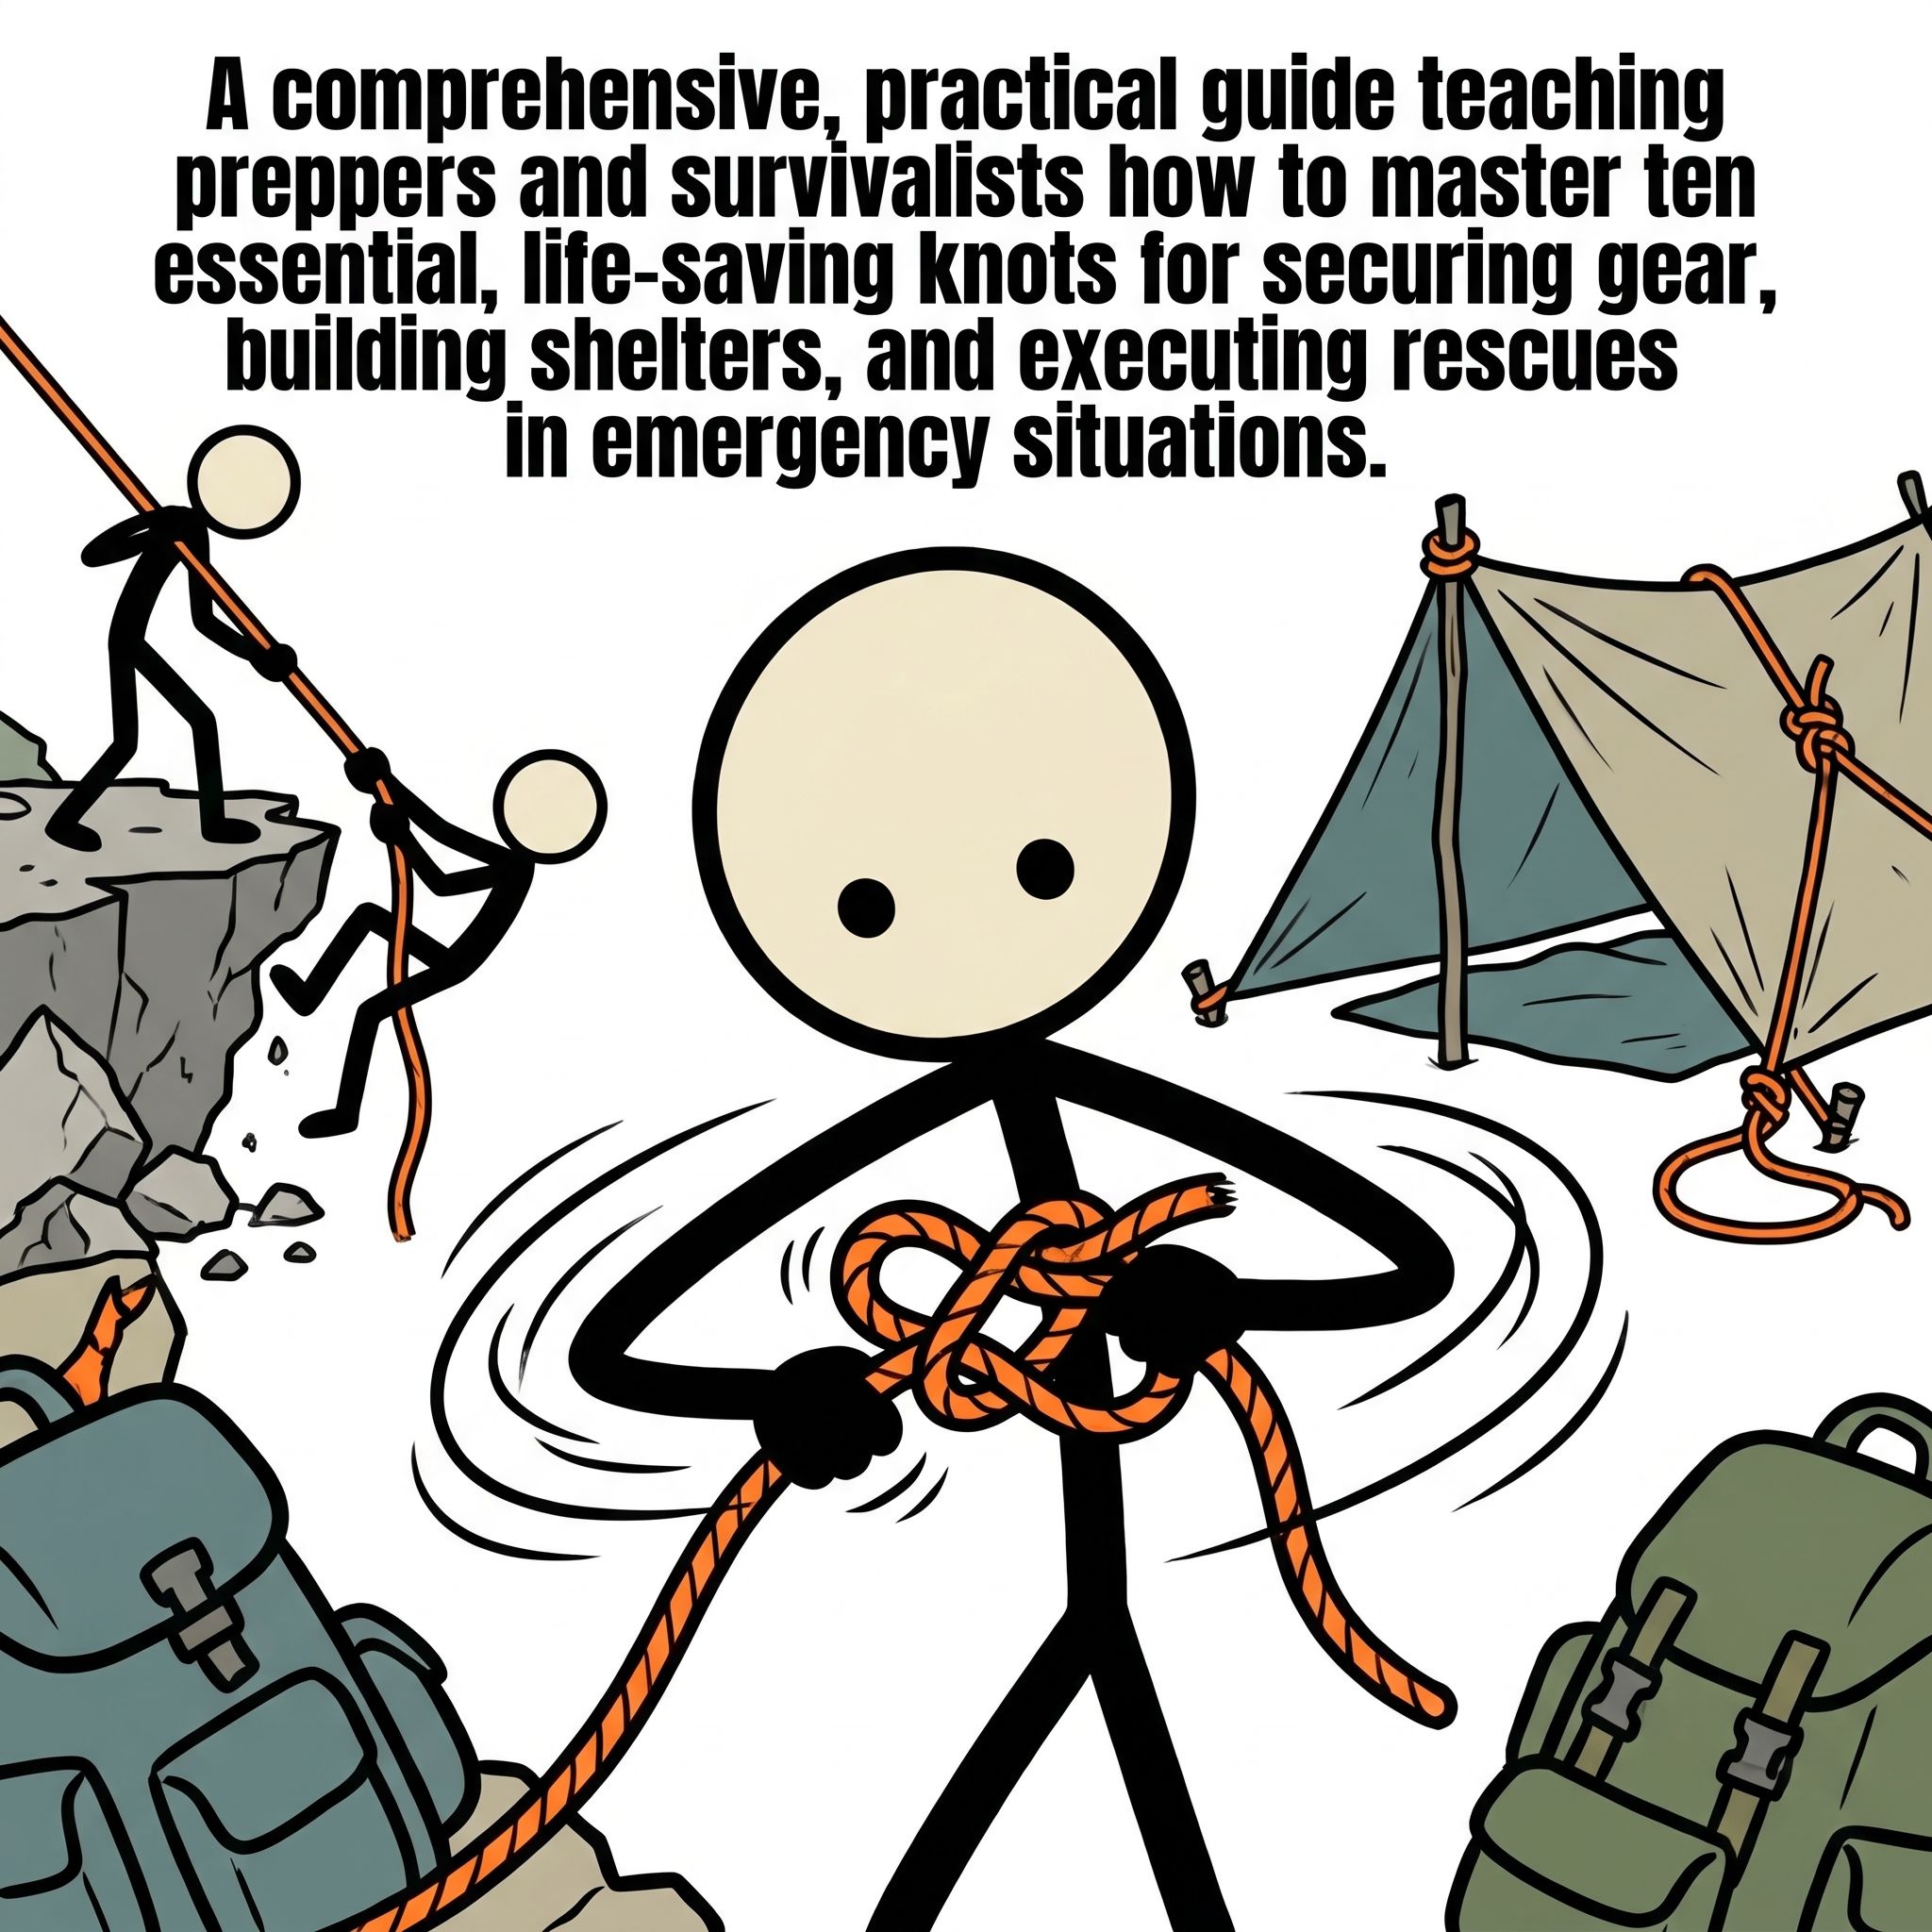
Imagine finding yourself in the immediate aftermath of a severe weather event, such as an inland hurricane or a sudden flash flood. The National Oceanic and Atmospheric Administration (NOAA) reports that extreme weather events are occurring with increasing frequency, forcing thousands of families into emergency evacuations each year. In these high-stakes scenarios, your survival often depends on the physical integrity of your gear, your shelter, and your rigging. Whether you are securing a heavy tarp against 50-knot winds, lashing gear to a vehicle's roof rack during a rapid bug-out, or constructing a mechanical hoist to pull a family member out of a steep ravine, the ability to tie reliable knots is a foundational pillar of self-reliance. This comprehensive guide will teach you the mechanics, applications, and execution of ten essential survival knots that every prepper must master before disaster strikes.
The Science of Rope and Knot Mechanics
Before diving into individual knots, it is crucial to understand the physics of cordage. A rope’s strength is determined by its material composition and construction—most commonly nylon, polyester, or Kernmantle rope in modern survival kits. When you tie a knot, you introduce sharp bends and turns into the line. These bends compress the fibers on the inside of the curve and stretch the fibers on the outside, creating stress concentration points. Under load, the rope will almost always fail at the knot rather than in the middle of a straight run.
To mitigate this loss of strength, emergency preparedness professionals use specific knots designed for specific tasks. Selecting the wrong knot can lead to slippage (especially in modern synthetic ropes like 550 paracord, which has a slick nylon sheath) or catastrophic failure. Understanding knot tying for survival requires learning how to "dress" a knot—arranging the turns so they lie flat and parallel—and "setting" it by tightening all four strands individually. This ensures the knot performs exactly as engineered under sudden stress.
Key Terminology for Knot Tying
To follow the instructions in this guide, you must familiarize yourself with standard ropework terminology:
- The Working End: The active end of the rope used to tie and form the knot.
- The Standing Part: The inactive portion of the rope that is not involved in making the knot; this usually leads back to the anchor or rope coil.
- The Bight: A simple U-shaped bend in the rope that does not cross itself.
- The Loop: A circle made by crossing the working end over or under the standing part.
- The Turn (or Round Turn): Wrapping the rope fully around an object, such as a post or tree trunk, so that the rope completes a 360-degree circle.
Ten Essential Knots for Preppers and Survivalists
The following ten essential knots for preppers have been selected for their high strength, versatility, resistance to slipping, and ease of untying after bearing a heavy load. Mastering these ten configurations will prepare you for virtually any emergency scenario, from shelter construction to high-angle rescue.
1. The Bowline (The King of Knots)
Often referred to as the "King of Knots," the Bowline is a legendary loop knot that is highly secure under load yet remarkably easy to untie even after holding hundreds of pounds of tension. It creates a fixed, non-slip loop at the end of a rope. FEMA search and rescue teams frequently use the Bowline for securing anchor points and lifting equipment.
Primary Survival Uses: Creating a rescue loop to lower or hoist a person, anchoring a utility line to a tree, or securing a boat to a dock in rough waters.
How to Tie the Bowline:
- Lay the rope flat. Create a small loop in the standing part, leaving plenty of working end. The working end should sit on top of the loop.
- Pass the working end up through the loop from underneath (often taught as "the rabbit comes out of the hole").
- Wrap the working end around the standing part from behind ("the rabbit goes behind the tree").
- Pass the working end back down through the loop ("the rabbit goes back down the hole").
- Hold the working end and the side of the loop, then pull the standing part to tighten and set the knot.
Pro-Tip: Always leave a generous tail on your Bowline, and secure it with an overhand safety knot if using it for life-safety applications.
2. The Taut-Line Hitch (The Tension Regulator)
The Taut-Line Hitch is an adjustable friction hitch that can slide freely along the standing part of a rope to adjust tension, yet jams securely under load. This is one of the most practical emergency preparedness knots for securing tents, tarps, and cargo structures where wind or settling ground can cause lines to slacken over time.
Primary Survival Uses: Tensioning guy lines on emergency shelters, securing gear to vehicle roof racks, and creating adjustable tie-downs for tarps.
How to Tie the Taut-Line Hitch:
- Wrap the working end of the rope around a secure anchor point (such as a tree trunk or tent stake).
- Bring the working end back to the standing part and wrap it around the inside of the loop twice, moving toward the anchor point.
- Bring the working end outside the loop, crossing over the wraps you just made, and place it further up the standing part (away from the anchor).
- Make one final wrap around the standing part, passing the working end through the loop created by this wrap.
- Pull the working end to tighten the knot around the standing part, then slide the entire knot to adjust the tension of the line.
3. The Square Knot / Reef Knot (The First Aid Binder)
The Square Knot is an ancient, simple binding knot designed to join two ropes of equal diameter. While it should never be trusted for critical loads or life-safety applications because it can capsize under heavy tension, its flat profile makes it indispensable in medical and basic utility situations.
Primary Survival Uses: Securing triangular slings, tying off splints, binding packages of firewood, and securing sail covers or tarps.
How to Tie the Square Knot:
- Take the end of the rope in your left hand and the end of the rope in your right hand.
- Cross the right end over the left end, then tuck it under (forming a simple half-knot).
- Take the end that is now in your left hand and cross it over the right end, then tuck it through.
- Pull all four ends simultaneously to tighten. The knot should form two interlocking loops that slide smoothly against each other.
Safety Warning: Never use a Square Knot to join two ropes that will bear heavy loads or human weight. Use a Sheet Bend instead.
4. The Clove Hitch (The Anchor Point)
The Clove Hitch is a quick, secure binding knot used to secure a rope to a cylindrical object like a post, tree, or spar. It is exceptionally fast to tie and forms the foundation for most wilderness lashing techniques. However, it can slip if the post is highly polished or if the rope is subjected to a constant slack-and-tension cycle.
Primary Survival Uses: Starting and ending lashings for shelter frameworks, securing a boat to a piling for temporary mooring, and hanging gear bags off wet ground.
How to Tie the Clove Hitch:
- Wrap the working end of the rope around the post or tree trunk.
- Bring the working end back over the standing part to form an "X" shape on the post.
- Wrap the working end around the post a second time, tucking it underneath the "X" you just created.
- Pull both ends of the rope in opposite directions to tighten and secure the hitch.
5. The Figure-Eight on a Bight (The High-Strength Loop)
When it comes to knot tying for survival where human life is on the line, the Figure-Eight on a Bight is a non-negotiable skill. It is the gold standard for climbing, mountaineering, and search-and-rescue operations. It is significantly stronger than the Bowline, retains more of the rope's natural breaking strength, and is highly visible, making it easy for rescue teams to inspect visually.
Primary Survival Uses: Creating a bombproof loop at the end of a rescue line, anchoring safety harnesses, and rigging heavy hoisting systems.
How to Tie the Figure-Eight on a Bight:
- Fold the rope to create a bight (a double-strand loop) about 18 to 24 inches long.
- Treating this double strand as a single rope, twist it to form a loop.
- Wrap the end of the bight around the standing double strand.
- Pass the end of the bight through the loop from front to back, forming a figure-eight shape.
- Carefully dress the knot so the strands lie flat and parallel, then pull all four strands to lock it in place.
6. The Sheet Bend (The Line Extender)
In real-world Survival Scenarioss, you rarely have one continuous piece of rope that is exactly the length you need. The Sheet Bend is the premier knot for joining two ropes of unequal diameter together. Unlike other joining knots, the Sheet Bend will not slip or jam when subjected to high tension, even when joining stiff cordage to highly flexible utility line.
Primary Survival Uses: Extending the reach of a rescue line, joining paracord to thick climbing rope, or repairing severed utility lines.
How to Tie the Sheet Bend:
- Form a bight (a U-bend) in the thicker of the two ropes.
- Pass the working end of the thinner rope up through the bight from underneath.
- Wrap the thinner rope completely around both strands of the thicker rope's bight from behind.
- Tuck the working end of the thinner rope under its own standing part, but over the edge of the bight.
- Pull both ropes in opposite directions to tighten and lock the bend.
7. The Timber Hitch (The Heavy Hauler)
The Timber Hitch is a specialized friction hitch designed to grip cylindrical objects tightly under constant tension. It is unique because it becomes more secure the harder it is pulled, yet it falls apart instantly once the tension is released. This makes it an invaluable tool for heavy labor and wilderness engineering.
Primary Survival Uses: Dragging heavy logs for firewood or shelter building, towing debris out of roadways, and starting diagonal lashings on structural poles.
How to Tie the Timber Hitch:
- Pass the working end of the rope around the log or post.
- Wrap the working end around the standing part of the rope.
- Tuck the working end back under itself, inside the loop you just formed around the log.
- Wrap the working end around itself at least three to five times, working back along the inside of the loop.
- Pull the standing part to tighten the wraps against the wood. Ensure the tension remains constant to keep the hitch secure.
8. The Prusik Knot (The Friction Ascender)
The Prusik is a friction hitch (or slide-and-grip knot) that is tied around a primary climbing rope using a smaller loop of cordage (called a Prusik loop). When unweighted, the Prusik slides freely up and down the main rope. However, the moment weight is applied to the loop, the knot bites down hard, locking itself in place on the main line. This is a critical self-rescue and ascending knot.
Primary Survival Uses: Ascending a vertical rope during a rescue, building mechanical advantage hauling systems, and creating adjustable attachment points on shelter ridge lines.
How to Tie the Prusik Knot:
- Form a closed loop of cordage (typically 5mm to 6mm accessory cord) using a Double Fisherman's Knot.
- Lay this loop behind the main climbing rope.
- Pass the knotted end of the loop through the opposite end of the loop, wrapping it around the main rope.
- Repeat this process two more times, wrapping the loop inside itself so you have three neat wraps on each side of the center line (six wraps total).
- Dress the knot carefully so the wraps lie flat and parallel, then pull the loop downward to test its grip on the main line.
9. The Trucker's Hitch (The Mechanical Advantage)
The Trucker's Hitch is not just a knot; it is a simple machine. By creating a temporary pulley system within the rope itself, the Trucker's Hitch provides a 3-to-1 mechanical advantage. This allows you to exert three times as much tension on a line as you could with raw physical strength alone. It is one of the most powerful and practical survival knots in existence.
Primary Survival Uses: Securing heavy loads to vehicles or trailers, cinching down structural timbers for emergency shelters, and tensioning long high-lines across rivers.
How to Tie the Trucker's Hitch:
- Secure one end of the rope to an anchor point.
- Further down the line, form a directional loop (such as a Figure-Eight on a Bight or a Slip Knot) facing toward your second anchor point.
- Pass the working end of the rope around your second anchor point, then bring it back up and thread it through the loop you just created.
- Pull down on the working end. You will feel the 3-to-1 mechanical advantage tensioning the line with immense force.
- While holding the tension, secure the working end at the base of the loop using two half-hitches or a quick-release slip knot.
10. The Constrictor Knot (The Permanent Clamp)
If you need to bind an object permanently, the Constrictor Knot is your go-to solution. It is one of the most secure binding knots known to seamanship. Once tightened, the Constrictor Knot exerts immense radial pressure and is virtually impossible to untie without a knife. It behaves like a heavy-duty, reusable zip-tie.
Primary Survival Uses: Sealing the tops of sandbags or emergency grain sacks, constructing emergency hose clamps, whipping the frayed ends of ropes, and securing tool handles.
How to Tie the Constrictor Knot:
- Wrap the working end of the rope around the object you wish to bind.
- Cross the working end over the standing part to form an "X" shape.
- Bring the working end around the back of the object a second time.
- Pass the working end over the top of the standing part, then tuck it under the intersection of the "X" you formed in step 2.
- Pull both ends of the rope outward with maximum force to set the knot. It will lock down flat against the object.
Practical Survival Applications: Putting Your Knots to Work
Mastering the individual mechanics of how to tie survival knots is only the first step. True self-reliance comes from knowing how to combine these knots under pressure to solve real-world emergency problems. Let's look at three common survival scenarios and how these knots work together to ensure a successful outcome.
Scenario A: Building an Emergency Tarp Shelter
When the storm winds rise, your shelter must be structurally sound. According to FEMA's emergency shelter-in-place guidelines, a loose tarp can shred or blow away in wind speeds exceeding 35 mph, leaving you exposed to hypothermia. Here is how to rig a bombproof shelter using your knot arsenal:
- The Ridge Line: Run a primary utility line between two trees. Secure one end with a Bowline (forming a fixed loop around the first tree) and tension the other end using a Trucker's Hitch to pull the line tight.
- The Tarp Attachment: Use two Prusik Knots on the ridge line, one at each end of the tarp. Clip the tarp grommets to the Prusik loops. This allows you to slide the Prusiks outward to stretch the tarp perfectly flat along the ridge line.
- The Guy Lines: Secure the ground corners of the tarp to stakes or rocks using the Taut-Line Hitch. As the wind blows or the nylon fabric stretches from rain, you can adjust the tension in seconds without untying the lines.
Scenario B: Securing Gear for Evacuation
During a rapid evacuation, loose gear can become deadly projectiles inside a vehicle or fall off a roof rack, blocking evacuation routes. The CDC emphasizes the importance of secure cargo transport during natural disasters. To secure your bug-out gear:
- Use a Clove Hitch to anchor your main tie-down line to the roof rack bar.
- Weave the line through your gear bags, using a Timber Hitch on large, heavy items like water containers or firewood bundles.
- Finish the run with a Trucker's Hitch at the opposite side of the rack, pulling down with your body weight to compress the load and eliminate shifting during transit.
Scenario C: Executing a Steep-Slope Rescue
If a member of your party slips down a steep embankment or into a ravine, you must act quickly but safely. The American Red Cross emphasizes that rescuer safety is the top priority; you must never put yourself at risk of falling while attempting a rescue.
- Tie a Figure-Eight on a Bight at the end of your primary rescue rope and clip a locking carabiner to it, anchoring it to a sturdy tree using a Bowline.
- Lower the line to the victim. If they are conscious, have them secure themselves using a Bowline loop around their torso.
- Rig a 3-to-1 mechanical advantage system using a Prusik Knot attached to the main line, running the hauling line through a pulley or carabiner to easily hoist the victim up the slope.
Rope Care, Maintenance, and Muscle Memory
A knot is only as reliable as the rope it is tied in. Proper cordage maintenance is a vital aspect of emergency preparedness. Synthetic ropes like nylon and polyester are highly susceptible to UV degradation from direct sunlight. Over time, UV rays break down the synthetic polymers, causing the rope to become stiff, brittle, and powdery to the touch. Inspect your ropes regularly for signs of wear, including fraying, glazing (melted spots caused by friction), or soft spots in the core of Kernmantle ropes.
Additionally, grit and dirt are highly abrasive. When dirt penetrates the outer sheath of a rope, the tiny silica particles act like miniature saws, cutting the internal fibers every time the rope bends under load. Wash your dirty ropes by hand in cold water with a mild, non-detergent soap, then air-dry them away from direct sunlight and heat sources.
Developing "Blackout" Muscle Memory
Knowing how to tie a knot in a warm, well-lit living room is vastly different from tying that same knot with freezing, wet fingers in pitch-black darkness during a torrential downpour. True mastery requires developing deep muscle memory. To achieve this, integrate the following drills into your training routine:
- The Blindfold Test: Practice tying all ten knots with your eyes closed. This simulates working in a power outage, thick smoke, or nighttime conditions.
- The Cold-Hand Drill: Submerge your hands in ice-cold water for 30 seconds, then immediately attempt to tie a Bowline or Taut-Line Hitch. This simulates the physiological effects of hypothermia and cold-weather emergencies.
- The Glove Challenge: Practice tying your knots while wearing heavy work gloves or winter mittens. In cold or hazardous environments, removing your hand protection to tie a knot can lead to frostbite or injury.
The Ultimate Preparedness Skill
In an era dominated by high-tech gadgets and digital solutions, the ancient art of knot tying remains one of the most practical, low-tech, and life-saving skills a person can possess. When the grid goes down, and you are forced to rely entirely on your physical gear and your wits, a handful of utility cord and the knowledge in your head can solve complex mechanical, structural, and medical challenges. By mastering these ten essential knots, you transition from a passive bystander to an active, capable asset in any emergency situation. Dedicate time to practice these techniques, care for your gear, and build the muscle memory required to tie them flawlessly under pressure. Your safety, and the safety of those who depend on you, may one day hang on a single, perfectly tied knot.
Frequently Asked Questions
What is the most important knot to learn for survival?
The Bowline is widely considered the most essential survival knot. It creates a secure, fixed loop at the end of a rope that will not slip or bind under tension, making it invaluable for rescue operations and securing gear.
Which knot is best for joining two ropes of different thicknesses?
The Sheet Bend is the most reliable knot for joining two ropes of unequal diameter. Unlike the Square Knot, which can slip or fail when joining different ropes, the Sheet Bend holds securely under tension.
How do I quickly secure a rope to a tree or post?
The Clove Hitch is the ideal knot for quickly securing a rope to a post, tree, or cylinder. It is easy to tie and untie, though it should be backed up with half-hitches if subjected to rotating or highly slack-and-tension cycles.
What knot should I use to tension a tent guyline or tarp?
The Taut-Line Hitch is the best knot for securing and adjusting tension on tent guylines, tarps, and lashings. It is a friction hitch that slides freely to adjust tension but grips firmly under load.
Why is the Square Knot not recommended for critical safety loads?
The Square Knot (or Reef Knot) is prone to spilling or capsizing under heavy loads or when tied using ropes of different materials or diameters. It should only be used for basic tasks like tying packages or securing sails, never for critical safety or rescue.