⚡ Key Facts
- Dramatic Shelf Life Extension: Utilizing vacuum sealing food for long term storage can increase the shelf life of dry goods, dehydrated foods, and frozen meats by 3 to 5 times compared to conventional storage methods. For the practical checklist side, use the community emergency preparedness guide.
- FEMA & Red Cross Standards: Federal emergency guidelines recommend maintaining a minimum two-week supply of non-perishable food per person; vacuum sealing is an industry-standard method to preserve these stockpiles. For the practical checklist side, use the neighborhood preparedness network.
- The Oxygen Factor: Reducing oxygen levels below 0.5% in food packaging prevents the growth of aerobic food spoilage microorganisms and eliminates the risk of insect infestation. For the practical checklist side, use the emergency communication plan.
- Critical Botulism Warning: The USDA warns that vacuum sealing is not a substitute for canning or refrigeration; anaerobic pathogens like Clostridium botulinum thrive in low-oxygen, high-moisture environments at room temperature. For the practical checklist side, use the family emergency planning guide.
- Mylar and Plastic Synergy: For true survival food preservation, combining heavy-duty textured vacuum bags or Mylar bags with oxygen absorbers provides the ultimate defense against light, moisture, and oxygen.
Imagine standing in your pantry after a severe weather event, a regional power grid failure, or a sudden supply chain disruption. While others are facing empty grocery store shelves, your family is secure, supported by a robust, nutrient-dense emergency food storage system. Achieving this level of self-reliance requires more than simply throwing canned goods into a closet. It demands a systematic approach to preservation that stops food spoilage at the molecular level. Vacuum sealing is one of the most accessible, highly effective technologies available to home preppers. By mastering the science of how to vacuum seal food, you can transform vulnerable bulk ingredients into a resilient survival stockpile designed to last for years, or even decades.
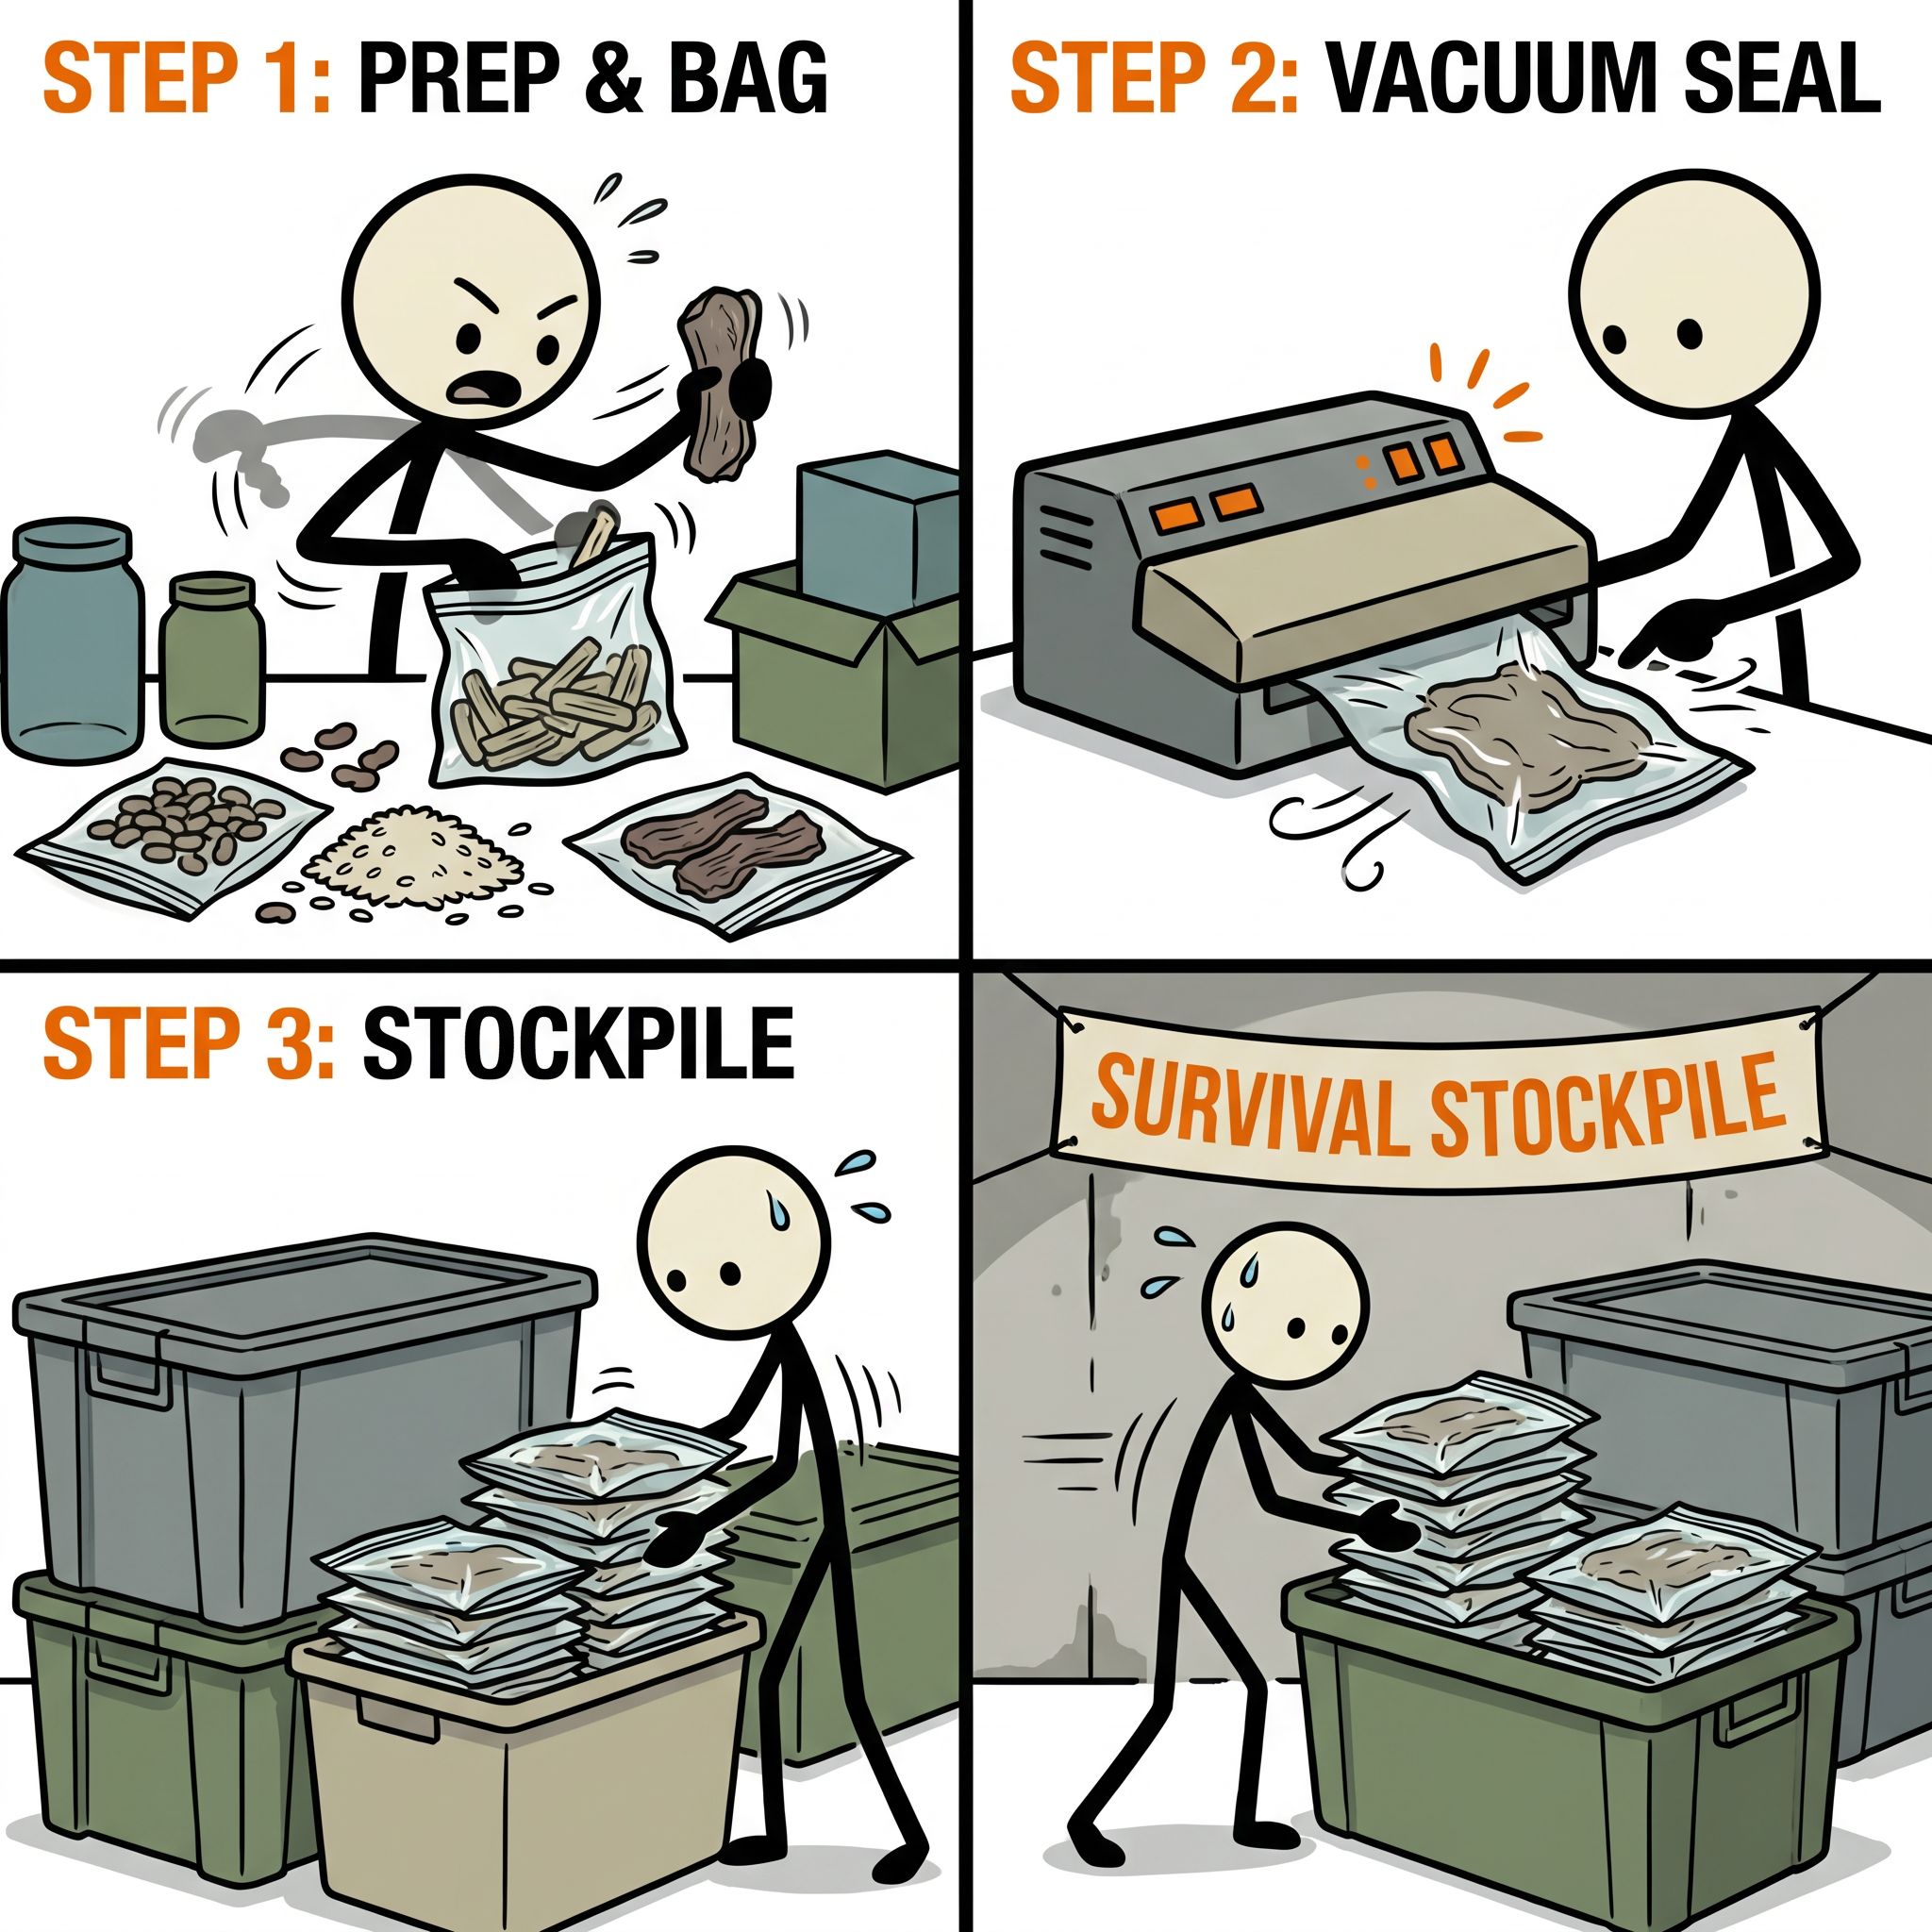
The Science of Spoilage: Why Vacuum Sealing Works
To preserve food successfully, we must first understand the biological and chemical forces that cause it to decay. Food spoilage is primarily driven by four factors: oxygen, moisture, microorganisms (bacteria, yeast, and mold), and enzymatic activity. Oxygen reacts with lipids (fats) in food, causing oxidative rancidity, which ruins flavor and destroys essential fat-soluble vitamins (such as vitamins A, D, E, and K). Oxygen also fuels aerobic bacteria and molds, which quickly break down organic matter.
When you utilize a vacuum sealer, you mechanically evacuate the air from a specialized plastic or Mylar barrier bag. Removing the air creates an atmospheric pressure differential that collapses the bag around the food, reducing the ambient oxygen level inside the package. According to the United States Department of Agriculture (USDA), lowering oxygen levels significantly slows down the oxidative degradation of food and halts the growth of aerobic spoilage organisms. This structural change is what multiplies your vacuum sealer shelf life so dramatically.
However, vacuum sealing alone does not sterilize food. It alters the environment inside the package. While it stops aerobic organisms in their tracks, it can actually create an ideal environment for anaerobic bacteria—microorganisms that thrive in the absence of oxygen—if safety protocols are not strictly followed. This is why understanding the specific moisture, temperature, and storage requirements for different food types is crucial for long-term safety.
Choosing Your Equipment: Sealers, Bags, and Accessories
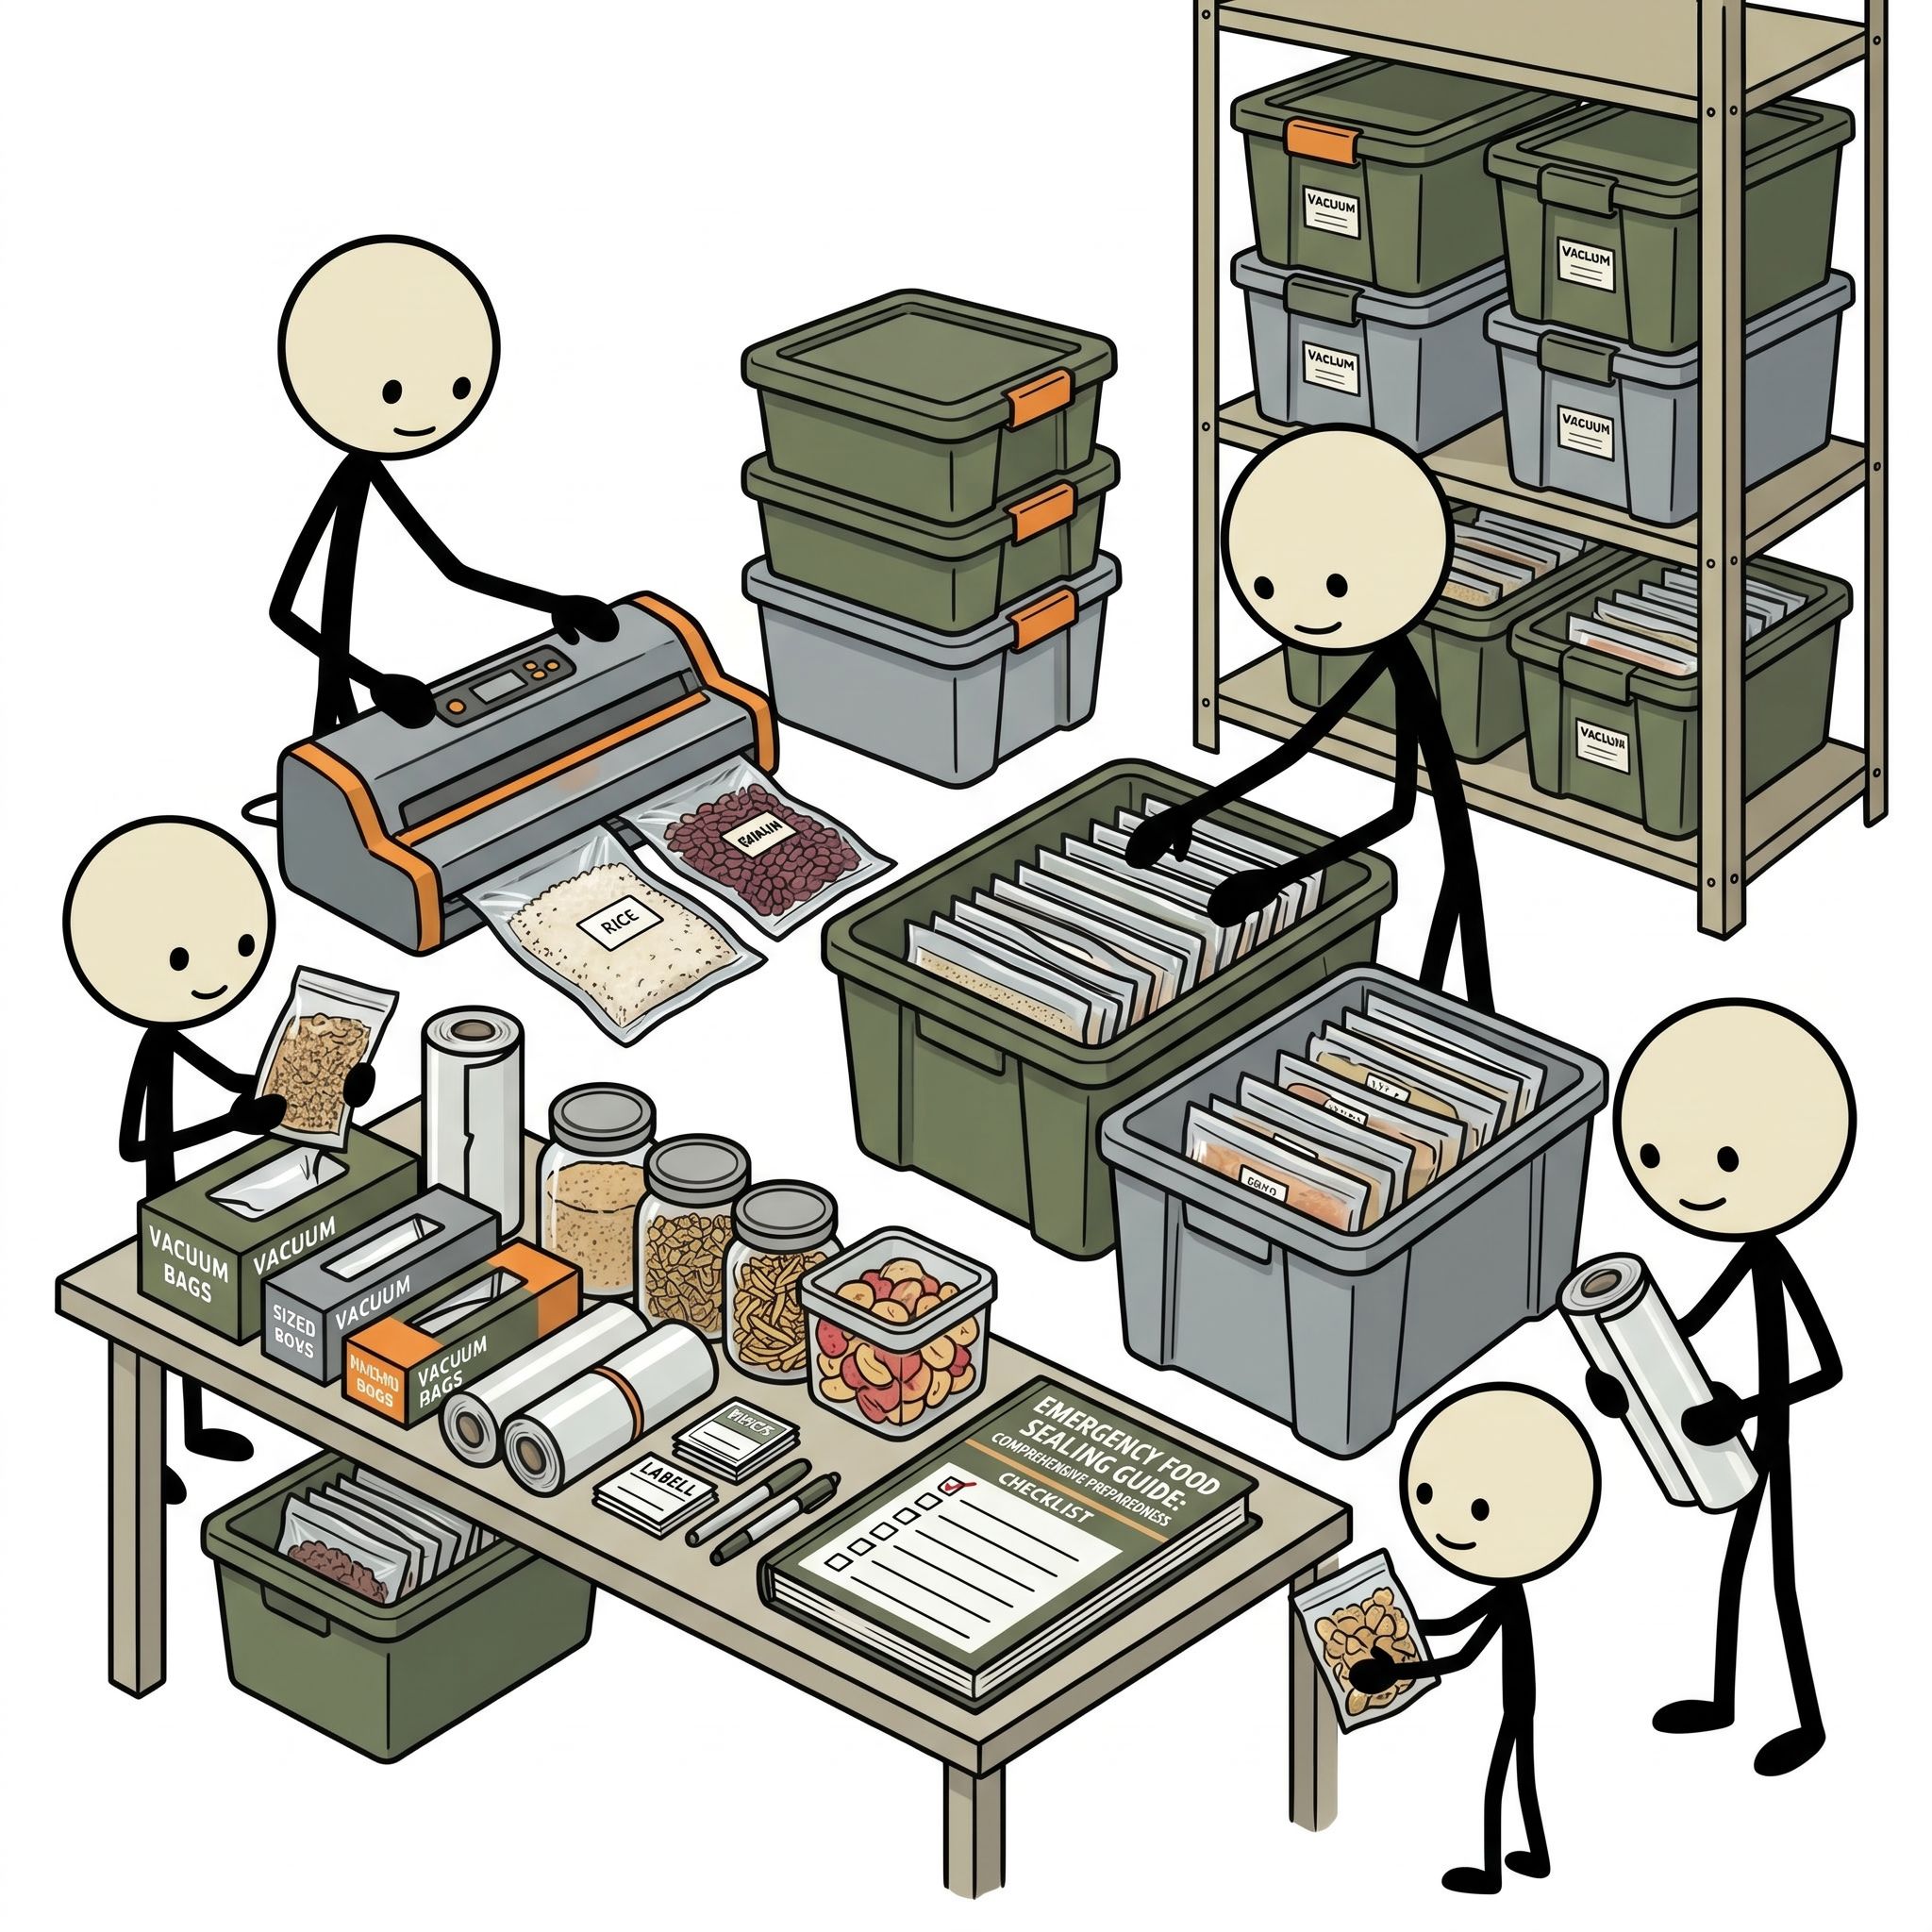
Building a reliable survival food preservation system starts with choosing the right tools. The market offers several types of vacuum sealing machines and packaging materials, each suited to different preservation goals.
Suction (Edge) Vacuum Sealers
Suction sealers are the most common household vacuum sealers. These units clamp down on the open edge of a textured bag, draw the air out of the bag's interior, and apply a heated seal bar to melt the plastic closed. They are highly portable, relatively inexpensive, and excellent for dry ingredients, frozen meats, and dehydrated goods. Their primary limitation is their inability to handle liquids easily, as the suction mechanism can draw moisture into the vacuum pump, potentially damaging the machine or ruining the seal.
Chamber Vacuum Sealers
Chamber vacuum sealers are the gold standard for serious emergency preparation. Instead of drawing air out of the bag, the entire bag—including its liquid contents—is placed inside a sealed chamber. The machine evacuates the air from the entire chamber, keeping the pressure equalized inside and outside the bag. When the seal bar melts the bag shut, the chamber re-pressurizes, creating a near-perfect vacuum. Chamber sealers easily handle liquids, soups, and marinades, and they utilize cheaper, smooth-sided vacuum bags, which can save money over time when building a large stockpile.
Selecting the Right Bags: Co-Extruded Plastic vs. Mylar
The barrier material you choose determines how long your food will remain protected from the elements:
- Co-Extruded Polyethylene/Nylon Bags: These are the standard, clear, textured bags used with suction sealers. They typically range from 3 to 5 mils in thickness. While excellent for short-to-medium-term storage (1 to 3 years) and freezer preservation, they are semi-permeable to oxygen over long periods of time.
- Mylar Bags (Foil Laminates): Mylar is a multi-layered laminate of food-grade plastic and aluminum foil. It is completely impermeable to light and oxygen, making it the ultimate material for long-term emergency food storage (5 to 30 years). Standard suction sealers cannot seal Mylar unless the bags have a textured inner strip, but chamber sealers or manual impulse sealers handle them with ease.
The Role of Oxygen Absorbers (O2 Absorbers)
Oxygen absorbers are small packets containing iron powder. When sealed inside a container, the iron reacts with any remaining oxygen to create iron oxide (rust), chemically trapping the oxygen and reducing the atmospheric concentration inside the package to less than 0.01%. For dry goods stored in Mylar bags, combining vacuum sealing with an appropriately sized oxygen absorber provides the absolute highest level of protection against oxidation and insect life cycles.
Step-by-Step Guide by Food Category
Different food types present unique physical and biological preservation challenges. To ensure safety and maximize the shelf life of your stockpile, follow these tailored, step-by-step procedures for each food category.
| Food Category | Preparation Step | Key Hazard / Challenge | Target Shelf Life |
|---|---|---|---|
| Dry Grains & Beans | Pre-freeze to kill pests; seal with O2 absorber | Weevil infestation; bag punctures | 10 - 30 Years |
| Dehydrated Foods | Dehydrate to <10% moisture; seal immediately | Residual moisture causing mold | 5 - 15 Years |
| Powders (Flour, Cocoa) | Use paper barrier/filter to protect sealer pump | Powder drawn into seal bar/motor | 5 - 10 Years |
| Wet Foods & Meats | Flash-freeze completely solid before sealing | Liquids preventing a secure heat seal | 2 - 3 Years (Frozen) |
| Sharp/Abrasive Foods | Wrap sharp edges in parchment paper | Micro-punctures in the vacuum bag | 5 - 10 Years |
1. Dry Grains, Legumes, and Seeds
Dry goods like white rice, pinto beans, lentils, and oats are the foundation of any long-term emergency food storage system. Because of their low moisture content (ideally below 10%), they are highly stable and incredibly safe for vacuum sealing.
- Pre-Treat for Pests: Raw grains and beans can harbor microscopic insect eggs. To prevent these from hatching in your storage, place your dry goods in a freezer set to 0°F (-18°C) or colder for 48 to 72 hours. Allow them to return to room temperature completely before sealing to prevent condensation from forming inside the bags.
- Portion Your Food: Divide your grains into manageable, family-sized portions (e.g., 2-lb or 5-lb batches). This ensures that when you open a package in an emergency, you do not expose your entire stockpile to air and moisture at once.
- Fill and Add Absorbers: Pour the dry food into your vacuum or Mylar bag, leaving at least 3 inches of headspace at the top. If you are preparing these for long-term storage (over 5 years), drop in an appropriately sized oxygen absorber (e.g., a 300cc absorber for a 1-gallon bag).
- Seal and Inspect: Place the open edge of the bag into your vacuum sealer, run the vacuum cycle, and allow the machine to heat-seal the bag. Inspect the seal line; it should be smooth, continuous, and free of wrinkles. The bag should be compressed tightly around the food, resembling a hard brick.
Note: Avoid vacuum sealing brown rice or wild rice for long-term storage. These grains contain high levels of natural oils that will oxidize and go rancid within 1 to 2 years, even when vacuum sealed. Stick to white rice, which can last up to 30 years under optimal conditions.
2. Dehydrated and Freeze-Dried Foods
Dehydrated fruits, vegetables, and jerky are excellent sources of vitamins and proteins. However, they must be processed carefully to prevent mold growth.
- Verify Dryness: Never vacuum seal home-dehydrated foods unless they are completely dry. Fruits should be leathery and non-sticky; vegetables should be brittle and snap easily. If there is any residual moisture, mold can grow in the vacuum environment.
- Condition Your Dehydrated Foods: After dehydrating, place your food in a sealed glass jar for 7 to 10 days. Shake the jar daily. If you notice any condensation forming on the inside of the glass, the food is not dry enough and must be returned to the dehydrator.
- Protect Against Sharp Edges: Dehydrated vegetables (like carrots or green beans) can become incredibly sharp and puncture standard plastic vacuum bags. To prevent this, wrap the dehydrated food in a layer of clean, food-grade parchment paper before sliding it into the vacuum bag.
- Vacuum and Seal: Run the standard vacuum and seal cycle. Label the bag immediately with the food type and the processing date.
3. Powders and Fine Particles
Sealing powders like flour, baking soda, powdered milk, or cocoa can be incredibly frustrating. The powerful vacuum pump can easily suck the fine particles into the sealing area, preventing a clean heat seal and potentially clogging your machine's motor.
- The Barrier Method: Place your powder inside a clean, brown paper bag or wrap it securely in a paper towel before placing it inside the vacuum bag. The paper acts as a filter, allowing air to escape while trapping the fine powder inside.
- The Bag-in-a-Bag Method: Alternatively, keep the powder in its original commercial paper packaging. Poke a few small pinholes in the top of the paper packaging, slide the entire package into a vacuum bag, and run the vacuum cycle. The air will escape slowly, leaving the powder neatly contained.
- Pulse Vacuuming: If your vacuum sealer has a manual "Pulse" mode, use it. This allows you to draw the air out in short, controlled bursts, stopping the vacuum process immediately if you see powder rising toward the seal bar.
4. Wet Foods, Liquids, and Fresh Meats
Preserving wet foods and fresh meats is a great way to extend the shelf life of your freezer contents. According to the USDA, vacuum sealing can extend the freezer life of beef, poultry, and pork from 6 months to 2-3 years, completely eliminating freezer burn. However, sealing liquids requires a specific technique to avoid vacuum pump damage.
- The Flash-Freeze Protocol: For fresh meats, stews, or soups, place the food on a baking sheet lined with parchment paper or in a shallow dish, and freeze it solid in your freezer for 2 to 4 hours.
- Transfer and Seal: Once the food is frozen solid, quickly transfer it into your vacuum bag. Because the moisture is frozen, the vacuum sealer can draw out the air without pulling any liquid into the machine.
- Seal Immediately: Run the vacuum cycle and seal the bag. Immediately return the sealed package to the freezer.
5. Sharp and Fragile Foods
Some foods present mechanical challenges: dehydrated foods can puncture bags, while fragile items like freeze-dried foods or crackers can easily crush under the intense pressure of a vacuum seal.
- For Sharp Foods (Dried Pasta, Dehydrated Root Vegetables): Cut a piece of heavy-duty parchment paper or a strip of clean vacuum bag material and place it over the sharpest points of the food before sealing. This acts as a puncture-resistant shield.
- For Fragile Foods (Freeze-Dried Meals, Crackers): If your vacuum sealer has a "Gentle" or "Pulse" setting, use it to draw out most of the air without crushing the delicate structure of the food. Alternatively, vacuum seal these items inside rigid glass canning jars using a specialized jar sealing attachment.
The Hidden Danger: Botulism and Food Safety Protocols
While learning how to vacuum seal food is an empowering skill, it comes with a critical safety responsibility. The Centers for Disease Control and Prevention (CDC) and the Food and Drug Administration (FDA) warn that vacuum packaging can create a dangerous biological hazard if applied to the wrong foods.
Clostridium botulinum is an anaerobic, spore-forming bacterium found naturally in soil and water. In low-oxygen, high-moisture, low-acid environments at room temperature, these spores can germinate, grow, and produce one of the most lethal neurotoxins known to science. This toxin causes botulism, a life-threatening illness that leads to paralysis and respiratory failure.
Because vacuum sealing removes oxygen, it creates the exact environment that Clostridium botulinum needs to thrive—specifically in foods with a moisture content higher than 10% and a pH above 4.6. To keep your family safe, you must memorize and follow these non-negotiable safety rules:
- Never Store Moist Foods at Room Temperature: Fresh meats, fish, soft cheeses, fresh garlic in oil, cooked potatoes, and fresh vegetables must never be vacuum sealed and stored at room temperature. They must either be frozen immediately, pressure-canned according to strict USDA guidelines, or kept refrigerated below 38°F (3.3°C) and consumed within a few days.
- Crucial Warning on Fresh Cruciferous Vegetables: Never vacuum seal fresh onions, garlic, cabbage, broccoli, cauliflower, Brussels sprouts, or mushrooms, even for refrigeration. These foods naturally release gases (outgas) as they break down. This outgassing can ruin the vacuum seal, and the anaerobic environment inside the bag can foster rapid botulinum growth. Always blanch these vegetables thoroughly and freeze them solid before vacuum sealing.
- Maintain Pristine Sanitation: Wash your hands, sterilize all cutting boards and utensils, and work in a clean environment when preparing food for sealing. This minimizes the initial microbial load on your food, maximizing both safety and shelf life.
Maximizing Your Investment: The "Big Four" Environmental Enemies
Once your food is safely sealed, your job is only half done. The longevity of your emergency food storage depends heavily on where and how you store it. To maximize your vacuum sealer shelf life, you must protect your sealed packages from the "Big Four" environmental enemies of food preservation.
1. Temperature (The Primary Driver of Decay)
Chemical reactions double in speed with every 18°F (10°C) increase in temperature. To preserve vitamins and prevent chemical breakdown, store your sealed food in a cool environment. The ideal storage temperature range is between 50°F and 60°F (10°C to 15°C). Avoid storing your emergency stockpile in uninsulated attics, garages, or outdoor sheds, where temperatures can swing wildly and degrade your food within months.
2. Light (UV Degradation)
Ultraviolet (UV) light breaks down food pigments, destroys vitamins, and accelerates the rancidity of fats. If you are using clear vacuum bags, store them inside dark, opaque containers, such as heavy-duty plastic totes or food-grade 5-gallon buckets. If you are using Mylar bags, the aluminum layer naturally blocks all light, offering superior protection.
3. Moisture and Humidity
High humidity can rust metal lids on jars, degrade paper packaging, and encourage mold growth if a seal is compromised. Store your sealed packages off the floor in a dry, well-ventilated area. If you live in a humid climate, consider running a dehumidifier in your storage room or placing silica gel desiccant packs inside your storage containers to absorb any ambient moisture.
4. Pests and Rodents
While vacuum bags are excellent barriers against air and moisture, they are no match for the sharp teeth of mice, rats, or persistent insects. Always store your vacuum-sealed bags inside heavy-duty, food-grade plastic buckets with tight-fitting gamma lids. This provides a physical barrier that pests cannot easily penetrate.
The FIFO System and Stockpile Maintenance
A successful survival food preservation system is dynamic, not static. To ensure your emergency food storage remains safe and nutritious, implement a strict maintenance routine:
- Label Everything: Use a permanent marker to write the food type, packaging date, and any special instructions directly on the bag. Never rely on your memory.
- Implement FIFO (First In, First Out): Arrange your storage so that the oldest items are at the front, ready to be used first, while newly sealed items are placed at the back. Rotate your vacuum-sealed goods into your daily cooking routine to keep your stockpile fresh.
- Conduct Regular Inspection Sweeps: At least twice a year, inspect your stockpile. Look for bags that have lost their vacuum (soft bags), signs of pest damage, or any unusual color changes in the food. If a bag has lost its vacuum, inspect the food carefully. If it shows no signs of spoilage, consume it immediately or repackage and re-seal it.
Empower Your Household Through Preparedness
Building a resilient, long-term food stockpile is one of the most proactive steps you can take to protect your family from the unexpected. By mastering the science of vacuum sealing food for long term storage, you take active control of your food security. Through careful equipment selection, strict adherence to food safety protocols, and proper storage practices, you can build an emergency emergency food storage guide that preserves both nutrition and peace of mind for years to come. Do not wait for a crisis to test your setup. Invest in your tools, practice the techniques on everyday ingredients, and steadily build a stockpile that will stand as a beacon of security for your household.
Frequently Asked Questions
Can vacuum sealing replace pressure canning for long-term storage of low-acid foods?
No. Vacuum sealing only removes oxygen; it does not sterilize food. Low-acid foods still require pressure canning to eliminate botulism-causing spores.
How long does vacuum-sealed dry food last in emergency storage?
Dry goods like white rice, pinto beans, and oats can last 10 to 30 years when vacuum-sealed with oxygen absorbers and stored in a cool, dark place.
Do I need to use oxygen absorbers if I vacuum seal my food?
Yes, for long-term storage. While vacuum sealers remove most air, oxygen absorbers eliminate the remaining microscopic oxygen, preventing spoilage and insect growth.
Is it safe to vacuum seal moist or wet foods for room-temperature storage?
No. Vacuum sealing moist foods and storing them at room temperature creates an anaerobic (oxygen-free) environment that promotes the growth of deadly botulism bacteria.
What are the best bags to use for long-term emergency food vacuum sealing?
Mylar bags are highly recommended for long-term storage because they provide an absolute barrier to light, moisture, and oxygen, unlike standard clear plastic vacuum bags.