⚡ Key Facts
- Sepsis Risk: According to the Centers for Disease Control and Prevention (CDC), over 1.7 million American adults develop sepsis every year, often originating from untreated or improperly managed minor skin wounds. For the practical checklist side, use the community emergency preparedness guide.
- Disaster Realities: FEMA reports that during major hurricanes and floods, soft-tissue infections and puncture wounds account for up to 40% of all non-fatal injuries treated in disaster zones. For the practical checklist side, use the neighborhood preparedness network.
- The Golden Hour: The American Red Cross emphasizes that wound irrigation within the first 1 to 4 hours of injury drastically reduces the risk of bacterial colonization and subsequent infection. For the practical checklist side, use the emergency communication plan.
- Bleach Survival Chemistry: In austere environments, the World Health Organization (WHO) supports the use of Dakin’s Solution (a highly diluted sodium hypochlorite mixture) as an effective antiseptic for necrotic wounds when modern antibiotics are unavailable. For the practical checklist side, use the family emergency planning guide.
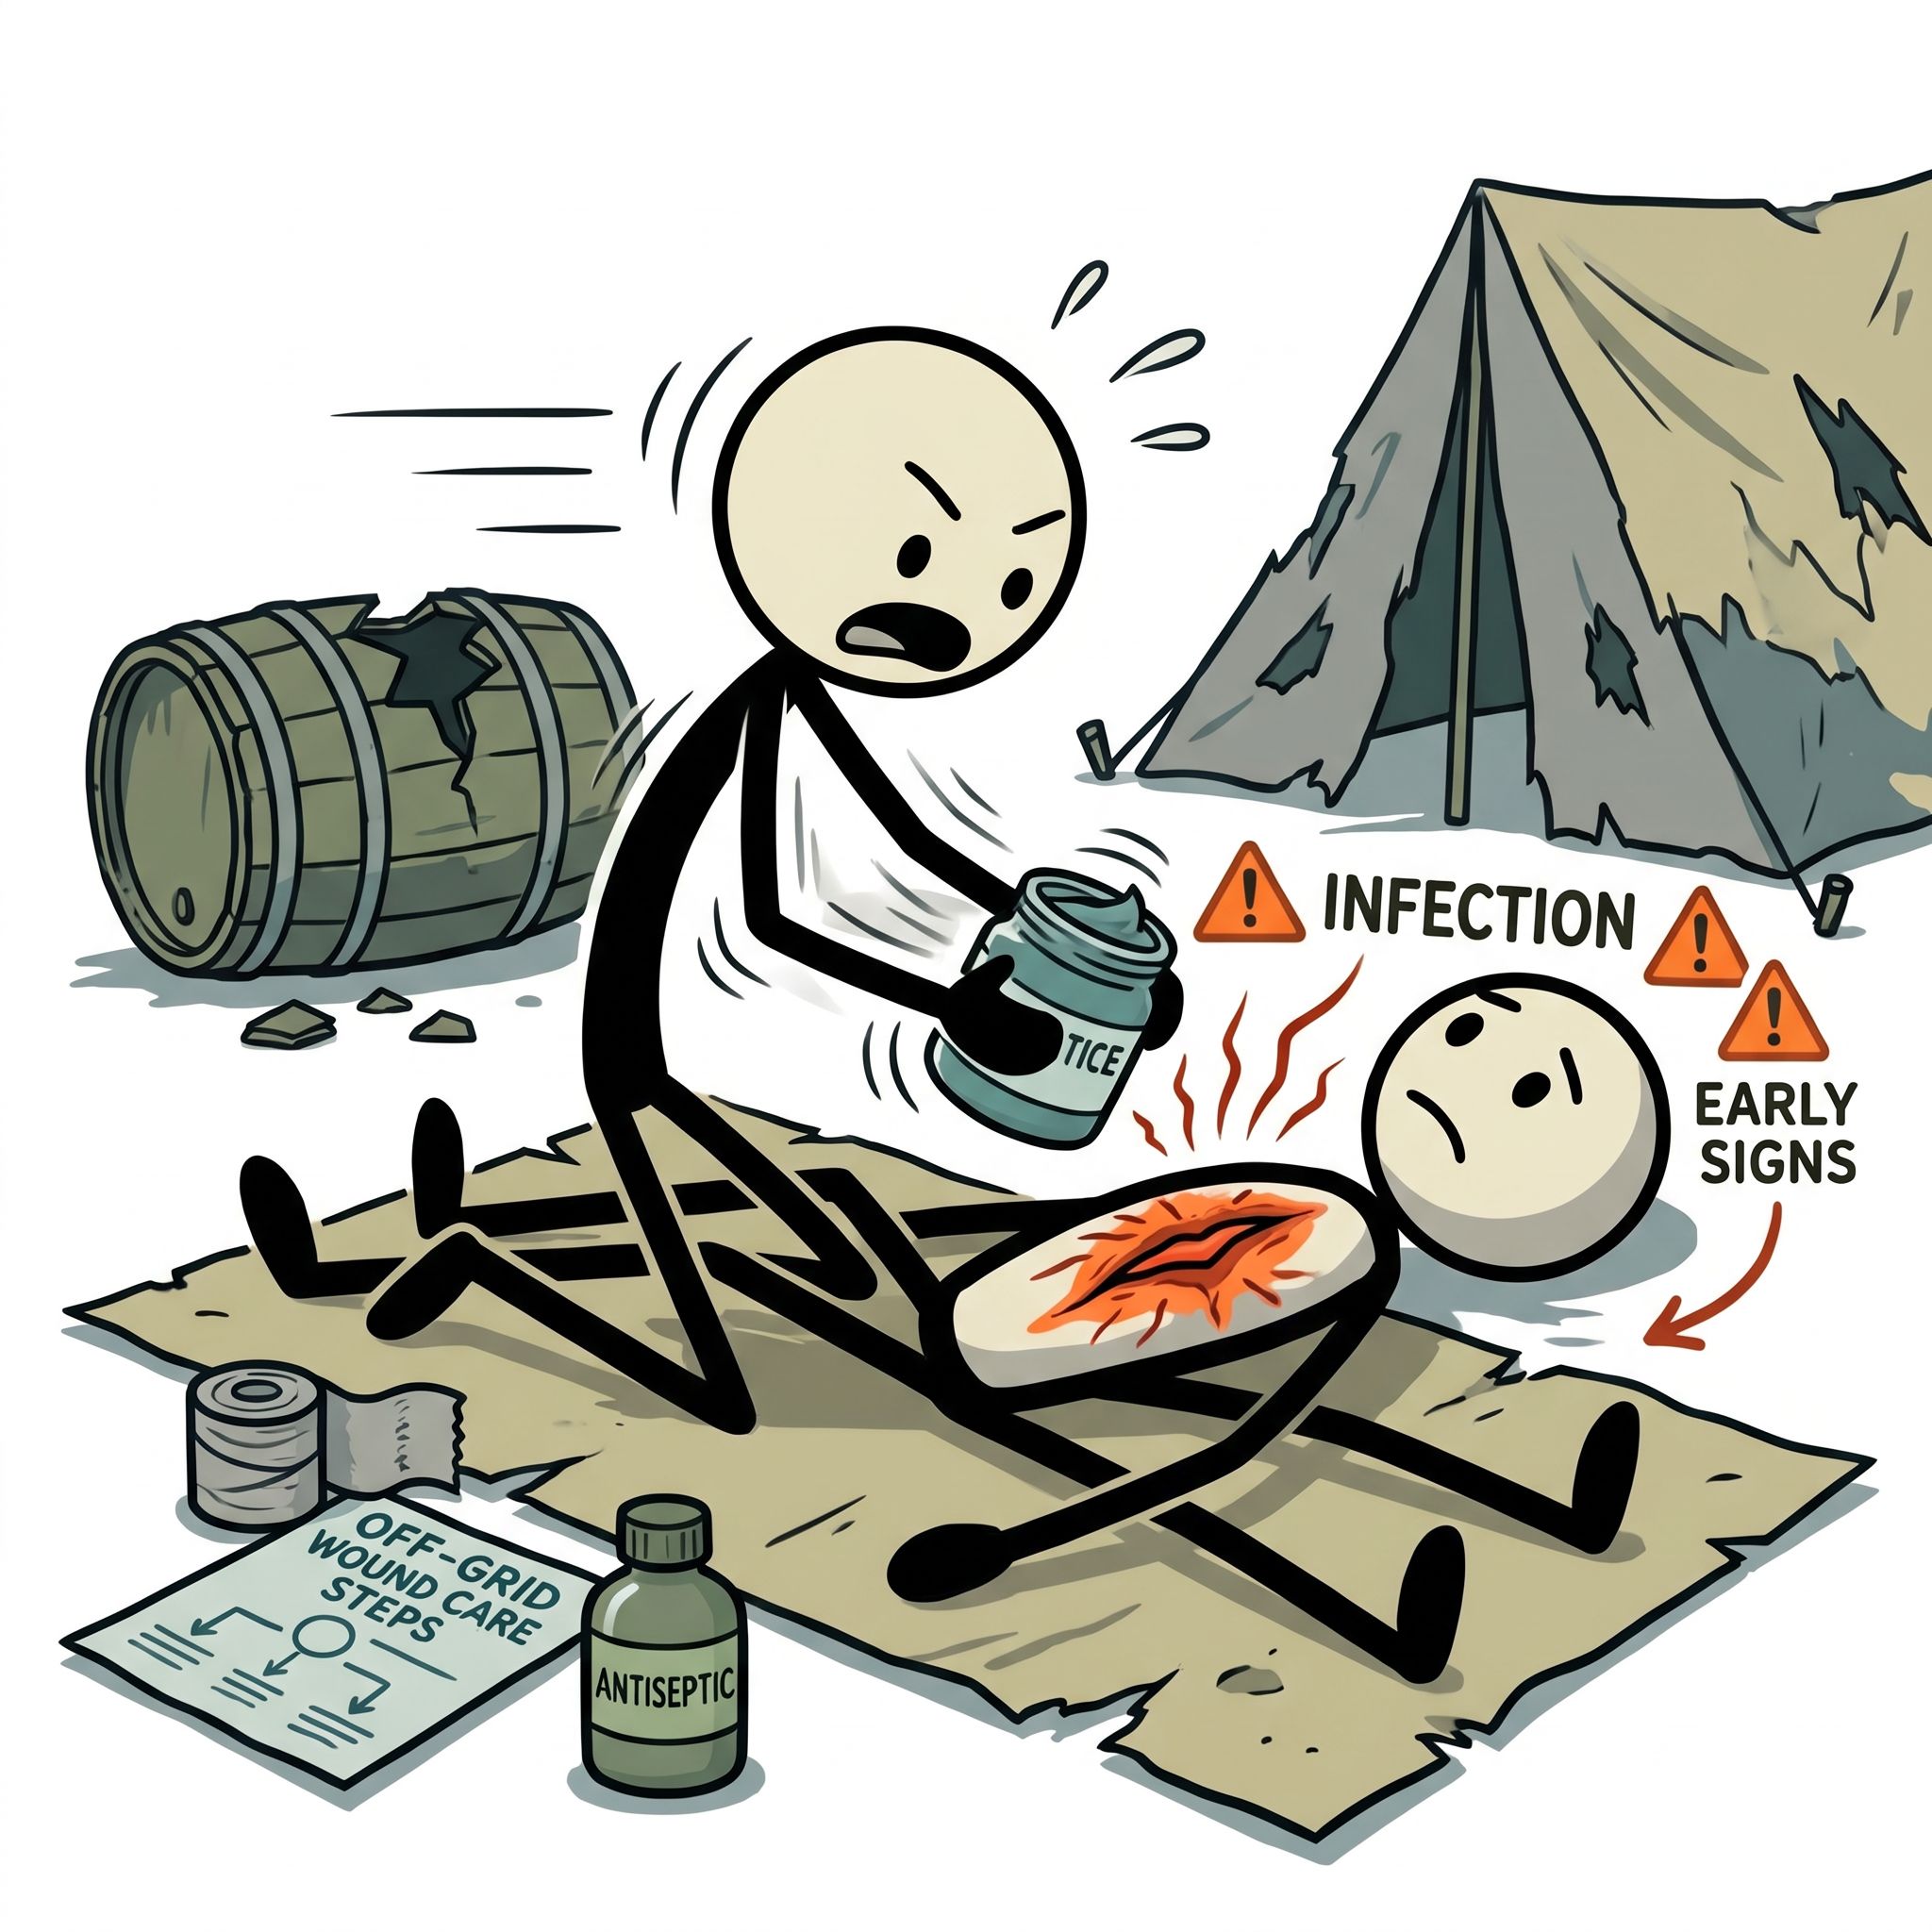
Imagine the aftermath of a severe grid-down event—a Category 5 hurricane has devastated regional infrastructure, or a severe grid failure has isolated your community for weeks. While clearing heavy debris from your property, a jagged piece of rusted metal tears through your work glove, leaving a deep, jagged laceration across your palm. There are no open clinics, emergency rooms are overwhelmed or inaccessible, and emergency services are non-responsive. In a normal world, this is a quick trip to urgent care for a tetanus booster, thorough irrigation, and perhaps a preventative course of oral antibiotics. In an off-grid scenario, however, this minor laceration is a ticking biological clock. Without immediate, systematic intervention, a localized soft-tissue injury can rapidly progress to localized cellulitis, tissue necrosis, and ultimately, systemic sepsis. Understanding how to manage these injuries under extreme conditions is not just a useful skill—it is a cornerstone of survival medicine.
The Biological Progression: How Wounds Heal and How Infections Take Hold
To effectively administer survival first aid, you must first understand the biological battlefield of the human skin. The skin is the body's primary barrier against pathogens. When this barrier is breached, the body immediately initiates a highly coordinated, four-phase healing cascade: hemostasis, inflammation, proliferation, and remodeling. Hemostasis occurs within minutes as platelets clump together to form a fibrin clot, stopping blood loss. Almost simultaneously, the inflammatory phase begins. Blood vessels dilate to allow white blood cells—primarily neutrophils and macrophages—to flood the area, destroying foreign debris and bacteria. This natural inflammatory response causes localized redness, mild swelling, and warmth, which are often mistaken for early infection.
The critical transition from a normal inflammatory response to a pathological infection occurs when the bacterial load within the wound exceeds the host’s immune capability. In medical terms, this is the shift from contamination (bacteria are present but not multiplying) to colonization (bacteria are multiplying but not damaging tissue) to active infection (bacteria are multiplying, invading healthy tissue, and causing cell death). In an austere or off-grid environment, this transition is accelerated by factors such as foreign bodies left in the wound, poor tissue perfusion, devitalized (dead) tissue, and lack of sterile supplies. When professional medical help is absent, your primary objective is to artificially suppress the bacterial load through mechanical and chemical means, tipping the scale back in favor of the patient's immune system.
Identifying the Enemy: Early Signs of Wound Infection
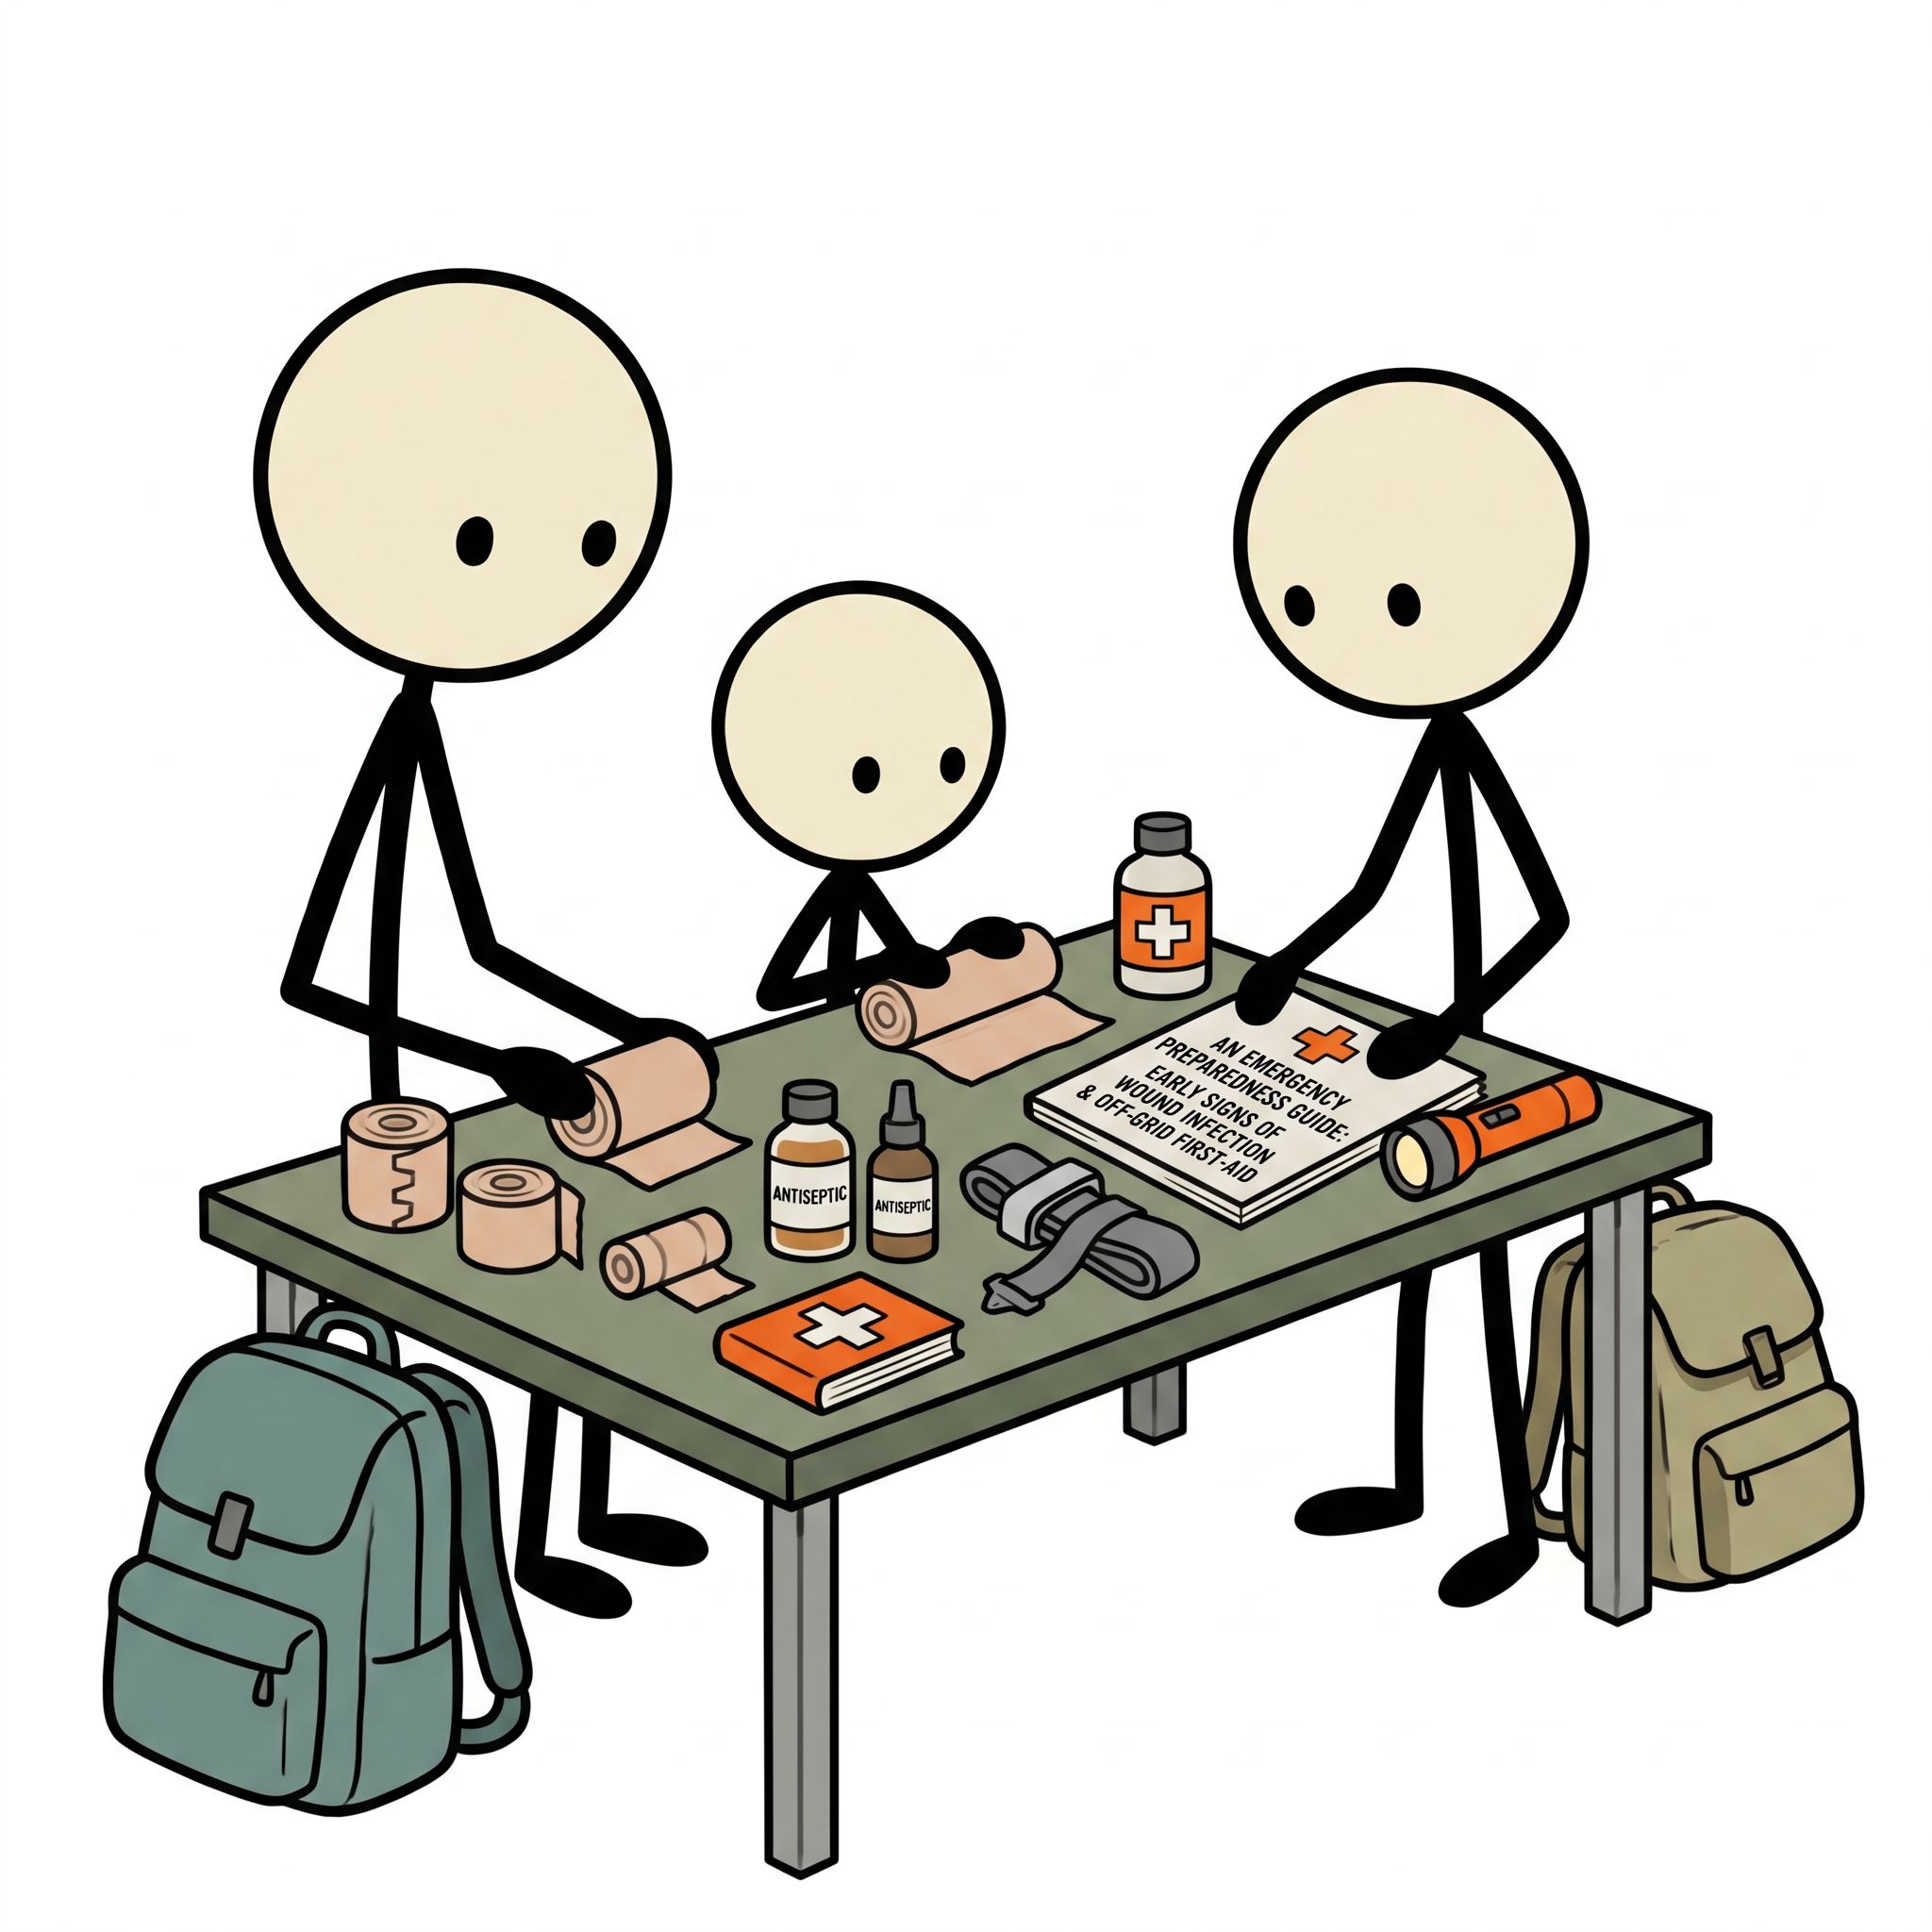
In a clinical setting, doctors rely on laboratory cultures and systemic blood panels to diagnose infections. In the field, you must rely entirely on your senses of sight, touch, smell, and clinical reasoning. Recognizing the early signs of wound infection is the difference between a simple localized treatment and a life-threatening systemic emergency. To standardize your assessments, memorize and apply the clinical REEDA scale, which evaluates five key parameters of the wound site.
The REEDA Assessment Scale
- Redness (Erythema): While mild redness is normal during the inflammatory phase, redness that expands outward from the wound margins over 24 to 48 hours is a primary indicator of cellulitis.
- Edema (Swelling): Excessive fluid accumulation in the tissues surrounding the wound. If the skin looks shiny, tense, or retains an indentation when pressed (pitting edema), the infection is escalating.
- Ecchymosis (Bruising): Discoloration or bruising around the wound, indicating deep tissue trauma or localized vascular damage.
- Drainage (Exudate): While clear, straw-colored fluid (serous exudate) is a normal part of healing, thick, opaque, yellow, green, or foul-smelling fluid (purulent drainage, or pus) indicates an active bacterial infection.
- Approximation: The alignment of the wound edges. If the edges are pulling apart, swelling, or turning black or gray (necrotic), the wound is failing to heal.
Differentiating Inflammation from Active Infection
It is vital not to panic at the first sign of redness. During the first 48 hours, a healing wound will naturally exhibit localized warmth, mild swelling, and tenderness. However, an infected wound will display symptoms that worsen over time rather than improve. Pain will transition from a dull, localized ache to a throbbing, expanding, and severe pain that radiates away from the injury site. Additionally, the warmth will spread outward, and you may observe "lymphangitis"—informally known as red streaking. These streaks travel along the lymphatic channels toward the nearest lymph nodes (such as the armpit or groin) and represent a medical emergency, indicating that the infection is attempting to go systemic.
The Systemic Threshold: Sepsis and the qSOFA Score
If an infection escapes the localized defenses of the wound, it enters the bloodstream, leading to systemic inflammatory response syndrome (SIRS) and, ultimately, sepsis. In an off-grid environment, you must monitor the patient’s vitals constantly. To evaluate for systemic spread without laboratory equipment, use the clinical qSOFA (quick Sequential Organ Failure Assessment) protocol. If the patient exhibits two or more of the following criteria, the infection has become systemic, and immediate, aggressive life-saving measures are required:
| Clinical Parameter | Sepsis Indicator Threshold | Field Assessment Method |
|---|---|---|
| Altered Mental Status | Any deviation from baseline (confusion, lethargy, extreme sleepiness) | Assess orientation to person, place, time, and event (GCS/AVPU scale). |
| Respiratory Rate | ≥ 22 breaths per minute | Count chest rises for a full 60 seconds while the patient is at rest. |
| Systolic Blood Pressure | ≤ 100 mmHg | Measure with a manual sphygmomanometer; if unavailable, a weak or absent radial pulse indicates low pressure. |
Immediate Field Sanitation and Debridement
If you are forced into treating infection without a doctor, your first line of defense is aggressive, meticulous sanitation. You cannot safely treat a wound with contaminated hands or dirty tools. Before touching the patient, wash your hands thoroughly with clean water and soap for at least two minutes. If sterile gloves are available in your medical kit, use them. If not, clean your hands with a high-percentage isopropyl alcohol or hand sanitizer, and sterilize your instruments (tweezers, scissors, scalpel blades) by boiling them in water for a minimum of 10 minutes or exposing them directly to a clean flame until the metal glows, then allowing them to cool completely.
The Physics of Irrigation: Volume and Pressure
The single most effective way to prevent and manage infection is mechanical irrigation. The old adage in emergency medicine is: "The solution to pollution is dilution." Do not merely pour water over the wound; you must use pressurized irrigation to physically dislodge bacteria, dirt, and microscopic debris from the tissue fibers. The CDC recommends using clean, potable water. If municipal water is down, boil fresh water for at least one full minute (three minutes at altitudes above 5,000 feet) and let it cool to body temperature before use.
To achieve the optimal pressure for wound irrigation (between 4 and 15 PSI), use a 35cc or 50cc syringe equipped with an 18-gauge or 19-gauge plastic angiocatheter or blunt needle. If you do not have a syringe in your survival first aid kit, you can improvise by filling a clean, heavy-duty plastic bag (like a Ziploc), poking a tiny pinhole in the corner, and squeezing the bag firmly. Direct the stream of water perpendicular to the wound bed, flushing from the cleanest areas outward to the dirtiest. Use a minimum of one to two liters of water for any moderate to deep wound; superficial rinses are insufficient to clear deep-seated contamination.
Field Debridement: Removing Devitalized Tissue
Bacteria thrive on dead, damaged, or necrotic tissue. Leaving devitalized tissue in a wound bed prevents healthy granulation tissue from forming and creates an anaerobic environment where dangerous bacteria, like Clostridium tetani, can flourish. Field debridement is the careful removal of this non-viable material. Healthy tissue is pink or red, bleeds when manipulated, and is highly sensitive. Necrotic tissue is dark gray, yellow, or black, does not bleed, and lacks sensation.
Using sterile tweezers and a scalpel or surgical scissors, gently snip away loose, dead tissue and foreign debris. Do not cut into healthy, bleeding tissue, as this can introduce bacteria deeper into the vascular system and cause uncontrollable bleeding in an off-grid environment. If the wound is packed with ground-in dirt or gravel, use a sterile piece of coarse gauze saturated with sterile saline to gently scrub the wound bed, working from the center outward. Pain management is a major challenge during this process; if available, administer systemic analgesics (such as ibuprofen or acetaminophen) 30 minutes before beginning debridement.
Active Treatment Protocols: Treating Infection Without a Doctor
Once the wound is thoroughly irrigated and debrided, you must transition to active chemical suppression of the remaining pathogens. While modern medicine relies heavily on systemic oral or intravenous antibiotics, emergency wound care in an austere environment requires a mastery of topical antiseptics, specialized dressing techniques, and improvised chemical solutions.
The Dakin’s Solution Protocol
When commercial topical antibiotics are unavailable, you can manufacture one of the most powerful, time-tested wound antiseptics in medical history: Dakin’s Solution. Developed during World War I by chemist Henry Dakin and surgeon Alexis Carrel, this buffered sodium hypochlorite solution kills bacteria, viruses, and fungi without destroying healthy, regenerating tissue cells, provided it is mixed to the correct concentration.
To prepare a standard half-strength (0.25%) Dakin’s Solution—the concentration most recommended for active wound infections—follow this precise protocol based on guidelines from the World Health Organization (WHO):
- Source Clean Water: Measure exactly 1 liter (approximately 4 cups) of clean, boiled water and allow it to cool to room temperature.
- Add Bleach: Add 45 milliliters (approximately 3 tablespoons plus 1 teaspoon) of standard, unscented household liquid bleach (typically 5.25% to 6.0% sodium hypochlorite). Warning: Do not use scented, color-safe, or splashless bleaches, as they contain toxic chemical additives.
- Add Buffer: Add 1/2 teaspoon (approximately 2.5 grams) of pure baking soda (sodium bicarbonate) to act as a buffering agent, stabilizing the pH of the solution to prevent chemical burns on healthy tissue.
- Mix and Store: Stir the solution thoroughly with a sterile utensil. Store it in a clean, dark, tightly sealed glass or plastic container. Label it clearly with the date and time of manufacture. Dakin's solution degrades rapidly when exposed to light and air; discard any unused portions after 48 hours and mix a fresh batch.
To use Dakin's Solution, saturate sterile gauze with the mixture and pack it lightly into the infected wound bed once or twice daily, covering it with a dry, sterile outer dressing. Discontinue use as soon as the wound bed appears clean, pink, and free of purulent drainage, as prolonged use can eventually delay the proliferative phase of wound healing.
The Truth About Hydrogen Peroxide and Iodine
A common mistake in survival first aid is the indiscriminate use of full-strength hydrogen peroxide or isopropyl alcohol directly inside an open wound. While these chemicals are highly effective at killing bacteria on intact skin, they are cytotoxic to open wounds. This means they destroy healthy white blood cells and delicate new granulation tissue, actually widening the zone of cell death and delaying the healing process.
Instead, utilize Povidone-Iodine (Betadine), but dilute it with sterile water or saline until it reaches the color of weak tea (approximately a 1:10 dilution, yielding a 1% solution). At this low concentration, povidone-iodine remains highly bactericidal while losing its cytotoxic properties, making it safe for direct wound irrigation. If povidone-iodine is unavailable, Chlorhexidine Gluconate (Hibiclens) is an excellent alternative for cleansing the surrounding skin, though it should be flushed out of deep wounds with sterile water to prevent tissue irritation.
Wet-to-Dry Dressing Protocols
For wounds that are actively infected, draining heavily, or contain remaining necrotic tissue that cannot be surgically removed, you should employ the wet-to-dry dressing technique. This is a form of mechanical debridement that works via capillary action and evaporation.
- Moisten the Dressing: Take a sterile, non-cotton-filled woven gauze pad and moisten it with sterile saline or half-strength Dakin’s Solution. It should be damp, not dripping wet.
- Pack the Wound: Gently fluff the damp gauze and pack it directly into the wound bed, ensuring it makes contact with all raw, infected surfaces. Do not pack it so tightly that it cuts off localized blood flow. Avoid letting the wet gauze touch the healthy, intact skin surrounding the wound (the periwound), as this will cause maceration (softening and tearing of the skin due to chronic moisture).
- Apply the Cover: Place a dry, sterile absorbent pad over the damp gauze and secure it with medical tape or a bandage roll.
- Allow to Dry: Leave the dressing in place for 12 to 24 hours. As the inner gauze dries, it adheres to the dead tissue, bacteria, and purulent exudate within the wound.
- Remove and Debride: Pull the dry dressing out of the wound in a steady, firm motion. Do not wet the dressing to make removal easier; the goal is for the dry gauze to pull away the dead tissue and bacteria stuck to it. Immediately discard the contaminated dressing, irrigate the wound with sterile water, and repeat the process until the wound bed is clean.
Advanced Off-Grid Infection Management
In a true long-term Survival Scenarios where commercial medical supplies have run dry, you may have to turn to natural, historical, or improvised remedies. While these methods must always be secondary to sterile irrigation and modern antiseptics, they have been validated by clinical studies and historical military medicine when no other options exist.
Medical-Grade Honey (Apitherapy)
Long before the discovery of penicillin, civilizations used honey to treat infected wounds. Today, clinical research confirms that raw, unpasteurized honey—specifically Manuka honey, though high-quality raw wildflower honey can work in an emergency—possesses powerful antimicrobial properties. Honey operates through three distinct mechanisms:
- High Osmotic Pressure: Honey is primarily composed of natural sugars with very low water content. When applied to a wound, it draws water out of bacterial cells via osmosis, dehydrating and killing them.
- Hydrogen Peroxide Production: When honey is diluted by wound fluids, an enzyme added by bees (glucose oxidase) slowly releases low, non-cytotoxic levels of hydrogen peroxide, providing a continuous antiseptic effect.
- Acidity: Honey has an acidic pH (typically between 3.2 and 4.5), which inhibits the growth of most wound pathogens and promotes tissue oxygenation.
To apply this protocol, irrigate the wound thoroughly, apply a generous layer of raw honey directly to the wound bed or saturate a sterile gauze pad with it, pack the wound, and cover it with a clean bandage. Change this dressing every 12 to 24 hours, as the honey will liquefy as it draws out wound exudate.
The "Pen Trick" for Tracking Infection
When treating an infected wound without a doctor, you must establish an objective tracking system to monitor whether your treatments are working or if the infection is spreading. The easiest and most reliable field method is the "pen trick."
Take a permanent marker or pen and draw a precise line directly on the patient's skin along the outermost border of the redness (erythema) surrounding the wound. Write the date and time next to the line. Check the wound every four to six hours. If the redness expands past your drawn line, the infection is active and spreading, requiring more aggressive irrigation, dressing changes, or systemic intervention. If the redness recedes inside the line, your treatment protocol is succeeding.
When and How to Close a Wound (And When to Leave It Open)
One of the most dangerous mistakes made in survival first aid is closing an infected, contaminated, or deep puncture wound with sutures, staples, or skin glue (like superglue). Closing an active infection traps bacteria, necrotic tissue, and anaerobic pathogens inside a warm, dark, oxygen-depleted environment. This creates the perfect conditions for rapid bacterial replication, deep tissue abscesses, and necrotizing fasciitis (flesh-eating bacteria).
In emergency medicine, wounds are managed through three types of closure:
- Primary Intention: Closing the wound immediately with sutures, staples, or glue. This is reserved strictly for clean, fresh wounds (less than 6 to 12 hours old) that have been thoroughly irrigated and show no signs of contamination.
- Secondary Intention: Leaving the wound open to heal from the bottom up. The wound bed gradually fills with granulation tissue, and the edges slowly pull together naturally. In an off-grid survival scenario, almost all moderate-to-severe wounds, puncture wounds, animal bites, and infected wounds must be left open to heal by secondary intention. While this results in larger scars and longer healing times, it drastically reduces the risk of systemic infection and death.
- Tertiary Intention (Delayed Primary Closure): Leaving the wound open for 3 to 5 days to ensure no infection develops, while keeping it clean, packed, and bandaged. Once you are absolutely certain the wound bed is healthy, clean, and free of bacteria, you can safely close the wound using skin tapes (such as Steri-Strips) or sutures.
A Comprehensive Austere Wound Care Checklist
To ensure you have everything required to execute these protocols when professional medical services are offline, build a dedicated, heavy-duty wound management kit. Do not rely on standard, off-the-shelf first aid kits, which rarely contain the volume of irrigation and sterilization gear required for active infection management.
| Category | Essential Items | Primary Field Purpose |
|---|---|---|
| Irrigation & Prep | 35cc/50cc syringes, 18G/19G angiocatheters, sterile saline, potable water. | High-pressure mechanical debridement and wound flushing. |
| Chemical Antiseptics | Pure, unscented household bleach (5.25%), baking soda, Povidone-Iodine (10%). | Formulating fresh Dakin's Solution and non-cytotoxic skin prep. |
| Surgical Tools | Surgical scissors, fine-tipped tweezers, scalpel handles with #10/#11 blades. | Mechanical debridement of necrotic tissue and foreign bodies. |
| Dressings & Packing | Woven sterile gauze pads (2x2 and 4x4), non-adherent pads (Telfa), rolled gauze, medical tape. | Wet-to-dry dressings, wound packing, and environmental protection. |
| Natural Alternatives | Raw, unpasteurized honey (or medical-grade Manuka honey). | Osmotic antimicrobial dressing when commercial ointments are depleted. |
| Monitoring Gear | Permanent markers, clinical thermometer, manual blood pressure cuff, stethoscope. | Tracking infection boundaries and monitoring for systemic sepsis. |
Summary: Cultivating a Mindset of Self-Reliance
In a resource-constrained environment, a wound is not just a physical injury; it is a serious biological vulnerability. When professional medical help is unavailable, your safety depends entirely on your knowledge, preparation, and clinical decisiveness. By understanding the biological mechanics of infection, mastering the REEDA scale to spot early warning signs, maintaining rigorous sanitation, and executing advanced protocols like Dakin’s Solution and wet-to-dry dressings, you can successfully treat infected wounds and prevent systemic sepsis. True survival first aid is not about quick fixes or panic-driven reactions; it is about applying disciplined, evidence-based medical protocols with the resources at hand. Equip your medical kits, study these protocols, and build the confidence to act as your own first responder when the grid goes dark.
Frequently Asked Questions
What are the first signs of a wound infection?
Early signs include increased redness, swelling, warmth around the wound, throbbing pain, and pus or cloudy drainage.
How do you clean a wound in a survival situation without sterile saline?
Use clean, drinkable water (boiled and cooled is best) to flush the wound thoroughly. Avoid harsh chemicals like hydrogen peroxide or rubbing alcohol directly inside the wound as they can damage tissue.
What is the 'red streak' sign, and why is it dangerous?
Red streaks spreading from a wound toward the heart indicate lymphangitis, a sign that the infection is spreading into the lymphatic system. This is a medical emergency requiring immediate systemic antibiotics.
Can you use honey to treat an infected wound in an emergency?
Yes, medical-grade honey (like Manuka) or raw, unprocessed honey has natural antibacterial properties and can be applied to minor wounds to help inhibit bacterial growth when medical supplies are unavailable.
How do you perform a wet-to-dry dressing change for an infected wound?
Moisten sterile gauze with clean saline or water, place it gently inside the wound, cover it with a dry dressing, and let it dry. When removed, it pulls away dead tissue to help debride the wound.