⚡ Key Facts
- 60% Preparedness Gap: According to FEMA’s National Household Survey, over 60% of Americans do not have an active family emergency plan or organized critical documents ready for an evacuation.
- FEMA Assistance Delays: The Federal Emergency Management Agency (FEMA) notes that missing proof of occupancy or identity is the number one reason disaster survivors face delays or denials in receiving housing and recovery funds. For the practical checklist side, use the community emergency preparedness guide.
- Fire Safe Limitations: Standard UL Class 350 fire safes protect paper but allow internal temperatures to reach 350°F (177°C), which will permanently melt and destroy unshielded USB drives, CDs, and external hard drives.
- Rapid Evacuation Window: The American Red Cross warns that in a fast-moving home fire or flash flood, families often have less than two minutes to safely evacuate their homes.
- Medical Error Risks: The Centers for Disease Control and Prevention (CDC) reports that during mass evacuations, access to physical or offline digital medical records reduces prescription errors by up to 40% for displaced individuals.
Build a Three-Day Document Kit First
Keep the first version small enough to use under stress: identification copies, insurance details, medical information, contacts, and a local map. The 72-hour preparedness guide shows how those documents fit with water, food, lighting, and communication basics.
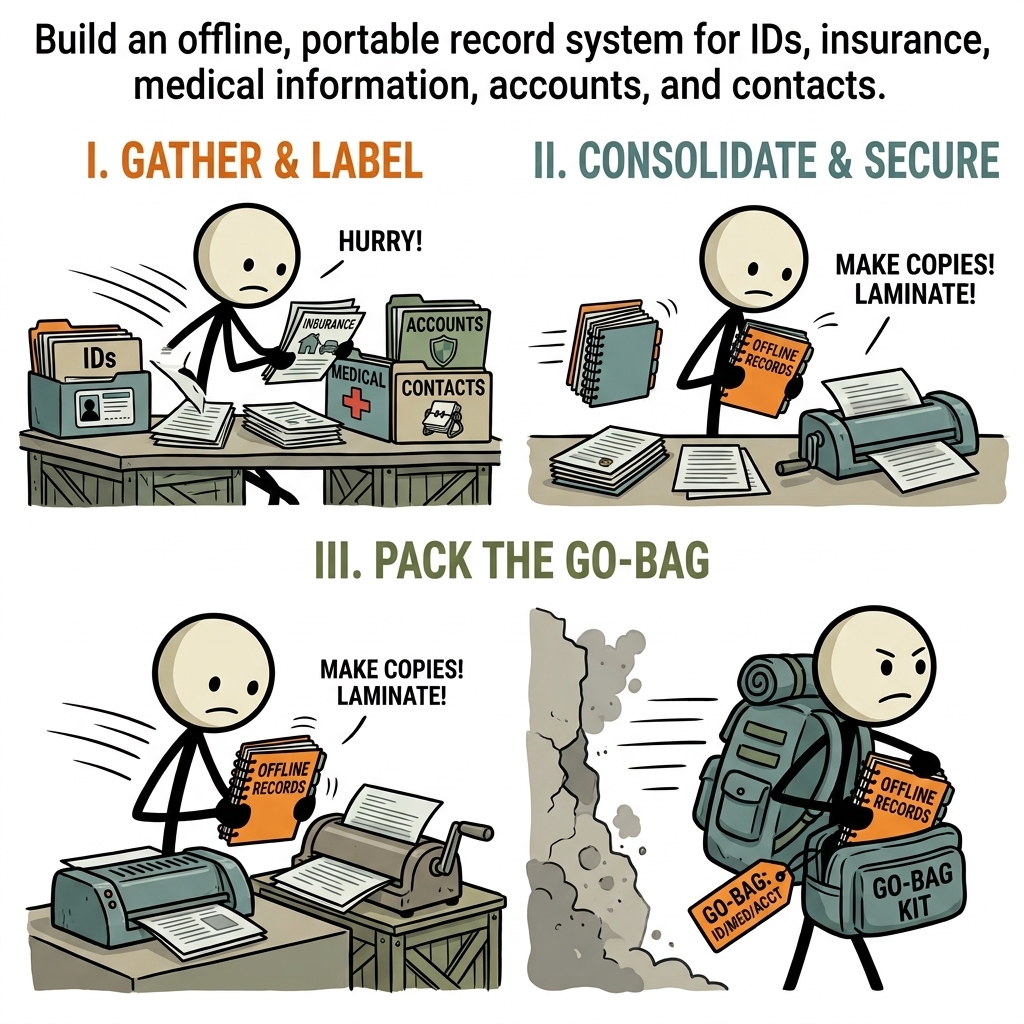
Imagine a sudden, deafening knock on your door at 2:00 AM. A fast-moving wildfire or a ruptured levee has triggered an immediate evacuation order for your neighborhood preparedness network. You have less than five minutes to gather your family, your pets, and your life. In the frantic rush to escape, you grab your Go-Bag Builders and head out into the night. But once the smoke clears and the waters recede, a second, quieter disaster begins: the bureaucratic nightmare of rebuilding your life. Without proof of identity, property ownership, insurance policies, or medical history, securing federal aid, filing insurance claims, and refilling lifesaving prescriptions can take months—or even years. Building a secure, offline, and highly portable record system is not an act of paranoia; it is the cornerstone of modern emergency preparedness.
The Dual-System Philosophy: Why Physical and Digital Must Coexist
When developing an emergency document binder, many people make the mistake of choosing one medium over the other. Some rely entirely on a physical binder, while others scan everything to a cloud drive or a basic USB stick. True resilience lies in redundancy. An effective emergency record system must utilize a dual-system philosophy, combining a ruggedized physical binder with an encrypted, offline digital vault.
Physical documents are indispensable because they require no electricity, no internet connection, and no decryption passwords to read. In the immediate aftermath of a regional disaster, cellular towers are frequently overloaded or physically damaged, rendering cloud storage inaccessible. First responders, emergency room staff, and border agents need to see physical, tangible documents—such as original passports, birth certificates, and physical medical cards—to verify your identity and administer care without delay.
Conversely, physical binders are vulnerable to water, fire, and physical theft. This is where the offline digital vault becomes your primary insurance policy. By storing high-resolution, encrypted scans of your entire life on ruggedized, ultra-portable USB drives, you can carry a perfect digital replica of your binder in your pocket, on your keychain, or at a secure offsite location. If your physical binder is lost to fire or floodwaters, your encrypted digital backup ensures your recovery remains on track.
Phase 1: The Emergency Document Binder Checklist
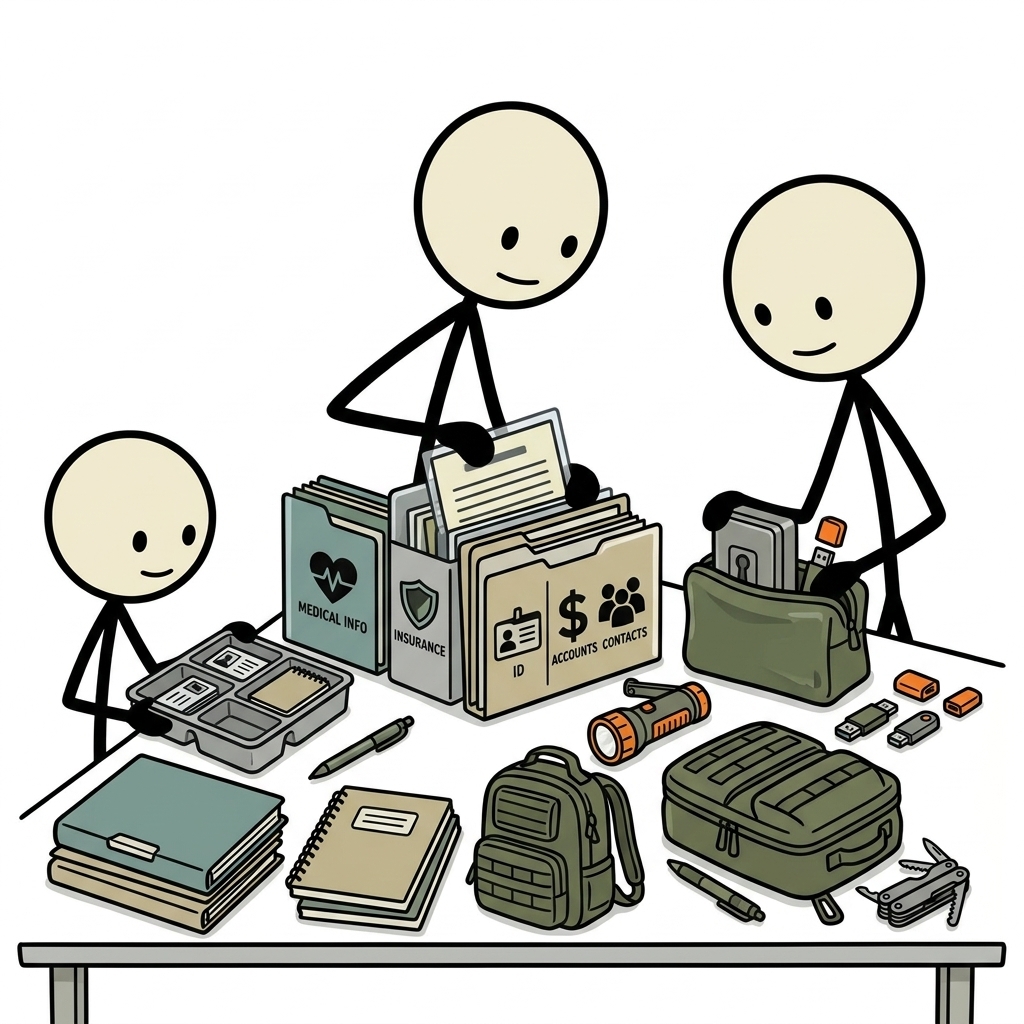
To build a truly comprehensive system, you must systematically gather, verify, and organize your documents. Use this master emergency document binder checklist to audit your household records. Divide your documents into five distinct categories to ensure no critical asset is overlooked during your emergency document binder emergency preparedness planning.
1. Identity and Civil Documents
These documents prove who you are, who your family members are, and your legal status. Without them, establishing residency at emergency shelters, crossing borders, or receiving government aid is incredibly difficult.
- Passports and Passport Cards: The gold standard of identification. Keep original passports in your physical binder and high-resolution color scans on your digital vault.
- Certified Birth Certificates: Gather original, state-issued certificates with raised seals for every member of your household.
- Social Security Cards: Keep original cards protected in individual sleeves to prevent wear and tear.
- Marriage Certificates, Divorce Decrees, and Adoption Papers: Critical for proving legal relationships, name changes, and child custody during evacuations.
- Driver’s Licenses and State IDs: Keep expired or photocopied versions of your current IDs as secondary proof.
- Military Discharge Papers (DD-214): Essential for veteran benefits, medical care through the VA, and emergency burial rights.
- Naturalization or Citizenship Documents: Crucial for verifying legal status with federal agencies during major crises.
2. Financial and Property Records
Disasters can disrupt banking networks for weeks. Having immediate, offline access to your financial accounts and proof of ownership prevents foreclosure, facilitates rapid loans, and proves your losses to tax authorities.
- Property Deeds and Mortgages: Proof of homeownership is the single most important document required by FEMA to qualify for housing reconstruction grants.
- Vehicle Titles and Registrations: Necessary to prove ownership of cars, boats, or RVs, especially if they are damaged or towed during an evacuation.
- Recent Tax Returns (Form 1040): Keep the first two pages of your last two years of tax returns to prove income and facilitate emergency tax relief.
- Bank Account Numbers and Routing Info: Write down checking, savings, and money market account numbers alongside bank phone numbers. Do not rely on mobile apps that may be offline.
- Investment and Retirement Account Statements: Keep the most recent quarterly statement for 401(k), IRA, and brokerage accounts.
- Photocopies of Credit Cards (Front and Back): This ensures you have the card number, expiration date, and the international customer service phone number if your physical wallet is lost.
3. Insurance Policies and Claims Info
Your ability to rebuild your life depends on how quickly you can file insurance claims. Do not wait for your insurance agent to return your calls; have your policy details in hand.
- Homeowners or Renters Insurance Declarations Pages: The declarations page lists your policy number, coverage limits, deductibles, and the insurer's claims hotline.
- Auto Insurance Cards and Policies: Essential for filing claims if your vehicle is damaged by falling debris, floodwaters, or an accident during evacuation.
- Health and Dental Insurance Cards: Keep physical copies of all insurance cards, including Medicare, Medicaid, or private provider cards.
- Life and Disability Insurance Policies: Include beneficiary details, policy numbers, and contact information for the underwriting companies.
- Comprehensive Home Inventory: A written list, accompanied by video or photo evidence on your digital drive, documenting every high-value item in your home. This is vital for maximizing insurance payouts.
4. Medical Information and Health History
In a disaster, stress runs high, and medical emergencies are common. If you or a loved one is hospitalized, having an offline medical portfolio can save lives by preventing drug interactions and guiding emergency clinicians.
- Complete Immunization Records: Especially critical for children entering emergency shelters or temporary school systems.
- Active Prescription Lists: Detail the exact medication name, dosage, frequency, prescribing doctor, and pharmacy contact info.
- Allergy and Medical Condition Logs: Clearly document severe allergies (e.g., penicillin, latex, peanuts) and chronic conditions (e.g., diabetes, epilepsy, cardiac issues).
- Health Care Proxy and Living Wills: Legal directives detailing who can make medical decisions for you if you become incapacitated.
- Power of Attorney (POA) Documents: Both medical and financial POAs must be physically accessible to be legally honored during a crisis.
5. Household and Emergency Contacts
When cell phone batteries die or networks fail, our reliance on digital contact lists becomes a massive vulnerability. You must have a physical, written directory of your network.
- Out-of-State Emergency Contact: Local networks may be jammed, but long-distance lines often remain open. Designate one out-of-state relative as your family's central emergency communication plans hub.
- Local Family and Neighbor Contacts: Phone numbers, physical addresses, and email addresses of those closest to you.
- Professional Service Providers: Phone numbers for your primary care physician, pediatrician, veterinarian, lawyer, accountant, and trusted contractors.
- Utility Companies: Contact numbers for your water, gas, electricity, and internet providers to report damage or coordinate service shut-offs.
Phase 2: Engineering the Physical Emergency Document Binder
A standard school binder will not survive a flood, a building collapse, or even a heavy downpour during an evacuation. Your physical emergency document binder must be engineered to withstand physical trauma, water intrusion, and extreme heat. Here is how to construct a professional-grade physical record system.
Selecting the Right Chassis
Do not store your documents in a standard cardboard-backed binder. Instead, opt for a heavy-duty, zipper-enclosed tactical binder or a dedicated waterproof, fire-resistant document bag. Look for bags constructed from silicone-coated fiberglass, which can withstand temperatures up to 2,000°F (1,093°C) for limited periods. Ensure the bag has a water-resistant zipper and a rugged carrying handle. For ultimate water protection, place your binder inside a military-grade dry bag (such as a 10L or 20L roll-top dry sack) before storing it in your bug-out gear.
Archival-Grade Internal Organization
The materials you use inside your binder are just as important as the outer shell. Standard plastic sheet protectors can degrade over time, releasing acids that lift ink off your documents, permanently ruining original certificates.
- Use Acid-Free, Archival-Safe Sleeves: Look for heavy-duty polypropylene sheet protectors that are explicitly labeled "acid-free" and "non-glare." These will not stick to or damage your documents over years of storage.
- Color-Coded Dividers with Tabs: Divide your binder into five distinct sections using color-coded plastic dividers. This allows you to navigate to critical health info or insurance policies in seconds under high-stress conditions.
- Waterproof Paper for Directories: For lists that do not require original legal paper (such as your contact directory and medical history logs), print them on synthetic waterproof paper (like Rite in the Rain or Teslin). This ensures your written directories remain legible even if the binder is fully submerged in water.
Security and Discretion
Your binder contains everything an identity thief needs to ruin your financial life. Therefore, security and discretion are paramount. Do not write "CONFIDENTIAL FINANCIAL BINDER" or "EMERGENCY DOCUMENTS" on the outside of your bag. Keep the exterior completely sterile or use a simple, non-descript label like "Family Records" or "Household Manual." Use small, TSA-approved luggage locks on the zippers to prevent casual snooping, and ensure the binder is stored in a secure, hidden location that is easily accessible only to trusted family members during an evacuation.
Phase 3: Building the Encrypted Offline Digital Vault
A physical binder is a fantastic tool, but it is bulky and vulnerable to total destruction. To achieve true redundancy, you must pair your physical binder with an encrypted, offline digital vault. This allows you to carry your entire life’s history on a device no larger than a house key.
Hardware Selection: Rugged and Encrypted
Do not use cheap, promotional USB drives. They fail easily, are highly susceptible to water damage, and offer zero security if lost. Instead, invest in military-grade hardware. Choose a USB flash drive or portable external SSD that features built-in, hardware-based AES 256-bit encryption, such as the Apricorn Aegis Secure Key or the Kingston IronKey. These drives feature an onboard physical keypad. To access the data, you must enter a PIN directly on the drive itself before plugging it into a computer. This ensures that even if someone steals your digital vault, they cannot access your files without your master PIN, regardless of what software hacking tools they employ.
If you choose to use a standard rugged USB drive (like the Samsung Bar Plus or Corsair Survivor series), you must use software-based encryption to secure your data. Standard drives are highly durable against physical shock and water, but they require software solutions like VeraCrypt, BitLocker, or FileVault to keep your sensitive files safe from prying eyes.
Software-Based Encryption with VeraCrypt
If you opt for software encryption, VeraCrypt is an industry-standard, open-source, free encryption software that allows you to create a secure virtual disk within a file on your USB drive. Here is how to configure it:
- Download and install VeraCrypt on your primary computer.
- Insert your rugged USB drive and open the VeraCrypt application.
- Click "Create Volume" and select "Create an encrypted file container."
- Choose "Standard VeraCrypt volume" and select a location on your USB drive to save the container file (name it something mundane like "System_Backup.dat").
- Select AES as the encryption algorithm and SHA-512 as the hash algorithm.
- Allocate the size of the container (10GB to 20GB is usually more than enough for documents).
- Create a strong, memorable master password. Do not lose this password; there is no "password reset" option in military-grade encryption.
- Format the volume. Once formatted, you can "mount" this container as a virtual drive on your computer, drag and drop your sensitive files into it, and then "dismount" it to secure your files inside the encrypted vault.
Scanning and Formatting Protocols
How you digitize your documents determines how useful they will be in a crisis. Follow these professional archiving standards:
- Scan at 300 DPI Minimum: Ensure all scans are crisp and legible. Low-resolution scans can make fine print on insurance policies or birth certificates unreadable.
- Use PDF/A Format: Save all documents as PDF/A files. This is the ISO-standardized version of PDF designed for long-term archiving. It ensures your files can be opened by any operating system decades into the future.
- Logical File Naming Conventions: Use clear, structured file names that make searching easy. For example:
LASTNAME_Firstname_Birth_Certificate.pdforINSURANCE_Homeowners_Declarations_2024.pdf. - Keep File Sizes Manageable: Compress large PDFs so they can be easily transferred or emailed over weak emergency cellular networks if necessary.
The Step-by-Step Implementation Guide
Building your offline record system can feel overwhelming, but breaking the process down into actionable steps makes it highly manageable. Follow this systematic approach to construct your system over a single weekend.
Step 1: Audit and Collect (Estimated Time: 3 Hours)
Print out the emergency document binder checklist provided in this guide. Walk through your home with a plastic bin and collect every document listed. Check off each item as you find it. If you discover missing documents (such as a lost social security card or an expired passport), order certified replacements immediately from the appropriate state or federal agency.
Step 2: Digitization and Encryption (Estimated Time: 4 Hours)
Set up your scanner or use a high-quality mobile scanning app (like Adobe Scan or Microsoft Lens). Scan every document you collected in Step 1. Save them to a dedicated, temporary folder on your computer using the naming conventions detailed above. Once all files are scanned, configure your hardware-encrypted USB drive or your software-encrypted VeraCrypt container, and transfer the files into your secure digital vault. Once verified, securely delete the temporary files from your computer's hard drive using a file-shredding utility to prevent local data theft.
Step 3: Assemble the Physical Binder (Estimated Time: 2 Hours)
Insert your archival-safe sheet protectors into your waterproof binder. Place your original documents inside the sleeves, organizing them behind your color-coded dividers. Place the most critical, life-saving documents—such as passports, medical history, and emergency contacts—at the very front of the binder for rapid access.
Step 4: Establish the Redundancy Protocol (The 3-2-1 Rule)
In data security, the "3-2-1 Rule" is the gold standard for backup redundancy. Adapt this rule for your physical and digital emergency records:
- 3 Copies: Maintain three copies of your critical records (one physical binder and two digital vaults).
- 2 Different Media Types: Store your records on two different types of media (paper and encrypted USB drives).
- 1 Offsite Location: Keep one copy completely offsite. Store your second encrypted USB drive in a bank safe deposit box, a secure family member's home, or a trusted safe location outside your immediate geographic region.
Step 5: The Maintenance Protocol (Annual Review)
An emergency record system is only as good as its most recent update. Passports expire, insurance policies renew, and medical prescriptions change. Establish a firm "Maintenance Protocol" to review and update your binder annually. Set a recurring calendar reminder on a memorable date—such as Daylight Saving Time, the start of hurricane season, or your birthday. Use this time to replace expired documents, update financial statements, and refresh your digital vault backups.
Security, Privacy, and Fire-Safe Realities
When dealing with your most sensitive personal data, you must understand the physical and thermal realities of storage. Many people believe that placing their documents and USB drives inside a standard home fire safe guarantees their safety. This is a dangerous misconception that can lead to total data loss.
Underwriters Laboratories (UL) rates fire safes based on their ability to keep internal temperatures below specific thresholds during intense external heat. A standard home safe is typically rated UL Class 350. This means that when exposed to extreme external temperatures (often up to 1,700°F / 927°C), the internal temperature of the safe will not exceed 350°F (177°C) for a specified duration (usually 30 to 60 minutes). While paper is safe at this temperature (paper does not char or ignite until it reaches approximately 451°F / 233°C), digital media is not.
USB flash drives, external SSDs, CDs, and DVDs are highly sensitive to heat and moisture. At temperatures above 125°F (52°C) or relative humidity levels above 80%, digital media begins to warp, melt, and suffer catastrophic data loss. To safely store digital backups at home, you must use a safe rated UL Class 125 (specifically designed for magnetic and digital media) or store your encrypted USB drives inside a dedicated, insulated media cooler placed inside your standard Class 350 safe. Alternatively, keeping your digital backup offsite or in a high-quality bank safe deposit box bypasses this physical vulnerability entirely.
Empowered and Prepared: Your Shield Against Chaos
Building an offline, portable record system is one of the most empowering steps you can take for your household's long-term security. It transforms a potentially devastating, chaotic evacuation into a structured, manageable transition. When disaster strikes, you will not join the thousands of displaced individuals scrambling to prove their identities, locate insurance numbers, or verify medical histories amidst the rubble. Instead, you will grab your physical binder and your encrypted digital vault, step out the door with quiet confidence, and focus on what truly matters: keeping your family safe. Take control of your recovery before the crisis begins—build your secure, offline record system today.
Frequently Asked Questions
What should a emergency document binder plan include?
Start with the immediate safety steps, the supplies and records your household needs, a communication plan, and a regular review schedule. Follow local official guidance during an active emergency.
How often should I review emergency document binder preparations?
Review them at least twice a year and whenever your household, medication, location, or local risks change. Replace expired supplies and practice key steps.
Where can I find reliable emergency guidance?
Use local emergency management alerts and established public-health or emergency-management agencies. A blog guide should support, not replace, official real-time instructions.